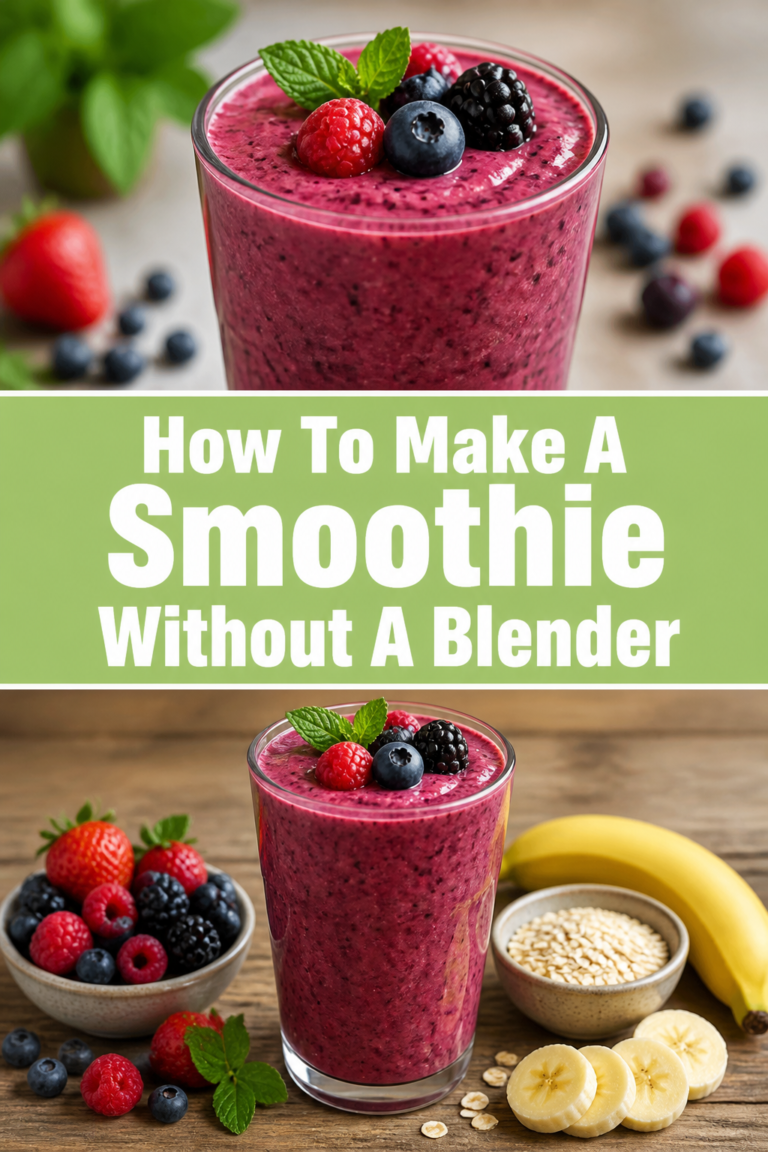
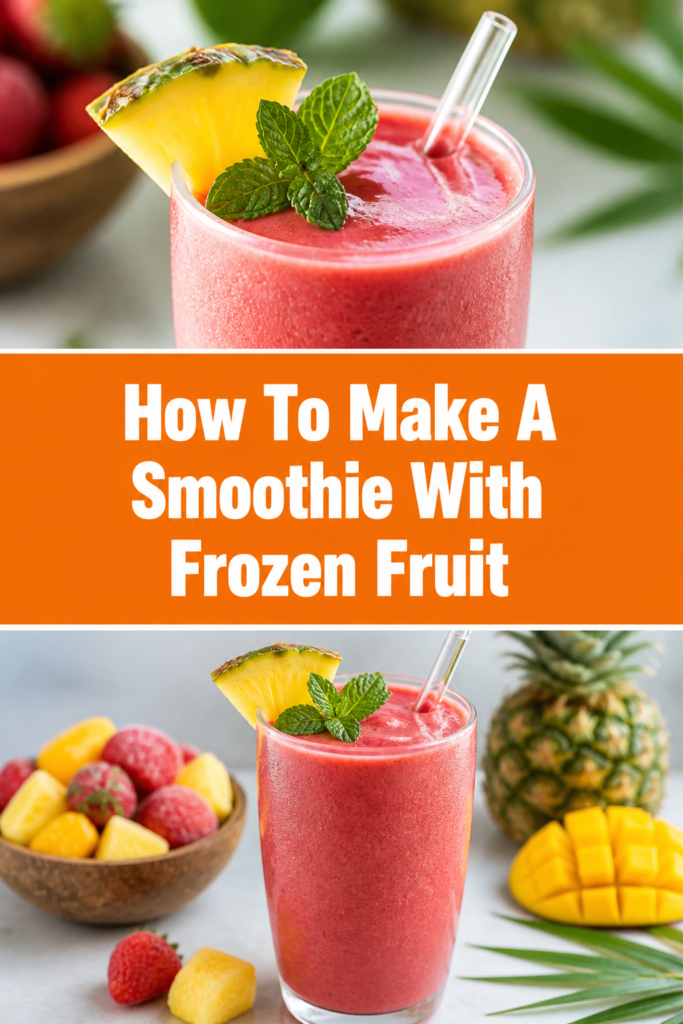
🍓 How To Make A Smoothie With Frozen Fruit
I have spent nearly a decade perfecting the art of the morning smoothie in my own kitchen.
Through trial and error, I discovered that frozen fruit is the secret to achieving that thick, milkshake-like consistency without watering down the flavor with ice.
This guide shares my proven methods for creating the perfect blend every single time.
Quick Overview
You are about to learn how to master the balance of temperature, texture, and taste using frozen ingredients.
- Time needed: 5 to 10 minutes
- Difficulty: Beginner
- What you’ll need: High-speed blender, frozen fruit, liquid base, thickener, and optional sweeteners or boosters.
Step-by-Step Instructions
Step 1: Select Your Liquid Base
Start by pouring your liquid into the blender jar before adding any solid ingredients.
This creates a lubricant for the blades and prevents the frozen fruit from getting stuck at the bottom.
You can use dairy milk, unsweetened almond milk, oat milk, or even coconut water for a tropical twist.
Fruit juice works well for extra sweetness, but be mindful of the added sugar content.
Aim for about one cup of liquid for every two cups of frozen fruit to maintain a thick consistency.
Pro Tip: If you want an extra creamy result without dairy, use creamy oat milk or full-fat canned coconut milk.
Step 2: Choose Your Primary Frozen Fruit
Measure out your main fruit components, such as frozen strawberries, blueberries, mango chunks, or pineapple.
Frozen fruit is usually picked and frozen at the height of ripeness, meaning it often tastes better than “fresh” fruit that has traveled thousands of miles.
Using frozen fruit eliminates the need for ice cubes, which can make a smoothie feel gritty or diluted.
Mix different fruits to create complex flavor profiles, like a classic strawberry-banana or a refreshing mango-peach blend.
Keep your fruit pieces relatively uniform in size to ensure they blend at the same rate.
Step 3: Add a Creamy Element
Incorporate a “binder” to help the liquid and frozen fruit emulsify into a smooth velvet-like texture.
Greek yogurt is a fantastic choice because it adds protein and a pleasant tanginess.
For a vegan option, half of a frozen banana or a quarter of an avocado works wonders for creaminess.
Nut butters like almond or peanut butter also add healthy fats that keep you full longer.
Drop these ingredients on top of the liquid but before the bulk of the frozen fruit.
Pro Tip: Peel and slice overripe bananas before freezing them in a single layer so they don’t turn into a solid block.
Step 4: Layer Your Ingredients Correctly
Follow the specific order of operations to protect your blender’s motor and ensure a smooth result.
Always put liquids in first, followed by powders or leafy greens, then soft foods like yogurt, and finally the hard frozen fruit on top.
The weight of the frozen fruit pushes the other ingredients down into the blades as they spin.
This layering technique prevents the dreaded “air pocket” that stops the blending process mid-way.
Press down gently on the top layer if your blender jar is very full before putting the lid on.
Step 5: Blend on Low Then High
Turn the blender on its lowest setting to start breaking up the large frozen chunks.
Slowly increase the speed to high once the blades have caught the fruit and the mixture is moving.
Blending on high speed for 45 to 60 seconds is usually enough to achieve total pulverization.
Listen to the sound of the motor; if it high-pitches and the fruit stops moving, you have an air bubble.
Stop the blender, stir the ingredients with a long spoon, or add a splash more liquid to get things moving again.
Step 6: Adjust the Consistency
Check the thickness of your smoothie by dipping a spoon into the mixture after the initial blend.
If the smoothie is too thick to pour, add liquid one tablespoon at a time and pulse briefly.
If it is too thin, add a few more pieces of frozen fruit or a spoonful of oats to bulk it up.
Remember that the smoothie will thin out slightly as it sits at room temperature, so starting thick is usually better.
Pro Tip: Use a tamper tool if your blender came with one to push frozen chunks into the blades while it runs.
Step 7: Taste and Sweeten
Sample a small amount to see if the natural sweetness of the fruit is sufficient for your palate.
Frozen fruit can vary in sweetness depending on the brand and the season it was harvested.
If it needs a boost, add a teaspoon of honey, maple syrup, or a pitted Medjool date.
Pulse the blender a few more times to incorporate the sweetener evenly throughout the drink.
Avoid adding granulated sugar, as it may not dissolve completely in the cold temperature, leaving a grainy texture.
Common Mistakes to Avoid
Adding Too Much Liquid Too Soon
It is tempting to pour in extra milk to make the blending process easier and faster.
However, adding too much liquid at the start results in a runny, juice-like consistency rather than a thick smoothie.
Always start with less than you think you need and add more only if the blender stalls completely.
Using Low-Quality Frozen Fruit
Not all frozen fruit is created equal, and some brands may contain added sugars or preservatives.
Check the ingredient label to ensure the only thing in the bag is the fruit itself.
Cheaper frozen fruit often contains more “stems and bits,” which can affect the final texture of your drink.
Neglecting the Power of Greens
Many people assume adding spinach or kale will make the smoothie taste like a salad.
In reality, a handful of baby spinach is virtually tasteless when paired with strong fruits like pineapple or mango.
If you skip the greens, you miss out on an easy way to pack fiber and vitamins into your breakfast.
Troubleshooting
The Blender is Spinning but Nothing is Moving
This is usually caused by an air pocket, often called “cavitation,” where the blades spin in a hollow space.
Stop the machine immediately to prevent the motor from overheating or burning out.
Use a spatula to press the ingredients down or add a small amount of liquid to break the vacuum.
The Texture is Gritty or Sandy
Grittiness usually comes from unblended seeds, fibrous greens, or protein powders that haven’t fully integrated.
Try blending for a longer duration on the highest possible speed to break down these small particles.
If you use kale, try removing the tough center ribs before freezing or blending to ensure a smoother result.
The Smoothie is Too Cold to Drink
Using 100% frozen fruit can sometimes result in a drink that is so cold it causes brain freeze or lacks flavor.
Balance the temperature by using room-temperature liquid or adding a scoop of room-temperature yogurt.
You can also let the frozen fruit sit on the counter for five minutes before blending to soften it slightly.
Key Takeaways
- Always put your liquid in the blender first to ensure the blades can move freely.
- Frozen fruit provides the best texture and eliminates the need for ice cubes.
- Use a “binder” like yogurt, banana, or avocado to achieve a professional, creamy finish.
- Layer ingredients from thinnest (bottom) to hardest/frozen (top).
- Start the blender on low speed and gradually move to high for the most consistent results.
- Adjust sweetness at the very end after tasting the natural flavors of the fruit.
Frequently Asked Questions
Can I use a regular blender for frozen fruit?
Yes, most standard blenders can handle frozen fruit, but you may need to use more liquid.
High-speed blenders are specifically designed to pulverize frozen items into a perfectly smooth puree.
If using a lower-powered motor, cut your frozen fruit into smaller pieces before blending to help the machine along.
Is frozen fruit as healthy as fresh fruit?
Frozen fruit is often nutritionally superior to fresh fruit because it is frozen immediately after harvest.
This process locks in vitamins and antioxidants that might otherwise degrade during shipping and storage.
Just be sure to buy bags that contain no added syrups or artificial sweeteners.
How long can I store a smoothie made with frozen fruit?
Smoothies are best enjoyed immediately while they are still cold and aerated.
If you must save it, store it in an airtight jar in the fridge for up to 24 hours.
The ingredients will likely separate, so give it a vigorous shake or a quick re-blend before drinking.
Why does my smoothie turn brown?
Browning is usually caused by oxidation, which happens when certain fruits like apples or bananas are exposed to air.
Adding a squeeze of lemon or lime juice can help preserve the bright color due to the vitamin C content.
Using vibrant fruits like blueberries or raspberries will also mask any minor color changes from other ingredients.
Our Top Recommended Finds
- High-Speed Blender: A powerful motor is the most important tool for handling rock-solid frozen fruit without burning out.
- Reusable Silicone Straws: These are wider than standard straws, making it much easier to enjoy thick, frozen blends.
- Insulated Stainless Steel Tumbler: This keeps your smoothie at the perfect frozen temperature for hours, preventing it from turning into soup.
Master Your Signature Blend
Now that you know the technical side of the process, it is time to start experimenting with your favorite flavors.
Try swapping your usual milk for coconut milk or adding a pinch of cinnamon to a frozen apple and oat blend.
The more you practice with different ratios, the more intuitive the process will become.
Grab a bag of frozen berries today and see how easy it is to create a cafe-quality drink in your own kitchen.