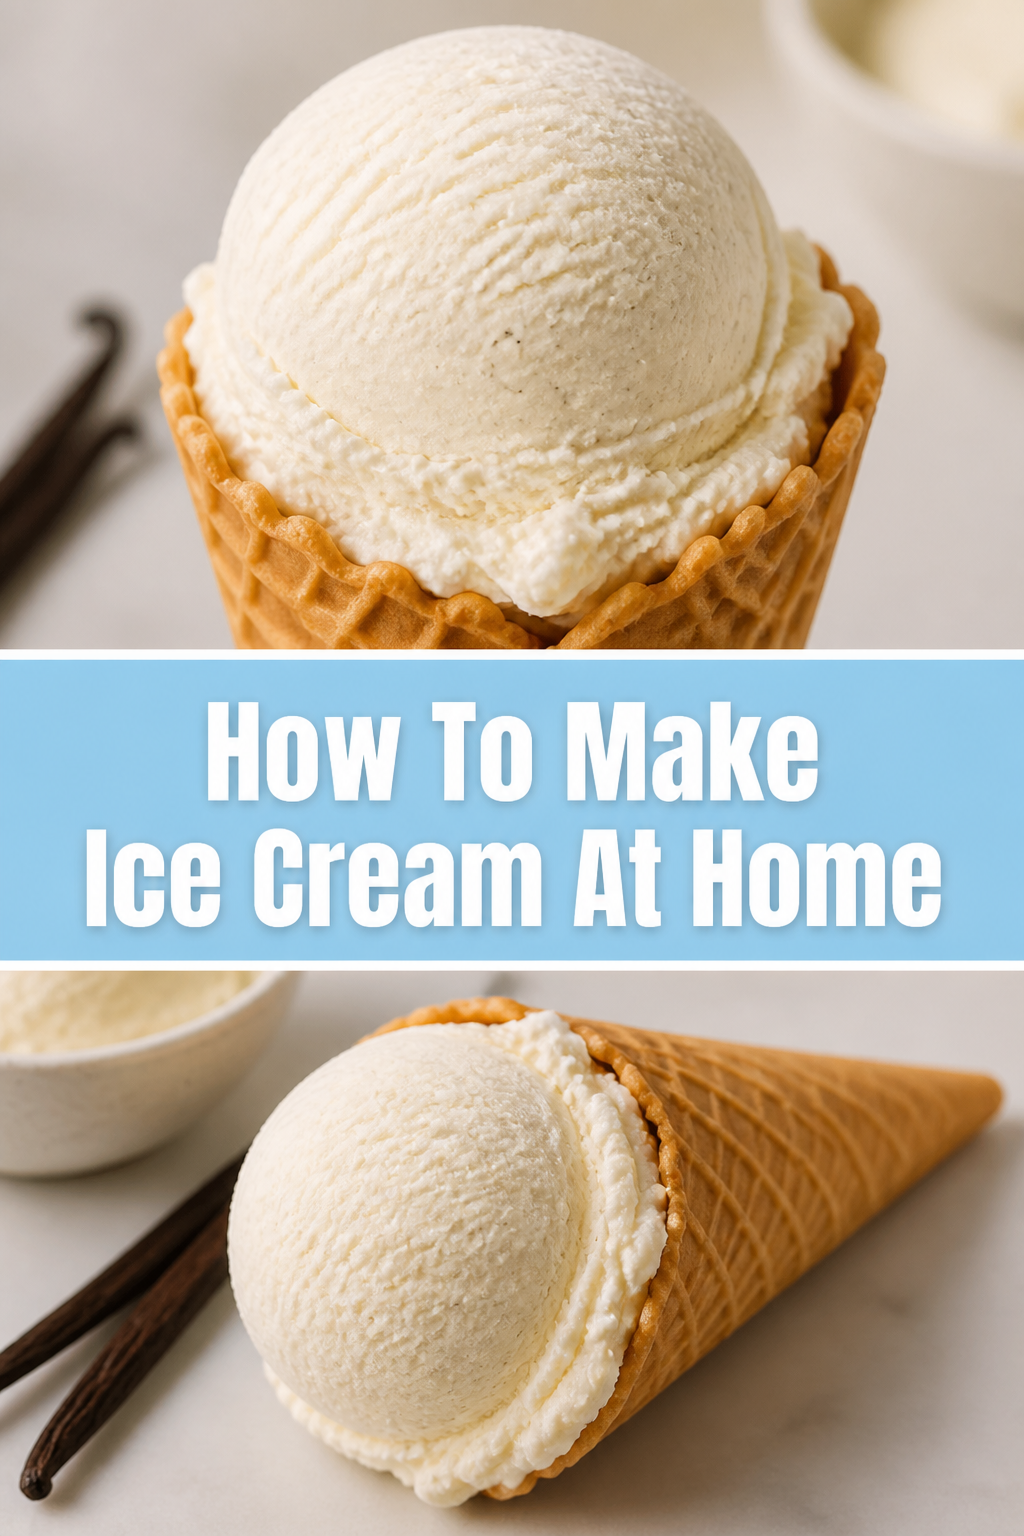
🍦 How To Make Ice Cream At Home
I remember the first time I tried to make ice cream in my own kitchen using a hand-me-down machine from my grandmother.
The result was a salty, soupy mess that tasted more like a science experiment than a dessert.
After years of testing dairy ratios and freezing temperatures, I have perfected a method that produces professional results every time.
You can trust this guide because it focuses on the practical chemistry of freezing while keeping the process simple enough for a busy weekend.

Quick Overview
Making ice cream at home is a rewarding process that allows you to control exactly what goes into your dessert.
You will move from a liquid base to a thick, scoopable treat through a series of temperature-controlled steps.
- Time needed: 45 minutes of active prep, 4 hours of chilling, and 20-30 minutes of churning.
- Difficulty: Beginner.
- What you’ll need: Heavy cream, whole milk, sugar, vanilla extract, a large bowl, a whisk, and an ice cream maker.
Step-by-Step Instructions
Step 1: Choose your ice cream style
Decide whether you want to make a French-style custard or a Philadelphia-style base.
French-style ice cream uses egg yolks to create a rich, velvety texture that feels heavy on the tongue.
Philadelphia-style skips the eggs entirely, resulting in a lighter, brighter flavor that lets the cream and vanilla shine.
If this is your first time, I suggest starting with Philadelphia-style because it requires no cooking and eliminates the risk of curdling eggs.
Pro Tip: Use the highest quality heavy cream you can find, as the fat content is what prevents large ice crystals from forming.
Step 2: Mix the dairy and sugar
Combine two cups of heavy cream and one cup of whole milk in a large mixing bowl.
Add three-quarters of a cup of granulated white sugar to the liquid mixture.
Whisk the ingredients together vigorously for about three to five minutes.
You want to ensure the sugar is completely dissolved so the final product isn’t gritty.
Rub a small amount of the liquid between your fingers; if you feel grains, keep whisking.
Step 3: Add your flavor foundation
Stir in one tablespoon of pure vanilla extract and a tiny pinch of fine sea salt.
The salt does not make the ice cream salty; instead, it acts as a flavor enhancer for the sugar and cream.
If you want to make chocolate ice cream, this is the stage where you would whisk in high-quality cocoa powder.
For fruit flavors, you can blend berries into a puree and fold them in now.
Make sure all flavorings are fully integrated before you move to the chilling phase.
Step 4: Chill the mixture thoroughly
Place your bowl in the refrigerator for at least four hours, though overnight is even better.
This is a critical step that many people skip because they are in a hurry to eat dessert.
A cold base starts freezing immediately when it hits the machine, which leads to smaller ice crystals and a smoother texture.
If the base is warm, the machine has to work twice as hard and the ice cream will likely turn out icy rather than creamy.
Pro Tip: Put a piece of plastic wrap directly on the surface of the liquid to prevent a “skin” from forming while it chills.
Step 5: Prepare the churning equipment
Retrieve your freezer bowl from the deepest part of your freezer.
Most home ice cream makers require the bowl to freeze for at least 24 hours before use.
If you shake the bowl and hear liquid sloshing inside, it is not cold enough to make ice cream.
Set up the machine on a flat surface and make sure the dasher (the paddle) is correctly aligned.
Turn the machine on before you pour the liquid in to prevent the base from freezing instantly to the sides.
Step 6: Churn the ice cream
Pour your chilled base into the moving freezer bowl slowly.
Watch as the liquid begins to thicken and increase in volume over the next 20 minutes.
This process incorporates air, which is known in the industry as “overrun.”
Without air, your ice cream would be a solid, un-scoopable block of frozen milk.
Stop the machine when the mixture reaches the consistency of soft-serve yogurt.
Step 7: Incorporate your mix-ins
Add any solid ingredients like chocolate chips, crushed cookies, or nuts during the last two minutes of churning.
If you add them too early, they will sink to the bottom or get crushed by the paddle.
Keep the pieces small so they don’t break the motor of your machine.
If you want a “swirl” of caramel or fudge, do not add it to the machine.
Save swirls for the next step when you are transferring the mixture to a container.
Step 8: Transfer and ripen
Spoon the soft ice cream into a shallow, freezer-safe container.
If you are adding a swirl, layer the ice cream and the sauce, then use a knife to gently marble them together.
Press a layer of wax paper or parchment paper against the surface of the ice cream.
This creates a barrier against the air, which helps prevent freezer burn and ice crystal growth.
Freeze the container for at least four hours to allow the ice cream to “ripen” and reach a firm, scoopable state.
Pro Tip: Shallow containers are better than deep ones because they allow the ice cream to freeze more evenly and quickly.
Common Mistakes to Avoid
Using low-fat dairy products
It is tempting to try and make a healthier version by using skim milk or 2% milk.
The problem is that water freezes into hard ice, while fat stays soft at low temperatures.
If you reduce the fat content, you are essentially making a flavored ice cube that will be very hard to scoop.
Stick to the ratio of heavy cream and whole milk for that classic mouthfeel.
Overfilling the freezer bowl
The liquid base expands as it freezes and as air is whipped into it.
If you fill the bowl to the brim at the start, it will overflow and create a mess inside the machine.
Most bowls should only be filled about halfway or two-thirds of the way up.
Giving the mixture room to grow ensures it gets the proper amount of air for a light texture.
Adding too much alcohol
People often add a splash of bourbon or vodka to keep the ice cream soft.
While a small amount works, alcohol has a very low freezing point.
If you add more than a tablespoon or two, the ice cream may never actually freeze into a solid state.
Keep the boozy additions to a minimum to ensure your dessert stays firm.
Troubleshooting
The ice cream is gritty or sandy
This usually happens when the sugar didn’t dissolve completely during the mixing phase.
It can also happen if the ice cream melted and refroze in the freezer, causing lactose crystals to grow.
To fix this in your next batch, try heating the milk and sugar slightly to dissolve the grains, then cooling it back down.
Always keep your freezer at a consistent temperature to prevent the melt-and-freeze cycle.
The mixture won’t thicken in the machine
If the liquid stays runny after 30 minutes of churning, your freezer bowl wasn’t cold enough.
Check your freezer settings; it should be at 0°F (-18°C) or lower.
Another cause could be that the base was too warm when you poured it in.
You cannot fix this batch once it’s in the machine, so you may have to freeze it as a “still-frozen” dessert without the air.
The texture is too hard to scoop
Home freezers are often much colder than the professional dipping cabinets used in ice cream shops.
If your ice cream is rock hard, let it sit on the counter for five to ten minutes before serving.
You can also add a tablespoon of light corn syrup to your next batch.
The sugar structure in corn syrup prevents the ice cream from becoming too solid.
Key Takeaways
- Always use high-fat dairy like heavy cream and whole milk to ensure a creamy texture.
- Freeze your machine’s bowl for a full 24 hours before you plan to start.
- Chill your liquid base in the refrigerator until it is cold to the touch.
- Do not overfill the churning bowl, as the mixture needs room to expand with air.
- Add your solid mix-ins only at the very end of the churning process.
- Store the finished product with a layer of parchment paper touching the surface to prevent ice crystals.
Frequently Asked Questions
Can I make ice cream without a machine?
Yes, you can use the “no-churn” method by folding sweetened condensed milk into whipped cream.
This creates a similar texture without the need for a motorized paddle to incorporate air.
However, the flavor is much sweeter and less customizable than the traditional churned version.
How long does homemade ice cream last in the freezer?
Since homemade ice cream doesn’t have the preservatives found in store-bought tubs, it is best eaten within two weeks.
After that, it often begins to develop a layer of ice crystals on the surface that affects the flavor.
Make sure your container is airtight to help it stay fresh as long as possible.
Can I use sugar substitutes like stevia?
You can, but the texture will change significantly because sugar plays a role in the freezing point.
Sugar keeps the mixture from freezing into a solid block of ice.
If you use a substitute, you might need to add a bit of vegetable glycerin to keep the scoopable consistency.
Our Top Recommended Finds
- Insulated Ice Cream Tub: These long, narrow containers are designed to help you get the perfect long scoop with your spoon.
- High-Quality Vanilla Paste: Using paste instead of extract gives you those beautiful little black bean specks and a deeper flavor.
- Stainless Steel Ice Cream Scoop: A heavy-duty scoop with a pointed tip helps you cut through hard-frozen cream without straining your wrist.
Mastering Your Frozen Creations
Now that you have the basic steps down, you can start experimenting with different flavors and textures.
Try steeping fresh mint leaves in your milk or swirling in a homemade strawberry jam.
The beauty of making it yourself is that you are no longer limited by what is available on the grocery store shelf.
Go to your kitchen today and put your freezer bowl in the freezer so you are ready to churn tomorrow.
Once you taste the difference of fresh, homemade cream, you will never want to go back to the pre-packaged stuff.