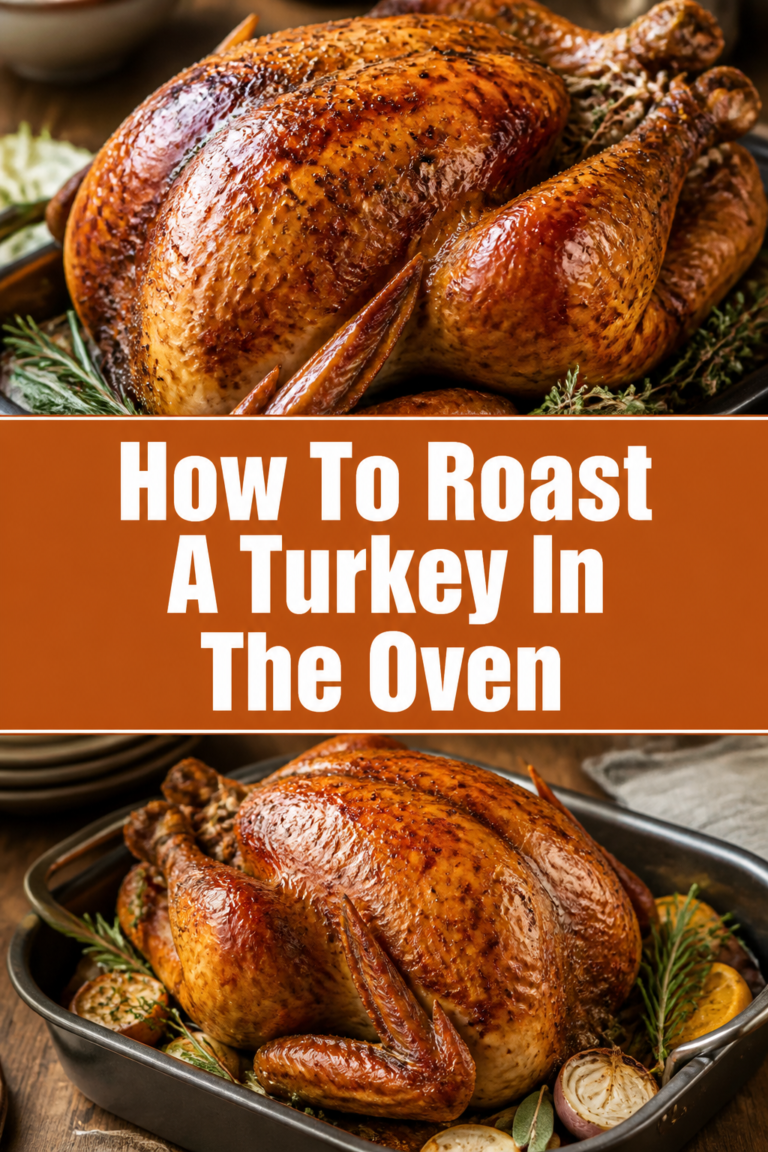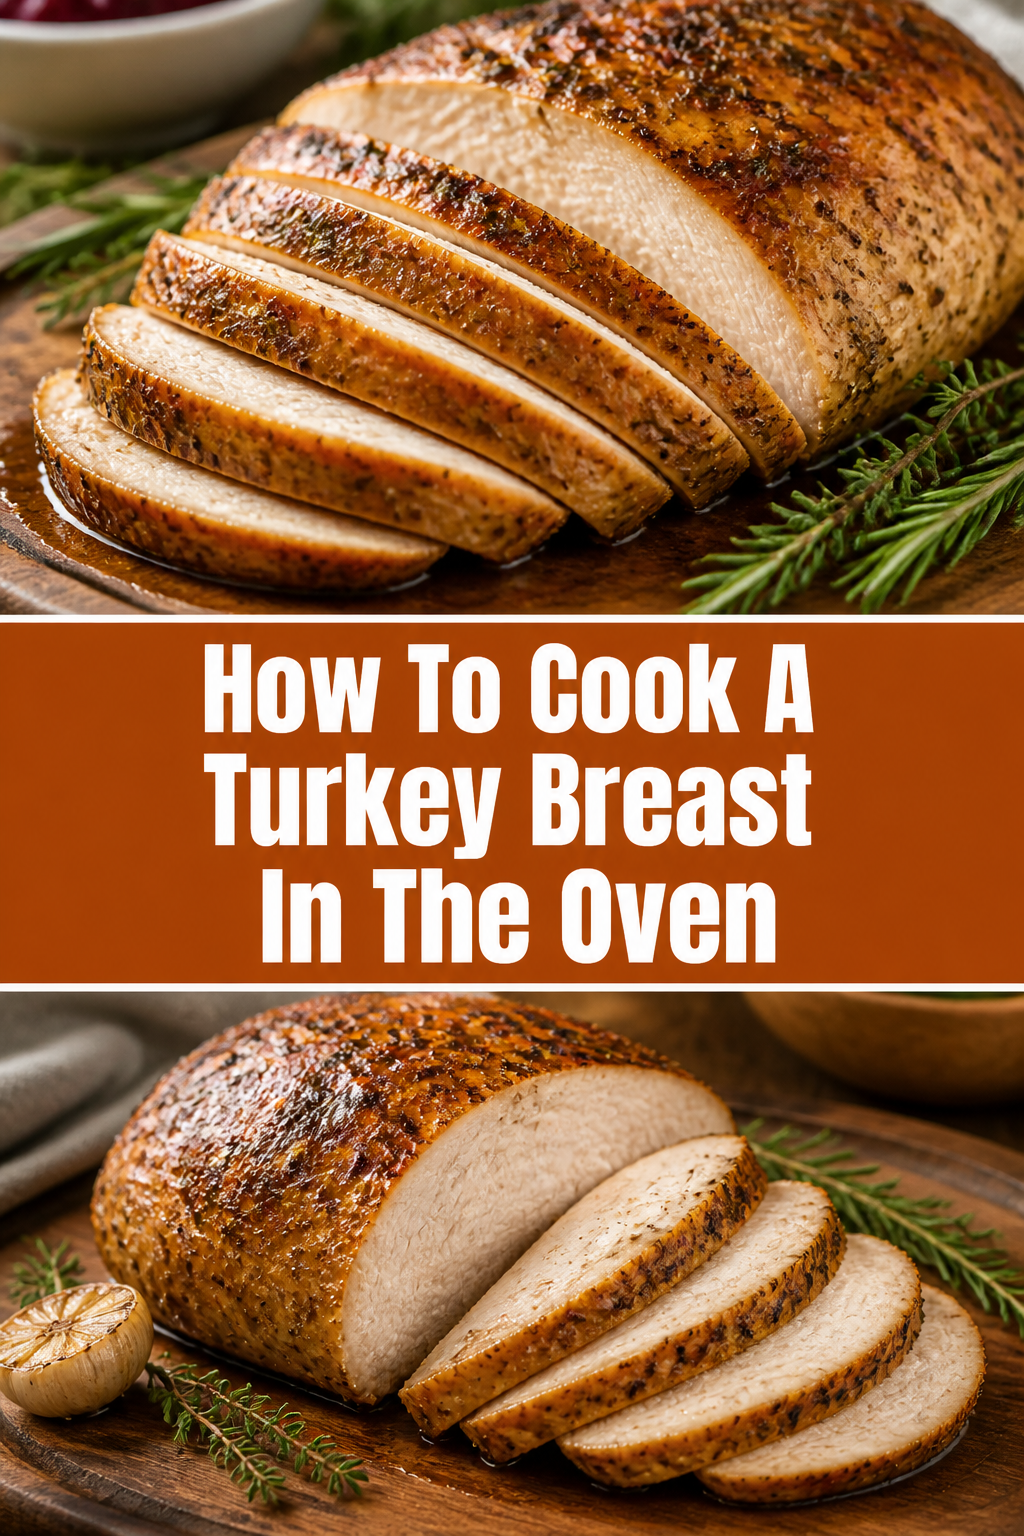
🦃 How To Cook A Turkey Breast In The Oven
Cooking a turkey breast can feel daunting, but it doesn’t have to be. I’ve prepared countless holiday meals and weeknight dinners, always striving for that perfect, juicy result. This guide shares my tried-and-true methods to achieve a truly delicious turkey breast right from your oven. You’ll gain the confidence to create a memorable meal every time.

Quick Overview
You’re about to master cooking a tender, flavorful turkey breast. This method ensures a golden-brown exterior and a moist, succulent interior, perfect for any occasion.
- Time needed: 2 hours 30 minutes to 3 hours (including prep and resting)
- Difficulty: Beginner
- What you’ll need: Turkey breast, roasting pan, meat thermometer, basic seasonings
Step-by-Step Instructions
Step 1: Choose Your Turkey Breast
Select the right turkey breast for your needs. You can find bone-in or boneless options, and sometimes even pre-brined versions. A bone-in breast often yields more flavor and moisture.
Consider the size based on your guest count. A 3-4 pound turkey breast typically serves 4-6 people, with potential leftovers. Always check the expiration date to ensure freshness.
Step 2: Thaw and Prepare
Ensure your turkey breast is fully thawed if frozen. This can take 1-2 days in the refrigerator, depending on its size. Never thaw at room temperature.
Once thawed, remove the turkey breast from its packaging. Pat it thoroughly dry with paper towels. This crucial step helps achieve crispy skin.
Pro Tip: A dry surface promotes better browning and crispier skin. Don’t skip the patting!
Step 3: Season for Flavor
Create a flavorful seasoning blend. Start with a generous amount of salt and freshly ground black pepper. These are your foundational flavors.
Add other aromatics like garlic powder, onion powder, paprika, or dried herbs such as thyme, rosemary, and sage. Mix them all in a small bowl. Rub this mixture evenly over the entire turkey breast, including under the skin if you can gently lift it.
Step 4: Preheat and Position
Preheat your oven to 375°F (190°C). This temperature provides a good balance for cooking through and browning the skin. Give your oven ample time to reach the set temperature for consistent cooking.
Place the seasoned turkey breast, skin-side up, in a shallow roasting pan. You can use a roasting rack if you have one, which allows air to circulate for more even cooking. If you don’t have a rack, a bed of chopped vegetables like onions and carrots works well.
Step 5: Roast to Perfection
Roast the turkey breast in the preheated oven. Start by roasting it for about 20-30 minutes at 375°F to allow the skin to crisp and brown. This initial higher heat creates a beautiful exterior.
After this initial period, reduce the oven temperature to 325°F (160°C). Continue roasting until the internal temperature reaches 165°F (74°C) at the thickest part of the breast. Basting every 30-45 minutes with pan juices can help keep it moist.
Pro Tip: A reliable meat thermometer is your best friend. Insert it into the thickest part of the breast, avoiding bones, to get an accurate reading. This prevents overcooking or undercooking.
Step 6: Rest Before Slicing
Remove the turkey breast from the oven once it reaches 165°F (74°C). Transfer it to a cutting board and tent it loosely with aluminum foil. Do not cut into it immediately.
Allow the turkey breast to rest for at least 15-20 minutes. This resting period is crucial; it allows the juices to redistribute throughout the meat, ensuring a tender and succulent result. Cutting too early will cause all those delicious juices to run out.
Step 7: Carve and Serve
Carve the turkey breast against the grain for maximum tenderness. If it’s a bone-in breast, first remove the breast meat from the bone. Then slice it into uniform pieces.
Arrange the slices on a platter and serve immediately. Enjoy your perfectly cooked, juicy turkey breast with your favorite sides.
Common Mistakes to Avoid
Not Thawing Properly
Cooking a partially frozen turkey breast will lead to uneven cooking. The outside might be overcooked and dry, while the inside remains dangerously undercooked. Always ensure your turkey breast is fully thawed in the refrigerator before you begin.
Skipping the Drying Step
A moist turkey skin will steam rather than crisp. Patting the turkey breast thoroughly dry with paper towels before seasoning is essential for achieving that desirable golden, crispy skin. This simple step makes a significant difference in texture.
Overcooking the Turkey
The most common mistake is cooking the turkey breast for too long, resulting in dry, tough meat. Turkey breast is lean and can dry out quickly. Always rely on a meat thermometer to check for doneness, aiming for 165°F (74°C) in the thickest part. Remove it from the oven as soon as it hits this temperature.
Not Resting the Meat
Cutting into the turkey breast immediately after it comes out of the oven will cause all the flavorful juices to escape. This leaves you with dry, less flavorful meat. Always allow the turkey to rest, tented with foil, for 15-20 minutes to reabsorb its juices.
Troubleshooting
Turkey Skin Isn’t Crispy
If your turkey skin isn’t as crispy as you’d like, it’s often due to moisture. Ensure you thoroughly pat the skin dry before roasting. You can also try increasing the oven temperature to 400°F (200°C) for the last 10-15 minutes of cooking, carefully monitoring to prevent burning.
Turkey Breast is Dry
Dry turkey breast is usually a sign of overcooking. Make sure you are using a reliable meat thermometer and removing the turkey from the oven promptly at 165°F (74°C). Brining the turkey breast before cooking can also add moisture and flavor, acting as a safeguard.
Uneven Cooking
Uneven cooking can happen if the turkey breast isn’t uniform in thickness or if your oven has hot spots. Try tucking the thinner end of the breast under itself to create a more even shape. Rotating the roasting pan halfway through cooking can also help promote more consistent results.
Key Takeaways
- Always thaw your turkey breast completely in the refrigerator.
- Pat the turkey breast dry before seasoning for crispy skin.
- Season generously with salt, pepper, and your favorite herbs.
- Use a meat thermometer to ensure the turkey reaches 165°F (74°C).
- Rest the turkey breast for 15-20 minutes after roasting to retain juices.
- Carve against the grain for tender, succulent slices.
Frequently Asked Questions
Should I brine a turkey breast?
Brining a turkey breast is an excellent way to add moisture and flavor, especially if you’re concerned about dryness. It involves soaking the turkey in a salt and sugar solution for several hours before cooking. While not strictly necessary for a good result, it can elevate your turkey.
Can I stuff a turkey breast?
You can certainly stuff a turkey breast, but be mindful of food safety. If you stuff it, ensure the stuffing also reaches an internal temperature of 165°F (74°C) to be safe for consumption. This might require a longer cooking time for the breast.
How long does cooked turkey breast last in the fridge?
Cooked turkey breast, when stored properly in an airtight container, will last for 3-4 days in the refrigerator. It’s excellent for sandwiches, salads, or quick weeknight meals.
What if my turkey breast is browning too quickly?
If the skin is browning much faster than the inside is cooking, you can loosely tent the turkey breast with aluminum foil. This will protect the skin from further browning while allowing the meat to continue cooking through.
Our Top Recommended Finds
- Digital Meat Thermometer: Essential for accurate temperature readings, preventing overcooking and ensuring food safety.
- Roasting Pan with Rack: Provides even cooking by lifting the turkey breast out of its drippings, promoting airflow and crispier skin.
- Large Cutting Board with Juice Groove: Keeps your countertop clean and captures all those valuable juices while resting and carving.
Embrace Your Inner Chef
You now have a clear, practical roadmap to cooking a delicious turkey breast in your oven. This isn’t just about following steps; it’s about understanding the “why” behind each action, building your confidence in the kitchen.
Don’t wait for a special occasion to try this recipe. Enjoy the satisfaction of serving a perfectly cooked, juicy turkey breast to your family and friends. Get ready to impress everyone, starting today!