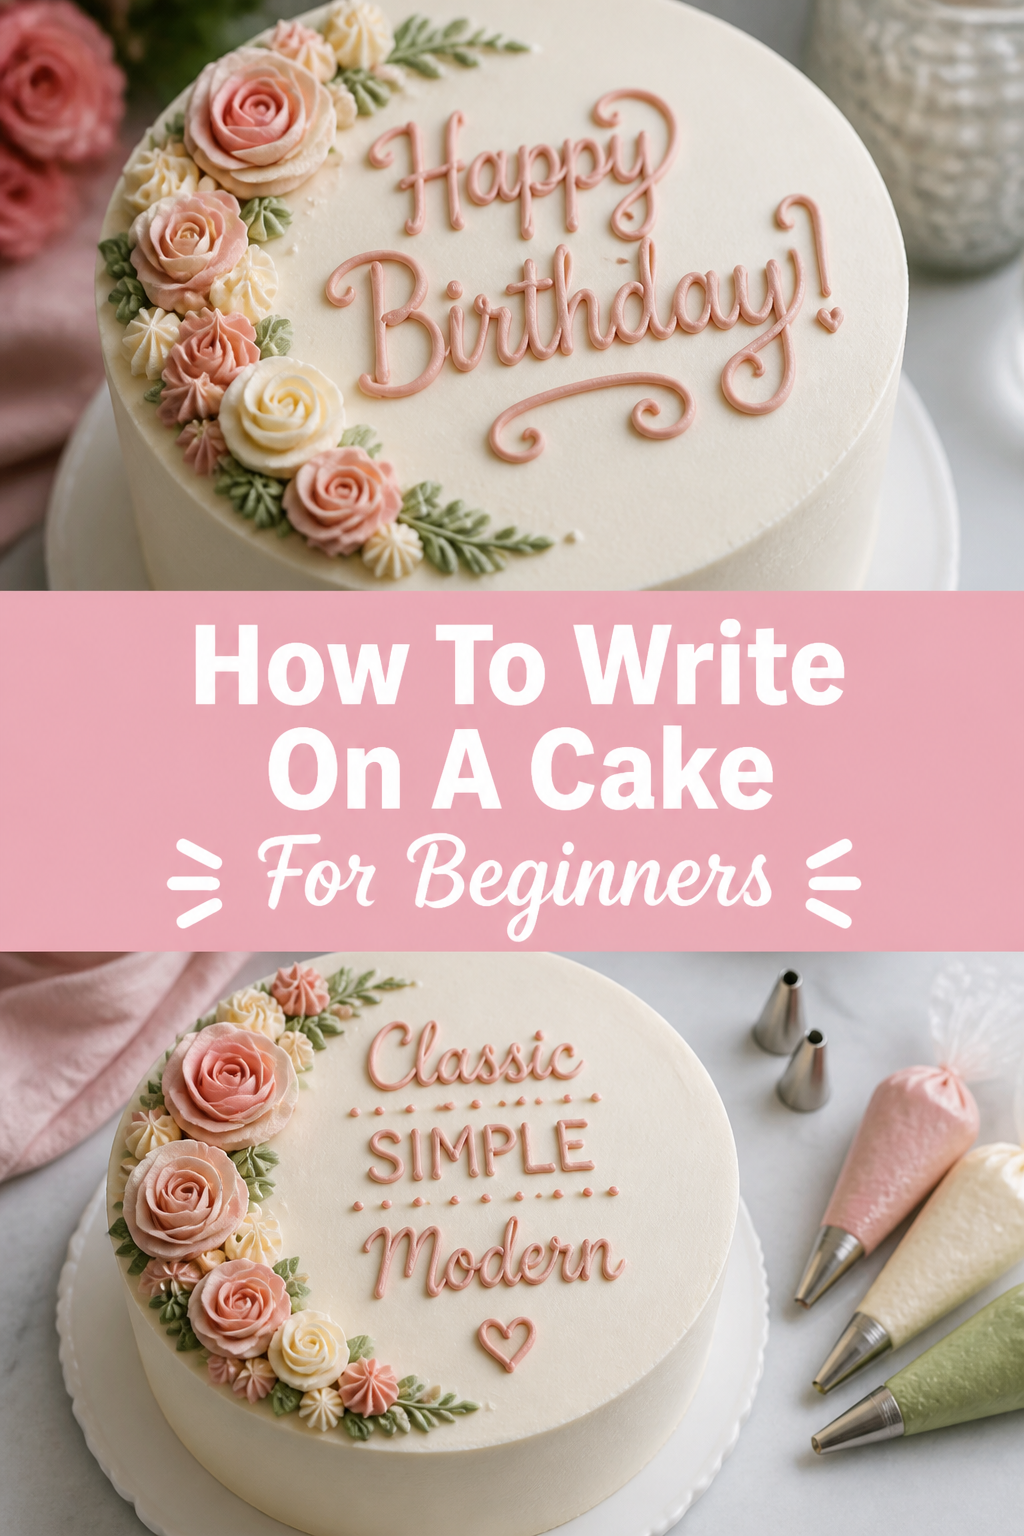
🎂 How To Write On A Cake For Beginners
Writing on a cake feels like a high-stakes surgery where the patient is made of sugar.
I remember my first attempt at a birthday message; the letters were so shaky they looked like a ransom note written in frosting.
After years of decorating hundreds of cakes, I have realized that beautiful lettering is a mechanical skill anyone can learn with the right setup.

Quick Overview
This guide will take you from a nervous beginner to a confident decorator capable of piping clean, legible messages on any dessert surface.
- Time needed: 45-60 minutes (including practice time)
- Difficulty: Beginner
- What you’ll need: Piping bags, small round tips, buttercream or gel, parchment paper, and a toothpick.
Step-by-Step Instructions
Step 1: Chill Your Cake Surface
Ensure your cake is completely frosted and has been sitting in the refrigerator for at least thirty minutes.
A cold, firm surface is much easier to write on because the frosting won’t move or smudge if you make a mistake.
If the base frosting is soft or warm, your piped letters might sink into the cake or slide off the sides.
Pro Tip: Using a crusting buttercream for the base layer creates a “skin” that makes it even safer to wipe away errors later.
Step 2: Prepare Your Writing Medium
Select a frosting that is smooth, supple, and free of any tiny lumps or air bubbles.
Professional decorators often use a slightly thinned-down version of their main buttercream or a dedicated piping gel.
If your icing is too stiff, your lines will break; if it is too thin, the letters will spread out and lose their shape over time.
Test the consistency by stirring it with a small spoon; it should hold a soft peak but still flow easily when pressed.
Step 3: Set Up Your Piping Bag
Fit a small round piping tip, such as a Wilton #2 or #3, into your piping bag using a coupler.
The coupler allows you to change tip sizes without emptying the bag, which is helpful if you decide your letters need to be thicker.
Fill the bag with only about a half-cup of frosting to keep it manageable and prevent your hand from cramping.
Twist the top of the bag tightly to ensure no icing escapes from the back while you are applying pressure.
Step 4: Practice On Parchment Paper
Lay a sheet of parchment paper flat on your counter and practice writing your intended message several times.
This helps you get a feel for the flow of the icing and allows you to find a comfortable rhythm before touching the cake.
Trace over your practice letters once they are done to build muscle memory for the specific shapes of the words.
Pro Tip: You can scrape the practice frosting back into the bowl and reuse it, so do not be afraid to practice for ten or fifteen minutes.
Step 5: Map Out Your Message
Use a toothpick to lightly etch the letters into the cold surface of the cake before you start piping.
This acts as a “sketch” that ensures your message is centered and that you do not run out of room at the edge of the cake.
If you mess up the sketch, simply smooth it over with a warm offset spatula and try the toothpick again.
Check the spelling of the name or message one last time before you begin the permanent piping process.
Step 6: Master The Two-Handed Grip
Hold the piping bag with your dominant hand near the top to control the pressure and flow of the icing.
Use your non-dominant hand to steady the tip, resting your fingers lightly against the bag or your other hand.
This “tripod” approach provides maximum stability and prevents the shaky movements that often plague beginners.
Keep your elbows tucked close to your body rather than flapping them out, as this stabilizes your entire upper frame.
Step 7: Control The Elevation
Lift the tip of the bag slightly above the surface of the cake as you pipe, rather than dragging it through the frosting.
Think of it like laying down a piece of string; you want the icing to fall gently onto the cake in a controlled line.
If you stay too close to the surface, the lines will look ragged and uneven.
Lower the tip back down to the surface only when you are ready to end a letter or a specific stroke.
Step 8: Finish Your Strokes Properly
Stop applying pressure entirely before you lift the tip away at the end of a letter.
Once you stop squeezing, give the tip a tiny “flick” or a quick circular motion to break the tail of the icing.
This prevents those long, annoying points of frosting that often stick up at the end of a word.
Use a damp paintbrush to gently tuck in any small peaks or tails that remain after you finish writing.
Common Mistakes to Avoid
Overfilling The Piping Bag
Many beginners fill the bag to the top, thinking it will save time on refills.
A full bag is heavy, hard to squeeze, and the heat from your hand will quickly melt the frosting inside.
Keep the bag small and light so you have total control over every curve of the letters.
Writing On A Warm Cake
If the cake is still warm from the oven or the room is too hot, the writing will literally melt into the base.
The letters will lose their sharp edges and start to look like blobs within minutes.
Always work in a cool environment and ensure the cake has spent time in the fridge.
Rushing The Centering
It is very common to start with large letters and realize halfway through that you are running out of space.
This results in the last few letters being squished and tiny, which ruins the professional look.
Always use the toothpick method to verify the spacing of every single letter before you pick up the piping bag.
Troubleshooting
Shaky Hands and Squiggly Lines
If your hands are shaking, take a deep breath and make sure your forearms are resting on the edge of the table.
Stability comes from your core and your arms, not just your fingers.
You can also try piping faster; sometimes moving too slowly makes the shakes more apparent in the icing line.
Air Bubbles Popping Mid-Word
An air bubble can cause a “burp” in your piping, leaving a gap in your letter.
To fix this, stop immediately and use a toothpick to remove the broken segment of the letter.
Re-pipe that specific section, blending the new icing into the existing lines with a tiny bit of water on a brush.
The Icing Is Breaking Or Clogging
This usually means your icing is too stiff or there is a tiny crumb stuck in the metal tip.
Empty the tip, clean it out with a toothpick, and add a few drops of milk or corn syrup to your icing bowl to soften it.
Test the flow on your practice parchment before returning to the cake surface.
Key Takeaways
- Preparation is everything: A cold cake and a toothpick sketch prevent 90% of common decorating disasters.
- Consistency matters: Your writing icing should be slightly softer than your base frosting for a smooth flow.
- Use two hands: One hand provides the power while the other hand provides the precision and guidance.
- Lift the tip: Gravity is your friend; let the icing fall onto the cake rather than dragging the tip through it.
- Practice first: Never make your first stroke of the day on the actual cake.
Frequently Asked Questions
What is the best frosting for writing on a cake?
American buttercream is the gold standard for beginners because it is stable and easy to adjust.
It crusts over slightly, which makes the letters durable and less likely to smudge if the cake is moved.
Should I use cursive or print lettering?
Print is generally easier for beginners because you can stop and start after every single letter.
Cursive requires a continuous flow and consistent pressure, which can be difficult to maintain over long words.
How do I fix a spelling mistake on a finished cake?
Put the cake in the freezer for ten minutes until the letters are rock hard.
Use a small knife or a toothpick to pop the incorrect letter off the surface without damaging the base frosting.
Can I use store-bought frosting tubes?
You can, but they are often very translucent and can be difficult to control because of the plastic tips.
It is almost always better to use a real metal tip and a proper piping bag for a professional result.
Our Top Recommended Finds
- Wilton Round Tip #2 or #3: These are the industry standard sizes for most cake messages.
- Disposable 12-inch Piping Bags: These offer a better grip than silicone and require no cleanup.
- Small Offset Spatula: Essential for smoothing out mistakes and prepping the cake surface.
Mastering Your New Decorating Skills
The secret to beautiful cake writing is not hidden talent; it is simply a combination of patience and the right tools.
Start with simple names and short phrases before moving on to complex quotes or elaborate scrollwork.
You might want to explore different fonts or even try painting on cakes with edible dusts once you feel comfortable with the piping bag.
Grab a batch of frosting today and spend twenty minutes practicing on a piece of cardboard to see how quickly your skills improve.