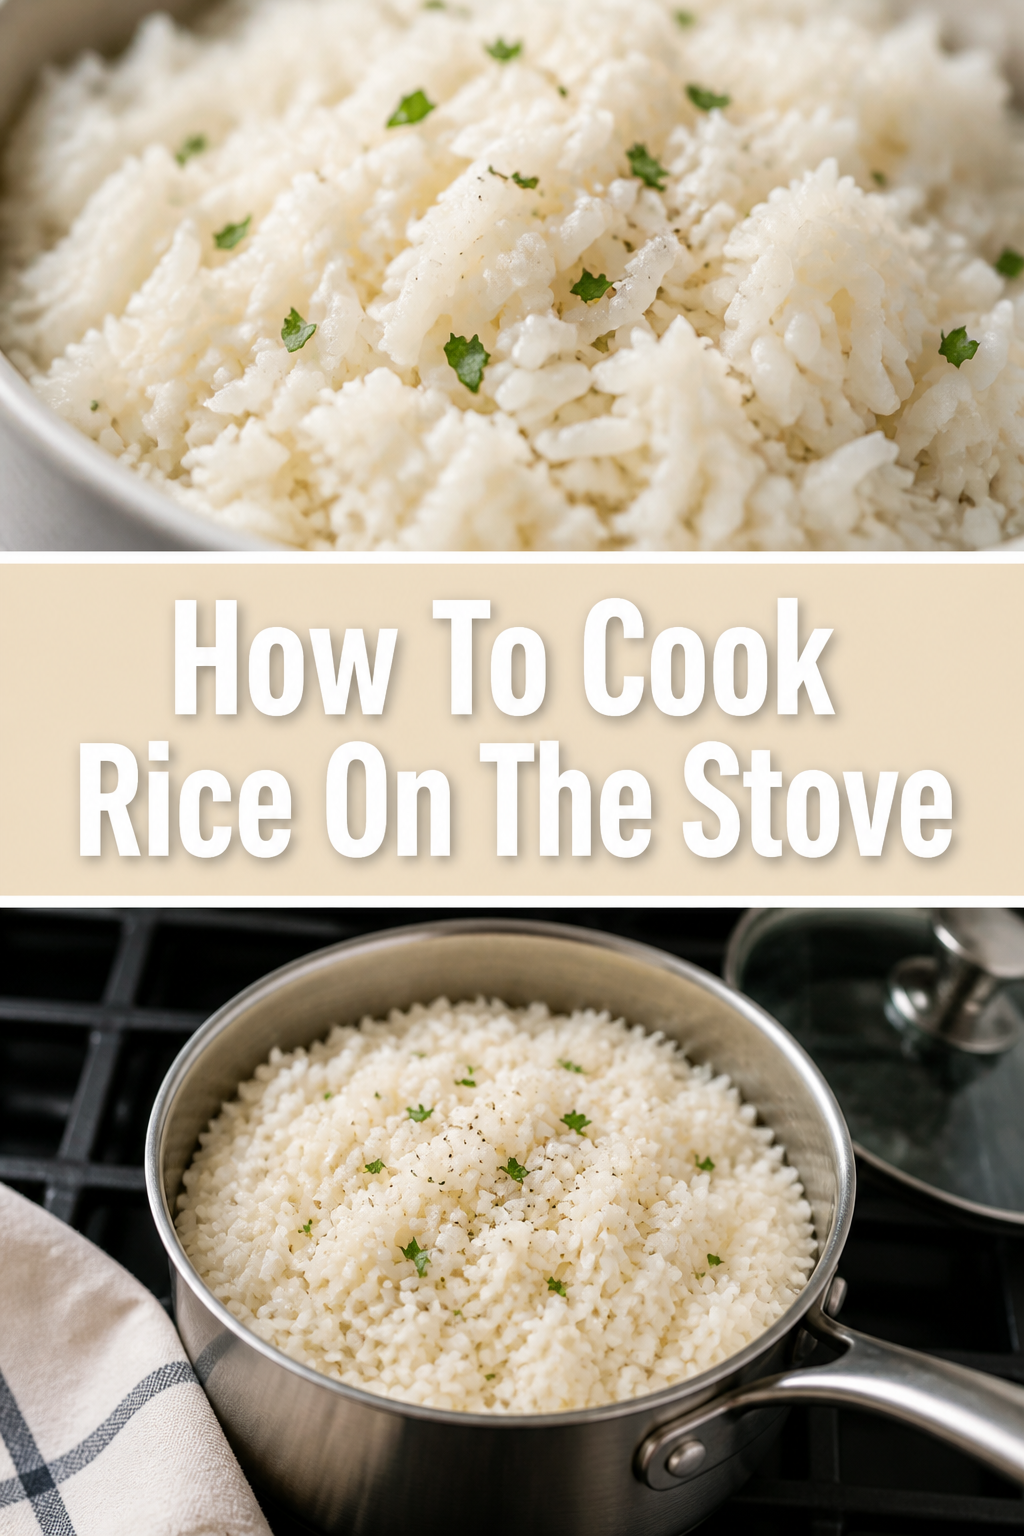
🍚 How To Cook Rice On The Stove
Cooking rice seems like a basic kitchen skill until you end up with a pot of gummy mush or a layer of scorched grains.
I spent years working in professional kitchens where rice was the foundation of every meal, and I learned that precision is the difference between okay and perfect.
This guide will show you the exact method I use to get fluffy, separate grains every single time without the need for a rice cooker.

Quick Overview
Mastering the stove-top method allows you to cook any variety of rice with confidence once you understand the core principles of heat and moisture.
- Time needed: 25–30 minutes
- Difficulty: Beginner
- What you’ll need: Long-grain white rice, water, fine-mesh strainer, heavy-bottomed pot with a tight lid, and a fork.
Step-by-Step Instructions
Step 1: Measure Your Ingredients Accurately
Start by selecting the amount of rice you want to cook, keeping in mind that rice generally triples in volume once cooked.
Use a standard measuring cup for both the rice and the water to ensure the ratio remains consistent throughout the process.
Maintain a strict 1:1.5 or 1:2 ratio depending on the specific type of rice; for standard long-grain white rice, 1 cup of rice to 1.5 cups of water is usually the sweet spot.
Pro Tip: Using slightly less water than the traditional 1:2 ratio often results in fluffier grains that do not stick together.
Step 2: Rinse Away Excess Starch
Place your measured rice into a fine-mesh strainer and hold it under a stream of cold running water.
Agitate the rice gently with your fingers, moving the grains around to ensure every surface is washed thoroughly.
Observe the water draining from the bottom; it will initially look milky or cloudy due to the surface starch being stripped away.
Continue rinsing until the water runs clear, which prevents the rice from becoming sticky or clumping together in the pot.
Step 3: Select the Right Pot
Choose a pot with a heavy bottom, as thin metal tends to create “hot spots” that can burn the rice before it is fully cooked.
Ensure the pot has a tight-fitting lid that prevents steam from escaping during the crucial simmering phase.
Verify that the pot is large enough to allow the rice to expand without boiling over or hitting the lid too early.
Step 4: Combine and Season
Transfer the rinsed and drained rice into the pot and add the measured amount of cold water.
Add a pinch of salt at this stage, as seasoning the water ensures the flavor is absorbed into the center of each grain.
Incorporate a teaspoon of butter or oil if you prefer a richer flavor and even more separation between the grains.
Pro Tip: Toasting the dry rice in the pot with a little oil for two minutes before adding water adds a wonderful nutty depth to the final dish.
Step 5: Bring to a Controlled Boil
Place the pot over medium-high heat without the lid on to start the heating process.
Watch for the water to reach a vigorous boil, where large bubbles are breaking the surface consistently.
Avoid leaving the stove at this point, as the transition from cold to boiling happens quickly and requires your immediate attention.
Step 6: Reduce Heat and Seal the Pot
Turn the heat down to the lowest possible setting as soon as the water reaches a full boil.
Place the lid firmly on the pot to trap all the steam inside, which is what actually cooks the rice grains.
Set a timer for 15 to 18 minutes, depending on the specific instructions for your rice variety.
Step 7: The “No-Peeking” Rule
Resist the urge to lift the lid to check on the progress of the rice during the simmering time.
Understand that every time you lift the lid, you release the built-up steam and drop the internal temperature significantly.
Trust the timer and the low heat to do the work without your interference.
Step 8: Let the Rice Rest
Remove the pot from the heat source entirely once the timer goes off, but do not open the lid yet.
Allow the rice to sit undisturbed for at least 10 minutes to let the moisture redistribute evenly throughout the pot.
Realize that this resting period is the secret to perfect texture, as it allows the outer layer of the grains to firm up slightly.
Pro Tip: Place a clean kitchen towel between the pot and the lid during the resting phase to absorb excess condensation.
Step 9: Fluff and Serve
Remove the lid after the resting period and use a fork rather than a spoon to gently lift the rice.
Twist the fork to break up any small clumps and allow the last bits of steam to escape from the bottom.
Serve the rice immediately while it is hot and at its peak fluffiness.
Common Mistakes to Avoid
Peeking Under the Lid
Lifting the lid is the fastest way to ruin a batch of rice. When you release the steam, the temperature inside the pot drops instantly, and the moisture balance is destroyed.
This often leads to rice that is hard in the middle because the steam needed to penetrate the grain has escaped. Keep the lid sealed tight until the very end.
Stirring During the Simmer
Many people treat rice like risotto and want to stir it while it cooks. Stirring activates the starches in the rice, which leads to a sticky, gluey texture rather than fluffy grains.
Once you turn the heat to low and put the lid on, you should never touch the rice with a spoon until it is finished resting. Let the absorption method work its magic naturally.
Using the Wrong Heat Level
If your heat is too high during the simmering phase, the water will evaporate before the rice has a chance to soften. This results in burnt rice at the bottom and crunchy rice at the top.
Your “low” setting should be a true simmer, barely producing any sound. If your stove runs hot, you may need to use a heat diffuser or move the pot to a smaller burner.
Troubleshooting
The Rice is Still Crunchy
If your rice is still hard after the timer goes off, it means not enough steam was trapped or the water evaporated too quickly. Add two tablespoons of boiling water back into the pot and put the lid back on immediately.
Let it sit on the lowest heat for another five minutes, then let it rest again. This usually provides just enough extra moisture to finish the cooking process without making it mushy.
The Rice is Mushy or Gummy
Mushy rice is almost always the result of using too much water or failing to rinse the rice before cooking. Unfortunately, you cannot “un-cook” mushy rice, but you can repurpose it.
Spread the overcooked rice on a baking sheet and let it dry out in the fridge. This makes it perfect for fried rice the next day, where the high heat of a wok will help firm up the texture.
The Bottom is Burnt
A burnt bottom usually indicates that the heat was too high or the pot was too thin. If you smell burning, remove the pot from the heat immediately but do not stir it.
Carefully scoop out the good rice from the top, being careful not to scrape the burnt layer. The remaining rice should still be edible as long as the burnt smell hasn’t permeated the entire batch.
Key Takeaways
- Always rinse your rice in cold water until the runoff is clear to remove excess surface starch.
- Use a heavy-bottomed pot with a tight lid to ensure even heat distribution and steam retention.
- Respect the ratio of 1.5 parts water to 1 part rice for most long-grain white varieties.
- Never lift the lid during the simmering or resting phases to keep the internal temperature consistent.
- Allow the rice to rest for 10 minutes off the heat to ensure the moisture is perfectly balanced.
- Fluff with a fork to preserve the individual grain structure and avoid smashing the rice.
Frequently Asked Questions
Should I use cold or hot water to start?
Always start with cold water to ensure the rice and water heat up together at a steady pace. Starting with hot water can cause the outside of the grain to cook too quickly, leading to an uneven texture where the center remains hard while the outside is soft.
Do I need to add salt to the rice?
While salt is not strictly necessary for the cooking process, it is highly recommended for flavor. Adding salt to the water allows it to penetrate the grains as they expand, resulting in a much more seasoned and professional-tasting dish than if you salted it at the table.
How do I cook brown rice on the stove?
Brown rice requires more water and a longer cooking time because the outer bran layer is still intact. Use a ratio of 1 cup of rice to 2.25 cups of water and simmer for 40 to 45 minutes. The resting period is even more important for brown rice to ensure the tougher grains soften completely.
Can I use this method for Jasmine or Basmati rice?
Yes, this method works perfectly for aromatic rices like Jasmine and Basmati. For Basmati, you may want to soak the rice in cold water for 20 minutes before cooking to achieve the extra-long grains characteristic of that variety. Just be sure to drain the soaking water thoroughly before adding the measured cooking water.
Our Top Recommended Finds
- Heavy-Bottomed Stainless Steel Saucepan: A 2-quart or 3-quart pot with a thick base prevents scorching and provides the most consistent results for stove-top cooking.
- Fine-Mesh Stainless Steel Strainer: Essential for rinsing rice without losing grains down the drain; look for one with a sturdy handle and a fine weave.
- Glass Lid Pot: While not required, a glass lid allows you to monitor the water levels without lifting the lid and breaking the steam seal.
Mastering Your Kitchen Foundations
Now that you have mastered the art of stove-top rice, you can experiment with different liquids like chicken stock or coconut milk to add variety to your meals.
Perfect rice is the ultimate side dish for stir-fries, curries, and grilled meats, and it is a skill that will serve you for a lifetime of cooking.
Try making a fresh batch today and notice the difference that a proper rinse and a long rest can make in your final result.