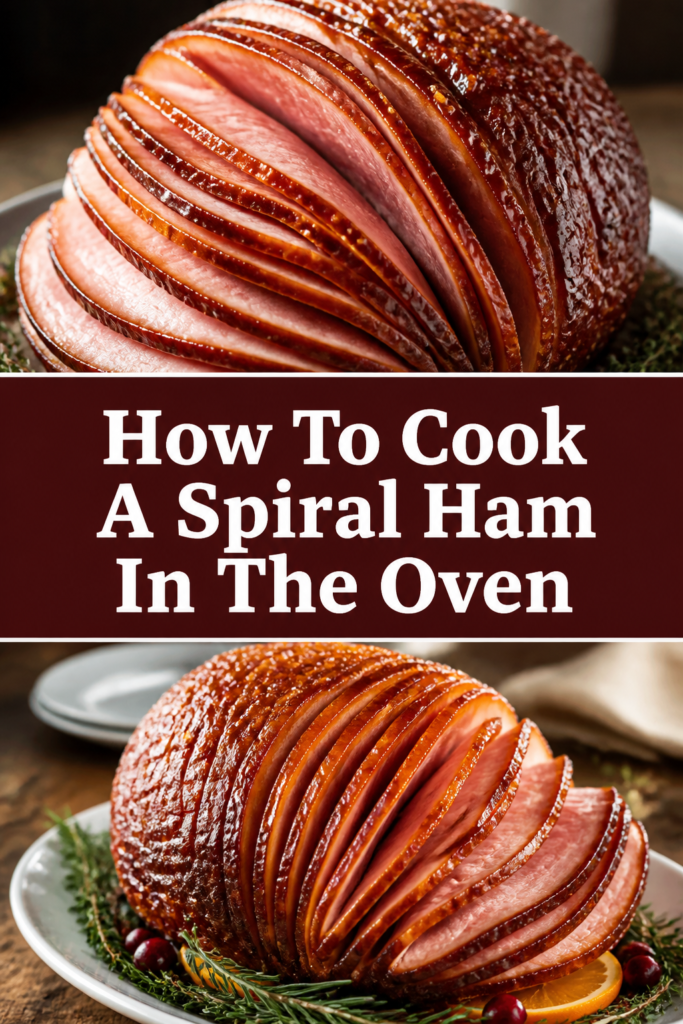
🍖 How To Cook A Spiral Ham In The Oven
Cooking a holiday ham used to feel like a high-stakes gamble in my kitchen.
After years of hosting family dinners and perfecting my roasting technique, I have learned that the secret isn’t in the fancy glazes, but in the moisture control.
This guide draws on a decade of kitchen experience to ensure your next spiral ham is the centerpiece everyone actually wants to eat.
Quick Overview
A spiral ham is already precooked, so your job is essentially a gentle reheating process that preserves tenderness while adding flavor.
- Time needed: 2 to 3 hours (depending on ham size)
- Difficulty: Beginner
- What you’ll need: Spiral sliced ham, roasting pan, aluminum foil, meat thermometer, and glaze ingredients.
Step-by-Step Instructions
Step 1: Temper the Meat
Remove the ham from the refrigerator at least two hours before you plan to put it in the oven.
Allowing the meat to come closer to room temperature ensures that the center heats up without the exterior drying out.
Check the packaging for any plastic “buttons” or bone guards that need to be removed before the ham hits the pan.
Pro Tip: If your ham is sitting in a lot of liquid in the package, pat it dry with paper towels before proceeding to help the glaze stick later.
Step 2: Prepare the Roasting Environment
Preheat your oven to a low temperature, specifically 275°F or 300°F.
Place a roasting rack inside a heavy-duty roasting pan to keep the meat from sitting directly on the bottom.
Pour about one cup of water, apple juice, or chicken stock into the bottom of the pan to create a moist environment.
Position the ham cut-side down on the rack, which helps the slices stay together and prevents the juices from escaping the meat.
Step 3: Seal in the Moisture
Wrap the entire ham tightly with heavy-duty aluminum foil to trap steam during the long heating process.
Ensure there are no gaps in the foil where steam can escape, as this is the primary cause of dry, leathery ham.
Consider using two layers of foil if your ham is particularly large or has sharp bone edges that might poke through.
Place the pan on the center rack of the oven to allow for even heat circulation around all sides of the meat.
Pro Tip: For an extra layer of flavor, you can tuck a few cloves or orange slices under the foil before sealing it up.
Step 4: Execute the Low and Slow Bake
Calculate your cooking time based on the weight of the ham, usually aiming for 10 to 12 minutes per pound.
Monitor the internal temperature using a probe thermometer inserted into the thickest part of the meat, avoiding the bone.
Aim for an internal temperature of about 110°F to 120°F before you even think about opening the foil for glazing.
Resist the urge to open the oven door frequently, as every peek lets out the precious humidity you have built up inside the pan.
Step 5: Craft the Perfect Glaze
Combine your glaze ingredients in a small saucepan over medium heat while the ham is in its final hour of baking.
Mix classic elements like brown sugar, honey, Dijon mustard, and a splash of bourbon or apple cider vinegar.
Simmer the mixture until the sugar has completely dissolved and the liquid has thickened into a syrupy consistency.
Taste your glaze to ensure it has a balance of sweetness, acidity, and spice to complement the salty pork.
Step 6: Apply the First Layer
Remove the ham from the oven once it reaches that 120°F mark and carefully peel back the foil.
Increase the oven temperature to 400°F to prepare for the caramelization phase of the process.
Brush a generous layer of the warm glaze over the entire surface of the ham, making sure to get between some of the slices.
Return the ham to the oven uncovered, allowing the high heat to begin transforming the sugars into a sticky crust.
Pro Tip: Use a long-handled pastry brush to reach the back of the ham without having to pull the heavy pan all the way out of the oven.
Step 7: Achieve the Final Glaze and Crust
Baste the ham every 5 to 8 minutes with more glaze or the juices from the bottom of the pan.
Watch the exterior closely, as the high sugar content in the glaze can go from caramelized to burnt very quickly.
Remove the ham from the oven once the internal temperature hits 135°F to 140°F and the outside looks dark and glossy.
Remember that the temperature will continue to rise a few degrees after you take it out of the oven due to carryover cooking.
Step 8: The Essential Rest
Transfer the ham to a cutting board or a serving platter and tent it loosely with a fresh piece of foil.
Wait at least 15 to 20 minutes before carving to allow the juices to redistribute throughout the meat.
Slice around the center bone to release the pre-cut spiral pieces for easy serving to your guests.
Spoon any remaining pan juices or extra glaze over the slices just before they hit the table for maximum impact.
Common Mistakes to Avoid
Setting the Temperature Too High
Many people treat a spiral ham like a raw roast and set the oven to 350°F or higher from the start.
Because the ham is already cooked, high heat for the entire duration will simply evaporate the moisture and leave you with dry meat.
The low and slow approach is non-negotiable if you want the pork to remain tender and juicy.
Glazing at the Beginning
Applying a sugar-based glaze at the start of the three-hour cooking process is a recipe for a blackened, bitter mess.
The sugar will burn long before the center of the ham is warm enough to serve.
Always wait until the final 20 to 30 minutes of cooking to introduce your glaze to the heat.
Neglecting the Liquid in the Pan
If you put a dry ham in a dry pan, the hot air will strip away the meat’s natural oils and juices.
Adding a liquid base creates a steam-sauna effect inside the foil wrap that is essential for texture.
Without this moisture, the thin spiral slices will curl up and become tough like jerky.
Troubleshooting
The Center is Still Cold
If your thermometer shows the outside is hot but the center is still chilly, your oven temperature might be too high or you didn’t let the ham sit out long enough.
Lower the oven temperature to 250°F, re-wrap the ham tightly in foil, and give it another 20 minutes.
Consistency is more important than speed when you are dealing with a large, dense piece of bone-in meat.
The Glaze is Too Runny
If your glaze is sliding right off the ham and pooling in the pan, it likely hasn’t been reduced enough on the stove.
Pour the glaze back into a saucepan and boil it for another 3 to 5 minutes to thicken the sugars.
You can also pat the ham dry one more time before applying the glaze to help it “grip” the surface of the meat.
Key Takeaways
- Always start with a room-temperature ham to ensure even heating throughout the meat.
- Use a low oven temperature (275°F-300°F) and wrap the ham tightly in foil to prevent drying.
- Add a liquid like water or juice to the roasting pan to create a moist environment.
- Wait until the internal temperature reaches 120°F before applying any sugar-based glazes.
- Let the ham rest for at least 15 minutes after cooking to keep the slices juicy.
- Use a meat thermometer to pull the ham at 135°F-140°F to avoid overcooking.
Frequently Asked Questions
How much ham should I buy per person?
For a bone-in spiral ham, you should generally plan for about 3/4 pound to 1 pound of meat per person.
This account for the weight of the bone and ensures you have enough for those highly anticipated leftover sandwiches the next day.
If you are serving a large variety of side dishes, you can lean closer to the 3/4 pound estimate per guest.
Can I cook a spiral ham in a slow cooker instead?
Yes, a slow cooker works well for smaller spiral hams, but you will lose the ability to get that crispy, caramelized crust on the outside.
The oven provides a better environment for the final glazing stage where high heat is required to bubble the sugar.
If you use a slow cooker, you may want to finish the ham under the oven broiler for a few minutes at the very end.
How long do leftovers stay fresh in the fridge?
Cooked ham will stay safe and delicious in the refrigerator for 3 to 5 days when stored in an airtight container.
If you can’t finish it all by then, ham freezes exceptionally well for up to two months.
I recommend dicing the leftovers before freezing so they are ready to toss into soups, omelets, or pasta dishes later.
Our Top Recommended Finds
- Digital Leave-in Meat Thermometer: This allows you to monitor the temperature without opening the oven door and losing heat.
- Heavy-Duty Roasting Pan: A thick-bottomed pan prevents the liquid from scorching and provides stable support for heavy hams.
- Silicone Pastry Brush: These are easier to clean than natural bristle brushes and hold onto thick glazes much more effectively.
Elevate Your Next Family Feast
Now that you have mastered the art of the perfect spiral ham, you can focus on the side dishes that make the meal complete.
Consider trying a recipe for honey-glazed carrots or a sharp cheddar mac and cheese to balance the salty-sweet profile of the pork.
Take these steps into your kitchen today and enjoy the confidence of serving a ham that is actually the star of the show.