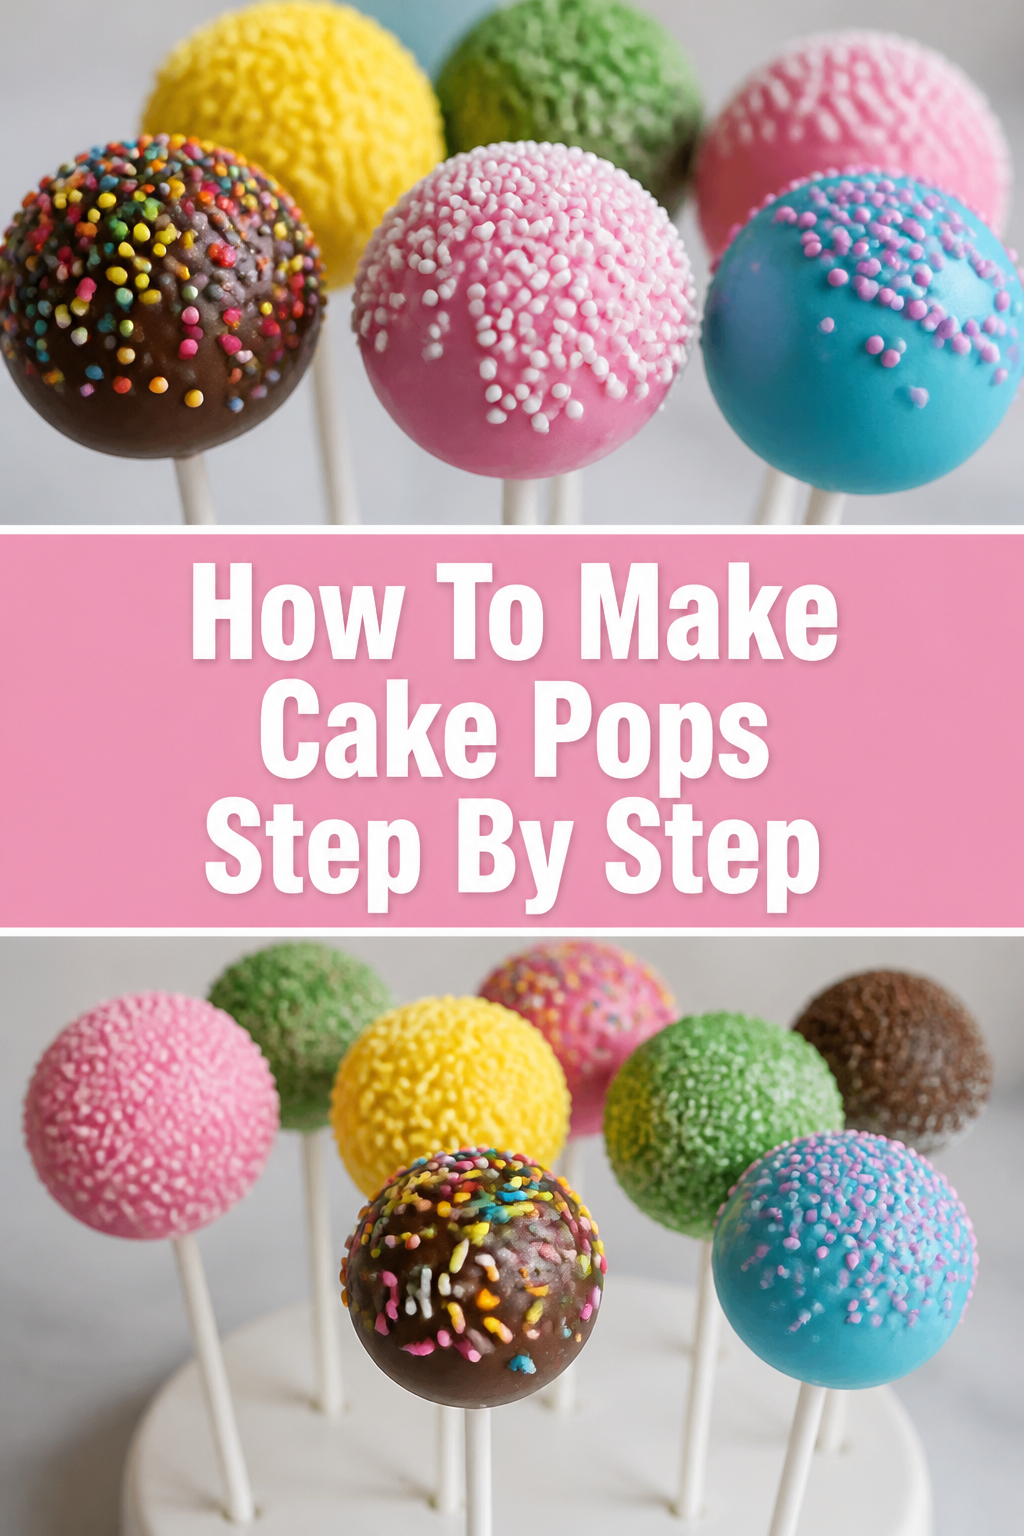
🍭 How To Make Cake Pops Step By Step
Cake pops are the ultimate party treat that combines the moistness of cake with the crunch of a candy shell.
I have spent years perfecting this technique in my own kitchen to ensure they never fall off the stick or crack under pressure.
This guide will walk you through every nuance so your first batch looks like it came from a professional bakery.

Quick Overview
Making cake pops is a labor of love that requires patience and a gentle touch.
You are essentially creating a delicious “cake dough” that is shaped, chilled, and coated in a vibrant candy layer.
- Time needed: 3 to 4 hours (includes baking and chilling time)
- Difficulty: Intermediate
- What you’ll need: Cake mix or recipe, frosting, candy melts, lollipop sticks, and a styrofoam block.
Step-by-Step Instructions
Step 1: Bake and Cool Your Base
Start by baking a standard 9×13 inch cake using your favorite recipe or a boxed mix.
Ensure the cake is baked thoroughly and allowed to cool completely to room temperature before you touch it.
Avoid using a cake that is too oily or dense, as this can make the final pops feel heavy or greasy.
Pro Tip: If you are in a hurry, you can bake the cake the night before and wrap it tightly in plastic wrap to keep it moist.
Step 2: Remove the Outer Crust
Trim away the golden-brown edges and the top crust of the cake using a serrated knife.
Focus on keeping only the soft, fluffy interior of the cake for the smoothest possible texture.
Discard or snack on the crusts, as they are often too dry to blend well with the frosting and can create lumps.
Step 3: Crumble Into Fine Sand
Break the cake into large chunks and place them into a large mixing bowl.
Use your hands or a food processor to pulse the cake until it resembles very fine, uniform crumbs.
Check for any large pieces that might have been missed, as these will ruin the spherical shape later on.
Pro Tip: A food processor is the best way to get a perfectly even “sand” texture that yields a professional finish.
Step 4: Incorporate the Frosting
Add a small amount of frosting to the crumbs, starting with only about two tablespoons.
Mix the frosting into the crumbs with a spatula or your hands until the mixture reaches the consistency of playdough.
Test the mixture by rolling a small ball; it should hold its shape without cracking or feeling mushy.
Add more frosting only if the mixture is too dry to stay together, being careful not to overdo it.
Step 5: Roll and Shape the Balls
Scoop about one tablespoon of the cake mixture for each pop to ensure they are all the same size.
Roll the mixture between your palms until you have a smooth, round ball with no visible cracks.
Place the rolled balls onto a baking sheet lined with parchment paper or a silicone mat.
Step 6: Secure the Sticks
Melt a handful of candy wafers in a small, microwave-safe bowl in 30-second intervals.
Dip the tip of a lollipop stick about half an inch into the melted candy coating.
Insert the dipped stick halfway into a cake ball, ensuring it goes in straight and doesn’t poke through the other side.
Pro Tip: This “glue” method is the most important step to prevent your cake pops from sliding down the stick during dipping.
Step 7: The First Chill
Place the baking sheet with the cake pops and sticks into the refrigerator for at least 30 to 60 minutes.
Wait until the cake balls are firm to the touch but not frozen solid.
Avoid the freezer if possible, as freezing the pops can cause the chocolate coating to crack later due to temperature shock.
Step 8: Prepare the Coating
Melt your candy wafers in a deep, narrow glass or microwave-safe measuring cup.
Stir the coating gently between heating cycles to ensure there are no hot spots or unmelted lumps.
Thin the mixture with a teaspoon of vegetable shortening or coconut oil if it feels too thick to flow smoothly.
Step 9: The Dipping Technique
Submerge the cake pop into the coating in one fluid motion until the entire ball and the “glue” at the base are covered.
Lift the pop straight up and gently tap your wrist with your other hand to shake off the excess coating.
Rotate the stick slowly as you tap to keep the coating even and prevent drips from forming on one side.
Pro Tip: Never stir the cake pop around in the coating, as this can cause the cake to crumble and fall into your chocolate.
Step 10: Decorate and Set
Add sprinkles or edible glitter immediately while the coating is still wet and tacky.
Stand the cake pops upright by poking the sticks into a styrofoam block or a dedicated cake pop stand.
Allow them to sit at room temperature for about 20 minutes until the shell is completely hard and matte.
Common Mistakes to Avoid
Adding Too Much Frosting
Many beginners make the mistake of adding an entire tub of frosting to the cake crumbs. This results in a heavy, oily mess that will likely slide right off the stick when you try to dip it. Always start with a tiny amount and build up slowly until the dough just barely holds together.
Dipping Frozen Cake Pops
If the cake pop is significantly colder than the melted chocolate, the coating will expand and contract rapidly as it cools. This thermal shock often leads to hairline fractures or large cracks across the surface of your beautiful treats. Aim for a chilled, firm pop rather than a frozen one to keep the shell intact.
Overheating the Chocolate
Candy melts are very sensitive to heat and can “seize” or become thick and clumpy if they get too hot. If your chocolate looks dull or feels like paste, you have likely scorched it. Use low power settings on your microwave and stir frequently to maintain a silky, liquid consistency.
Troubleshooting
Cake Pops Falling Off the Stick
This usually happens because the cake balls are too heavy or the stick wasn’t properly “glued” with chocolate. Ensure your balls are no larger than a walnut and that you never skip the step of dipping the stick in melted candy before inserting it. If they are already falling, try chilling them for another 20 minutes to firm up the interior.
The Coating is Too Thick
If the chocolate is thick and gloopy, it will pull the cake ball right off the stick when you try to lift it out. Adding a small amount of paramount crystals or vegetable shortening can thin the coating to a ribbon-like consistency. This allows the excess to drip off easily, leaving a thin and professional-looking shell.
Oil Leaking From the Bottom
Sometimes a small bead of oil or moisture may leak from the base of the pop after it has set. This is often caused by the cake mixture being too warm or having too much frosting. You can usually wipe this away with a paper towel, but to prevent it, ensure your cake dough is well-chilled before the final dip.
Key Takeaways
- Texture is everything: Aim for fine crumbs and just enough frosting to create a dough-like consistency.
- Temperature control: Chilled cake pops and warm (not hot) coating are the secret to a crack-free finish.
- The glue step: Always dip the stick in melted candy before inserting it into the cake ball.
- The vertical dip: Submerge the pop straight down and pull it straight up without stirring.
- Patience pays off: Allow the pops to set fully in a foam block to avoid flat spots or smudges.
Frequently Asked Questions
Can I use store-bought cake for this?
Yes, you can absolutely use a pre-made pound cake or unfrosted bakery cake to save time. Just make sure to remove any hard crusts before crumbling it down. This is a great way to make a quick batch if you don’t have time to bake from scratch.
How long do cake pops stay fresh?
Cake pops can stay fresh at room temperature for up to five days if they are stored in an airtight container. If you need them to last longer, they can be refrigerated for up to two weeks. The candy shell acts as a seal that keeps the cake moist inside.
Why did my candy coating crack?
Cracking is almost always caused by a temperature discrepancy between the cold cake and the warm coating. If the cake pop is too cold, it will expand as it warms up inside the hardened shell, causing it to burst. Let your chilled pops sit on the counter for five minutes before dipping to take the edge off the cold.
Can I freeze finished cake pops?
You can freeze them, but be aware that the chocolate may lose its shine or develop “bloom” (white spots) when thawed. If you must freeze them, wrap them individually in plastic wrap and place them in a freezer bag. Thaw them slowly in the refrigerator before bringing them to room temperature.
Our Top Recommended Finds
- Silicone Baking Mats: These provide a non-stick surface for your rolled balls and prevent the bottom of the pops from sticking while you work.
- Deep Dipping Cup: A narrow, tall silicone cup allows you to submerge the entire pop using less chocolate than a wide bowl.
- Styrofoam Blocks: These are essential for holding the pops upright while they dry, ensuring a perfectly round shape without flat edges.
Mastering Your Next Batch
Now that you have mastered the fundamental technique, the possibilities for customization are endless.
You can experiment with different cake flavors like red velvet or lemon, and play with various colors of candy melts to match any occasion.
Try adding crushed cookies or nuts to your cake mixture for an unexpected crunch in the center.
The more you practice the “tap and rotate” method, the smoother your finishes will become.
Gather your ingredients and start rolling your first batch today to see how easy it is to impress your friends and family.