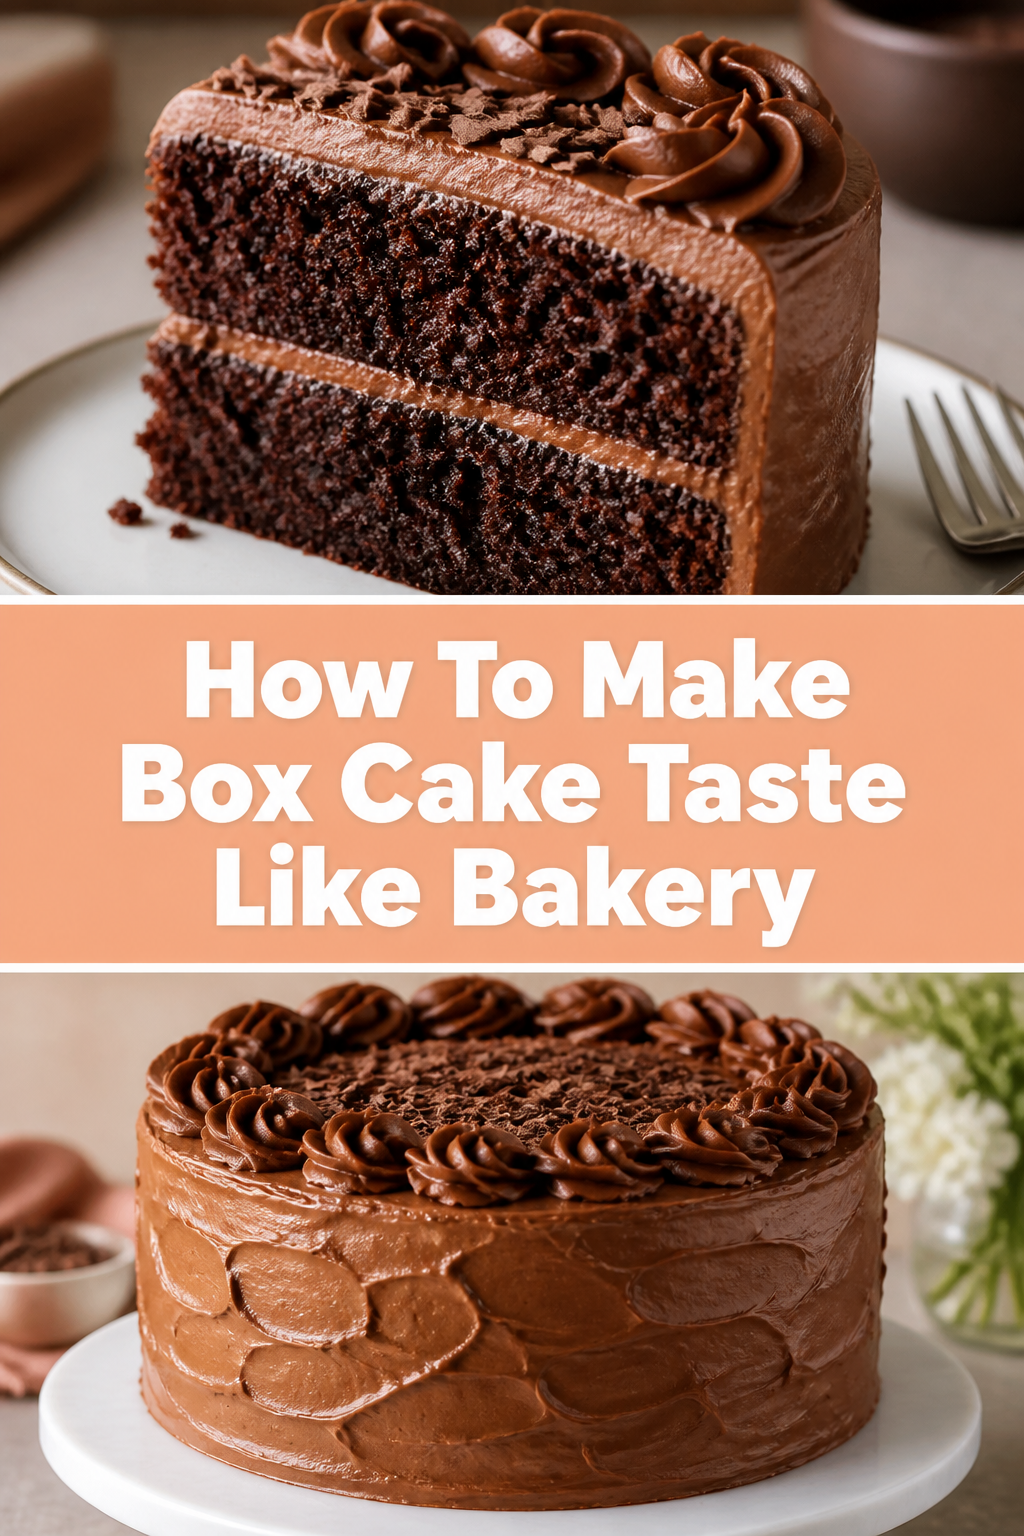
🎂 How To Make Box Cake Taste Like Bakery
I used to think box cakes were just for quick fixes, convenient but never truly impressive. My grandmother, a phenomenal baker, always said the secret wasn’t just in the ingredients, but in the love and smart tweaks you put in. Over years of baking, I’ve discovered simple adjustments that transform an ordinary mix into something truly special.
This guide shares those very secrets, allowing anyone to create a dessert that tastes like it came straight from a high-end patisserie. You’ll soon bake with confidence, knowing each bite will be moist, rich, and utterly delicious. Get ready to impress everyone with your “homemade” bakery-style cake.

Quick Overview
This guide will walk you through easy, impactful changes to elevate a standard box cake mix into a moist, flavorful, and tender dessert. You’ll learn how to substitute basic ingredients for richer alternatives and apply simple baking techniques for a professional finish. The result will be a cake that rivals your favorite bakery’s offerings.
- Time needed: Approximately 1 hour 30 minutes (30 min prep, 30-40 min bake, 20 min cool)
- Difficulty: Beginner
- What you’ll need: Box cake mix, eggs, milk, butter, sour cream or Greek yogurt, vanilla extract, a good quality frosting, and basic baking tools.
Step-by-Step Instructions
Step 1: Choose Your Foundation Wisely
Start with a good quality box cake mix. While any mix can be improved, certain brands offer a better starting point with finer ingredients. Look for mixes that list real vanilla or cocoa, depending on the flavor.
Avoid overly cheap mixes, as they often contain more artificial flavors and fewer quality components. A slightly more expensive mix often translates to a better base for your upgrades. This initial choice sets the stage for a truly superior cake.
Step 2: Upgrade Your Liquids
Instead of the water called for on the box, use whole milk. Whole milk adds richness and a tender crumb, contributing significantly to a bakery-like texture. It also enhances the overall flavor profile.
For chocolate cakes, consider swapping half of the milk for brewed coffee. Coffee deepens the chocolate flavor without making the cake taste like coffee itself. This simple change is a game-changer for any chocolate cake mix.
Step 3: Boost the Fat and Eggs
Replace the specified vegetable oil with an equal amount of melted unsalted butter. Butter provides a far superior flavor and a more complex richness than oil. It contributes to a wonderfully tender and moist crumb.
Increase the number of eggs. For most standard box mixes, add one extra egg to the batter. For an even richer, more decadent cake, add one extra egg yolk on top of the extra whole egg. This boosts moisture and creates a denser, finer crumb.
Pro Tip: Ensure your butter is completely melted but not hot before adding it to the batter. This helps it incorporate smoothly without scrambling the eggs.
Step 4: The Secret Ingredient for Moisture
Add a generous dollop of full-fat sour cream or plain Greek yogurt to your batter. For a standard 15.25 oz (432g) box mix, use about 1/2 cup (120g) of sour cream or yogurt. This ingredient is crucial for achieving an incredibly moist, tender, and rich cake.
Sour cream or yogurt also adds a subtle tang that balances the sweetness, similar to what you’d find in a professional bakery cake. It works wonders in almost any cake flavor, from vanilla to lemon. Do not skip this step for an authentic bakery feel.
Step 5: Enhance with Flavor Extracts and Zest
A bakery cake always has layers of flavor, not just sweetness. Add a teaspoon of pure vanilla extract, even if the mix already lists vanilla. Pure vanilla extract deepens and rounds out the overall taste.
Consider adding other complementary extracts or zests. For a lemon cake, add fresh lemon zest and a touch of lemon extract. For a vanilla cake, a hint of almond extract can add complexity. These small additions make a huge difference in the final taste.
Step 6: Don’t Overmix the Batter
Once all your upgraded ingredients are in, mix the batter just until combined. Use a hand mixer on low speed or mix by hand. Overmixing develops the gluten in the flour, leading to a tough and dry cake.
Stop mixing as soon as you no longer see streaks of dry flour. A few small lumps are perfectly fine and will disappear during baking. Gentleness here ensures a tender, light crumb.
Step 7: Prepare Your Pans and Bake with Care
Properly prepare your cake pans to prevent sticking. Grease and flour them thoroughly, or line the bottoms with parchment paper rounds and then grease the sides. This ensures an easy release and a beautiful cake.
Bake at the temperature specified on the box, but keep a close eye on your cake. Start checking for doneness a few minutes before the recommended bake time. A toothpick inserted into the center should come out with moist crumbs, not wet batter.
Pro Tip: For extra insurance against sticking, spray your pans with a baking spray that contains flour. This creates a non-stick coating that works reliably every time.
Step 8: Elevate Your Frosting
A bakery cake isn’t complete without amazing frosting. While homemade frosting is always best, you can significantly upgrade store-bought frosting. Beat a can of frosting with 1/2 stick (4 tbsp) softened unsalted butter and 1/2 teaspoon pure vanilla extract until light and fluffy.
For chocolate frosting, add a tablespoon of unsweetened cocoa powder and a pinch of salt to enhance its depth. This simple “doctoring” makes store-bought frosting taste far more luxurious and less artificial. It transforms the entire cake experience.
Step 9: Cool Completely and Frost
Allow your cakes to cool in their pans on a wire rack for 10-15 minutes before inverting them onto the rack. Then, let them cool completely, usually for at least an hour, before frosting. Frosting a warm cake will cause the frosting to melt and slide off.
Patience here is key for a beautifully frosted cake. Once fully cooled, apply your upgraded frosting evenly. A crumb coat followed by a final layer will give you a smooth, professional finish.
Step 10: Garnish for a Professional Touch
A bakery cake always looks as good as it tastes. Add a simple garnish to elevate its appearance. This could be fresh berries, chocolate shavings, a sprinkle of cocoa powder, or toasted nuts.
Even a simple dusting of powdered sugar can make a plain cake look elegant. Choose a garnish that complements the cake’s flavor. This final touch makes your box cake truly indistinguishable from a bakery creation.
Common Mistakes to Avoid
Overmixing the Batter
One of the most frequent errors is mixing the batter too much. When you overmix, you develop the gluten in the flour, which leads to a tough, dense, and chewy cake rather than a tender one. Mix only until the ingredients are just combined and no dry streaks remain.
Overbaking the Cake
Baking for too long is another common pitfall that results in a dry, crumbly cake. Always start checking for doneness a few minutes before the recipe’s minimum bake time. A toothpick test with moist crumbs is the goal, not a perfectly clean toothpick.
Using Cold Ingredients
Ingredients like eggs, milk, and sour cream should ideally be at room temperature. Cold ingredients don’t emulsify as well with the other batter components, which can lead to a less cohesive and sometimes denser cake. Allow them to sit out for 30 minutes before mixing.
Not Cooling the Cake Properly
Attempting to frost a warm cake is a recipe for disaster. The frosting will melt, slide off, and create a messy appearance. Always allow your cake layers to cool completely on a wire rack before you even think about applying frosting.
Troubleshooting
Cake is Dry and Crumbly
This often happens if the cake was overbaked or if there wasn’t enough moisture in the batter. Ensure you check for doneness early and use the upgraded ingredients like milk, extra egg yolks, and sour cream. Next time, try reducing the baking time by a few minutes.
Cake Sinks in the Middle
A sunken cake can be caused by opening the oven door too early, overmixing the batter, or an oven temperature that is too low. Ensure your oven is properly preheated and avoid opening the door until at least two-thirds through the baking time. Check your oven temperature with an external thermometer to be sure it’s accurate.
Cake Sticks to the Pan
This issue usually points to inadequate pan preparation. Always grease and flour your pans thoroughly, or use parchment paper rounds on the bottom. A baking spray with flour is also an excellent preventative measure for easy release.
Key Takeaways
- Upgrading liquids (milk instead of water) and fats (butter instead of oil) significantly improves flavor and texture.
- Adding extra egg yolks and sour cream or Greek yogurt ensures a moist, rich, and tender crumb.
- Don’t overmix the batter; mix only until combined to prevent a tough cake.
- Bake carefully and avoid overbaking to keep your cake moist and tender.
- Elevate store-bought frosting by adding softened butter and extracts for a bakery-quality finish.
- Always allow cakes to cool completely before frosting for best results.
Frequently Asked Questions
Can I use dairy-free alternatives for milk and sour cream?
Yes, you absolutely can use dairy-free alternatives. Full-fat unsweetened almond milk or oat milk work well in place of whole milk. For sour cream, a full-fat dairy-free sour cream or a plain, unsweetened dairy-free yogurt can be substituted. Ensure they are unflavored to avoid altering the cake’s taste.
How long does an upgraded box cake last?
An upgraded box cake, stored properly in an airtight container at room temperature, will typically last for 3-4 days. If refrigerated, it can last up to a week. The added moisture from the enhancements often helps it stay fresh longer than a standard box mix.
Can I make cupcakes with this method?
Yes, these upgrades work beautifully for cupcakes! Simply follow the same ingredient substitutions and mixing techniques. Adjust the baking time according to your cupcake pan size, usually 18-22 minutes for standard cupcakes. Check for doneness with a toothpick.
What if I don’t have sour cream or Greek yogurt?
If you don’t have sour cream or Greek yogurt, you can use mayonnaise as a substitute. Mayonnaise, being mostly oil and eggs, adds incredible moisture and richness without imparting a distinct flavor. Use the same 1/2 cup quantity for a standard box mix.
Our Top Recommended Finds
- Parchment Paper Rounds: These pre-cut circles make pan preparation a breeze, guaranteeing your cake won’t stick to the bottom. They save time and prevent frustration.
- Offset Spatula: Essential for smoothly spreading frosting, especially for crumb coats and final layers. It provides more control and a professional finish.
- Digital Oven Thermometer: Many ovens are inaccurate. A simple digital thermometer ensures your oven is at the correct temperature, preventing over or under-baking.
Your Journey to Bakery-Quality Starts Now
You now hold the secrets to transforming a humble box cake mix into a show-stopping dessert. These simple, yet powerful, modifications will change your baking forever. No longer will your cakes be merely “good enough”; they will be exceptional.
Embrace these techniques and watch as your friends and family marvel at your baking prowess. Don’t wait to try these tips. Pick up a box mix today and experience the joy of creating a truly bakery-worthy cake right in your own kitchen.