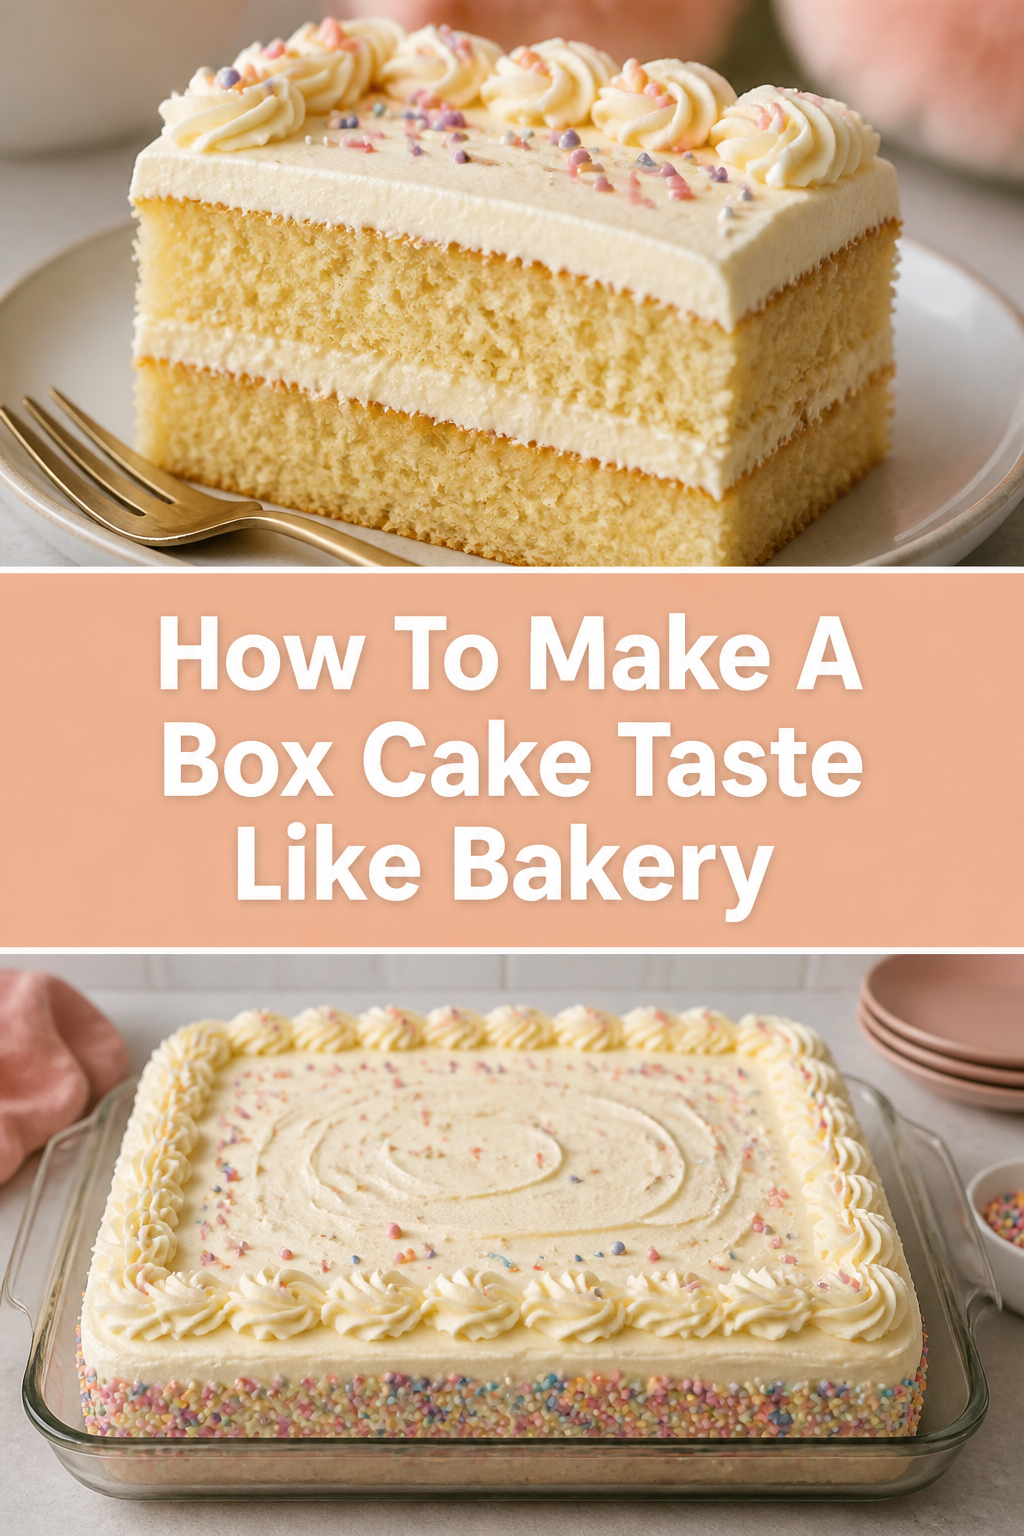
🍰 How To Make A Box Cake Taste Like Bakery
I spent three years working in a high-end wedding cake boutique where we occasionally had to turn out dozens of “practice” cakes for flavor testing.
During that time, I learned that the gap between a $2 box of mix and a $100 professional tier is surprisingly small once you know which ingredients to swap.

This guide comes from hundreds of hours of trial and error in a professional kitchen, simplified for your home oven.
Quick Overview
You are about to transform a standard grocery store mix into a dense, moist, and flavorful masterpiece that guests will assume came from a professional pastry chef.
- Time needed: 1 hour (including prep and bake)
- Difficulty: Beginner
- What you’ll need: Box cake mix, unsalted butter, whole milk or buttermilk, extra large eggs, vanilla extract, and a pinch of salt.
Step-by-Step Instructions
Step 1: Select a High-Quality Base Mix
Start by choosing a brand known for a consistent crumb structure, such as Betty Crocker or Duncan Hines.
While generic brands are tempting, name-brand mixes often contain a more precise balance of leavening agents that respond better to the modifications we are about to make.
Look for “Extra Moist” or “Professional” labels on the box, as these usually have a slightly higher flour-to-sugar ratio which provides a sturdier foundation.
Pro Tip: If you are making a white cake, choose a “White” mix rather than “Vanilla” to ensure the final product stays bright and snowy after adding your own extracts.
Step 2: Replace Water with Rich Liquids
Discard the instructions on the back of the box that call for water and use whole milk or buttermilk instead.
Water provides moisture but offers zero flavor or fat, whereas milk adds sugar, protein, and fat that create a much more tender “mouthfeel.”
If you are making a chocolate cake, consider using brewed coffee instead of water to intensify the cocoa notes without making the cake taste like espresso.
For an ultra-rich texture, some bakers even use heavy cream, though whole milk is usually the perfect balance for most standard mixes.
Step 3: Swap Vegetable Oil for Melted Butter
Double the amount of fat called for and switch from vegetable oil to melted, slightly cooled unsalted butter.
If the box calls for 1/2 cup of oil, use a full cup of melted butter to mimic the richness of a pound cake.
Butter has a lower melting point than oil, which means the cake will literally melt on your tongue in a way that oil-based cakes simply cannot.
Make sure the butter is not piping hot when you add it to the mix, or you risk “scrambling” the eggs in the batter.
Step 4: Increase the Egg Count
Add one extra egg beyond what the box recommends to improve the structure and density of the cake.
If the instructions call for three eggs, use four; if you want an even richer, more custard-like crumb, use only the yolks for that extra egg.
The proteins in the eggs provide the “lift” and strength needed to support the extra butter and milk we have added.
Always bring your eggs to room temperature before mixing to ensure they emulsify properly with the other fats.
Pro Tip: To get eggs to room temperature quickly, place them in a bowl of warm water for five minutes before cracking.
Step 5: Incorporate Professional Flavorings
Whisk in a teaspoon of high-quality pure vanilla extract and a generous pinch of fine sea salt.
Box mixes are notoriously high in sugar but low in depth, so adding salt helps balance the sweetness and brings out the nuances of the grain.
If you are making a fruit-flavored cake or a white cake, a half-teaspoon of almond extract provides that classic “wedding cake” aroma that is unmistakable.
Never use imitation vanilla if you can avoid it, as the alcohol base in the cheap stuff evaporates too quickly, leaving a chemical aftertaste.
Step 6: Sift the Dry Mix
Empty the bag of dry mix into a fine-mesh strainer and sift it into your mixing bowl before adding any wet ingredients.
Box mixes often sit in warehouses for months, leading to small, hard clumps of flour and sugar that are difficult to break up with a whisk.
Sifting aerates the flour, which allows the wet ingredients to incorporate more evenly and prevents over-mixing later on.
This simple two-minute step is the difference between a lumpy, uneven cake and a perfectly smooth, professional crumb.
Step 7: Add a Secret Moisture Ingredient
Fold in two tablespoons of sour cream or plain Greek yogurt once the batter is mostly combined.
The acidity in these dairy products reacts with the baking soda in the mix, creating a chemical reaction that results in a higher rise and a softer texture.
This is the “secret weapon” used by many home-based bakery businesses to ensure their cakes stay moist for days after baking.
The sourness isn’t detectable in the final product; it simply serves to brighten the overall flavor profile.
Step 8: Use the Right Baking Pans
Prepare heavy-duty aluminum baking pans rather than thin, dark non-stick pans which can scorch the bottom of the cake.
Light-colored pans reflect heat more evenly, ensuring that the edges of your cake don’t get crispy before the center is fully cooked.
Line the bottom of your pans with parchment paper to ensure a clean release every single time without tearing the delicate sponge.
Grease the sides with a mixture of melted butter and flour (or a professional baking spray) to help the batter “climb” the walls of the pan as it rises.
Step 9: Adjust Your Baking Temperature
Lower your oven temperature by 25 degrees Fahrenheit and increase the baking time by 5 to 10 minutes.
Most boxes suggest 350°F, but baking at 325°F allows the cake to rise more slowly and evenly, preventing that “domed” top that often cracks.
A flat top is much easier to stack and frost, and the slower bake time ensures the interior is perfectly set without drying out the exterior.
Use a toothpick to check for doneness; it should come out with a few moist crumbs attached, not completely dry.
Step 10: Finish with Real Buttercream
Discard the plastic tub of pre-made frosting and whip up a quick batch of homemade American or Swiss Meringue buttercream.
The biggest giveaway of a “fake” bakery cake is the oily, shelf-stable frosting that comes in a can.
True bakery cakes rely on real butter and powdered sugar (or egg whites) to provide a topping that is stable yet melts away instantly.
Even a simple three-ingredient buttercream will elevate your modified box mix to a level that rivals the best local bakeshop.
Pro Tip: Whip your buttercream for at least five full minutes to incorporate enough air for a light, cloud-like consistency.
Common Mistakes to Avoid
Using Cold Ingredients Directly from the Fridge
When you mix cold milk and eggs into melted butter, the butter will immediately seize and form tiny waxy chunks. This results in an uneven distribution of fat and a greasy texture in the finished cake. Always allow your dairy and eggs to sit on the counter for at least thirty minutes before you begin the mixing process.
Over-Mixing the Batter
Once you add the wet ingredients to the dry mix, the gluten in the flour begins to develop. If you whisk too vigorously or for too long, the gluten becomes tough and elastic, leading to a rubbery cake rather than a tender one. Mix only until the streaks of flour disappear, then stop immediately to preserve the delicate structure.
Opening the Oven Door Too Early
It is tempting to peek at your creation, but opening the door during the first 20 minutes of baking lets out the heat and can cause the cake to collapse. The sudden drop in temperature shocks the rising air bubbles before the structure of the cake has set. Wait until the very end of the suggested bake time before opening the door to test with a toothpick.
Troubleshooting
The Cake Sunk in the Middle
This usually happens if the oven temperature was too low or if the cake was taken out before it was fully set. It can also occur if you used too much liquid or extra-large eggs that added too much weight to the batter. Next time, ensure your oven is properly calibrated with a thermometer and try reducing the milk by two tablespoons.
The Cake is Too Fragile to Frost
Because we added extra fat and moisture, the cake will be softer than a standard box mix. If it is crumbling as you try to apply frosting, wrap the layers in plastic wrap and chill them in the freezer for 30 minutes. Cold cake layers are much firmer and easier to handle, and they won’t throw off crumbs into your beautiful icing.
The Flavor is Too Sweet
Box mixes are heavily sweetened, and adding certain extracts can push them over the edge. If your result is cloying, increase the amount of salt in the batter to half a teaspoon. You can also use a tart filling like lemon curd or raspberry jam to provide a sharp contrast to the sugary sponge.
Key Takeaways
- Swap fats: Use double the amount of melted butter instead of vegetable oil for a richer mouthfeel.
- Upgrade liquids: Replace water with whole milk or buttermilk to add protein and depth.
- Enhance structure: Add one extra egg to create a denser, more professional crumb.
- Add aromatics: Use pure vanilla, almond extract, and a pinch of salt to mask the “boxed” flavor.
- Bake smarter: Lower the temperature to 325°F for a flatter, more even rise.
- Always go fresh: Never use canned frosting; a simple homemade buttercream makes the biggest difference.
Frequently Asked Questions
Can I use this method for gluten-free box mixes?
Yes, these modifications work exceptionally well for gluten-free mixes, which often suffer from being too dry or crumbly. The addition of sour cream and extra butter provides the moisture that gluten-free flours desperately need. However, be careful not to over-egg, as gluten-free mixes can sometimes become “spongy” if too much protein is added.
Will these changes make the cake too heavy for a tiered wedding cake?
Actually, these changes make the cake sturdier. By adding the extra egg and using butter, you are creating a more stable structure that can support the weight of multiple layers better than a standard, airy box mix. Just be sure to use proper dowels and cake boards if you are stacking more than two tiers high.
Does the brand of butter matter?
While any unsalted butter is better than oil, using a high-fat European-style butter (like Kerrygold) will yield the most luxurious results. These butters have less water content and more butterfat, which translates directly to a silkier texture in the finished cake. If you only have salted butter, simply omit the extra pinch of salt called for in the instructions.
Can I use dairy-free alternatives?
You can certainly use oat milk or coconut milk as a 1:1 replacement for the whole milk. For the butter, use a high-quality vegan butter stick rather than a tub margarine. The results will still be significantly better than using water and oil, though the crumb may be slightly less dense than the dairy version.
Our Top Recommended Finds
- Professional Aluminum Cake Pans: Look for 2-inch or 3-inch deep pans with straight sides to get those perfect bakery-style edges.
- Pure Vanilla Bean Paste: This provides the little black specks of vanilla that signal “homemade” and “high-end” to anyone eating the cake.
- Digital Kitchen Scale: While box mixes use volume, weighing your added ingredients like butter and sour cream ensures 100% consistency every time you bake.
Your Path to Better Baking
Now that you have the secrets of the professional kitchen, there is no reason to ever serve a “basic” cake again.
The beauty of these hacks is that they require very little extra effort but provide a massive return on investment in terms of flavor and texture.
Once you master the basic vanilla and chocolate transformations, try experimenting with different extracts like orange or peppermint.
You can also look into making your own fruit compotes or ganache fillings to take your creations to the next level.
Grab a box of mix today and put these steps to the test; your friends and family will never believe it didn’t come from the best bakery in town.