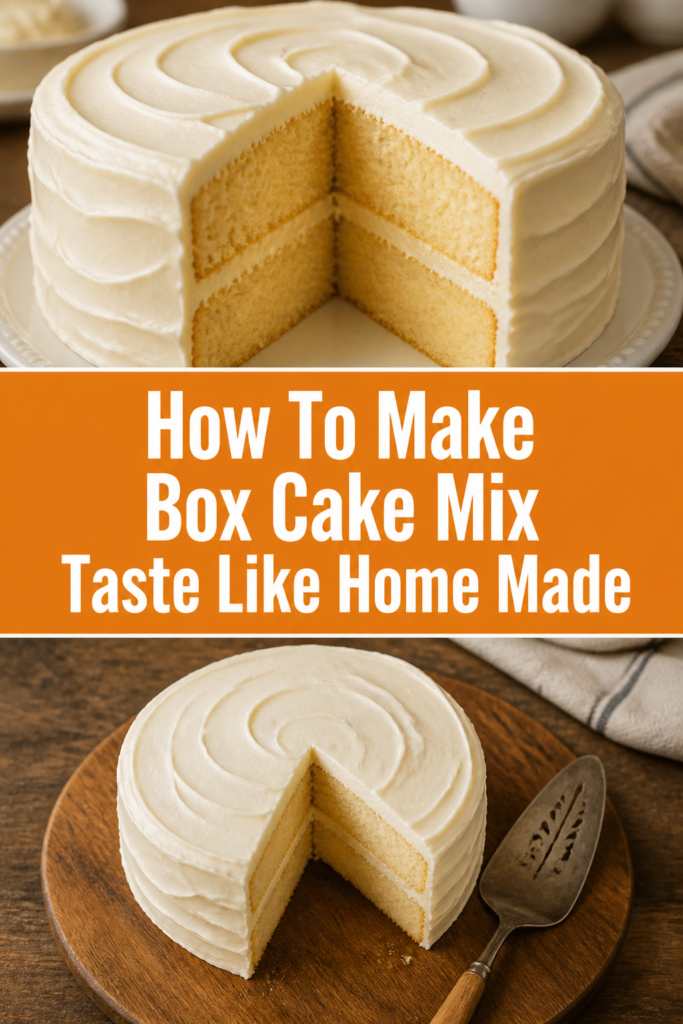
🎂 How To Make Box Cake Mix Taste Like Home Made
We’ve all been there: a craving for homemade cake hits, but time is short.
You grab a box mix, hoping for that comforting, from-scratch flavor, only to find it falls a little flat.
I used to feel the same way, always wishing I could transform those convenient mixes into something truly special. Through years of experimenting in my own kitchen, I’ve discovered simple, game-changing tweaks that make box cake taste like it came straight from a beloved family recipe. This guide shares all my secrets.
Quick Overview
You’re about to transform a humble box mix into a bakery-worthy masterpiece. This guide will walk you through easy substitutions and techniques that enhance flavor, texture, and overall appeal.
- Time needed: 45-60 minutes (including baking and cooling)
- Difficulty: Beginner
- What you’ll need: Box cake mix, eggs, milk, butter, sour cream, vanilla extract, a few basic kitchen tools.
Step-by-Step Instructions
Step 1: Upgrade Your Dairy
The first and most impactful change you can make is swapping out the water the box calls for.
Instead, use whole milk or buttermilk. Whole milk adds richness and a tender crumb, while buttermilk introduces a slight tang and incredible moisture, especially for chocolate or red velvet cakes.
For an even more decadent texture, consider using half-and-half or heavy cream. This boosts the fat content significantly, resulting in a much more luxurious cake.
Pro Tip: Always use dairy products that are at room temperature. This helps them combine smoothly with other ingredients, creating a more uniform batter.
Step 2: Boost the Eggs
Most box mixes call for 2-3 eggs. To achieve a richer, more homemade texture, add one extra egg than what the box recommends.
For example, if the box says 3 eggs, use 4. This increases the protein and fat, leading to a sturdier, moister cake with a beautiful golden hue.
For an even richer result, separate one of the eggs. Add the extra yolk to the batter for moisture and richness, and whip the egg white separately to soft peaks before gently folding it in at the very end. This adds air and lightness.
Step 3: Swap Oil for Butter
The box often suggests vegetable oil. While oil makes a cake moist, butter provides unparalleled flavor and a much finer crumb structure.
Use an equal amount of melted unsalted butter in place of the oil. Ensure the butter is melted and slightly cooled, not hot, to avoid scrambling the eggs.
If you’re making a white or yellow cake, browned butter can add a wonderful nutty depth. Simply melt the butter and cook it gently until the milk solids turn golden brown and fragrant, then cool slightly before adding.
Step 4: Introduce a Secret Ingredient
This is where the magic truly happens. Add a generous dollop of full-fat sour cream, plain Greek yogurt, or even mayonnaise to your batter.
About 1/2 cup to 3/4 cup for a standard box mix works wonders. These ingredients add incredible moisture, tenderness, and a slight tang that balances the sweetness.
They also contribute to a finer crumb and help the cake stay fresh longer. Don’t worry, your cake won’t taste like sour cream!
Step 5: Enhance the Flavor Profile
Box mixes can sometimes taste a bit one-note. Elevate the flavor with extracts and other additions.
- Add a teaspoon or two of good quality vanilla extract. Almond extract can also be lovely, especially in white or yellow cakes.
- Consider a pinch of salt, even if using salted butter. Salt enhances all other flavors.
- For chocolate cakes, dissolve a tablespoon of instant espresso powder or strong brewed coffee in the liquid. This deepens the chocolate flavor without making the cake taste like coffee.
- Stir in a teaspoon of lemon zest for white or yellow cakes, or orange zest for chocolate cakes, for a bright, fresh note.
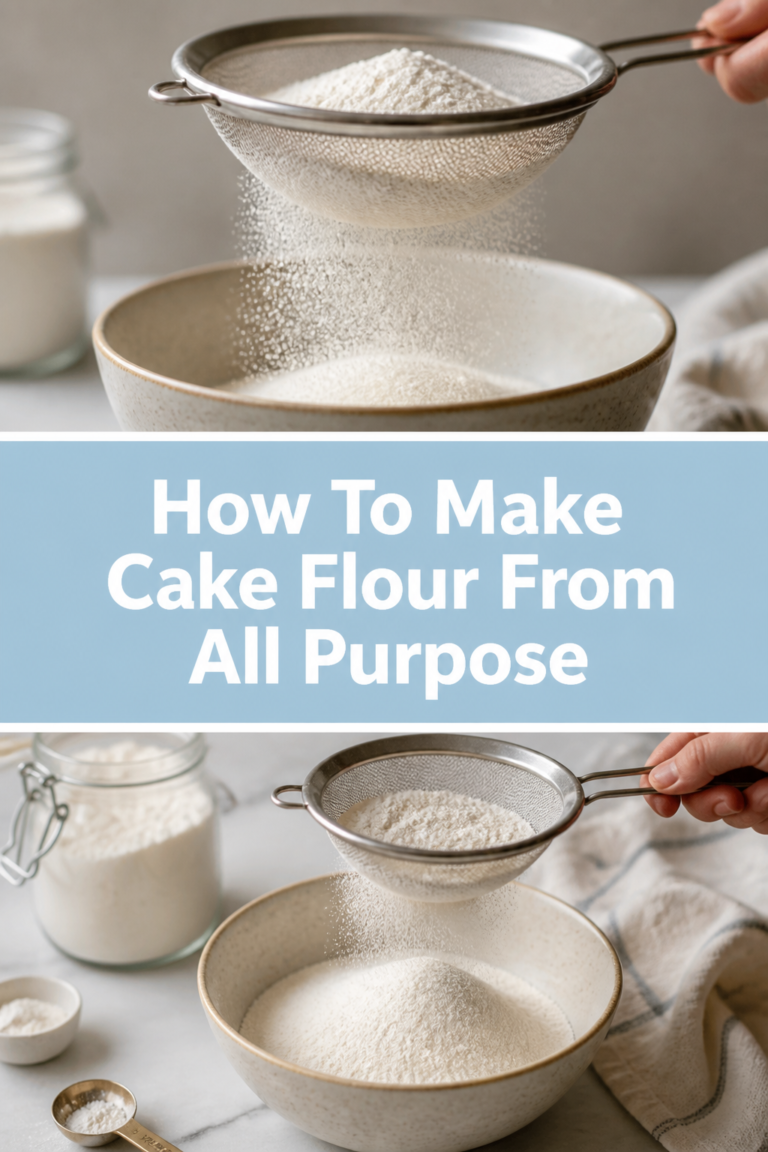
Step 6: Sift Your Mix
This simple step makes a huge difference in texture. Sifting the dry cake mix (and any added flour or cocoa powder) removes lumps and aerates the mixture.
Aerate the mix, resulting in a lighter, fluffier cake. It also helps the ingredients combine more evenly.
Use a fine-mesh sieve and sift directly into your mixing bowl before adding wet ingredients.
Step 7: Mix Smartly
Overmixing is a common culprit for dry, tough cakes. Follow the box instructions for mixing time, but pay close attention to the batter’s appearance.
Mix only until the ingredients are just combined and no streaks of dry mix remain. A few small lumps are perfectly fine and often preferred.
Start on low speed, then increase to medium, and scrape down the sides of the bowl frequently to ensure even mixing.
Step 8: Prepare Your Pans Properly
A well-prepared pan ensures your cake releases easily and bakes evenly. Grease your pans thoroughly with butter or baking spray.
Then, flour them lightly, tapping out any excess. For chocolate cakes, use cocoa powder instead of flour to prevent white streaks on the finished cake.
Line the bottoms of your pans with parchment paper circles for an extra layer of non-stick insurance.
Step 9: Bake with Care
Preheat your oven fully before placing the cake in. An accurately preheated oven is crucial for even baking.
Use an oven thermometer to verify your oven’s true temperature, as many can be off by 25-50 degrees Fahrenheit.
Bake on the middle rack and try not to open the oven door during the first 2/3 of the baking time, as this can cause the cake to sink.
Pro Tip: If your cake tops brown too quickly, loosely tent them with aluminum foil for the remainder of the baking time.
Step 10: Cool Correctly
Patience is key here. Allow your cakes to cool in their pans on a wire rack for 10-15 minutes after removing them from the oven.
This allows the cake to set and prevents it from breaking when inverted. After this time, gently invert the cakes onto the wire rack to cool completely.
Cooling completely before frosting is essential. Frosting a warm cake will cause the frosting to melt and slide off.
Common Mistakes to Avoid
Overmixing the Batter
Mixing your cake batter for too long develops the gluten in the flour excessively. This leads to a tough, dense, and chewy cake, far from the light and tender crumb you desire.
Always mix on low speed until ingredients are just combined. A few small lumps in the batter are acceptable and indicate you haven’t overmixed.
Using Cold Ingredients
Using eggs, milk, or sour cream straight from the refrigerator can cause your batter to curdle or become lumpy. Cold ingredients don’t emulsify well with butter or oil.
Always bring all your cold ingredients to room temperature before mixing. This ensures a smooth, well-emulsified batter that bakes evenly and results in a more tender cake.
Ignoring Oven Temperature
Many home ovens run hotter or colder than the temperature they display. An inaccurate oven temperature can lead to a cake that’s dry, undercooked, or burnt on the outside and raw inside.
Invest in an inexpensive oven thermometer and always preheat your oven for at least 15-20 minutes. Adjust your oven dial based on the thermometer’s reading to ensure precise baking.
Not Preparing Pans Properly
A cake sticking to the pan is frustrating and can ruin your beautiful creation. Insufficient greasing or flouring often causes this problem.
Thoroughly grease your pans with butter or baking spray, then dust with flour (or cocoa for chocolate cakes), tapping out excess. For extra security, line the bottoms with parchment paper.
Troubleshooting
Cake is Dry and Crumbly
A dry cake is often a result of overbaking or insufficient moisture in the batter. Even with our upgrades, it can happen if baked too long.
Check for doneness by inserting a toothpick into the center; if it comes out with moist crumbs, it’s ready. If it comes out clean, it’s likely overbaked. Next time, reduce baking time by a few minutes. Ensure you used the recommended liquid and fat substitutions.
Cake Sinks in the Middle
A sunken cake can be due to opening the oven door too early, underbaking, or an oven temperature that’s too low. Sometimes too much leavening or liquid can also contribute.
Avoid opening the oven door during the first two-thirds of baking. Ensure your oven temperature is accurate. If you added extra liquid or leavening, try reducing it slightly next time. Make sure the cake is fully baked before removing it.
Cake Sticks to the Pan
This frustrating issue usually points to inadequate pan preparation. Even with careful greasing, sometimes a stubborn cake needs more help.
Ensure you’re greasing and flouring thoroughly, including all nooks and crannies. For very delicate cakes, a good quality non-stick baking spray specifically formulated for baking (containing flour) can be a lifesaver. Always allow the cake to cool for 10-15 minutes in the pan before inverting.
Key Takeaways
- Replace water with whole milk, buttermilk, or even half-and-half for superior moisture and richness.
- Add an extra egg (or an extra yolk) to the batter for a sturdier, richer texture.
- Swap vegetable oil for melted butter to infuse your cake with delicious, homemade flavor.
- Incorporate a dollop of sour cream or Greek yogurt for unparalleled moisture and a tender crumb.
- Enhance flavor with vanilla extract, a pinch of salt, or instant espresso powder for chocolate cakes.
- Sift the dry cake mix to remove lumps and achieve a lighter, airier texture.
- Mix gently and only until combined to avoid overdeveloping gluten and creating a tough cake.
Frequently Asked Questions
Can I use non-dairy milk substitutes?
Yes, you can certainly use non-dairy milk substitutes like almond milk, soy milk, or oat milk. Choose full-fat versions for the best results, as they contribute more richness and moisture, mimicking whole dairy milk more closely. The effect might be slightly less rich than whole cow’s milk, but still a vast improvement over water.
What if I don’t have sour cream or yogurt?
If you don’t have sour cream or Greek yogurt, you can use an equal amount of mayonnaise. Mayonnaise is essentially eggs and oil, providing fat and emulsifiers that add incredible moisture and tenderness without imparting a savory flavor. It’s a classic baker’s secret for super moist cakes.
How long will the enhanced cake stay fresh?
Thanks to the added fat and moisture from ingredients like milk, extra eggs, butter, and sour cream, your enhanced box cake will generally stay fresh longer than a standard box cake. Stored properly in an airtight container at room temperature, it should remain moist and delicious for 3-4 days. Refrigeration can extend its life, especially if it has cream cheese frosting.
Can I add fruit or nuts to the batter?
Absolutely! Adding mix-ins like fresh berries, chocolate chips, or chopped nuts can further customize your cake and give it a homemade touch. For fresh fruit, toss it lightly in a tablespoon of flour before adding to the batter to prevent it from sinking to the bottom. Add about 1/2 to 1 cup of mix-ins.
Our Top Recommended Finds
- KitchenAid Stand Mixer: While not strictly necessary, a stand mixer makes the mixing process effortless and ensures consistent results every time.
- Good Quality Baking Pans: Heavy-gauge aluminum pans conduct heat evenly, preventing hot spots and ensuring your cake bakes beautifully.
- Oven Thermometer: An inexpensive tool that provides invaluable accuracy, helping you avoid under or overbaked cakes.
Your Journey to Better Baking Starts Now
You now hold the keys to transforming any box cake mix into a dessert that tastes genuinely homemade. These simple adjustments are easy to implement and yield truly remarkable results.
No longer will you settle for a mediocre cake when a few tweaks can elevate it to something extraordinary. Imagine the delight on faces when they taste your “homemade” creation!
Ready to try your hand at more baking adventures? Consider exploring recipes for homemade frostings to pair with your enhanced cakes, or perhaps dive into the world of creative cake decorating. The possibilities are endless.
Don’t wait! Grab a box mix today and put these tips into practice. Your taste buds, and your guests, will thank you.