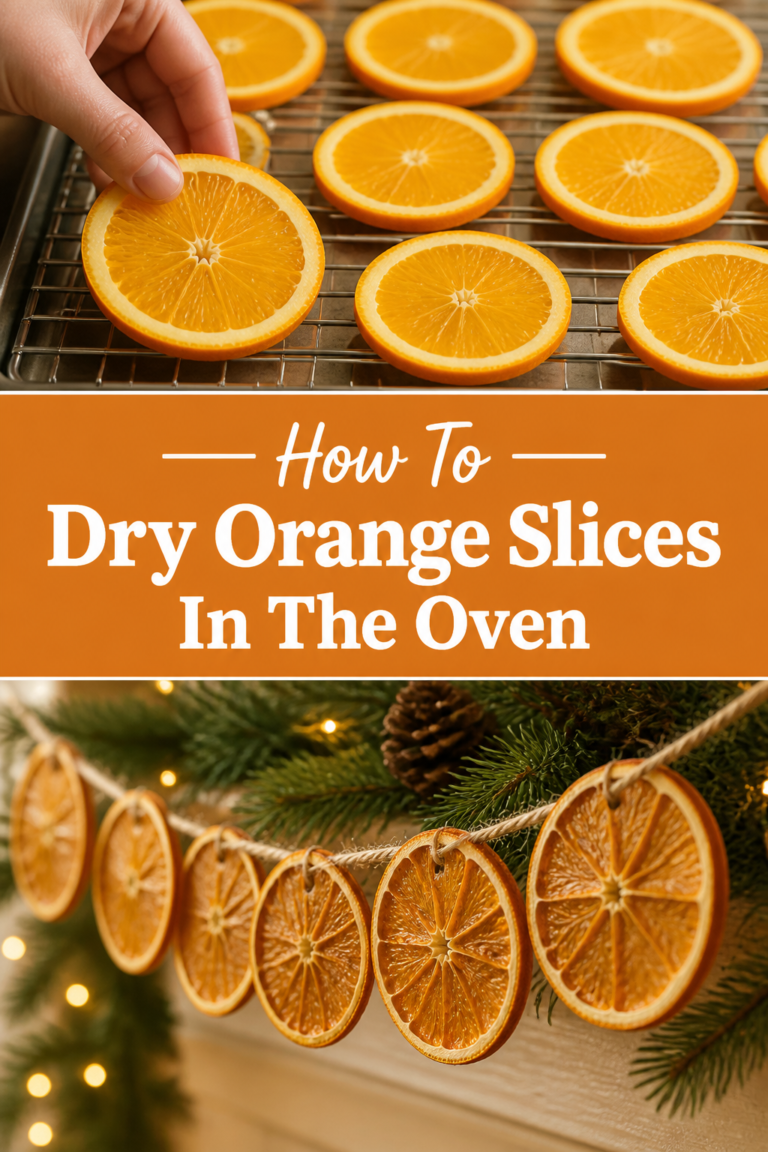
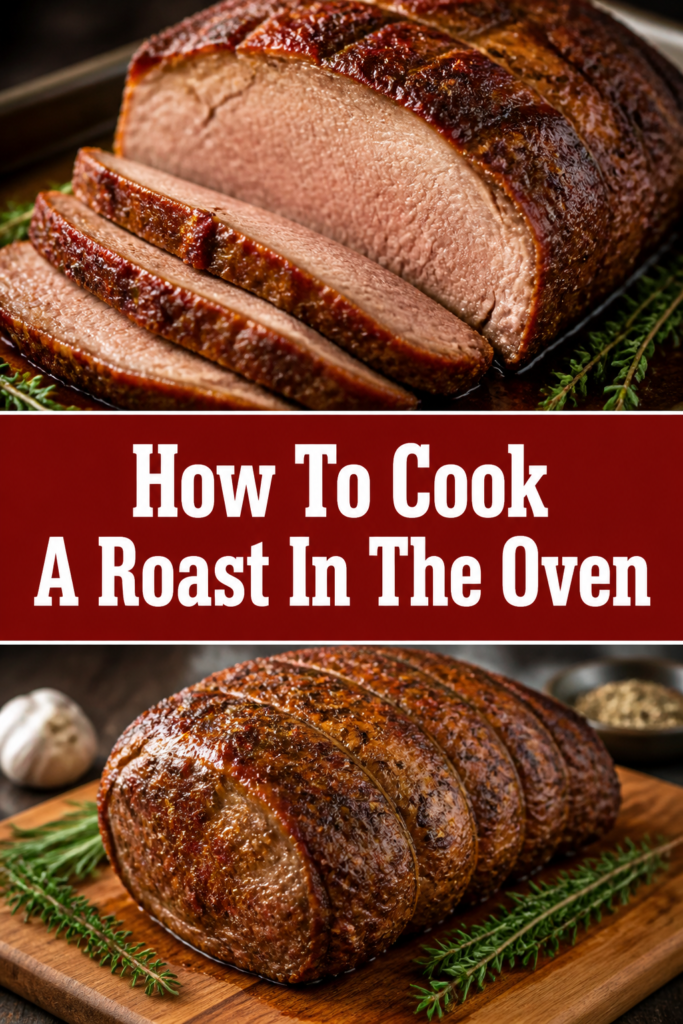
🥩 How To Cook A Roast In The Oven
I still remember the first time I tried to cook a Sunday roast for my family.
The outside was charred to a crisp, while the inside remained stubbornly cold and chewy.
After years of trial and error in my own kitchen, I have mastered the techniques required to produce a perfectly tender, juicy roast every single time.
Quick Overview
Cooking a roast is a fundamental skill that transforms a humble piece of beef into a centerpiece meal.
This guide will walk you through the process of selecting, seasoning, and roasting your meat to perfection.
- Time needed: 3 to 5 hours (depending on size and desired doneness)
- Difficulty: Intermediate
- What you’ll need: A roasting pan, a digital meat thermometer, a heavy skillet, and a high-quality cut of beef.
Step-by-Step Instructions
Step 1: Choose the Right Cut of Beef
Select a cut of meat that fits your budget and your texture preferences.
For a classic oven roast, look for a Ribeye Roast, Top Sirloin, or a Chuck Roast if you prefer a “pot roast” style.
Look for “marbling,” which are the small white flecks of fat within the muscle of the meat.
This fat melts during the cooking process, providing natural basting and deep flavor.
Pro Tip: If you want a sliceable, medium-rare roast, choose a Top Round or Eye of Round, but be prepared to slice it very thin.
Step 2: Temper the Meat at Room Temperature
Remove the roast from the refrigerator at least 60 to 90 minutes before you plan to cook it.
Cooking a cold piece of meat causes the exterior to overcook while the center stays raw.
Allowing the internal temperature to rise slightly ensures even heat distribution throughout the roast.
Keep the meat covered with a clean kitchen towel or loose plastic wrap while it sits on the counter.
Step 3: Dry and Season Thoroughly
Pat the entire surface of the meat dry with paper towels.
Moisture is the enemy of a good crust, so the drier the surface, the better the sear will be.
Apply a generous amount of kosher salt and freshly cracked black pepper to every side of the roast.
Do not be afraid of the salt; a large roast needs significant seasoning to penetrate the thick muscle.
You can also add garlic powder, onion powder, or dried rosemary for extra depth of flavor.
Pro Tip: Season your roast 24 hours in advance and leave it uncovered in the fridge for a “dry brine” effect that tenderizes the meat.
Step 4: Sear for Maximum Flavor
Heat a heavy-bottomed skillet or cast-iron pan over high heat with a tablespoon of high-smoke-point oil.
Once the oil is shimmering, carefully place the roast in the pan.
Brown each side for 3 to 4 minutes until a deep, dark brown crust forms.
This process, known as the Maillard reaction, creates complex flavors that a slow oven cannot produce on its own.
Use tongs to hold the roast upright so you can sear the ends and the fat cap as well.
Step 5: Prepare the Roasting Pan
Place the seared roast on a wire rack set inside a shallow roasting pan.
Elevating the meat allows hot air to circulate underneath, which prevents the bottom from becoming soggy.
If you do not have a rack, you can create a “natural rack” by lining the bottom of the pan with thick slices of onions, carrots, and celery.
These vegetables will also flavor the drippings, making them perfect for a homemade gravy later.
Step 6: Roast at a Low Temperature
Preheat your oven to 250°F (120°C) for a slow-roasting method.
While many recipes call for high heat, a low and slow approach yields a much more uniform pink color from edge to edge.
Insert a digital probe thermometer into the thickest part of the roast, making sure it does not hit bone or fat pockets.
Slide the pan into the center of the oven and close the door.
Avoid opening the oven door frequently, as this causes the temperature to fluctuate and extends the cooking time.
Pro Tip: If you are short on time, you can roast at 325°F, but the outer edges will be more well-done than the center.
Step 7: Monitor Internal Temperature
Check the temperature regularly once you reach the two-hour mark.
For a medium-rare roast, you want to pull the meat out of the oven when it hits 125°F (52°C).
The temperature will continue to rise about 5 to 10 degrees after you remove it from the oven.
This is known as “carryover cooking,” and ignoring it is the fastest way to end up with dry meat.
Step 8: The Essential Rest Period
Transfer the roast to a warm cutting board or a serving platter.
Tent the meat loosely with aluminum foil to keep it warm.
Allow the roast to rest for at least 20 to 30 minutes before you even think about touching a knife.
During this time, the muscle fibers relax and reabsorb the juices that were pushed to the center during cooking.
Cutting too early causes all those delicious juices to spill out onto the board, leaving the meat dry.
Step 9: Carve Against the Grain
Identify the “grain” of the meat, which are the long fibers running through the muscle.
Position your knife perpendicular to these fibers.
Slicing against the grain breaks up the tough fibers, making every bite melt-in-your-mouth tender.
Aim for slices that are about 1/4 inch thick for the best eating experience.
Common Mistakes to Avoid
Using a Cold Roast
Taking a roast straight from the fridge and putting it into the oven is a recipe for disaster.
The cold center will take much longer to cook, meaning the exterior will be dry and overdone by the time the middle is safe to eat.
Always give your meat time to lose its chill on the counter before you start the cooking process.
Relying Solely on a Timer
Every oven is different, and every piece of meat has a unique shape and fat content.
If a recipe says “cook for 2 hours,” treat that as a rough estimate rather than a hard rule.
The only way to guarantee perfect results is to use a reliable digital meat thermometer to track the internal temperature.
Slicing Too Thinly with a Dull Knife
A dull knife will tear the meat rather than slicing it, which ruins the presentation and the texture.
If your knife is not sharp, you will struggle to get clean cuts, and you might accidentally squeeze the juices out of the meat.
Sharpen your carving knife right before you start slicing to ensure a smooth, effortless experience.
Troubleshooting
The Meat is Tough and Chewy
This usually happens if you chose a lean cut and cooked it too quickly or to a high internal temperature.
If the meat is already cooked and tough, try slicing it as thinly as possible to make it easier to chew.
Serving it with a rich gravy or au jus can also help add moisture back into the fibers.
The Exterior is Not Browned
If your roast looks pale and gray, it is likely because the surface was wet when it went into the pan or oven.
You can fix this by doing a “reverse sear.”
If the meat is almost done but lacks color, crank the oven to 500°F for the last 5 to 10 minutes to crisp up the outside.
The Meat is Unevenly Cooked
This often occurs if the roast was not tied properly or if it has an irregular shape.
Using kitchen twine to tie the roast into a uniform cylinder helps it cook at an even rate.
If one side is cooking faster, rotate the pan in the oven every 45 minutes to account for hot spots.
Key Takeaways
- Always allow the meat to come to room temperature for at least an hour before cooking.
- Sear the meat in a hot pan first to develop a rich, flavorful crust.
- Use a low oven temperature (250°F) to ensure the meat stays juicy and tender.
- Never skip the resting period, as this is when the juices redistribute within the meat.
- Slice against the grain to ensure the most tender texture for your guests.
- Invest in a digital meat thermometer to remove all guesswork from the process.
Frequently Asked Questions
Should I cover the roast with a lid or foil while it cooks?
No, you should generally roast beef uncovered. Covering the meat creates steam, which will prevent a crust from forming and result in a “pot roast” texture rather than a traditional oven roast.
How much meat should I buy per person?
A good rule of thumb is to allow for about half a pound (8 ounces) of raw meat per person. If you want plenty of leftovers for sandwiches the next day, aim for 12 ounces per person.
What is the best temperature for a medium-rare roast?
You should remove the roast from the oven when the internal temperature reaches 125°F. After resting, the temperature will rise to a perfect 130°F to 135°F, which is the sweet spot for medium-rare.
Can I cook a roast from frozen?
It is not recommended to cook a large roast from frozen in the oven. The outside will likely burn or become dangerously dry before the center even begins to thaw, leading to poor quality and potential food safety issues.
Our Top Recommended Finds
- Digital Probe Thermometer: This tool allows you to monitor the temperature of the meat without ever opening the oven door.
- Heavy-Duty Roasting Pan with Rack: A sturdy pan prevents warping at high heats and the rack ensures even airflow around the meat.
- 12-Inch Carving Knife: A long, sharp blade allows you to make long, smooth strokes for professional-looking slices.
Mastering Your Sunday Tradition
Now that you have the tools and techniques to cook a perfect roast, it is time to head to the butcher.
Start with a high-quality cut of beef and focus on the internal temperature rather than the clock.
Once you master the basic roast, you can experiment with different herb rubs, red wine reductions, or even roasting your beef alongside seasonal root vegetables.
Your kitchen will smell incredible, and your guests will be asking for your secret recipe before the meal is even over.