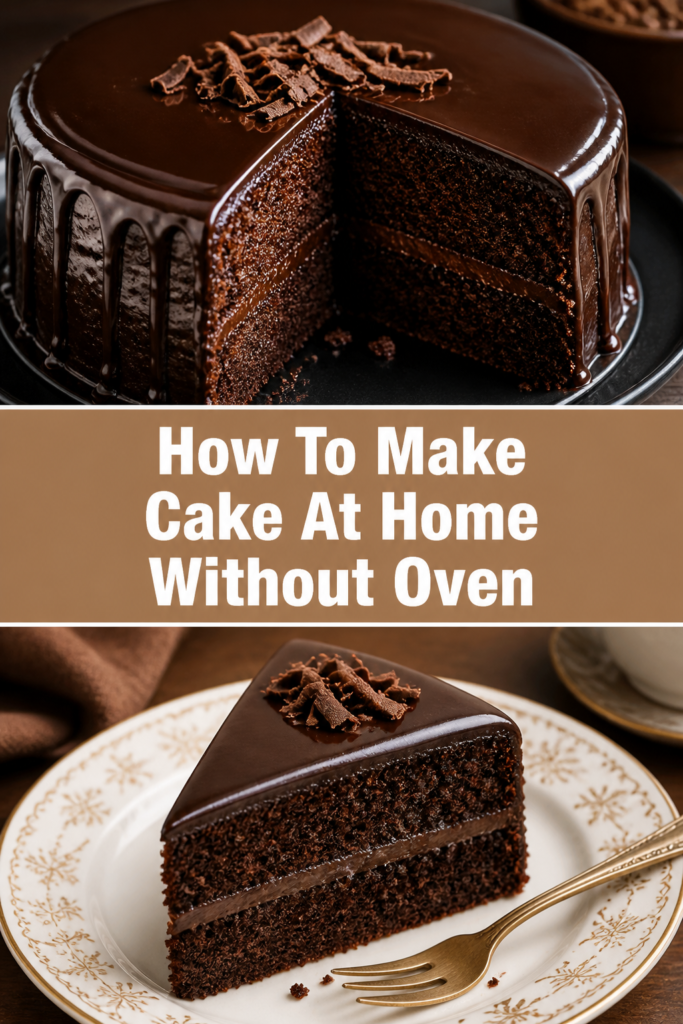
🍰 How To Make Cake At Home Without Oven
Baking a delicious cake at home might seem like a daunting task, especially if you don’t own an oven.
Many people believe a perfect cake requires specialized equipment, but I’m here to tell you that’s simply not true.
Having successfully baked countless cakes on a stovetop, I can assure you that a moist, fluffy, and utterly delightful cake is well within your reach.
Quick Overview
This guide will walk you through creating a fantastic cake using just your stovetop and a few common kitchen items. You’ll learn to master the art of “no-oven” baking, turning simple ingredients into a show-stopping dessert.
- Time needed: 2 hours (Prep: 30 mins, Cook: 60-90 mins, Cool: 30 mins)
- Difficulty: Beginner
- What you’ll need: Large pot or pressure cooker, mixing bowls, whisk, spatula, cake pan, basic pantry ingredients.
Step-by-Step Instructions
Step 1: Gather Your Ingredients and Equipment
Before you begin, lay out all your ingredients and equipment. This practice, known as “mise en place,” ensures a smooth and stress-free baking process.
Measure out your flour, sugar, cocoa powder (if making chocolate cake), baking powder, baking soda, salt, milk, oil, vanilla extract, and eggs.
Grease and flour your cake pan thoroughly. This step is crucial for preventing your cake from sticking, ensuring an easy release after baking.
Prepare your stovetop setup: Choose a large, heavy-bottomed pot or pressure cooker. Place a metal stand or inverted small plate at the bottom to elevate the cake pan.
Pro Tip: Using room temperature ingredients for your batter is essential. Eggs and milk at room temperature emulsify better, leading to a smoother batter and a lighter, more even cake texture.
Step 2: Prepare Your Stovetop “Oven”
The secret to baking without an oven lies in creating a consistent, enclosed heat environment on your stovetop.
Place your chosen pot or pressure cooker on the stove over medium heat. Add a layer of sand or salt (about 1-2 inches deep) to the bottom of the pot if you’re not using a stand.
Insert your metal stand or inverted plate into the pot, ensuring it’s stable and level. This will keep your cake pan from direct contact with the pot’s bottom, preventing burning.
Cover the pot tightly with its lid. If using a pressure cooker, remove the whistle/vent weight. Allow the pot to preheat for at least 10-15 minutes; this is like preheating a conventional oven.
Step 3: Sift Dry Ingredients
Sifting dry ingredients is a simple step that makes a significant difference in your cake’s texture.
Combine flour, baking powder, baking soda, and salt in a large mixing bowl. If using cocoa powder, add it here as well.
Sift these ingredients together using a fine-mesh sieve. Sifting removes lumps and aerates the mixture, leading to a lighter, more tender crumb.
Whisk them gently to ensure everything is evenly distributed. Set this bowl aside for now.
Step 4: Cream Wet Ingredients
This step builds the foundation for your cake’s structure and flavor.
Beat together softened butter (if using, otherwise oil), granulated sugar, and vanilla extract in another large bowl. Use a whisk or an electric mixer if you have one.
Cream this mixture until it’s light, fluffy, and pale in color. This process incorporates air, which is vital for a soft cake.
Add eggs one at a time, beating well after each addition. Ensure each egg is fully incorporated before adding the next to prevent the batter from curdling.
Pro Tip: Don’t overmix the batter once the eggs are added. Overmixing can develop the gluten in the flour too much, leading to a tough cake. Mix just until combined.
Step 5: Combine Wet and Dry Ingredients
Now it’s time to bring everything together, creating your cake batter.
Alternate adding the sifted dry ingredients and milk to the wet mixture. Begin and end with the dry ingredients.
Add about a third of the dry mix, gently folding it in with a spatula until just combined. Then add half of the milk, folding it in.
Repeat this process: another third of dry mix, the remaining milk, and finally the last third of dry mix. Be careful not to overmix.
Fold until no streaks of flour remain. A few small lumps are acceptable; overmixing is the bigger enemy.
Step 6: Transfer to Pan and Bake
The moment of truth arrives as your batter enters its “oven.”
Pour the prepared cake batter into your greased and floured cake pan. Gently tap the pan on your counter a few times to release any large air bubbles.
Carefully place the cake pan onto the preheated stand inside your large pot or pressure cooker. Ensure the pan is centered and stable.
Cover the pot tightly with its lid. Do not open the lid for at least the first 45-60 minutes, as this will cause the cake to sink.
Bake on low to medium-low heat for 60-90 minutes. The exact time depends on your stove’s heat and the pot’s efficiency. Resist the urge to peek!
Pro Tip: If your lid doesn’t seal perfectly, place a heavy object on top to prevent heat from escaping. Consistent heat is key to even baking.
Step 7: Check for Doneness and Cool
Patience is a virtue, especially when waiting for a cake to bake.
After 60 minutes, carefully open the lid and insert a wooden skewer or toothpick into the center of the cake. If it comes out clean, your cake is done.
If not, cover the pot again and continue baking for another 10-15 minutes, checking every few minutes until it’s cooked through.
Remove the cake pan from the pot using oven mitts. Place it on a wire rack to cool in the pan for 10-15 minutes.
Invert the cake onto the wire rack to cool completely. Attempting to frost a warm cake will result in melted frosting and a messy situation.
Common Mistakes to Avoid
Opening the Lid Too Soon
One of the biggest temptations, and pitfalls, is to peek at your cake too early. Opening the lid before the cake has set allows cold air to rush in, causing the cake to deflate dramatically.
Wait at least 45-60 minutes before checking for doneness. The cake needs this undisturbed time to rise properly and set its structure.
Overmixing the Batter
While beating the wet ingredients until light and fluffy is good, overmixing once the flour is added is detrimental. Overmixing develops gluten, which can make your cake tough and chewy instead of light and tender.
Mix the dry ingredients into the wet just until no streaks of flour are visible. A few small lumps are perfectly fine and often preferred.
Uneven Heat Distribution
Baking on a stovetop means you’re creating a makeshift oven, and consistency is key. If your pot isn’t preheated enough, or if the heat setting is too high or low, your cake will suffer.
Ensure your pot is thoroughly preheated before adding the cake pan. Maintain a consistent low to medium-low flame throughout the baking process to prevent burning or undercooking.
Not Greasing and Flourishing Properly
Nothing is more frustrating than a beautifully baked cake that sticks to the pan. Insufficiently greasing and flouring your pan is a common oversight.
Use butter or oil to thoroughly coat all interior surfaces of the pan, including the sides. Then, dust with flour, tapping out any excess. For chocolate cakes, use cocoa powder instead of flour for a seamless finish.
Troubleshooting
Cake is Undercooked in the Middle
If your cake looks done on the outside but is still gooey in the center, it’s usually a sign of insufficient baking time or heat that’s too high on the outside.
Reduce your stovetop heat slightly and continue baking for longer. Ensure your pot is tightly sealed to trap heat effectively. A common cause is opening the lid too often, letting heat escape.
Cake is Burnt on the Bottom
A burnt bottom indicates direct heat contact or too high a flame. This issue often arises when the cake pan sits directly on the pot’s bottom or the heat is too intense.
Always use a metal stand or a thick layer of sand/salt to elevate the cake pan. Ensure your stovetop heat is consistently low to medium-low, allowing for gentle, indirect baking.
Cake Didn’t Rise
A flat cake can be disheartening. This typically points to inactive leavening agents (baking powder/soda), overmixing, or opening the pot lid too early.
Check the expiry dates of your baking powder and baking soda. Ensure you’re not overmixing the batter after adding flour. Most importantly, resist the urge to peek during the first 45-60 minutes of baking.
Key Takeaways
- Preheating your stovetop “oven” is as crucial as preheating a conventional oven for even baking.
- Room temperature ingredients lead to a smoother batter and a more tender cake crumb.
- Sifting dry ingredients and avoiding overmixing the batter are vital for a light, fluffy texture.
- A tight-fitting lid and consistent low heat are essential for creating an effective baking environment without an oven.
- Patience is key: resist the urge to open the pot lid too soon, as this can cause the cake to collapse.
- Always cool your cake completely on a wire rack before frosting to prevent melting and maintain structure.
Frequently Asked Questions
Can I use a regular pot instead of a pressure cooker?
Absolutely! A regular large, heavy-bottomed pot with a tight-fitting lid works perfectly. The key is to create an enclosed, consistent heat environment, which any good pot can achieve.
What if I don’t have a metal stand for the cake pan?
No problem at all. You can use a thick layer of sand or salt (about 1-2 inches deep) at the bottom of the pot. Alternatively, invert a small, heat-safe steel plate or a few metal cookie cutters to create a stable platform.
How do I know if my baking powder/soda is still active?
To test baking powder, add a teaspoon to half a cup of hot water; it should fizz vigorously. For baking soda, add a teaspoon to a few tablespoons of vinegar; it should also fizz immediately. If there’s no fizz, it’s time to buy new leavening agents.
Can I make different types of cakes using this method?
Yes, this stovetop method is versatile. You can adapt most standard cake recipes (vanilla, chocolate, marble, red velvet) to bake without an oven. Just be mindful of the baking time, as denser cakes might take a little longer.
Our Top Recommended Finds
- Heavy-Bottomed Pot with Lid: Essential for even heat distribution and creating a stable baking environment. Look for one with a snug lid.
- Metal Trivet or Stand: Provides the necessary elevation for your cake pan, preventing direct contact with the heat source and ensuring even baking.
- Good Quality Whisk Set: Indispensable for aerating ingredients and mixing batters smoothly, especially when an electric mixer isn’t available.
Your Next Baking Adventure Awaits
You’ve just discovered that baking a delightful cake doesn’t require a fancy oven or specialized equipment. With a little patience and these simple steps, your stovetop can transform into a magical baking haven.
The joy of creating something so delicious from scratch, with just a pot and a few ingredients, is incredibly rewarding. This method opens up a world of possibilities for home bakers everywhere.
Don’t wait any longer. Gather your ingredients, embrace the simplicity of stovetop baking, and treat yourself and your loved ones to a homemade cake today!