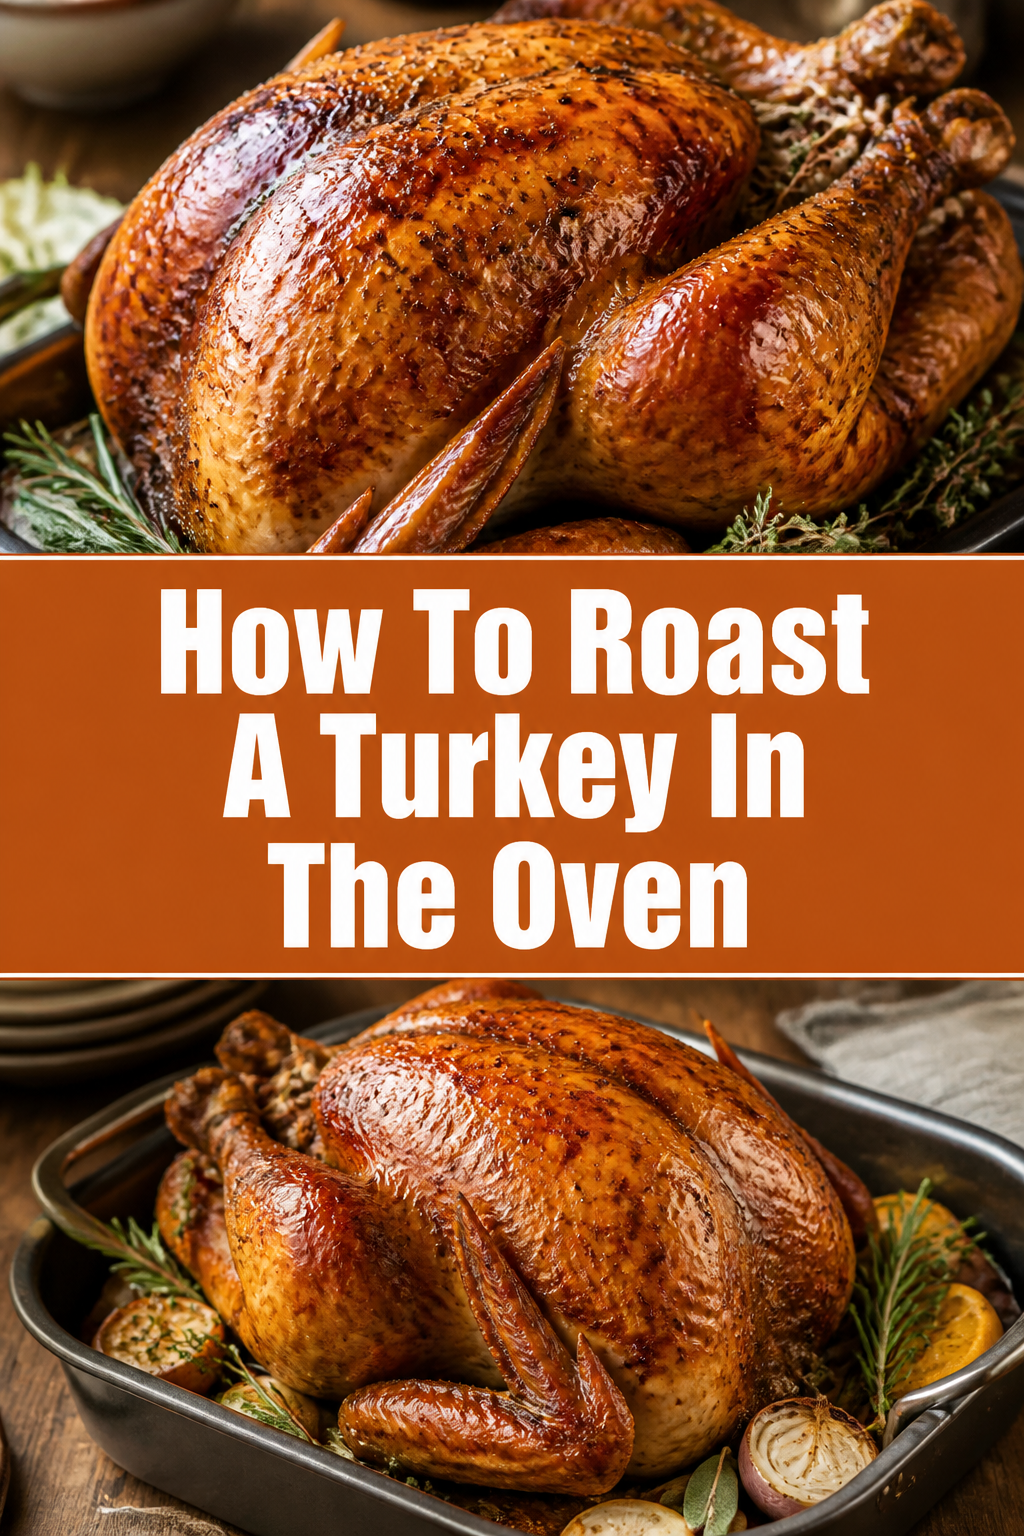
🍗 How To Roast A Turkey In The Oven
I remember the first time I was responsible for the holiday bird; the pressure felt immense and the fear of a dry turkey was very real.
After years of trial and error in my own kitchen, I have perfected a method that balances a crispy, golden exterior with incredibly juicy meat.
This guide is built on those years of experience to ensure your roasting process is calm, controlled, and ultimately delicious.

Quick Overview
Roasting a turkey is a marathon, not a sprint, requiring patience and a few key tools to get the job done right.
- Time needed: 12 to 24 hours for prepping/brining, plus 3 to 5 hours for roasting and resting.
- Difficulty: Intermediate
- What you’ll need: A whole turkey, a heavy-duty roasting pan with a rack, a digital meat thermometer, kitchen twine, and plenty of unsalted butter.
Step-by-Step Instructions
Step 1: Prepare and Thaw the Bird
Start by ensuring your turkey is completely thawed before you even think about turning on the oven.
A frozen core will lead to uneven cooking, leaving the outside dry while the inside remains dangerously undercooked.
Plan for about 24 hours of refrigerator thawing for every four to five pounds of turkey weight.
Remove the giblets and the neck from the cavities once the bird is pliable enough to handle.
Pat the entire surface of the turkey bone-dry using paper towels, as moisture on the skin is the enemy of crispiness.
Pro Tip: If you are short on time, you can thaw the turkey in a cold water bath, changing the water every 30 minutes, but the refrigerator method is much safer and more consistent.
Step 2: Apply a Dry Brine
Season the turkey generously with kosher salt at least 12 to 24 hours before you plan to roast it.
Dry brining allows the salt to penetrate deep into the muscle fibers, breaking down proteins so the meat can retain its natural juices.
Rub the salt both over the skin and inside the cavity for the best results.
Leave the turkey uncovered in the refrigerator during this time to help the skin dry out, which guarantees a better crunch later.
Avoid using table salt for this step; the large grains of kosher salt are much easier to distribute evenly without over-salting.
Step 3: Temper the Meat
Take the turkey out of the refrigerator about one hour before it goes into the oven.
Roasting a refrigerator-cold bird causes the outer layers to overcook while the center struggles to reach a safe temperature.
Allow the meat to come closer to room temperature to promote even cooking throughout the entire bird.
Check the skin one last time during this hour to ensure no condensation has formed.
Step 4: Prepare the Aromatics
Chop a mix of onions, carrots, and celery to create a bed of vegetables at the bottom of your roasting pan.
These vegetables, known as a mirepoix, will flavor the drippings and prevent them from burning in the pan.
Stuff the cavity of the turkey with halved lemons, a head of garlic cut in half, and fresh herbs like rosemary, sage, and thyme.
Refrain from packing the cavity with bread-based stuffing, as this slows down the cooking time and can lead to food safety issues.
Add a cup of chicken stock or water to the bottom of the pan to keep the environment moist during the initial phase of roasting.
Step 5: Apply the Herb Butter
Mix softened unsalted butter with chopped fresh herbs, salt, pepper, and a bit of lemon zest.
Gently loosen the skin over the breast meat by sliding your fingers between the skin and the flesh, being careful not to tear it.
Spread a generous amount of the herb butter directly onto the meat under the skin.
Massage the remaining butter all over the outside of the skin to act as a basting agent throughout the roasting process.
Pro Tip: Using high-quality European-style butter with a higher fat content will result in a richer flavor and a more beautiful golden-brown color.
Step 6: Truss and Position
Tie the legs together tightly with kitchen twine to keep the bird compact.
Tuck the wing tips under the body so they do not burn or get in the way during carving.
Place the turkey on the roasting rack, breast-side up, ensuring there is plenty of space for air to circulate underneath.
Position the oven rack in the lowest third of the oven so the bird sits in the center of the heat source.
Step 7: The Roasting Process
Preheat your oven to 450 degrees Fahrenheit for the initial blast of heat.
Slide the turkey into the oven and roast at this high temperature for the first 20 to 30 minutes.
Lower the oven temperature to 325 degrees Fahrenheit for the remainder of the cooking time.
Monitor the bird every hour, but try to keep the oven door closed as much as possible to maintain a steady temperature.
Baste the turkey with the pan juices every 45 minutes if you prefer a traditional look, though some chefs skip this to keep the skin extra crispy.
Step 8: Check for Doneness
Insert a digital meat thermometer into the thickest part of the thigh, making sure not to hit the bone.
Aim for a temperature of 165 degrees Fahrenheit in the thigh and 160 degrees Fahrenheit in the thickest part of the breast.
Remember that the temperature will continue to rise by about 5 degrees after you remove it from the oven due to carryover cooking.
Remove the turkey from the oven immediately once these temperatures are reached to prevent drying out.
Step 9: The Essential Rest
Transfer the roasted turkey to a large cutting board or a clean platter.
Tent the bird loosely with aluminum foil to keep the heat in without steaming the skin into sogginess.
Wait at least 30 to 45 minutes before you even think about picking up a carving knife.
Understand that this resting period allows the juices to redistribute through the meat, ensuring every slice is moist.
Pro Tip: Use this resting time to make your gravy using the flavorful drippings and softened vegetables left in the roasting pan.
Common Mistakes to Avoid
Relying on the Pop-Up Timer
Most commercial turkeys come with a plastic pop-up timer already inserted into the breast.
These devices are notoriously unreliable and often don’t trigger until the meat is well past 180 degrees.
By the time the plastic tab pops, your turkey is likely overcooked and the breast meat will be chalky and dry.
Roasting a Wet Turkey
If you take a turkey straight from a wet brine or a package and put it in the oven, the skin will steam rather than fry.
Steam creates rubbery, pale skin that lacks the satisfying crunch everyone looks for in a roast.
Always spend the extra time to dry the skin thoroughly with paper towels and let it air-dry in the fridge if possible.
Opening the Oven Door Frequently
Every time you open the oven door to check the bird or baste it, the internal temperature of the oven drops significantly.
This fluctuation extends the cooking time and can lead to uneven results between the dark and white meat.
Use a remote probe thermometer so you can monitor the internal temperature from outside the oven without losing heat.
Troubleshooting
The Skin is Browning Too Fast
If the skin looks perfectly dark but the internal temperature is still far from 165 degrees, you need to intervene.
Create a small “shield” out of aluminum foil and place it loosely over the breast and wing tips.
This reflects the direct heat, allowing the interior of the turkey to continue cooking without burning the exterior.
The Meat is Done but the Skin is Pale
This usually happens if the oven temperature was too low or if there was too much moisture in the pan.
You can fix this by cranking the oven up to 450 degrees for the last 10 minutes of cooking.
Watch it very closely during this stage, as the transition from golden brown to burnt happens in a matter of seconds.
Key Takeaways
- Always thaw your turkey completely in the refrigerator to ensure food safety and even cooking.
- Dry brining with kosher salt for 24 hours is the most effective way to guarantee juicy meat.
- Use a digital meat thermometer rather than a timer or a pop-up device to judge doneness.
- Start at a high temperature to crisp the skin, then lower it to finish the cooking process gently.
- Rest the turkey for at least 30 minutes to keep the juices inside the meat where they belong.
Frequently Asked Questions
How much turkey do I need per person?
A good rule of thumb is to plan for about one to one and a half pounds of turkey per guest.
This accounts for the weight of the bones and ensures you have enough for leftovers the next day.
If you are hosting a group that loves leftovers, lean toward the one and a half pound estimate.
Should I cook my turkey breast-side down?
Some people prefer this method because it allows the juices to run down into the breast meat.
However, it can result in soggy skin on the breast and a very difficult bird to flip over halfway through.
The herb butter under the skin method usually provides enough moisture that roasting breast-side up is much easier and more effective.
Why is my turkey meat still pink?
Pink meat near the bone or in the thigh does not always mean the turkey is undercooked.
Young turkeys often have thin skin and porous bones, allowing pigment from the bone marrow to leak into the surrounding meat.
As long as your digital thermometer confirms an internal temperature of 165 degrees, the meat is safe to eat regardless of the color.
Our Top Recommended Finds
- Digital Probe Thermometer: A model with a long cord allows you to monitor the turkey’s temperature without opening the oven door.
- Heavy-Duty Stainless Steel Roasting Pan: A thick pan prevents the drippings from burning and provides a stable base for a heavy bird.
- Silicone Basting Brush: These are easier to clean than traditional bristle brushes and help distribute butter or oil evenly over the skin.
Mastering Your Holiday Main Course
Now that you have the technical foundation for a perfect roast, you can focus on the creative side of your meal.
Consider experimenting with different herb combinations in your butter or trying a unique cider-based gravy to complement the bird.
Take these steps into your kitchen today and transform your next holiday gathering into a culinary success that your guests will remember for years.