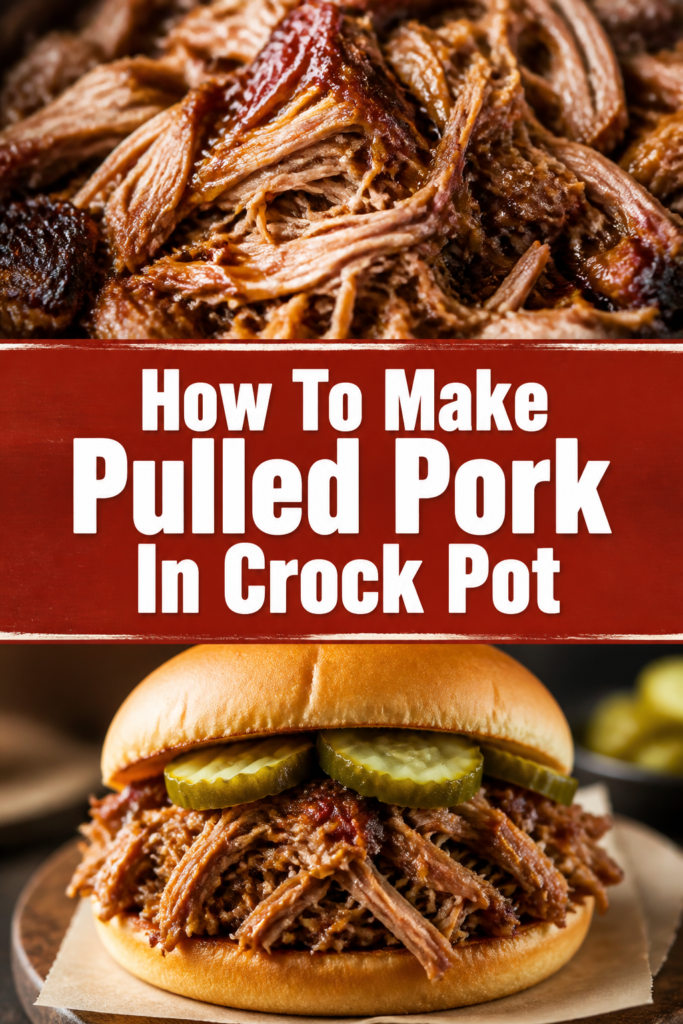
🐖 How To Make Pulled Pork In Crock Pot
I have spent years perfecting the art of slow-cooked meats for backyard gatherings and busy weeknights.
There is nothing quite like the smell of a seasoned pork shoulder that has been simmering for eight hours.
This guide draws on my experience serving hundreds of hungry guests to ensure your pork is tender every single time.
Quick Overview
You are about to master a foolproof method for creating succulent, fall-apart pulled pork with minimal effort.
- Time needed: 8 to 10 hours on Low (recommended) or 5 to 6 hours on High.
- Difficulty: Beginner.
- What you’ll need: A 6-quart crock pot, a 4-7 lb pork shoulder, a dry rub, and basic kitchen tools.
Step-by-Step Instructions
Step 1: Select the Perfect Cut of Meat
The foundation of great pulled pork is the cut of meat you choose at the grocery store.
Look for a “Boston Butt” or a “Pork Shoulder” rather than a lean cut like pork loin.
The shoulder contains the necessary fat and connective tissue that breaks down during the long cooking process.
Pro Tip: Choose a bone-in roast if possible, as the bone helps distribute heat evenly and adds a deeper flavor to the meat.
Check for a healthy fat cap on one side of the roast.
Ensure the meat is a vibrant pinkish-red color rather than pale gray.
Estimate about half a pound of raw meat per person to account for shrinkage during cooking.
Step 2: Prepare the Signature Dry Rub
A dry rub creates a flavorful crust, also known as “bark,” around the exterior of the pork.
Mix together brown sugar, smoked paprika, garlic powder, onion powder, salt, and black pepper.
The sugar helps with caramelization, while the spices provide the classic barbecue profile.
Pat the meat completely dry with paper towels before applying any seasoning.
Massage the rub into every crevice of the meat, ensuring a thick and even coating.
Allow the seasoned meat to sit at room temperature for about 20 minutes to let the salt penetrate the surface.
Step 3: Sear for Maximum Flavor
While you can put raw meat directly into the crock pot, searing it first changes the entire flavor profile.
Heat a large skillet with a small amount of oil over medium-high heat until it begins to shimmer.
This process, called the Maillard reaction, creates complex flavors that a slow cooker cannot replicate on its own.
Place the roast in the hot pan and brown it for 3-4 minutes on each side.
Use tongs to hold the meat upright so you can sear the ends and sides as well.
Transfer the meat to a plate and keep the leftover drippings in the pan for the next step.
Step 4: Deglaze the Pan and Prep the Pot
Don’t let the flavorful brown bits at the bottom of your skillet go to waste.
Pour a splash of apple juice or apple cider vinegar into the hot skillet to loosen those bits.
This liquid becomes a concentrated flavor “booster” for your slow cooker.
Pro Tip: Place a layer of sliced yellow onions at the bottom of the crock pot to act as a natural roasting rack.
Pour the deglazed liquid over the onions in the bottom of the crock pot.
Add a few smashed cloves of garlic for an extra layer of savory aroma.
Nestle the seared pork roast on top of the onions with the fat cap facing upward.
Step 5: Add Minimal Liquid
A common mistake is filling the crock pot with too much liquid, which ends up boiling the meat.
The pork will release a significant amount of its own juices as the fat renders down.
You only need about half a cup to a cup of liquid to create the necessary steam environment.
Choose a liquid that complements the pork, such as root beer, apple cider, or a light broth.
Pour the liquid around the sides of the meat rather than over the top to avoid washing off the rub.
Avoid using plain water, as it provides no additional flavor to the final dish.
Step 6: Set the Temperature and Time
Patience is the most important ingredient when it comes to breaking down tough muscle fibers.
Cooking on the “Low” setting is almost always superior to the “High” setting for pulled pork.
The slower temperature rise allows collagen to transform into silky gelatin, resulting in a moist texture.
Cover the crock pot with a tight-fitting lid and set it to Low for 8 to 10 hours.
Resist the urge to open the lid to check on the progress, as this releases heat and adds 20 minutes to the cook time.
Check for doneness by inserting a fork; it should slide in and out with zero resistance.
Step 7: The Essential Resting Period
Once the meat is tender, it is tempting to start shredding it immediately, but you must wait.
Resting allows the muscle fibers to relax and reabsorb the juices that were pushed to the surface.
If you shred it while it is piping hot, the steam will escape, and your meat will turn dry quickly.
Pro Tip: Transfer the roast to a large cutting board and tent it loosely with aluminum foil for 15 to 20 minutes.
Remove the large chunks of fat or the bone during this resting phase.
Keep the juices in the crock pot, but skim off the heavy layer of fat from the top using a spoon.
Prepare your shredding tools while the meat stabilizes its internal temperature.
Step 8: Shred and Re-Moisturize
Shredding the pork is the most satisfying part of the process and defines the final texture.
You can use two large dinner forks or specialized “meat claws” for this task.
The goal is to create long, thin strands of meat that can easily soak up sauce.
Pull the meat apart along the natural grain of the muscle fibers.
Discard any remaining gristle or unrendered fat pockets that you find during shredding.
Toss the shredded meat back into the crock pot with the reserved juices to keep it glistening.
Step 9: Final Seasoning and Saucing
Now that the meat is shredded, it has a massive amount of surface area ready for flavor.
This is the time to decide if you want a dry style, a vinegar-based style, or a thick BBQ sauce style.
Taste the meat first before adding anything to see if it needs an extra pinch of salt.
Add your favorite barbecue sauce gradually, stirring to coat every strand without drowning them.
Switch the crock pot to the “Warm” setting to keep the meat at the perfect serving temperature.
Serve on toasted brioche buns with a side of cool coleslaw for the classic experience.
Common Mistakes to Avoid
Using the Wrong Cut of Meat
Many people try to make pulled pork using a pork loin because it looks like a “nicer” piece of meat.
Pork loin is far too lean and will become tough, dry, and rubbery in a slow cooker.
Without the internal fat of a shoulder or butt, the meat cannot withstand the long cooking times required for shredding.
Adding Too Much Liquid
It is a myth that the meat needs to be submerged in liquid to stay moist.
If you add too much water or broth, you end up with “pot roast” flavor rather than “barbecue” flavor.
The meat should essentially steam and braise in its own rendered fats and a small amount of added acid or juice.
Rushing the Cook Time on High
While the “High” setting works in a pinch, it often results in meat that is “tough-tender.”
This means the meat might fall apart, but the individual strands feel dry or chewy in your mouth.
The slow breakdown of connective tissue happens most effectively at lower temperatures over a longer period.
Troubleshooting
The Meat is Still Tough
If you try to shred the pork and it resists the fork, it simply hasn’t cooked long enough.
Every piece of meat is different, and some shoulders have more stubborn connective tissue than others.
Put the lid back on and give it another hour on Low; it will eventually reach that “butter-soft” stage.
The Pork Tastes Bland
Blandness usually occurs because the seasoning didn’t penetrate deep enough or the juices diluted the salt.
The solution is to season the meat after shredding rather than relying solely on the initial rub.
Add a splash of apple cider vinegar and a bit more salt to the shredded meat to make the flavors pop.
The Meat is Too Greasy
Sometimes a very fatty roast can leave the final dish feeling heavy or oily on the tongue.
If the shredded meat is swimming in oil, use a fat separator to remove the grease from the cooking liquid.
You can also spread the shredded meat on a baking sheet and broil it for 5 minutes to crisp up the edges and render out excess fat.
Key Takeaways
- Always use a pork shoulder or Boston butt for the best fat-to-meat ratio.
- Apply a generous dry rub and sear the meat before it enters the crock pot.
- Cook on the “Low” setting for 8-10 hours to ensure the collagen breaks down properly.
- Limit the added liquid to one cup or less to prevent the meat from tasting boiled.
- Let the meat rest for 20 minutes before shredding to retain its internal moisture.
- Season the shredded meat with a splash of vinegar or sauce to finish the flavor profile.
Frequently Asked Questions
Can I cook the pork from a frozen state?
It is generally not recommended to put a large frozen roast in a crock pot for safety reasons.
The meat may stay in the “danger zone” temperature range for too long before it fully thaws and starts cooking.
Always thaw your pork shoulder completely in the refrigerator for 24-48 hours before starting this recipe.
How long does pulled pork stay fresh in the fridge?
Cooked pulled pork will stay fresh and delicious for up to four days when stored in an airtight container.
Make sure to include some of the cooking juices in the container to keep the meat from drying out during storage.
For longer storage, pulled pork freezes exceptionally well for up to three months.
What is the best way to reheat leftovers?
Avoid the microwave if possible, as it can make the pork strands feel rubbery or unevenly heated.
The best method is to reheat it in a covered pan on the stovetop over medium-low heat with a splash of water or broth.
Alternatively, you can warm it in the oven at 300 degrees Fahrenheit until it is heated through.
Do I need to remove the fat cap before cooking?
You should leave the fat cap on during the cooking process to help baste the meat and keep it moist.
Place the meat in the crock pot with the fat cap facing up so the melting fat runs down over the roast.
You can easily scrape away and discard any unrendered fat once the cooking is finished and you are ready to shred.
Our Top Recommended Finds
- Programmable 6-Quart Slow Cooker: A model with a digital timer ensures your meat doesn’t overcook if you are away from home.
- Heavy-Duty Meat Claws: These are much more efficient than forks for shredding large roasts quickly and uniformly.
- Instant-Read Meat Thermometer: While “fork-tender” is the goal, an internal temp of 202-205°F is the scientific sweet spot for pulled pork.
Take Your Barbecue To The Next Level
Now that you have the perfect base of slow-cooked pork, the possibilities for your meals are endless.
Try using the leftovers for pork tacos with pickled red onions or even on top of a loaded baked potato.
Gather your ingredients and start your crock pot this morning for a stress-free dinner tonight.