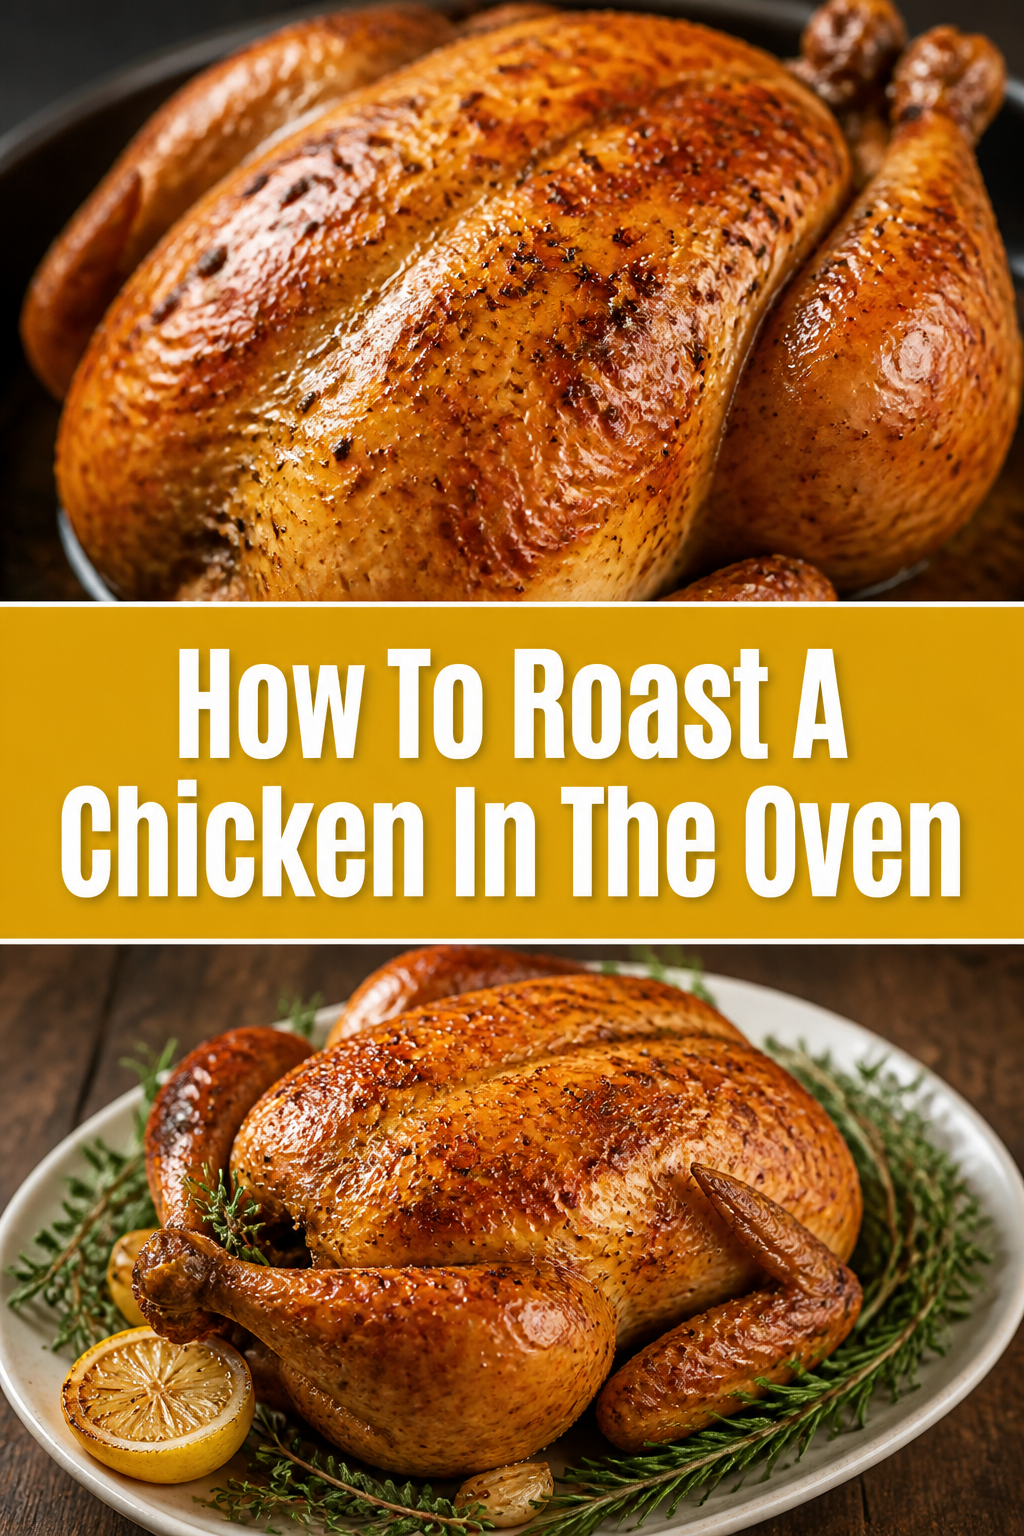
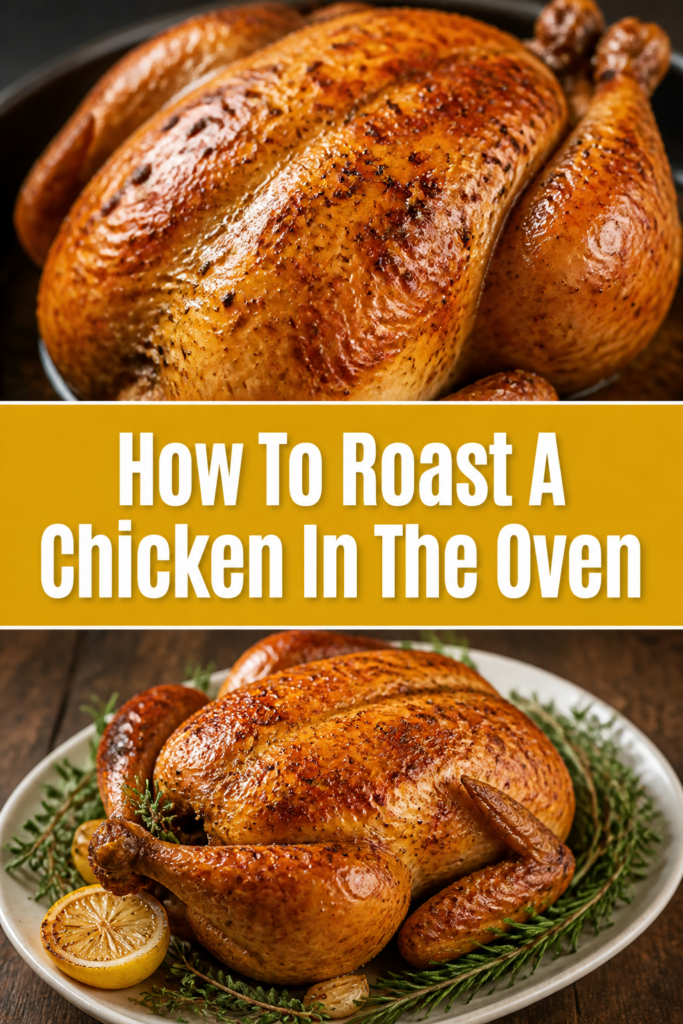
🍗 How To Roast A Chicken In The Oven
There is nothing quite like the smell of a chicken roasting in the oven on a Sunday afternoon.
It is the quintessential home-cooked meal that bridges the gap between simple comfort and gourmet elegance.
I have spent years perfecting this technique in my own kitchen, moving from soggy skin and dry meat to a bird that is consistently golden and juicy.
Quick Overview
Roasting a whole chicken is a fundamental skill that every home cook should master to save money and eat better.
- Time needed: 1 hour 30 minutes (approximate)
- Difficulty: Beginner
- What you’ll need: 4-5lb chicken, kosher salt, black pepper, butter or oil, aromatics (lemon, garlic, herbs), and a roasting pan or cast iron skillet.
Step-by-Step Instructions
Step 1: Choose and Prepare the Bird
Select a high-quality chicken, preferably organic or pasture-raised, weighing between four and five pounds.
Smaller chickens tend to roast more evenly and stay juicier than massive birds that take too long to cook through.
Remove the chicken from its packaging and discard any giblets or neck pieces found inside the cavity.
Do not wash the chicken in your sink, as this spreads bacteria around your kitchen surfaces and is unnecessary for safety.
Pat the entire surface of the chicken with paper towels until it is bone-dry to the touch.
Moisture is the enemy of crispy skin, so take your time with this part of the process.
Pro Tip: For the absolute best results, leave the chicken uncovered in the refrigerator for four hours to air-dry the skin further.
Step 2: Temper the Meat
Let the chicken sit on your counter for about 30 to 45 minutes before you plan to put it in the oven.
Taking the chill off the meat ensures that the center of the bird cooks at the same rate as the exterior.
Avoid leaving it out for more than an hour to maintain food safety standards.
A cold chicken hitting a hot oven often results in tough meat because the muscles contract too quickly from the temperature shock.
Step 3: Season Generously
Sprinkle kosher salt and freshly cracked black pepper over every inch of the bird, including the underside.
Use more salt than you think you need, as a large portion of it will drip off during the roasting process.
Rub softened butter or high-heat oil like avocado oil over the skin to help the seasoning stick and promote browning.
If you have the time, gently slide your fingers under the skin of the breast to loosen it and rub some salt directly onto the meat.
Season the inside of the cavity as well, ensuring the flavor permeates from the inside out.
Step 4: Add Aromatics
Stuff the cavity with half a lemon, a head of garlic cut in half, and a bundle of fresh herbs like thyme, rosemary, or sage.
These ingredients are not meant to be eaten, but they release steam and fragrance that flavor the meat from within.
Avoid over-stuffing the cavity, as you want some air to be able to circulate for even cooking.
If you don’t have fresh herbs, a teaspoon of dried poultry seasoning rubbed inside the cavity works wonders.
Pro Tip: Pierce the lemon several times with a fork before inserting it to release more of its natural juices and oils.
Step 5: Truss the Chicken
Tie the legs together with a short piece of kitchen twine to keep the bird compact.
Trussing prevents the legs from flapping outward, which can cause them to overcook before the breast is finished.
Tuck the wing tips behind the back of the chicken so they do not burn during the long roast.
A compact bird roasts more evenly and presents much better on the dinner table when you are ready to carve.
Step 6: Set Up the Pan
Place the chicken in a heavy-duty roasting pan or a large cast iron skillet.
If you have a roasting rack, use it to lift the bird off the bottom of the pan and allow heat to reach the underside.
Scatter chopped carrots, onions, and celery around the chicken if you want to create a built-in side dish and flavor the drippings.
The vegetables act as a natural rack and soak up the delicious rendered chicken fat as it cooks.
Step 7: The Roasting Process
Preheat your oven to 425°F (218°C) to ensure a blast of high heat right at the start.
Slide the pan into the center of the oven and let it roast undisturbed for about 50 to 70 minutes.
Check the internal temperature after 50 minutes by inserting an instant-read thermometer into the thickest part of the thigh.
The chicken is safe and ready when the thermometer reads 165°F (74°C).
Pro Tip: If the breast is browning too quickly, place a small piece of aluminum foil over it while the legs finish cooking.
Step 8: The Essential Rest
Transfer the chicken from the pan to a cutting board or a warm platter once it reaches the target temperature.
Let the bird rest for at least 15 to 20 minutes before you even think about touching a knife to it.
Resist the urge to tent it tightly with foil, as this can trap steam and soften the crispy skin you worked so hard to achieve.
Resting allows the juices to redistribute throughout the meat, ensuring every bite is moist rather than leaving the liquid on the cutting board.
Common Mistakes to Avoid
Roasting a Damp Chicken
If the skin of your chicken is wet when it enters the oven, it will steam rather than roast. This leads to rubbery, pale skin that lacks flavor. Always use several paper towels to dry the bird thoroughly, paying close attention to the areas under the wings and legs.
Over-Basting the Meat
While it is tempting to open the oven every fifteen minutes to pour juices over the bird, this is counterproductive. Every time you open the oven door, the temperature drops significantly. Basting also adds moisture back to the skin, which prevents it from becoming truly crispy.
Cutting Too Early
Carving a chicken immediately after it leaves the oven is the fastest way to ruin a meal. The high heat of the oven pushes the juices to the center of the bird. If you cut it right away, those juices run out, leaving the meat dry and tough. Patience is the most important ingredient in a perfect roast.
Troubleshooting
The Skin is Pale and Flabby
This usually happens if the oven temperature was too low or if there was too much moisture in the pan. Next time, ensure your oven is fully preheated to at least 425°F. You can also try rubbing a bit of baking powder mixed with the salt onto the skin, as this helps break down the proteins for better browning.
The Meat is Dry
Dry meat is almost always a result of overcooking. Oven thermostats are often inaccurate, so relying on time alone is risky. Invest in a high-quality digital meat thermometer to pull the bird out exactly when it hits 165°F. Remember that the temperature will continue to rise a few degrees while resting.
The Legs are Still Pink
If the breast meat is done but the leg joints are still pink or bloody, your chicken might not have been tempered properly. Make sure the bird sits at room temperature before roasting. If this happens mid-cook, you can carve the legs off and return them to the oven for five more minutes while the breast rests.
Key Takeaways
- Dry the skin thoroughly with paper towels to achieve a golden, crispy texture.
- Season heavily with kosher salt to enhance the natural flavors of the poultry.
- Use aromatics like lemon and garlic inside the cavity to keep the meat fragrant and moist.
- Roast at high heat (425°F) for the best balance of crispy skin and tender meat.
- Rest the bird for 20 minutes before carving to keep the juices inside the meat.
Frequently Asked Questions
Should I roast the chicken breast-side up or down?
Most people prefer roasting breast-side up for the entire duration to get the most attractive presentation and crispy skin on the white meat. Some techniques suggest starting breast-side down to keep the juices in the breast, then flipping it halfway through. However, flipping a hot, slippery chicken is dangerous and often tears the skin, so breast-side up is the standard for a reason.
How do I know if the chicken is done without a thermometer?
You can check for doneness by piercing the thickest part of the thigh with a knife. If the juices run clear rather than pink or cloudy, the chicken is likely done. You can also wiggle the leg; it should feel loose and move easily in the socket. However, a thermometer is the only way to be 100% certain of safety and quality.
Can I roast a chicken from frozen?
It is not recommended to roast a whole chicken directly from a frozen state. The outside will likely burn or dry out before the center reaches a safe temperature. Always thaw your chicken completely in the refrigerator for 24 to 48 hours before you plan to cook it. This ensures the heat can penetrate the bird evenly.
What should I do with the leftover carcass?
Never throw away the bones after you have carved the meat. Place the carcass in a large pot with water, onions, carrots, and celery to make a rich homemade chicken stock. Simmer it for several hours, strain it, and you will have a base for soups and stews that is far superior to anything sold in a store.
Our Top Recommended Finds
- Digital Instant-Read Thermometer: This is the most important tool for preventing overcooked meat. It gives you an accurate reading in seconds.
- 12-Inch Cast Iron Skillet: A heavy skillet holds heat incredibly well and produces a very crispy bottom on the chicken. It also moves easily from stovetop to oven.
- Unbleached Kitchen Twine: A spool of cotton twine is essential for trussing the bird and ensuring it cooks into a beautiful, compact shape.
Mastering Your Sunday Roast Tradition
Once you feel comfortable with the basic roasting technique, you can start experimenting with different flavor profiles.
Try rubbing the skin with smoked paprika and cumin for a smoky finish, or use a compound butter filled with chopped parsley and chives.
The skills you learned today also apply to roasting other types of poultry, such as turkey or Cornish hens.
You might even want to look into “spatchcocking,” which involves removing the backbone to lay the chicken flat for even faster cooking.
Pick up a fresh chicken this weekend and give this method a try in your own kitchen.