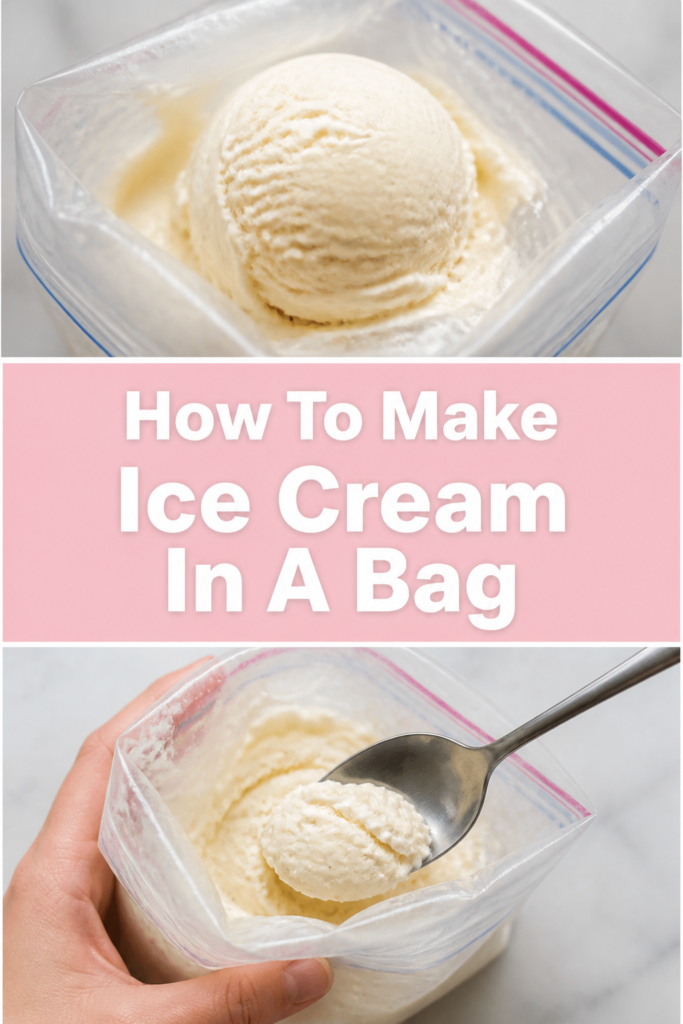
🍦 How To Make Ice Cream In A Bag
Making ice cream in a bag is a classic kitchen experiment that feels like a magic trick every time you do it.
I first discovered this method during a summer camp volunteer shift, and I was skeptical that a couple of plastic bags could replace a high-end churner.
To my surprise, the result was a velvety, soft-serve style treat that tasted fresher than anything from a cardboard carton.
Quick Overview
This process relies on a simple scientific principle called freezing point depression to turn liquid cream into a solid dessert in minutes.
- Time needed: 15 to 20 minutes
- Difficulty: Beginner
- What you’ll need: Heavy cream or half-and-half, sugar, vanilla extract, ice, rock salt, and two sizes of zip-top bags.
Step-by-Step Instructions
Step 1: Mix the Ice Cream Base
Combine your primary ingredients in a small, quart-sized zip-top bag to create the liquid base for your dessert.
Pour in one cup of half-and-half or heavy cream, two tablespoons of granulated sugar, and half a teaspoon of pure vanilla extract.
The choice of dairy matters because higher fat content generally leads to a creamier texture and a richer mouthfeel.
Pro Tip: If you want a lighter version, half-and-half works perfectly, but for a decadent treat, go with full heavy whipping cream.
Step 2: Seal the Small Bag Securely
Press as much air as possible out of the small bag before you zip it shut to prevent the bag from popping during the shaking process.
Check the seal multiple times by running your fingers along the track to ensure there are no gaps or leaks.
A leak at this stage means salty water will get into your ice cream, which is the quickest way to ruin the entire batch.
Step 3: Prepare the Cooling Chamber
Fill a large, gallon-sized zip-top bag about halfway with ice cubes or crushed ice.
Crushed ice often works faster because it has more surface area, which helps pull heat away from the cream more efficiently.
Make sure the bag is sturdy enough to handle the weight and the sharp edges of the ice without puncturing.
Step 4: Add the Secret Ingredient
Measure about half a cup of rock salt or ice cream salt and pour it directly onto the ice in the large bag.
The salt is necessary because it lowers the freezing point of the ice, allowing the temperature inside the bag to drop well below 32 degrees Fahrenheit.
Without the salt, the ice would melt at a temperature that is too warm to freeze the fatty cream mixture quickly.
Pro Tip: Large-grain rock salt is traditional, but if you only have table salt, it will still work if you use a little bit more of it.
Step 5: Nest the Bags Together
Place the small bag containing the cream mixture inside the large bag containing the ice and salt.
Ensure the small bag is completely surrounded by the ice and salt mixture so that the cooling happens evenly from all sides.
Double-check the seal on the large bag to make sure it is airtight before you begin the physical part of the process.
Step 6: Shake and Roll
Shake the bags vigorously for about five to ten minutes, keeping the mixture in constant motion.
The movement is essential because it incorporates air into the cream, which prevents large ice crystals from forming and creates a smooth texture.
You might want to wrap the bag in a hand towel or wear oven mitts because the bag will become extremely cold and may hurt your bare hands.
Step 7: Monitor the Consistency
Check the progress of your ice cream after about five minutes of continuous shaking.
Squeeze the small bag gently through the large bag to feel if the liquid has started to solidify into a soft-serve consistency.
If it still feels watery, continue shaking for another three to five minutes until the mixture is firm and holds its shape.
Step 8: Extract and Rinse
Remove the small bag from the ice and salt mixture once the ice cream has reached your desired thickness.
Before opening the small bag, rinse the outside of it under cold running water to remove any salt residue near the zipper.
Skipping this rinse often leads to salt falling into the ice cream as you try to scoop it out, which ruins the flavor.
Pro Tip: Use a paper towel to dry the bag completely after rinsing to ensure no salty water drips inside.
Step 9: Serve and Customize
Scoop the ice cream into a chilled bowl or eat it directly out of the bag for a fun, rustic experience.
This is the best time to add your favorite mix-ins like chocolate chips, crushed cookies, or fresh fruit.
Since this ice cream doesn’t contain stabilizers, it will melt faster than store-bought varieties, so enjoy it immediately.
Common Mistakes to Avoid
Using Thin Sandwich Bags
Standard sandwich bags are often too thin to withstand the friction and cold temperatures of this process. They can easily develop small tears or the seams can burst during the shaking phase. Use heavy-duty freezer bags for both the small and large containers to ensure your ingredients stay where they belong.
Skimping on the Salt
Some people assume that a sprinkle of salt is enough, but you actually need quite a bit to create the necessary chemical reaction. If you don’t add enough salt, the ice will simply sit at 32 degrees, and your cream will never turn into ice cream. Follow the measurements closely to ensure the temperature drops low enough to freeze the dairy.
Leaving Too Much Air in the Bag
Air trapped inside the small bag acts as an insulator, which slows down the freezing process significantly. It also makes the bag more likely to pop when you are shaking it vigorously. Take the time to flatten the bag and push the air out before you seal the zipper shut.
Forgetting to Protect Your Hands
The temperature of the ice-salt mixture can drop to nearly zero degrees Fahrenheit, which is cold enough to cause discomfort or even mild frostbite if handled too long. Many people start shaking with bare hands and have to stop because of the pain. Always have a towel, gloves, or oven mitts ready before you start the shaking step.
Troubleshooting
The Mixture Is Not Thickening
If your cream is still liquid after ten minutes of shaking, the temperature inside the bag is likely not cold enough. Check to see if most of your ice has melted into water; if it has, pour out some of the water and add more fresh ice and salt. Make sure you are using a high-fat dairy product, as low-fat or non-dairy milks take much longer to freeze and require colder temperatures.
The Ice Cream Is Too Salty
This usually happens because salt water leaked into the small bag during the shaking process or fell in when you opened the seal. Ensure the small bag is perfectly sealed and consider double-bagging the cream mixture in two small bags for extra protection. Always rinse the outside of the bag thoroughly before opening it to remove any salt clinging to the plastic.
The Texture Is Gritty or Icy
Gritty ice cream is often the result of not shaking the bag enough or shaking it too slowly. Constant, vigorous motion is what breaks up the ice crystals as they form, keeping them small and undetectable on the tongue. If the texture is icy, try using heavy cream next time, as the higher fat content naturally inhibits the growth of large ice crystals.
Key Takeaways
- Use freezer bags: Durable bags prevent leaks and messes during the vigorous shaking process.
- Salt is essential: You must use enough salt to lower the freezing point of the ice, or the cream won’t solidify.
- Protect your hands: The chemical reaction makes the bag dangerously cold, so use a towel or gloves.
- Rinse before opening: Always clean the salt off the small bag’s exterior to prevent contaminating your dessert.
- Eat immediately: Homemade bag ice cream has a soft-serve texture that melts quickly without commercial stabilizers.
Frequently Asked Questions
Can I use almond milk or oat milk instead of dairy?
Yes, you can use non-dairy milks, but the results will vary based on the fat content of the milk. Oat milk and coconut milk usually yield the best results because they are creamier and have a higher fat percentage than almond milk. You may need to shake the bag for a few extra minutes since plant milks have different freezing properties than cow’s milk.
Why does the salt make the ice colder?
Salt lowers the freezing point of water, a process known as freezing point depression. When you add salt to ice, it forces some of the ice to melt, and this process requires energy in the form of heat. The melting ice pulls that heat from the surrounding environment, which in this case is your bag of cream, causing the cream to freeze.
How long can I store this ice cream in the freezer?
This type of ice cream is designed to be eaten immediately after it is made. If you put it in the freezer, it will likely turn into a very hard, solid block because it lacks the stabilizers found in commercial brands. If you must store it, let it sit on the counter for a few minutes to soften before you try to scoop it.
What is the best type of salt to use?
Ice cream salt or rock salt is the standard choice because the large crystals dissolve slowly and provide a steady cooling effect. However, kosher salt or even regular table salt will work in a pinch. Just keep in mind that finer salts dissolve faster, so you might need to add more ice and salt halfway through if you are making multiple batches.
Our Top Recommended Finds
- Ziploc Freezer Bags: These are thicker than standard bags and feature a “Power Shield” technology that helps prevent punctures from ice chunks.
- Morton Ice Cream Salt: This salt is specifically processed for use in ice cream making and provides the ideal grain size for lowering the freezing point of ice.
- Silicone Oven Mitts: Unlike cloth towels, silicone mitts provide a great grip on a slippery, wet bag while completely insulating your hands from the extreme cold.
Level Up Your Frozen Dessert Game
Now that you have mastered the basic vanilla recipe, you can begin experimenting with different base liquids and flavors.
Try using chocolate milk for an instant frosty treat or add a swirl of caramel sauce directly into the bag before you start shaking.
If you enjoyed this activity, you might want to look into the science of emulsifiers or try making fruit sorbets using the same bag method.
Gather your ingredients and head to the kitchen to see this icy transformation for yourself today.