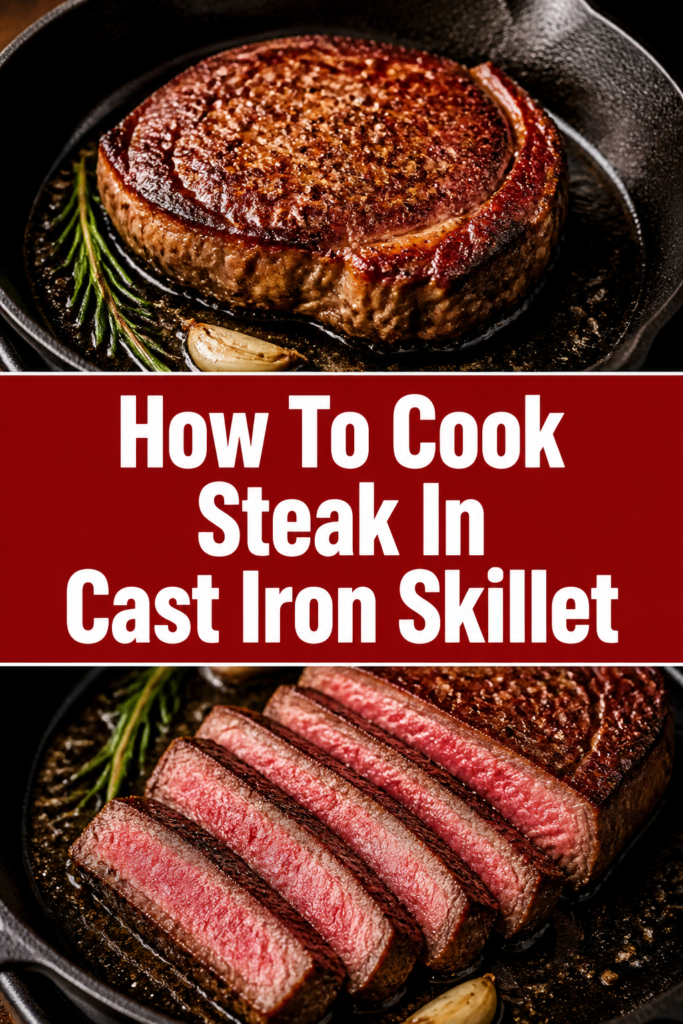
🥩 How To Cook Steak In Cast Iron Skillet
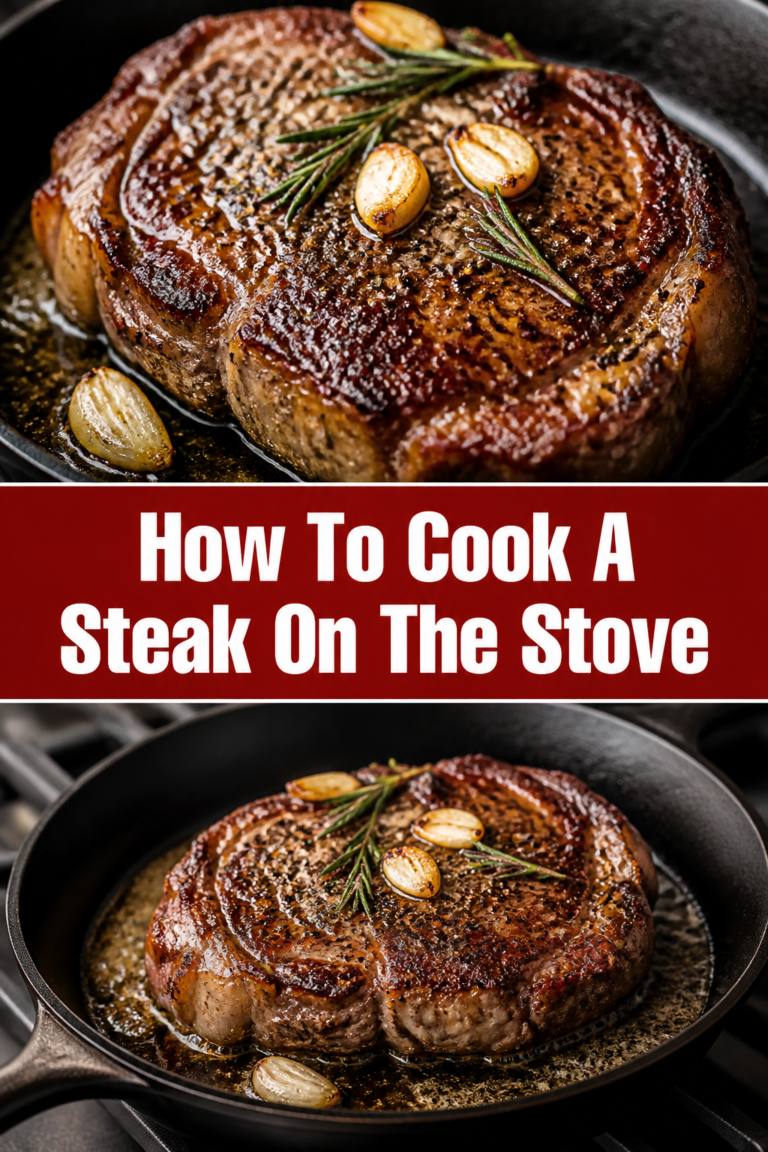
There is a specific sound a steak makes when it hits a ripping hot cast iron pan.
It is a violent, satisfying sizzle that promises a crust you simply cannot achieve on a standard outdoor grill.
I have spent over a decade perfecting this technique in professional kitchens and my own home to ensure every bite is edge-to-edge pink with a glass-like crust.
Quick Overview
This guide will teach you how to master the art of the pan-sear, focusing on temperature control and aromatics.
- Time needed: 45 minutes (includes tempering and resting)
- Difficulty: Intermediate
- What you’ll need: Cast iron skillet, high-quality steak, high-smoke point oil, butter, garlic, fresh herbs, and an instant-read thermometer.
Step-by-Step Instructions
Step 1: Choose the Right Cut
Select a steak that is at least 1.5 inches thick to ensure you get a great sear without overcooking the center.
Look for heavy marbling, which refers to the white flecks of intramuscular fat that melt during the cooking process.
Choose a Ribeye for maximum flavor and fat content, or a New York Strip if you prefer a tighter grain and a robust “beefy” taste.
Pro Tip: Avoid thin grocery store steaks for this method; they cook through too quickly before a proper crust can form on the exterior.
Step 2: Temper and Dry the Meat
Remove your steak from the refrigerator at least 30 to 45 minutes before you plan to start cooking.
Place the meat on a wire rack set over a baking sheet to allow air to circulate around the entire cut.
Pat the surface of the meat bone-dry with paper towels on all sides, including the edges.
Understand that moisture is the enemy of a good sear, as any surface water must evaporate before the browning process begins.
Pro Tip: If you have time, salt the steak and leave it uncovered in the fridge overnight for the ultimate dry exterior.
Step 3: Season Aggressively
Apply a generous coating of Kosher salt to every surface of the steak, including the fat cap on the side.
Use more salt than you think you need, as a significant portion will fall off in the pan or be lost to the rendered fat.
Wait to apply black pepper until the very end of the cooking process to prevent the spice from burning and becoming bitter.
Ensure the salt has time to dissolve into the surface moisture and be reabsorbed into the muscle fibers for internal seasoning.
Step 4: Preheat the Cast Iron Skillet
Set your cast iron skillet over medium-high heat for at least five to seven minutes before adding any oil.
Verify the heat by hovering your hand a few inches above the surface; you should feel intense, radiating warmth.
Utilize cast iron because its high thermal mass prevents the temperature from dropping when the cold meat hits the pan.
Avoid using non-stick pans for this process, as they cannot safely handle the high temperatures required for a professional sear.
Pro Tip: A drop of water should dance and evaporate instantly when the pan is ready for the oil.
Step 5: Apply the Oil and Initial Sear
Pour two tablespoons of a high-smoke point oil, such as avocado or grapeseed oil, into the hot skillet.
Swirl the pan to coat the bottom evenly and wait for the oil to start shimmering and producing just a faint wisp of smoke.
Lay the steak away from you into the pan to prevent hot oil from splashing toward your body.
Press down lightly on the steak with a spatula or tongs to ensure every square inch of the meat makes contact with the iron.
Step 6: Develop the Crust
Sear the first side for about two to three minutes without moving the meat at all.
Flip the steak once a deep, mahogany-brown crust has formed across the entire surface.
Use tongs to hold the steak upright on its side to render out the fat cap and sear the edges of the meat.
Adjust the burner slightly if the oil is smoking excessively, but keep the heat high enough to maintain a constant sizzle.
Step 7: The Butter Baste
Reduce the heat to medium and add three tablespoons of unsalted butter, crushed garlic cloves, and fresh thyme or rosemary.
Tilt the skillet so the melting butter pools at the bottom with the aromatics and begins to foam.
Spoon the hot, flavored butter repeatedly over the steak for the final two minutes of cooking.
Watch as the butter carries the heat into the nooks and crannies of the meat, adding a rich, nutty finish to the crust.
Pro Tip: Basting is what separates a home-cooked steak from a high-end steakhouse experience.
Step 8: Check the Temperature
Insert an instant-read thermometer into the thickest part of the steak, avoiding any large pockets of fat or bone.
Pull the steak off the heat when it reaches 130°F (54°C) for a perfect medium-rare result.
Account for “carry-over cooking,” which will cause the internal temperature to rise another 5 degrees while the meat rests.
Remove the steak immediately from the hot pan to a clean cutting board or a warm plate.
Step 9: The Essential Rest
Resist the urge to cut into the steak immediately, as the muscle fibers are currently tight and constricted.
Wait at least 10 minutes to allow the juices to redistribute throughout the meat and the fibers to relax.
Ensure that if you cut too early, all the flavorful moisture will run out onto the board, leaving the meat dry and gray.
Tent the meat loosely with foil if you are worried about it getting cold, though a thick steak holds heat remarkably well.
Common Mistakes to Avoid
Using a Cold Skillet
Putting meat into a skillet that hasn’t reached the proper temperature results in a gray, steamed appearance rather than a brown crust. The meat will stick to the iron and tear when you try to flip it. Always give your cast iron at least five minutes to soak up the heat from the burner.
Crowding the Pan
If you try to cook three large steaks in a small 10-inch skillet, the temperature will plummet instantly. This causes the meat to release its juices, which then boil the steak instead of searing it. Cook in batches or use two separate pans if you are feeding a crowd.
Using Low Smoke Point Fats
Extra virgin olive oil and butter have low smoke points and will burn long before the steak is finished. This creates a bitter, acrid taste and fills your kitchen with thick, black smoke. Start with a neutral high-heat oil and only add butter at the very end of the process.
Cutting the Meat Too Soon
This is the most frequent error made by hungry home cooks. The internal pressure of the meat during cooking forces the juices toward the center. Resting allows those juices to move back toward the edges, ensuring every bite is moist.
Troubleshooting
The Pan Is Smoking Excessively
If your kitchen is filling with smoke, your pan is likely too hot or you are using the wrong type of oil. Slide the pan off the burner for a minute to let the temperature drop. Use a fan or open a window, but do not stop the cooking process unless the oil is actually on fire.
The Exterior Is Burnt But The Interior Is Raw
This happens when the heat is too high or the steak is too thick. If the crust is perfect but the inside is still cold, transfer the entire cast iron skillet into a 350°F oven for a few minutes. This gentle, indirect heat will finish the center without ruining the crust.
The Steak Is Tough and Chewy
This is usually a result of overcooking or choosing a cut with too much connective tissue. Ensure you are using a meat thermometer to pull the steak at the right time. Also, remember to slice against the grain to break up the muscle fibers for a more tender mouthfeel.
Key Takeaways
- Dry the surface: Use paper towels to remove every drop of moisture before the steak hits the pan.
- Preheat thoroughly: Give your cast iron enough time to become an even heat reservoir.
- Use high-heat oil: Avocado or grapeseed oil prevents burning and bitter flavors.
- Butter baste at the end: This adds the signature steakhouse flavor and finish.
- Rest the meat: Ten minutes of patience guarantees a juicy steak.
- Check internal temps: Use a thermometer to take the guesswork out of the process.
Frequently Asked Questions
Should I flip the steak only once?
While traditional wisdom says to flip only once, modern testing shows that flipping every 30 to 60 seconds can actually result in a more even internal cook. However, the single-flip method is easier for beginners to manage while building a consistent crust. Both methods work, provided the pan stays hot enough to sear between flips.
What is the best oil for searing steak?
Avocado oil is the gold standard because it has a smoke point of about 520°F. Grapeseed oil and refined sunflower oil are also excellent choices that won’t break down under high heat. Avoid unrefined oils or butter during the initial high-heat phase of the sear.
Can I cook a frozen steak in cast iron?
It is possible, but it requires a different technique involving a lower temperature and a longer cook time. For the best results following this specific guide, the steak should be fully thawed. Cooking from frozen often results in a perfect exterior and a center that remains icy or raw.
How do I clean the skillet after cooking?
While the pan is still warm, use a chainmail scrubber or a stiff brush with hot water to remove stuck-on bits. Avoid using excessive soap, though a little bit of mild dish soap will not hurt a well-seasoned pan. Dry the skillet immediately on the stovetop and apply a very thin layer of oil to prevent rust.
Our Top Recommended Finds
- 12-Inch Cast Iron Skillet: The essential tool for heat retention and a lifetime of cooking.
- Digital Instant-Read Thermometer: The only way to guarantee your steak is cooked to your exact preference every time.
- Stainless Steel Basting Spoon: A large, deep spoon makes it easy to shower your steak in hot, aromatic butter.
Mastering the Art of the Sear
Now that you have the foundation for the perfect steak, you can begin experimenting with different aromatics like smashed ginger or star anise for a unique twist.
Try applying this same high-heat cast iron technique to thick-cut pork chops or even dense vegetables like cauliflower steaks.
The more you use your cast iron skillet, the better its seasoning will become, making your next steak even easier to cook than the last one.
Pick up a high-quality ribeye today and put these steps into practice to see the difference that professional technique makes in your own kitchen.