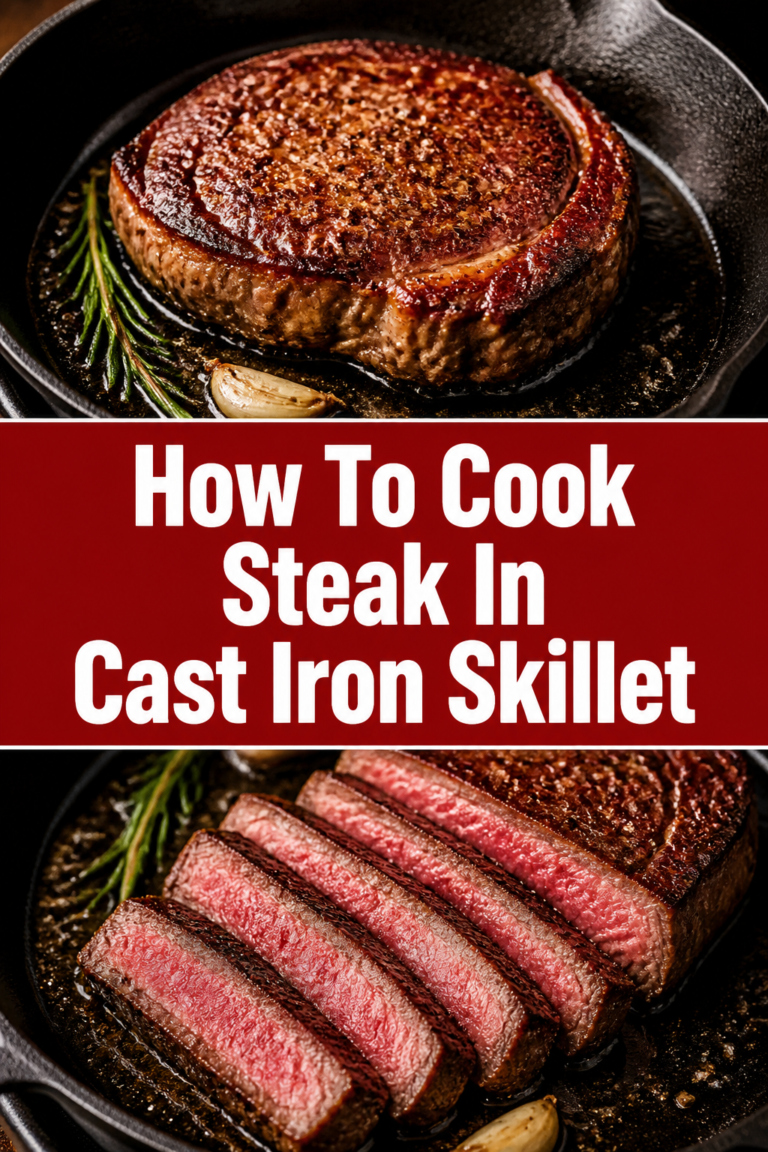
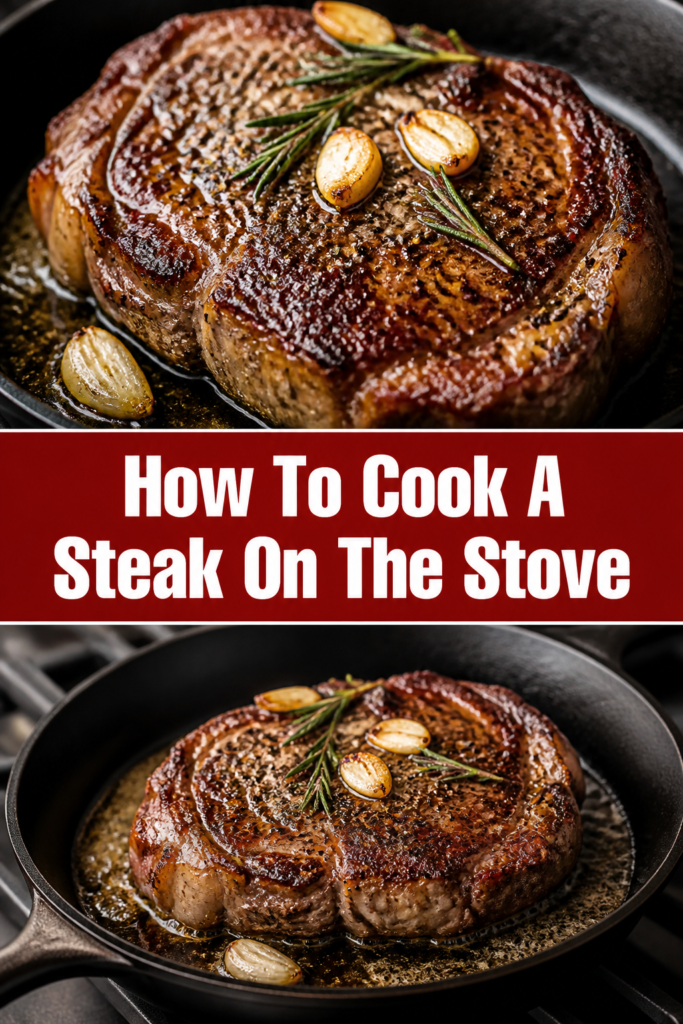
🥩 How To Cook A Steak On The Stove
I spent years working the grill line in a busy steakhouse before mastering the art of the indoor sear.
You don’t need a backyard grill to achieve a crust that rivals a high-end restaurant.
This guide will show you how to get that perfect medium-rare finish using just your stovetop.
Quick Overview
This method focuses on the “pan-sear and butter-baste” technique, which is the gold standard for home cooks who want professional results.
- Time needed: 45 minutes
- Difficulty: Intermediate
- What you’ll need: Cast iron skillet, high-smoke point oil, unsalted butter, garlic, fresh herbs, and an instant-read thermometer.
Step-by-Step Instructions
Step 1: Choose the Right Cut of Meat
Selection is the foundation of a great steak. Look for a cut that is at least 1.5 inches thick to ensure you don’t overcook the center before the outside develops a crust.
Ribeye is a favorite for the stove because its high fat content provides plenty of flavor and moisture during the high-heat process.
New York Strip is another excellent choice, offering a tighter grain and a robust beefy flavor that stands up well to pan-searing.
Filet Mignon is incredibly tender but lean, so it requires careful basting to prevent it from becoming dry.
Pro Tip: Look for “choice” or “prime” grades with visible white flecks of intramuscular fat, known as marbling.
Step 2: Temper Your Steak
Take the steak out of the refrigerator about 30 to 45 minutes before you plan to cook it.
Cold meat will cause the temperature of your pan to drop instantly, which prevents a proper sear from forming.
Room temperature meat cooks more evenly because the center doesn’t have as much of a temperature “climb” to reach your desired doneness.
Keep it covered loosely with a paper towel while it sits on the counter to protect it from any kitchen debris.
Step 3: Remove All Surface Moisture
Dry the steak thoroughly on all sides using paper towels.
Moisture is the enemy of a good sear because water turns into steam when it hits the hot pan.
Steam prevents the Maillard reaction, which is the chemical process that creates the brown, flavorful crust we all love.
Press down firmly with the paper towels to ensure you have absorbed every drop of liquid from the surface and the edges.
Step 4: Season Aggressively
Apply a generous amount of Kosher salt and freshly cracked black pepper to every surface of the meat.
Don’t forget the sides of the steak, as these thick edges need seasoning just as much as the top and bottom.
Salt draws out moisture initially, but if you let it sit for a few minutes, the meat reabsorbs the brine, seasoning the interior.
Avoid using fine table salt, as it is too easy to over-salt the meat; the large grains of Kosher salt provide better control and texture.
Pro Tip: Season your steak from about 12 inches above the meat to ensure an even distribution of salt and pepper.
Step 5: Preheat Your Skillet
Place a heavy cast iron skillet over high heat and let it get extremely hot.
Cast iron is preferred because it retains heat better than stainless steel or non-stick pans, ensuring the temperature stays consistent.
Add two tablespoons of a high-smoke point oil, such as avocado oil, grapeseed oil, or canola oil.
Wait for the oil to start shimmering and just begin to release a tiny wisps of smoke before you even think about adding the meat.
Step 6: The Initial Sear
Lay the steak into the pan, laying it away from you to avoid splashing hot oil on your skin.
Press down lightly with a spatula or tongs to ensure the entire surface of the meat is making contact with the hot metal.
Let it cook undisturbed for about 2 to 3 minutes until a deep, mahogany-colored crust has formed on the bottom.
Flip the steak and repeat the process on the other side, making sure you don’t move it around too much.
Step 7: Render the Fat Cap
Use your tongs to stand the steak up on its side, focusing on the edge that has the thickest strip of fat.
Hold the steak in this position for about 60 seconds to melt down that fat and turn it crispy.
Rendering the fat improves the overall flavor of the dish and prevents you from having a chewy, unappetizing strip of white fat on your plate.
Rotate the steak to sear all the edges, including the thin sides, to lock in as much moisture as possible.
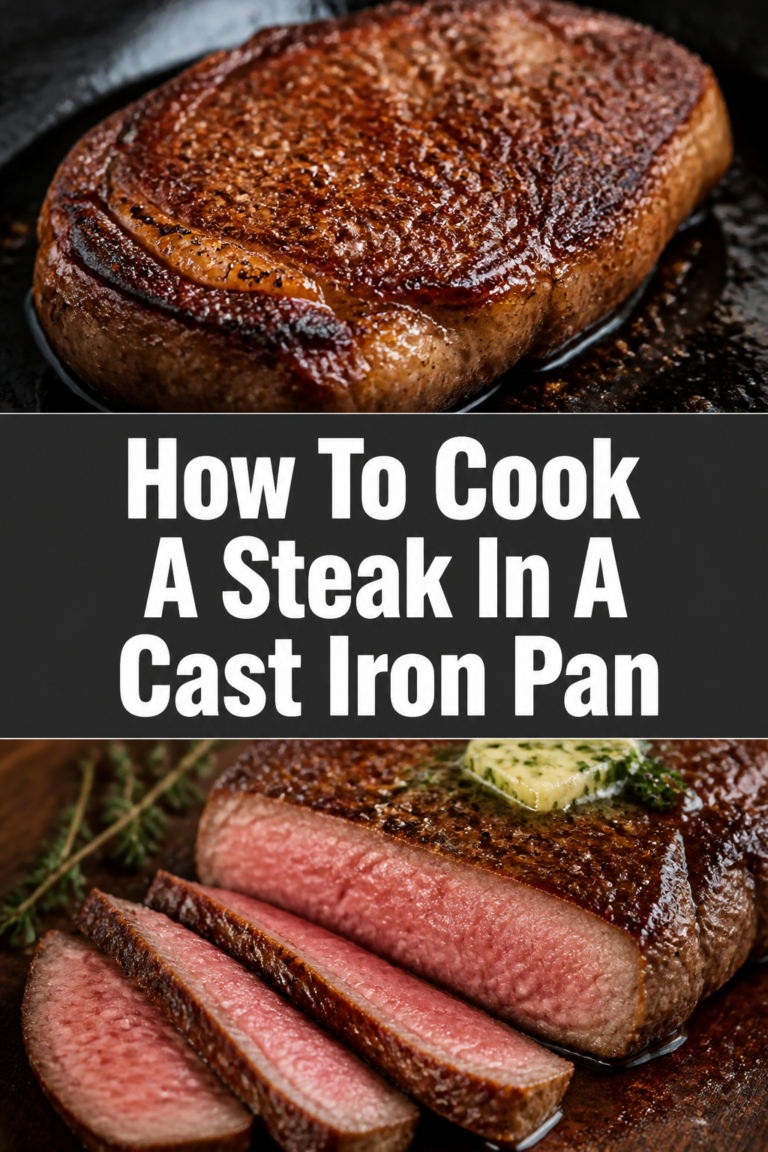
Step 8: The Butter Baste
Turn the heat down to medium and add three tablespoons of unsalted butter, three crushed garlic cloves, and a few sprigs of fresh rosemary or thyme.
Tilt the pan slightly so the melting butter pools at the bottom with the aromatics.
Use a large spoon to continuously scoop the hot, bubbling, infused butter over the steak for the final 2 to 3 minutes of cooking.
This technique, known as “arrosé,” adds a rich, nutty flavor and ensures the steak finishes cooking gently and evenly.
Pro Tip: If the butter starts to turn black or smell burnt, pull the pan off the heat immediately to cool it down.
Step 9: Check the Internal Temperature
Insert an instant-read thermometer into the thickest part of the steak to check for doneness.
For medium-rare, look for a reading of 130°F (54°C). The temperature will rise about 5 degrees while the meat rests.
For medium, pull the steak at 140°F (60°C). For medium-well, wait until it reaches 150°F (65°C).
Avoid using the “finger test” or “palm test” if you are a beginner, as these methods are notoriously unreliable compared to a digital probe.
Step 10: The Essential Rest
Transfer the steak to a warm plate or a wooden cutting board and let it sit undisturbed for at least 10 minutes.
Resting allows the muscle fibers to relax and reabsorb the juices that were pushed toward the center during cooking.
If you cut the steak too soon, all those flavorful juices will run out onto the board, leaving you with dry meat.
Tent the meat loosely with foil if you are worried about it getting cold, but leave a small gap for steam to escape so the crust stays crunchy.
Common Mistakes to Avoid
Using a Non-Stick Pan
Non-stick coatings are not designed to handle the extreme heat required for a proper steak sear. High temperatures can damage the coating and release unpleasant fumes into your kitchen. Stick to cast iron or stainless steel for the best results.
Flipping the Meat Constantly
While some modern chefs suggest frequent flipping, beginners should let the steak sit to develop a solid crust. Moving the meat too often prevents the Maillard reaction from reaching its full potential. Give the steak time to bond with the heat of the pan before checking its progress.
Using Extra Virgin Olive Oil
Extra virgin olive oil has a very low smoke point and will burn almost instantly in a hot skillet. Burnt oil creates a bitter, acrid taste that will ruin the flavor of your expensive cut of meat. Save the olive oil for dressings and use a neutral oil with a high smoke point for the sear.
Cutting into the Meat to Check Color
Slicing into the steak while it is still in the pan is a guaranteed way to lose moisture. The color of the meat inside is also deceptive while it is still hot and under tension. Trust your thermometer rather than your eyes to determine when the steak is ready to come off the heat.
Troubleshooting
The Kitchen is Filling with Smoke
This usually happens if your heat is too high or your oil has reached its breaking point. Open a window and turn on your stove’s exhaust fan before you start. If the smoke is excessive, lower the heat slightly and ensure you aren’t using butter too early in the process.
The Outside is Burnt but the Inside is Raw
This occurs when the pan is too hot, causing the exterior to char before the heat can penetrate the center. If you notice the crust is getting too dark too fast, lower the heat and finish the steak by basting it with butter more frequently. For very thick steaks, you may need to finish them in a 350°F oven for a few minutes.
The Steak is Tough and Chewy
Toughness is often the result of not letting the meat temper before cooking or skipping the resting period. It can also happen if you choose a cut with too much connective tissue that hasn’t been properly trimmed. Ensure you are cutting against the grain when you finally serve the meat to break up the muscle fibers.
Key Takeaways
- Dry the meat: Always use paper towels to remove surface moisture for a better crust.
- High heat is vital: Use a cast iron skillet and wait for the oil to shimmer before adding the steak.
- Butter baste at the end: Add butter and aromatics only in the final minutes to avoid burning.
- Use a thermometer: Digital probes take the guesswork out of determining doneness.
- Resting is mandatory: Give the steak 10 minutes to redistribute juices before slicing.
Frequently Asked Questions
Should I salt my steak the night before?
Yes, this is known as dry-brining. Salting the meat 24 hours in advance allows the salt to penetrate deep into the muscle, seasoning it thoroughly and helping the surface dry out even more for a superior sear.
Can I cook a frozen steak on the stove?
It is possible, but not recommended for beginners. Cooking from frozen usually results in a gray band of overcooked meat around the edges while the center remains raw. It is much better to thaw the meat completely in the refrigerator overnight.
What is the best oil for searing steak?
Avocado oil is widely considered the best because it has one of the highest smoke points (around 520°F). Grapeseed oil and refined peanut oil are also excellent choices that won’t burn under the intense heat of a steak pan.
Why does my steak look gray instead of brown?
A gray steak is usually the result of a pan that wasn’t hot enough or meat that was too wet. The meat effectively boiled in its own juices rather than searing. Make sure your pan is preheated for at least five minutes on high heat.
Our Top Recommended Finds
- 12-Inch Cast Iron Skillet: This is the most essential tool for stovetop steaks due to its incredible heat retention and durability.
- Digital Instant-Read Thermometer: A fast and accurate thermometer prevents you from ever overcooking a steak again.
- Flaky Sea Salt: Finishing your sliced steak with a pinch of high-quality flaky salt adds a delightful crunch and enhances the beefy flavor.
Mastering the Perfect Sear
Now that you have the technical knowledge, the only thing left to do is practice. Cooking a steak on the stove is a skill that improves every time you hear that satisfying sizzle in the pan.
Once you have mastered the basic sear, you can experiment with different aromatic herbs like sage or even add a splash of red wine to the pan to create a quick pan sauce.
Pick up a thick-cut ribeye from your local butcher today and put these steps to the test. Your kitchen is about to smell like the best steakhouse in town.