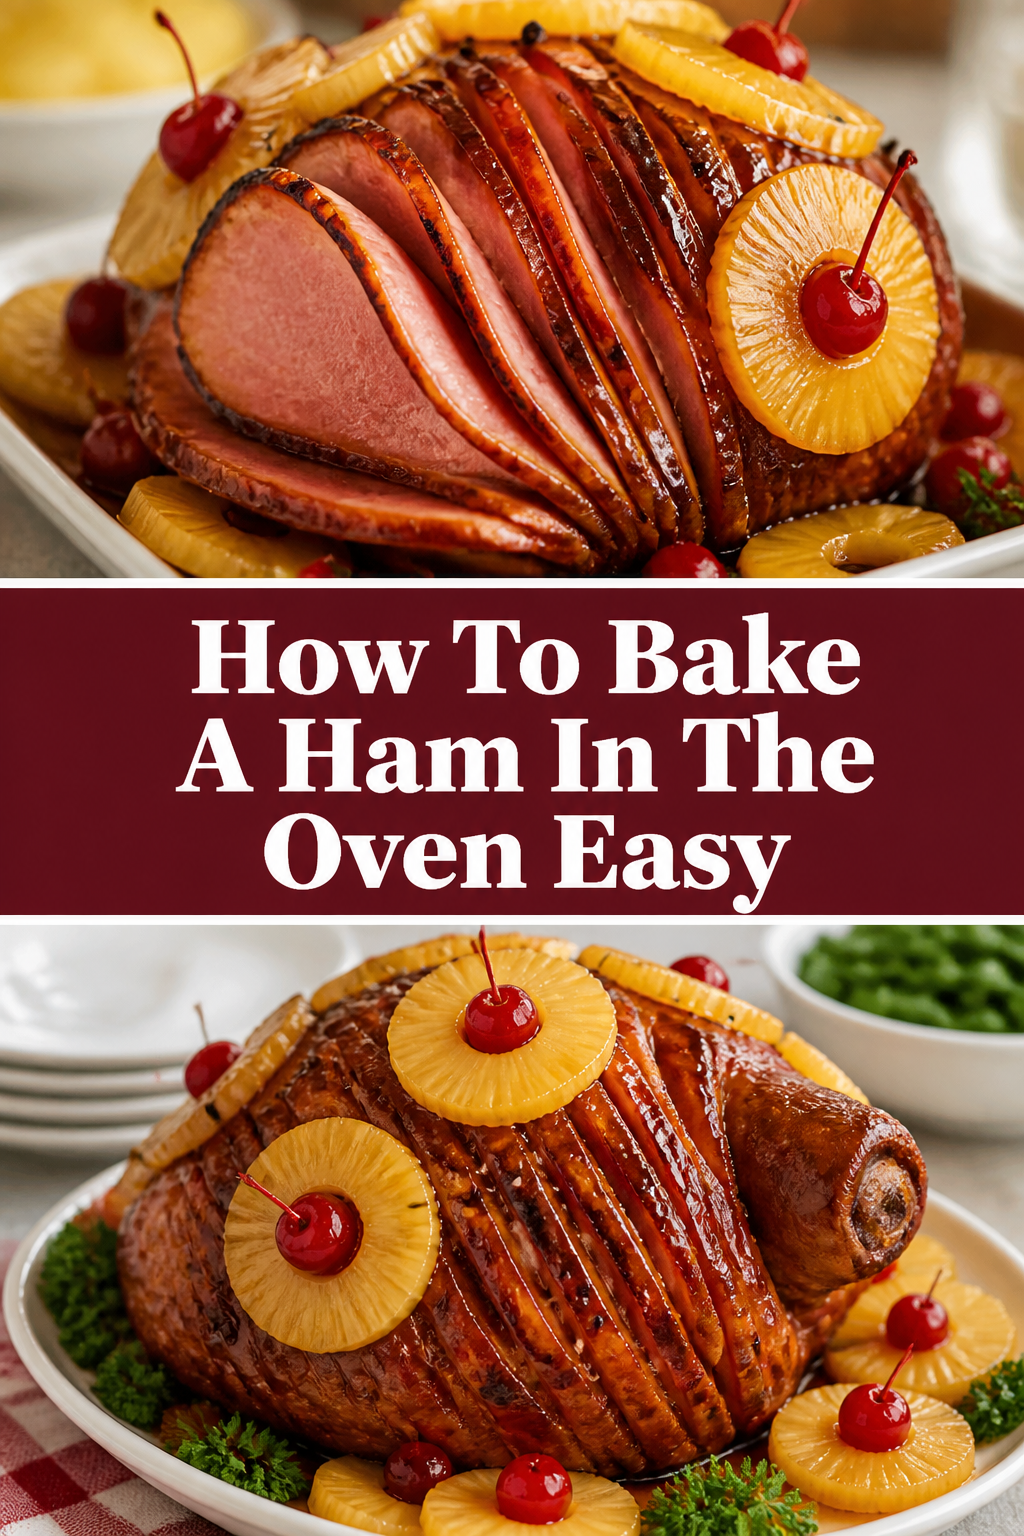
🍖 How To Bake A Ham In The Oven Easy
Baking a ham might seem like a daunting task, especially if you’re preparing for a holiday feast or a special family gathering. Many people envision hours of complicated steps and potential kitchen disasters. I remember my first time, a bit overwhelmed by the sheer size of the ham and the conflicting advice online.
But I quickly learned that with a few simple techniques and the right approach, baking a ham is incredibly straightforward and deeply satisfying. This guide will walk you through every easy step, ensuring your ham turns out perfectly moist, flavorful, and beautifully glazed every single time. You’ll gain the confidence to create a show-stopping center-piece with minimal stress.

Quick Overview
This guide will equip you to bake a delicious, tender ham in your oven, perfect for any occasion. You’ll learn how to prepare, cook, and glaze your ham for maximum flavor and an impressive presentation.
- Time needed: 2-3 hours (depending on ham size) + 20 minutes prep
- Difficulty: Beginner
- What you’ll need: Pre-cooked ham, roasting pan, aluminum foil, meat thermometer, glazing ingredients
Step-by-Step Instructions
Step 1: Choose Your Ham
The first crucial step is to select the right ham for your needs. Most hams sold in stores are “fully cooked” or “partially cooked,” which means they only need to be reheated to a safe internal temperature. This significantly simplifies the process.
Look for a “bone-in” or “boneless” ham, depending on your preference. Bone-in hams often offer more flavor, while boneless hams are easier to slice. Consider the weight; a good rule of thumb is about 1/2 pound per person for bone-in, and 1/3 pound for boneless.
Step 2: Prepare Your Workstation and Ham
Before you begin, gather all your ingredients and tools. This includes your ham, a large roasting pan with a rack, aluminum foil, a sharp knife, and your chosen glazing ingredients. Having everything at hand streamlines the process.
Remove the ham from its packaging and discard any plastic or netting. Pat the ham dry with paper towels. This helps any scoring or glaze adhere better to the surface.
Pro Tip: Allow your ham to sit at room temperature for about 30-60 minutes before baking. This helps it cook more evenly and prevents a cold center.
Step 3: Score the Ham (Optional, but Recommended)
Scoring the ham is a simple technique that enhances both presentation and flavor absorption. It also allows the fat to render beautifully, contributing to a crispier exterior.
Use a sharp knife to carefully score the surface of the ham in a diamond pattern. Make cuts about 1/4 to 1/2 inch deep, slicing through the fat layer but not too deep into the meat. This creates pockets for your glaze to seep into.
Step 4: Place Ham in Roasting Pan and Preheat Oven
Position your ham, cut-side down if applicable, onto a rack in a large roasting pan. If your ham doesn’t have a flat side, place it on its side. The rack helps air circulate and prevents the bottom from getting soggy.
Add about 1/2 to 1 cup of water, apple juice, or broth to the bottom of the roasting pan. This creates a moist environment, preventing the ham from drying out during baking. It also helps to catch drippings for basting or gravy.
Preheat your oven to 325°F (160°C). This lower temperature ensures the ham reheats gently without drying out.
Step 5: Bake the Ham (Initial Phase)
Cover the entire roasting pan tightly with aluminum foil. This seals in moisture and heat, allowing the ham to steam gently and remain tender. Ensure there are no gaps for steam to escape.
Place the covered ham in the preheated oven. Bake for approximately 10-15 minutes per pound for a fully cooked ham. For partially cooked hams, follow package directions, often requiring a longer cooking time.
Monitor the internal temperature using a reliable meat thermometer. For a fully cooked ham, you’re aiming for an internal temperature of 140°F (60°C). For a partially cooked ham, it’s 160°F (71°C).
Pro Tip: Insert the thermometer into the thickest part of the ham, avoiding the bone. This ensures an accurate reading of the meat’s true temperature.
Step 6: Prepare and Apply the Glaze
While the ham is baking, prepare your glaze. A simple glaze can be made with brown sugar, Dijon mustard, apple cider vinegar, and a touch of honey or maple syrup. Whisk these ingredients together until smooth.
Remove the ham from the oven about 30-45 minutes before it reaches its target internal temperature. Carefully uncover the foil. The ham should look warm and slightly browned.
Brush a generous layer of your prepared glaze over the entire surface of the ham. Ensure the glaze gets into all the scored crevices. You can baste the ham with pan drippings for extra flavor before glazing.
Step 7: Finish Baking and Glaze
After applying the first layer of glaze, return the uncovered ham to the oven. Continue baking, basting with more glaze or pan drippings every 10-15 minutes. This allows the glaze to caramelize and build layers of flavor.
Watch the ham carefully during this final stage. The sugars in the glaze can burn quickly. If the ham starts to brown too much, you can loosely tent it with foil again.
Bake until the ham reaches the desired internal temperature (140°F for fully cooked, 160°F for partially cooked) and the glaze is beautifully caramelized and sticky. This usually takes about 30-45 minutes after the first glaze application.
Step 8: Rest and Serve
Once the ham reaches the correct temperature, carefully remove it from the oven. Transfer the ham from the roasting pan to a large cutting board.
Tent the ham loosely with aluminum foil. This crucial resting period allows the juices to redistribute throughout the meat, ensuring a tender and moist ham. Let it rest for at least 15-20 minutes before carving.
Carve the ham against the grain for the most tender slices. Serve immediately with any remaining pan drippings or extra glaze on the side. Enjoy your perfectly baked ham!
Common Mistakes to Avoid
Overcooking the Ham
One of the most frequent errors when baking ham is overcooking it. Since most hams are pre-cooked, you’re essentially reheating them. Overcooking dries out the meat, making it tough and unappetizing. Always rely on a meat thermometer to ensure you reach the correct internal temperature without exceeding it.
Baking Without Moisture
Forgetting to add liquid to the bottom of the roasting pan is another common pitfall. Without this liquid, the ham can dry out significantly, especially during longer cooking times. The steam created by the liquid keeps the ham moist and tender throughout the baking process.
Applying Glaze Too Early
Glazes often contain sugar, which can burn if applied too early in the baking process. If you put the glaze on at the beginning, it might turn dark and bitter before the ham is fully heated through. Wait until the last 30-45 minutes of cooking to start applying your glaze for perfect caramelization.
Not Resting the Ham
Skipping the resting period after the ham comes out of the oven is a mistake many eager cooks make. Resting allows the internal juices, which have migrated to the center during cooking, to redistribute evenly throughout the meat. Cutting too soon will result in juices running out, leaving you with a drier ham.
Troubleshooting
Ham is Dry
If your ham turns out dry, it’s likely been overcooked or baked without enough moisture. Next time, ensure you use a meat thermometer and pull the ham from the oven as soon as it hits the target temperature. Always add a cup of water, broth, or juice to the bottom of your roasting pan and keep the ham covered for most of the cooking time.
Glaze is Burnt or Too Dark
A burnt glaze indicates it was applied too early or the oven temperature was too high during the glazing phase. Make sure to apply the glaze only during the last 30-45 minutes of baking. If it starts to darken too quickly, loosely tent the ham with foil to protect it while the internal temperature finishes rising.
Ham is Not Heating Evenly
Uneven heating can occur if the ham is not brought to room temperature before baking or if the oven has hot spots. Allow your ham to sit out for an hour before baking. You can also rotate the roasting pan halfway through cooking to promote more even heat distribution.
Key Takeaways
- Most hams are pre-cooked; you are primarily reheating them to a safe internal temperature.
- Always use a meat thermometer to ensure proper doneness and prevent overcooking.
- Adding liquid to the roasting pan and covering with foil keeps the ham moist.
- Apply glazes only during the final 30-45 minutes of baking to prevent burning.
- Resting the ham for 15-20 minutes after baking is crucial for tenderness and juiciness.
- Scoring the ham improves glaze absorption and presentation.
Frequently Asked Questions
Do I need to soak my ham before baking?
Most modern hams, especially fully cooked ones, do not require soaking. Soaking was traditionally done for country hams to reduce their saltiness. Unless your ham package specifically instructs it, you can skip this step.
Can I cook a ham at a higher temperature to save time?
While you technically can, it’s not recommended. Cooking at a higher temperature significantly increases the risk of drying out the ham before its internal temperature is reached. A lower, slower temperature (like 325°F) ensures a more tender and moist result.
How long can baked ham be stored?
Leftover baked ham can be stored in an airtight container in the refrigerator for 3-5 days. For longer storage, you can freeze sliced ham for up to 1-2 months. Thaw it in the refrigerator before reheating gently.
What can I do with leftover ham bone?
The ham bone is a treasure trove of flavor! You can use it to make delicious ham and bean soup, split pea soup, or simply simmer it with vegetables and herbs to create a rich, savory broth. Don’t let that flavor go to waste.
Our Top Recommended Finds
- Digital Meat Thermometer: Essential for precise temperature readings, preventing over or under-cooking.
- Large Roasting Pan with Rack: Provides even cooking and allows drippings to collect for basting or gravy.
- Basting Brush: Perfect for evenly applying glazes and keeping the ham moist throughout baking.
Your Next Culinary Success Awaits
You now possess all the knowledge and practical steps to bake a ham that will impress everyone at your table. Forget the intimidation; embrace the simplicity and the delicious rewards. This isn’t just about cooking a meal; it’s about creating memories and savoring delightful flavors.
So, choose your ham, prepare your glaze, and get ready to fill your kitchen with the irresistible aroma of a perfectly baked ham. Your journey to becoming a ham-baking pro starts today. Go ahead, make that ham!