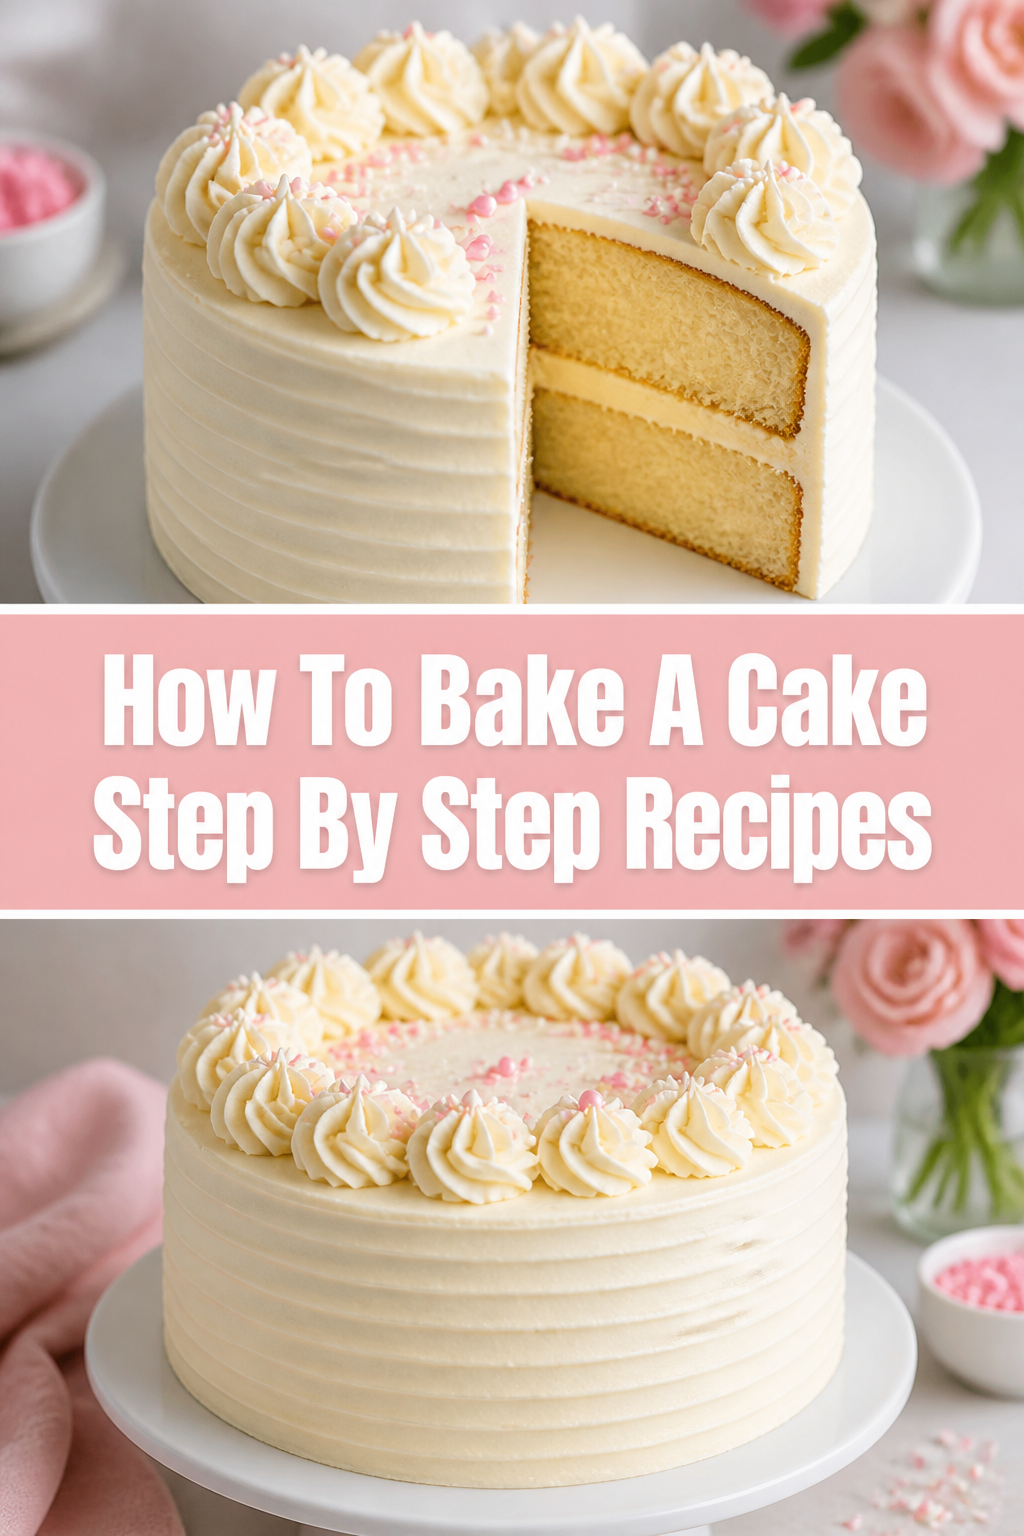
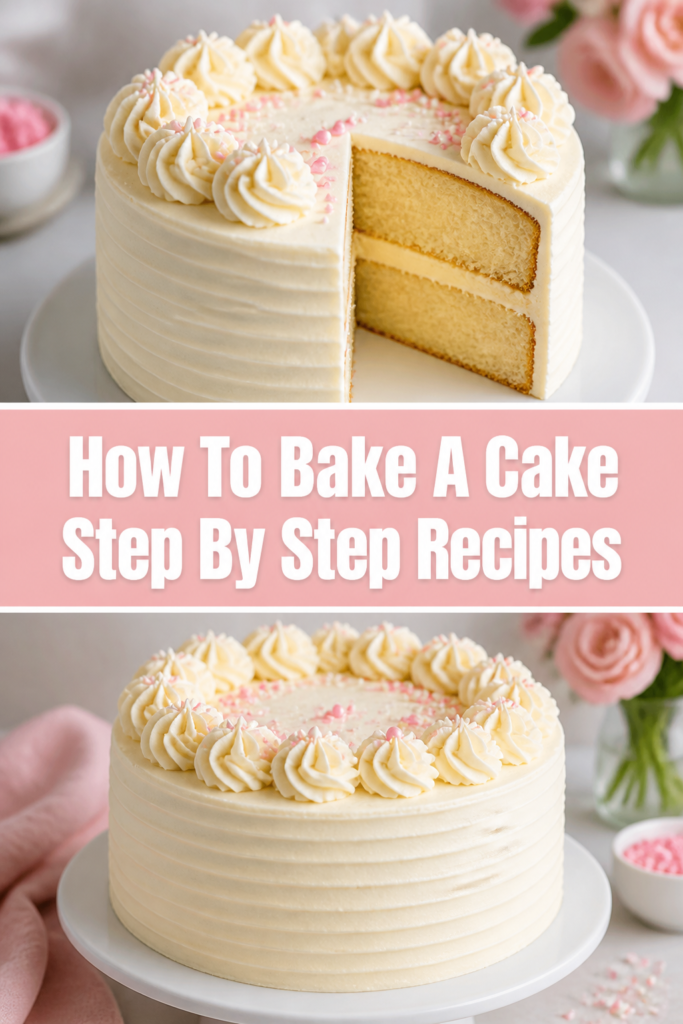
🍰 How To Bake A Cake Step By Step Recipes
I remember the first time I tried to bake a vanilla sponge from scratch and it came out looking like a flat, dense pancake.
After years of testing hundreds of recipes and perfecting my technique in a busy home kitchen, I finally learned that baking is more about science than luck.
This guide is built from those years of trial and error to ensure your very next cake is the best one you have ever tasted.
Quick Overview
This guide covers the fundamental process of creating a classic butter cake, which serves as the base for most birthday and celebration cakes.
- Time needed: 1 hour 30 minutes
- Difficulty: Beginner
- What you’ll need: All-purpose flour, sugar, butter, eggs, baking powder, milk, mixing bowls, and cake pans.
Step-by-Step Instructions
Step 1: Prepare Your Workspace and Oven
Preheat your oven to the temperature specified in your recipe before you even touch a mixing bowl. Most cakes bake at 350°F (175°C), and putting a cake into a cold oven will ruin the rise.
Adjust your oven racks so that the cake will sit directly in the center of the oven. This ensures even heat distribution around the top, bottom, and sides of the pan.
Pro Tip: Use an independent oven thermometer to check the actual temperature, as many built-in dials are inaccurate by 25 degrees or more.
Clear your counters and gather all your equipment so you do not have to hunt for a whisk while your batter is sitting out. Baking is a time-sensitive process once the leavening agents are wet.
Step 2: Prepare the Baking Pans
Grease the inside of your cake pans thoroughly using softened butter or a high-quality baking spray. Make sure to reach into the corners where the bottom meets the sides.
Line the bottom of the pans with parchment paper to guarantee the cake releases perfectly every time. You can buy pre-cut rounds or trace the pan onto a sheet of parchment and cut it out yourself.
Dust the greased sides with a light coating of flour, tapping out any excess over the sink. This creates a “ladder” for the batter to climb as it expands in the heat.
Step 3: Measure Dry Ingredients with Precision
Fluff your flour with a spoon before measuring to ensure it isn’t packed down tightly in the bag. Packed flour results in a dry, heavy cake because you end up using too much.
Spoon the flour into your measuring cup until it overflows, then level it off with the back of a knife. This “spoon and level” method is the most accurate way to measure by volume.
Whisk the flour, baking powder, and salt together in a medium bowl to remove lumps and distribute the leavening agents. This prevents your cake from having large holes or uneven spots.
Step 4: Cream the Butter and Sugar
Soften your butter to room temperature so that it yields slightly when pressed but still holds its shape. If the butter is too soft or melted, it won’t hold the air bubbles necessary for a light cake.
Beat the butter and sugar together on medium-high speed for at least three to five minutes. You are looking for a transformation where the mixture becomes pale yellow and very fluffy.
Pro Tip: Stop the mixer halfway through and scrape down the sides of the bowl with a spatula to ensure every bit of butter is incorporated.
Observe the texture closely; it should look almost like whipped cream. This step is where you build the structural foundation of the cake’s crumb.
Step 5: Incorporate the Eggs and Vanilla
Add the eggs one at a time, beating well after each addition until the mixture is smooth. Adding them all at once can cause the batter to break or curdle.
Ensure your eggs are at room temperature so they emulsify easily with the fats. Cold eggs will seize the butter and create a lumpy batter that doesn’t bake evenly.
Pour in your vanilla extract or other flavorings during this stage. Since flavors are often oil-soluble, they bind best to the fats in the butter and egg yolks.
Step 6: Alternating Dry and Wet Ingredients
Turn your mixer to the lowest setting to avoid overworking the flour and developing too much gluten. Excessive gluten development turns a tender cake into something tough and bread-like.
Add one-third of your dry flour mixture, followed by half of your liquid (usually milk or buttermilk). Repeat this pattern, ending with the final third of the flour mixture.
Mix only until the last streaks of flour disappear. It is often safer to finish the final few strokes by hand with a rubber spatula to be sure you haven’t overmixed.
Step 7: Fill the Pans and Level the Batter
Divide the batter evenly between your prepared cake pans. You can use a kitchen scale to weigh the pans if you want your layers to be exactly the same height.
Spread the batter toward the edges of the pan, making a slight indentation in the center. Cakes tend to dome in the middle, so this helps create a flatter top for easier stacking.
Tap the pans firmly on the counter once or twice. This releases any large air bubbles that might have been trapped when you poured the batter.
Step 8: The Baking Process
Place the pans in the oven, ensuring they are not touching each other or the oven walls. Proper airflow is essential for the heat to reach all sides of the cake at the same rate.
Set your timer for the minimum suggested baking time. Every oven is different, and it is much better to check early than to realize the cake is already overbaked.
Pro Tip: Avoid opening the oven door during the first 20 minutes of baking. The sudden drop in temperature can cause a fragile cake to collapse.
Step 9: Testing for Doneness
Insert a wooden toothpick or a thin skewer into the center of the cake. It should come out clean or with just a few moist crumbs attached.
Press the top of the cake gently with your finger. If it springs back and feels firm, it is likely done; if it leaves an indentation, it needs more time.
Look for the edges of the cake to slightly pull away from the sides of the pan. This is a visual cue that the internal structure is fully set.
Step 10: Cooling and Depanning
Cool the cakes in their pans on a wire rack for exactly 10 to 15 minutes. This allows the cake to firm up enough to handle without falling apart.
Run a thin knife or offset spatula around the edge of the pan to loosen any stuck bits. Carefully invert the pan onto the wire rack and lift it away.
Peel off the parchment paper immediately while the cake is still warm. Let the layers cool completely to room temperature before you attempt to frost them.
Common Mistakes to Avoid
Using Cold Ingredients
Using butter or eggs straight from the refrigerator is one of the biggest reasons cakes fail to rise. Room temperature ingredients bond together much more effectively, creating a smooth emulsion that traps air. If your ingredients are cold, the batter will look curdled and the final cake will be dense.
Overmixing the Batter
Once you add the flour to the wet ingredients, the clock starts ticking on gluten development. Stirring too much or using a high mixer speed creates a gummy, tough texture. Always use the lowest speed possible and stop as soon as the flour is no longer visible to keep the crumb tender.
Opening the Oven Door Too Often
Peeking at your cake might be tempting, but it lets out the heat and disrupts the rising process. A sudden draft of cool air can cause the delicate air bubbles in the batter to pop before they have solidified. Wait until the cake is at least 80% through the baking time before you open the door to test it.
Troubleshooting
The Cake Sunk in the Middle
This usually happens if the cake was taken out too early or if the oven door was opened prematurely. It can also be caused by using too much baking powder, which makes the cake rise too fast and then collapse. Ensure your leavening agents are fresh and your oven is properly preheated before you start.
The Cake is Dry and Crumbly
A dry cake is often the result of either too much flour or too much time in the oven. If you didn’t use the spoon and level method for your flour, you likely added too much bulk. Next time, try baking for a few minutes less and check for doneness as soon as you smell the cake’s aroma.
The Cake is Greasy or Heavy
This often occurs when the butter and sugar were not creamed long enough. Without those air pockets created during creaming, the fat just sits in the batter and weighs it down. Make sure your butter is at the right temperature and spend the full five minutes beating it with the sugar.
Key Takeaways
- Always use room temperature ingredients to ensure a smooth, well-emulsified batter.
- Measure flour by spooning it into the cup and leveling it off to avoid a dry cake.
- Cream the butter and sugar until the mixture is noticeably pale and fluffy.
- Avoid overmixing after the flour is added to maintain a light and tender texture.
- Check for doneness with a toothpick a few minutes before the timer goes off.
- Let the cake cool completely before frosting to prevent the icing from melting.
Frequently Asked Questions
Can I use salted butter instead of unsalted butter?
Yes, you can use salted butter, but you should reduce the additional salt in the recipe by about a quarter teaspoon. Unsalted butter is generally preferred in baking because it allows you to control the exact amount of salt in the flavor profile. However, the difference is usually subtle enough that salted butter won’t ruin the cake.
How do I know if my baking powder is still good?
Baking powder loses its potency over time, especially if it has been open for more than six months. To test it, stir half a teaspoon of baking powder into a small cup of hot water. If it bubbles and fizzes vigorously immediately, it is still active and safe to use for your cake.
Can I substitute all-purpose flour for cake flour?
You can make a DIY version of cake flour by measuring one cup of all-purpose flour, removing two tablespoons, and replacing them with two tablespoons of cornstarch. Sift this mixture together several times to ensure it is well combined. This reduces the protein content and results in a softer, finer crumb similar to store-bought cake flour.
Why did my cake stick to the pan even though I greased it?
This often happens if the cake was left in the pan to cool for too long, causing the sugar to “glue” the cake to the sides. It can also happen if you didn’t use parchment paper on the bottom. Always aim for that 10 to 15-minute window for cooling in the pan before you try to flip it out.
Our Top Recommended Finds
- Digital Kitchen Scale: Measuring by weight is the only way to get professional results every single time. It eliminates the guesswork of measuring cups and ensures your ratios are perfect.
- Offset Spatula: This tool makes spreading batter and frosting significantly easier than using a regular knife. The angled handle keeps your fingers out of the icing and allows for a much smoother finish.
- Pre-cut Parchment Rounds: These are a massive time-saver and prevent the frustration of cakes sticking to the bottom of the pan. They are inexpensive and ensure your cake layers come out perfectly intact.
Mastering Your Next Masterpiece
Baking a perfect cake is a skill that grows with every single batch you put in the oven.
Now that you understand the mechanics of creaming, measuring, and cooling, you have the foundation to try more complex flavors like chocolate or lemon.
Don’t be afraid to experiment with different frostings or fillings once your base layers are consistent.
The best way to improve is to start today, so pick a recipe, check your butter temperature, and get your oven preheating.