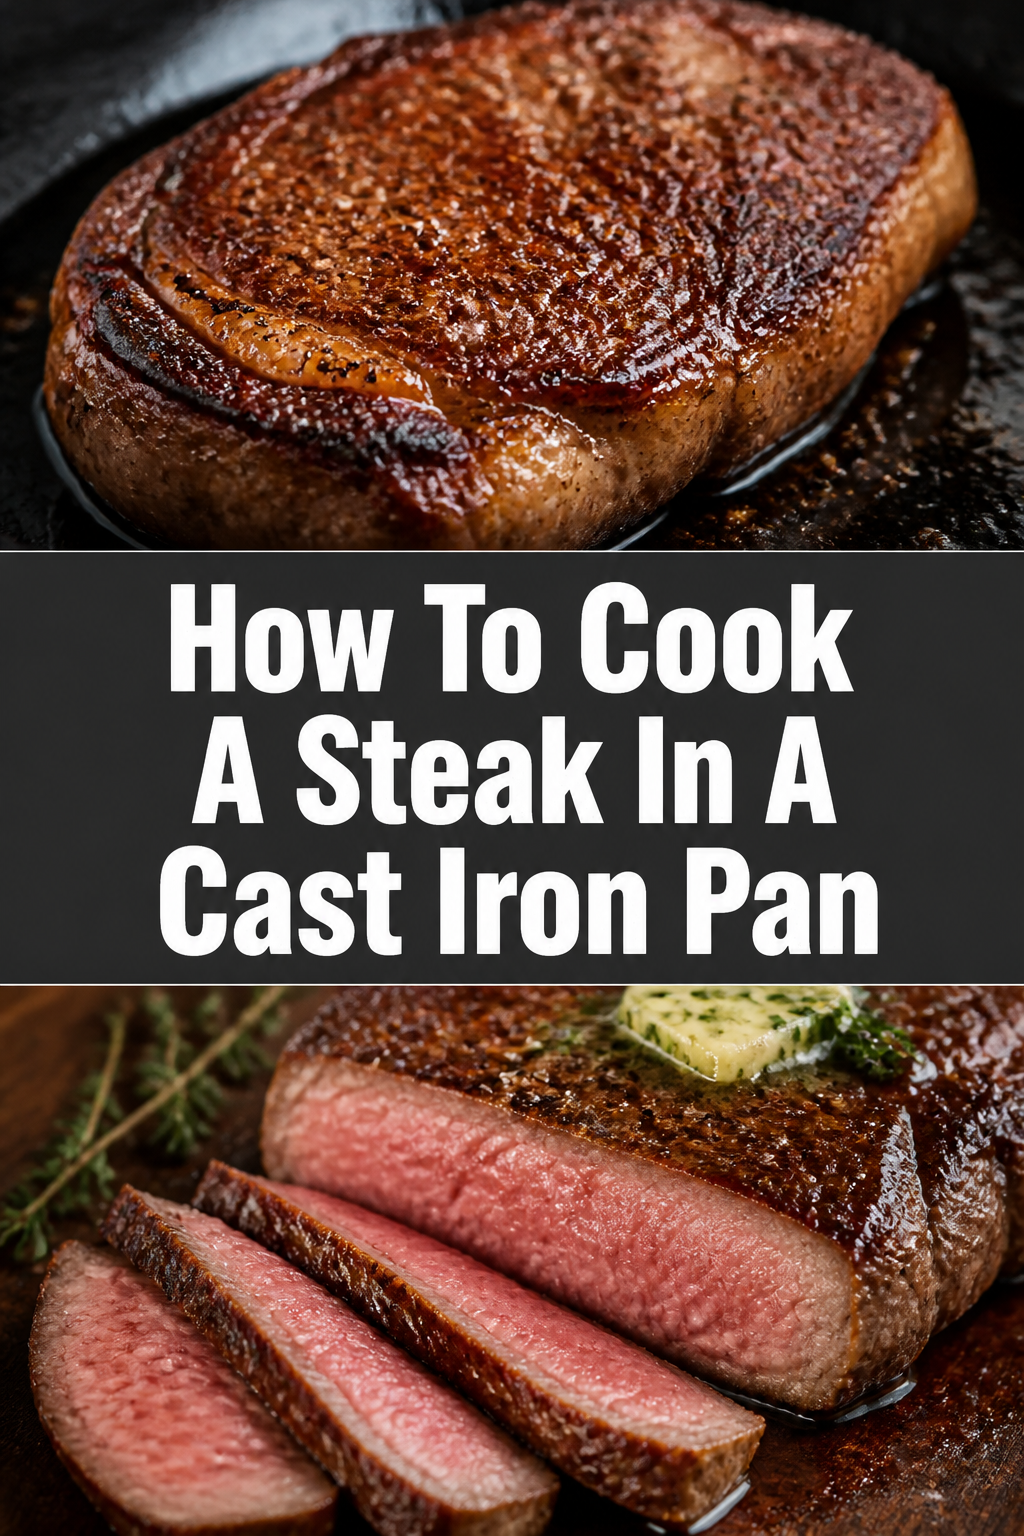
🥩 How To Cook A Steak In A Cast Iron Pan
There is no sound more satisfying in a kitchen than the aggressive sizzle of beef hitting a hot cast iron pan.
I have spent years perfecting this technique, moving from gray, overcooked steaks to restaurant-quality crusts that rival high-end steakhouses.
This guide will teach you exactly how to master the heat and timing to get a perfect result every single time.

Quick Overview
Cooking a steak in cast iron is about managing high heat and building layers of flavor through a process called the Maillard reaction.
- Time needed: 45-60 minutes (includes prep and resting)
- Difficulty: Intermediate
- What you’ll need: 12-inch cast iron skillet, thick-cut steak, high-smoke point oil, unsalted butter, garlic, fresh herbs, and a digital thermometer.
Step-by-Step Instructions
Step 1: Choose the Right Cut
Start with a steak that is at least 1.5 inches thick. Thinner steaks will overcook in the middle before you can develop a proper crust on the outside.
Look for heavy marbling, which refers to the white flecks of intramuscular fat. This fat melts during the cooking process, providing natural lubrication and flavor to the meat.
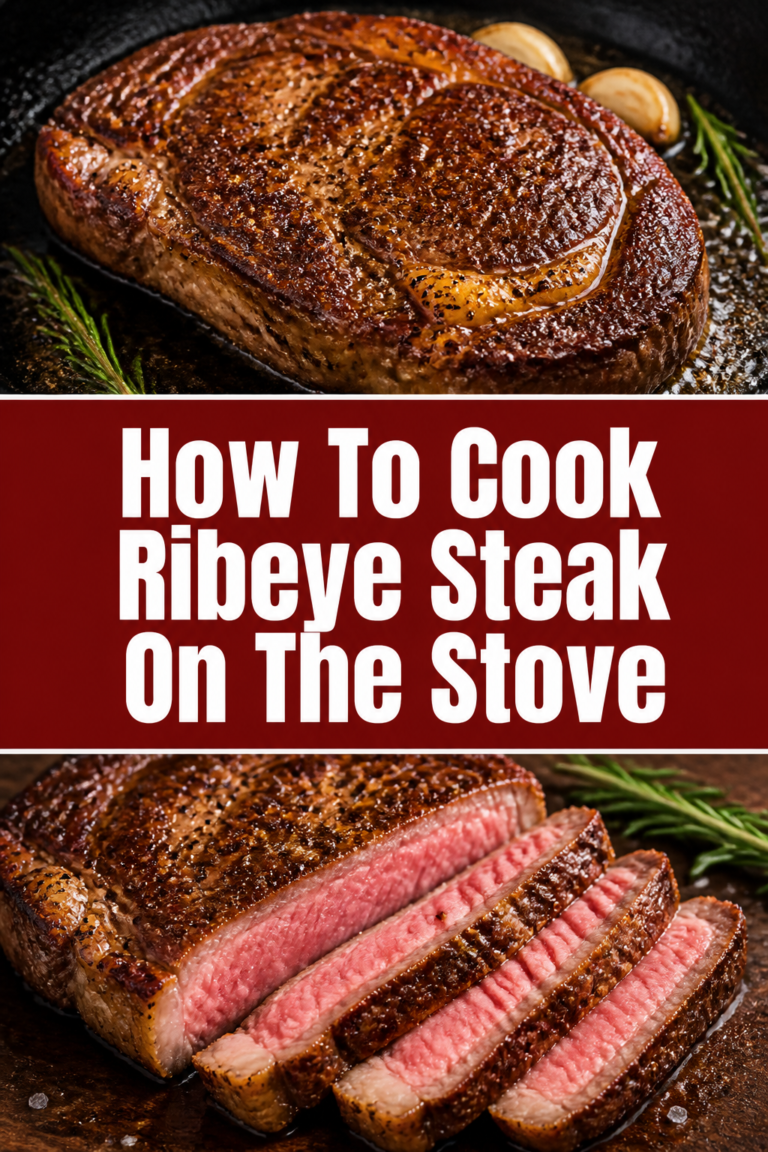
Select a Ribeye or a New York Strip for the best results in a pan. These cuts have enough fat to withstand the high heat of a cast iron surface without drying out.
Pro Tip: Avoid “Choice” or “Select” grades if your budget allows; “Prime” beef has the fat content necessary for a truly superior sear.
Step 2: Temper and Dry the Meat
Remove the steak from the refrigerator at least 30 to 45 minutes before you plan to cook. This allows the internal temperature to rise, ensuring the center cooks evenly with the exterior.
Pat the entire surface of the meat bone-dry using paper towels. Moisture is the enemy of a good sear because it creates steam, which turns the meat gray instead of brown.
Press firmly on all sides, including the edges. A truly dry steak will brown almost instantly when it touches the hot metal.
Step 3: Season Aggressively
Apply a generous amount of Kosher salt to every surface of the steak. Salt does more than season; it breaks down protein structures to make the meat more tender.
Coat the edges of the steak as well. Many people forget the sides, but these areas need seasoning and searing to render out the fat cap.
Add freshly cracked black pepper just before the steak goes into the pan. If you apply pepper too early, the salt can draw out moisture and make the pepper soggy.
Pro Tip: If you have time, salt the steak 24 hours in advance and leave it uncovered in the fridge to “dry brine” for the ultimate crust.
Step 4: Preheat the Cast Iron
Place your cast iron skillet over medium-high heat for at least five minutes. Cast iron takes a long time to get hot, but it holds that heat better than any other material.
Wait until you see a faint wisp of smoke rising from the surface of the pan. This indicates the metal is hot enough to flash-sear the proteins on contact.
Add two tablespoons of a high-smoke point oil, such as avocado oil or grapeseed oil. Avoid extra virgin olive oil or butter at this stage, as they will burn and turn bitter.
Step 5: The Initial Sear
Lay the steak away from you into the pan to avoid splashing hot oil on your skin. You should hear a loud, violent sizzle immediately.
Press down lightly on the steak with a spatula or tongs for the first 30 seconds. This ensures maximum contact between the meat and the pan surface.
Sear the first side for about 2-3 minutes without moving it. Resisting the urge to poke or prod the meat is the secret to a deep, mahogany crust.
Step 6: Flip and Sear the Edges
Flip the steak using tongs once a dark brown crust has formed. The meat should release easily from the pan; if it sticks, it usually needs another 30 seconds.
Use your tongs to stand the steak up on its side. Sear the fat cap and the edges for 1 minute to render the tough white fat into delicious, crispy gold.
Continue cooking the second side for another 2 minutes. The total cook time will depend on your desired level of doneness.
Step 7: The Butter Baste
Lower the heat to medium and add three tablespoons of unsalted butter to the pan. Add crushed garlic cloves and sprigs of fresh rosemary or thyme at the same time.
Tilt the pan slightly so the melting butter pools at the bottom with the herbs and garlic. This infused butter is the “secret sauce” of professional chefs.
Spoon the foaming butter over the steak repeatedly for the final 2 minutes of cooking. This technique, called “arrosé,” adds moisture and a rich, nutty finish to the crust.
Pro Tip: Keep the butter moving so it foams but doesn’t turn black. If it starts to smell burnt, pull the pan off the heat immediately.
Step 8: Check the Temperature
Insert a digital meat thermometer into the thickest part of the steak. Do not rely on the “finger poke” test, as it is notoriously inaccurate for different cuts of meat.
Pull the steak off the pan when it is 5 degrees below your target temperature. For a medium-rare steak (135°F), you should remove it at 130°F.
Account for carryover cooking. The internal temperature will continue to rise while the meat rests on the cutting board.
Step 9: The Essential Rest
Transfer the steak to a warm plate or a wooden cutting board. Do not tent it tightly with foil, as this can trap steam and soften the crust you worked so hard to build.
Wait at least 10 minutes before slicing. This allows the muscle fibers to relax and reabsorb the juices that were pushed to the center during cooking.
Slice against the grain for the most tender bite. If you cut into it too early, all the flavor will run out onto the board, leaving the meat dry.
Common Mistakes to Avoid
Using a Cold Pan
Putting a steak into a pan that hasn’t been properly preheated is the fastest way to ruin a meal. Without high heat, the meat will slowly grey and boil in its own juices rather than searing. You will end up with a tough, rubbery texture and zero flavor development.
Using Butter Too Early
Butter has a very low smoke point because of the milk solids it contains. If you put butter in the pan at the start of the sear, it will burn within seconds. This creates a bitter, acrid taste that masks the natural flavor of the beef. Always save the butter for the final basting stage.
Moving the Steak Constantly
If you are constantly flipping or sliding the steak around, the crust will never form. The Maillard reaction requires sustained, direct contact with the heat source. Put the steak down, let it sizzle, and only move it when it is time to flip or baste.
Troubleshooting
The Pan is Smoking Excessively
This usually happens if you are using an oil with a low smoke point or if there is old residue on your cast iron. Switch to avocado oil or refined coconut oil for high-heat cooking. If the smoke is overwhelming, slightly lower the burner heat and ensure your kitchen ventilation is on high.
The Outside is Burnt but the Inside is Raw
This is a common issue with very thick steaks cooked over heat that is too high. If the crust is developing too fast, finish the steak in a 350°F oven. Simply place the entire cast iron skillet into the oven until the internal thermometer reaches your desired temperature.
The Steak is Sticking to the Pan
Steak sticks when the proteins haven’t finished bonding and caramelizing. If you try to flip the meat and it resists, leave it alone for another minute. Once the crust is fully formed, the meat will naturally release itself from the cast iron surface.
Key Takeaways
- Dry the meat: Use paper towels to remove every drop of surface moisture before seasoning.
- Preheat thoroughly: Give your cast iron at least five minutes to reach a screaming hot temperature.
- Use high-smoke point oil: Save the butter for the very end to avoid a burnt flavor.
- Baste with aromatics: Garlic and herbs in foaming butter create the classic steakhouse profile.
- Use a thermometer: Precision is better than guesswork when it comes to expensive cuts of meat.
- Rest the steak: Ten minutes of patience ensures the juices stay inside the meat where they belong.
Frequently Asked Questions
Do I need to oil the steak or the pan?
It is generally better to oil the pan. This ensures the entire cooking surface is lubricated and helps the heat distribute evenly across the metal. However, some chefs prefer rubbing a light coating of oil on the steak itself to ensure every nook and cranny is covered.
Can I cook a frozen steak in cast iron?
You can, but it is not recommended for this specific high-heat method. A frozen steak will significantly lower the temperature of the pan, preventing a good sear. It is also much harder to get the center to the correct temperature without burning the outside.
How do I clean the pan after cooking steak?
While the pan is still warm, scrape away any large food particles with a spatula. Rinse it with hot water and a small amount of mild soap if necessary. Dry it immediately on the stovetop over low heat and apply a very thin layer of oil to maintain the seasoning.
Should I use a lid while cooking?
No, you should never use a lid when searing a steak. A lid traps steam, which will ruin the crust and result in a gray, boiled appearance. If you need more heat to cook the center, move the pan to the oven instead of covering it.
Our Top Recommended Finds
- Lodge 12-Inch Cast Iron Skillet: The industry standard for durability and heat retention at an affordable price.
- ThermoPro Digital Meat Thermometer: An essential tool for getting the internal temperature perfect every time.
- 12-Inch Stainless Steel Tongs: Provides the reach and grip needed to handle heavy steaks safely over high heat.
Mastering Your Kitchen Craft
Now that you have mastered the art of the cast iron sear, you can experiment with different compound butters or pan sauces. Try deglazing the pan with a splash of red wine or beef stock after removing the steak to create a rich jus.
The skills you learned here apply to more than just beef; you can use these same principles for pork chops, thick salmon fillets, or even charred vegetables. Grab your skillet and start practicing your sear today.