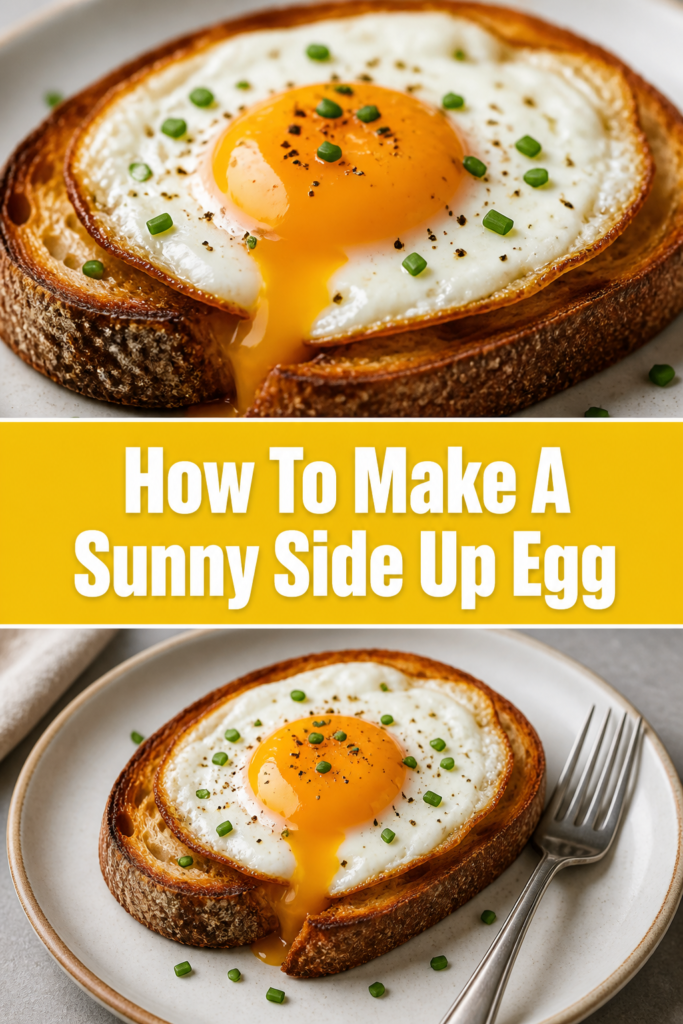
🍳 How To Make A Sunny Side Up Egg
There’s something uniquely comforting about a perfectly cooked sunny side up egg. Its vibrant yolk, gently cradled by tender whites, promises a delicious start to any day.
I’ve made countless sunny side up eggs over the years, from quick weekday breakfasts to leisurely weekend brunches. This guide distills that experience into simple, actionable steps, ensuring your next egg is a masterpiece.
Mastering this classic is easier than you think, and with a few key techniques, you’ll be enjoying flawless eggs every time.
Quick Overview
This guide will walk you through creating a beautiful sunny side up egg with a runny yolk and set whites. You’ll learn the essential steps, common pitfalls to avoid, and how to troubleshoot any issues.
- Time needed: 5-7 minutes
- Difficulty: Beginner
- What you’ll need: An egg, a non-stick pan, butter or oil, and a spatula.
Step-by-Step Instructions
Step 1: Gather Your Ingredients and Tools
Before you begin cooking, ensure you have everything within arm’s reach. This makes the process smooth and prevents any last-minute scrambling.
You’ll need one fresh, large egg for each serving. Fresh eggs tend to hold their shape better, resulting in a neater appearance.
A good quality non-stick frying pan is crucial for easy release. Choose a pan that’s appropriately sized, typically 6-8 inches for a single egg, to ensure even heat distribution.
Have some butter, olive oil, or your preferred cooking fat ready. A heat-resistant spatula is also essential for carefully removing the finished egg.
Pro Tip: Take your egg out of the refrigerator about 10-15 minutes before cooking. A room-temperature egg cooks more evenly and is less likely to crack when it hits the hot pan.
Step 2: Prepare Your Pan for Cooking
Place your non-stick pan on the stovetop over medium-low heat. Patience is key here; you want a gentle heat, not a scorching one.
Add about half a teaspoon of butter or oil to the pan. If using butter, let it melt completely and swirl it around to coat the bottom evenly.
If using oil, let it shimmer slightly. The goal is to have a thin, even layer of fat across the cooking surface, which helps prevent sticking and adds flavor.
Allow the pan to heat for about 1-2 minutes. You’re looking for consistent, gentle warmth, not smoke or excessive sizzling.
Step 3: Crack the Egg Carefully
Cracking an egg without breaking the yolk is a simple skill that improves with practice. Tap the egg gently but firmly on a flat surface, like your countertop.
Avoid cracking it on the rim of the pan, as this can push shell fragments into the egg and increase the chance of breaking the yolk.
Once you see a small crack, use your thumbs to gently pull the shell apart over the prepared pan. Let the egg slide out cleanly into the center of the pan.
If you’re worried about shell pieces or breaking the yolk, crack the egg into a small bowl first. Then, carefully pour it from the bowl into the hot pan.
Step 4: Cook on Gentle Heat
Once the egg is in the pan, resist the urge to move it immediately. Allow the whites to begin setting around the edges.
Maintain a consistent medium-low heat. This allows the whites to cook through slowly without crisping too much or overcooking the yolk.
You’ll notice the edges of the egg white starting to turn opaque and firm. The cooking process is gradual, so don’t rush it.
For an even cook and to ensure the top of the whites set, you can optionally cover the pan with a lid for the last minute or two. This creates a steamy environment that gently cooks the top of the egg without flipping.
Pro Tip: For extra flavor and to help cook the top of the whites, you can baste the egg. Spoon some of the hot butter or oil from the pan over the whites during the last minute of cooking. Be careful not to disturb the yolk.
Step 5: Watch for Doneness
The key to a perfect sunny side up egg is knowing when to take it off the heat. You want the egg whites to be completely set and opaque, but still tender.
The yolk should remain perfectly runny and warm, still bright yellow and jiggly. There should be no raw, translucent whites remaining around the yolk.
Cooking usually takes about 3-4 minutes, but this can vary based on pan type, heat level, and egg size. Trust your eyes more than the clock.
If you prefer a slightly firmer yolk but still runny, cook for another 30 seconds, keeping a close eye on it. The whites might develop a delicate, lacy crispness around the edges, which many enjoy.
Step 6: Carefully Remove and Season
Once your egg reaches the desired doneness, turn off the heat immediately. You don’t want it to continue cooking in the hot pan.
Gently slide your heat-resistant spatula underneath the egg, making sure to get the entire white and yolk. Be deliberate to avoid tearing the delicate whites.
Carefully transfer the egg from the pan directly onto your plate. Handle it with care to maintain its pristine shape.
Season your sunny side up egg generously with salt and freshly ground black pepper. A sprinkle of chili flakes or chopped chives can also add a nice touch.
Step 7: Serve Immediately
Sunny side up eggs are best enjoyed fresh off the pan. The warmth and runny yolk are at their peak right after cooking.
Serve it atop toast, avocado, a breakfast hash, or simply by itself. The rich, liquid yolk is a natural sauce for whatever it accompanies.
Break the yolk with a fork and let it cascade over your plate. This is the moment of truth, revealing your perfectly cooked creation.
Enjoy the simple pleasure of a perfectly prepared sunny side up egg. It’s a versatile and satisfying addition to any meal.
Common Mistakes to Avoid
Using Too High Heat
A common error when making sunny side up eggs is cooking them over heat that is too high. High heat causes the egg whites to cook too quickly and become rubbery or burnt around the edges.
This rapid cooking also makes it difficult for the whites to set evenly, often leaving a raw, translucent film around the yolk while the edges are overdone. The yolk might also cook through too fast, losing its desired runny texture.
Always start with medium-low heat and be patient. This gentle approach allows the egg to cook slowly and evenly, resulting in tender whites and a perfectly runny yolk.
Breaking the Yolk
Accidentally breaking the yolk is a disappointing mistake that often happens during cracking or handling. A broken yolk means you miss out on that beautiful, runny “sun” in the center.
This usually occurs from tapping the egg too hard, using the pan’s edge to crack it, or being too aggressive when transferring it. Shell fragments can also pierce the yolk.
To avoid this, crack the egg gently on a flat surface. Consider cracking it into a small bowl first, then carefully sliding it into the pan. Use a wide, thin spatula for gentle removal.
Sticking to the Pan
An egg sticking to the pan can ruin its presentation and make it difficult to remove cleanly. This often happens if the pan isn’t truly non-stick, or if not enough fat is used.
A pan that isn’t properly preheated can also contribute to sticking. If the pan isn’t warm enough, the egg has more time to bond with the surface before the fat creates a barrier.
Always use a good quality non-stick pan and ensure it’s adequately coated with butter or oil. Heat the pan gently for a minute or two before adding the egg, creating a smooth, non-stick surface.
Overcooking the Yolk
While some prefer a firmer yolk, a true sunny side up egg features a runny center. Overcooking the yolk turns it solid and dry, losing the signature creamy texture.
This typically happens by leaving the egg on the heat for too long or cooking it at too high a temperature. A fully opaque, firm yolk indicates it has been overcooked.
Keep a close eye on the egg as it cooks. Remove it from the heat as soon as the whites are set and the yolk is still bright and jiggly. Remember, it will continue to cook slightly from residual heat on the plate.
Troubleshooting
Egg White Still Raw/Snotty
If your egg whites are still translucent and jiggly around the yolk, it means they haven’t cooked through completely. This can be unappetizing.
The most likely cause is insufficient cooking time or heat that is too low. Sometimes, the top surface of the white struggles to set without flipping.
To fix this, ensure your pan is at a consistent medium-low heat. You can also cover the pan with a lid for the last 30-60 seconds of cooking. The trapped steam will gently cook the top of the whites without overcooking the yolk or crisping the bottom too much.
Yolk Cooked Solid
A solid, firm yolk indicates that your egg was cooked for too long or the heat was too high. The beautiful runny center is lost.
This is a common issue when rushing the cooking process or not paying close enough attention to the egg’s progress. Residual heat can also continue cooking the yolk after it’s off the stove.
To prevent this, always use a gentle, medium-low heat. Remove the egg from the pan as soon as the whites are set and the yolk still jiggles freely. Consider immediately transferring it to a cooler plate to halt the cooking process.
Egg Stuck to Pan
Finding your egg stubbornly adhering to the pan is frustrating, leading to a torn, messy result. This is usually due to inadequate pan preparation.
Reasons include using a pan that isn’t truly non-stick, not enough cooking fat, or adding the egg to a cold pan. The egg adheres before a proper barrier forms.
Always use a reliable non-stick pan and ensure it’s generously coated with butter or oil. Preheat the pan for a minute or two over medium-low heat before gently adding the egg, creating a slick surface for easy release.
Key Takeaways
- Use medium-low heat for even cooking and tender whites.
- Crack eggs on a flat surface to prevent yolk breakage and shell fragments.
- Generously grease your non-stick pan for easy egg release.
- Watch for set whites and a jiggly yolk to determine doneness.
- Basting or covering with a lid helps cook the top of the whites.
- Season immediately after cooking for the best flavor.
Frequently Asked Questions
What’s the best pan to use for sunny side up eggs?
A good quality non-stick frying pan is definitely the best choice. It ensures the egg doesn’t stick, allowing for easy removal and a perfectly shaped result. A pan with sloped sides can also make it easier to slide the spatula underneath.
Cast iron pans can also work, but they require proper seasoning and more fat to prevent sticking. Stainless steel pans are generally not recommended for sunny side up eggs as they tend to stick more easily.
Can I cook more than one sunny side up egg at a time?
Yes, you absolutely can cook multiple eggs at once, provided your pan is large enough. Ensure there’s adequate space between each egg so they don’t touch and have room to spread a little.
Overcrowding the pan can lower the temperature and lead to uneven cooking. If cooking more than two eggs, you might need to slightly increase the heat or cook them in batches to maintain quality.
How do I know when a sunny side up egg is done?
A sunny side up egg is done when the whites are completely set and opaque, with no translucent or raw-looking areas remaining. The edges might be slightly crispy, which is often desired.
Crucially, the yolk should still be perfectly runny and warm, with a bright yellow color and a noticeable jiggle when the pan is gently moved. This balance of set whites and a liquid yolk is the hallmark of a great sunny side up egg.
What’s the difference between sunny side up and over easy?
The main difference lies in whether the egg is flipped during cooking. A sunny side up egg is never flipped; it cooks only on one side, leaving the yolk exposed and runny.
An over easy egg, on the other hand, is flipped briefly to cook the top of the whites, resulting in a thin, barely set film over a still very runny yolk. Both styles aim for a liquid yolk, but the cooking method and appearance differ.
Our Top Recommended Finds
- Non-stick Frying Pan: A quality non-stick pan is invaluable for preventing sticking and ensuring easy release. Look for one with a durable coating.
- Heat-Resistant Silicone Spatula: This tool is gentle on your pan’s non-stick surface and flexible enough to slide under delicate eggs without tearing.
- Fresh, Large Eggs: While not a tool, using fresh, high-quality eggs makes a significant difference in taste, texture, and how well the egg holds its shape.
Embrace Your Inner Egg Master
You now have all the knowledge and techniques to create a perfect sunny side up egg. It’s a simple dish, but one that brings immense satisfaction when done right.
Don’t be afraid to experiment with different seasonings or serving suggestions. Practice makes perfect, and each attempt will bring you closer to your ideal egg.
Why wait? Grab an egg, heat your pan, and start cooking. A delicious, golden-yolked masterpiece awaits you right now.