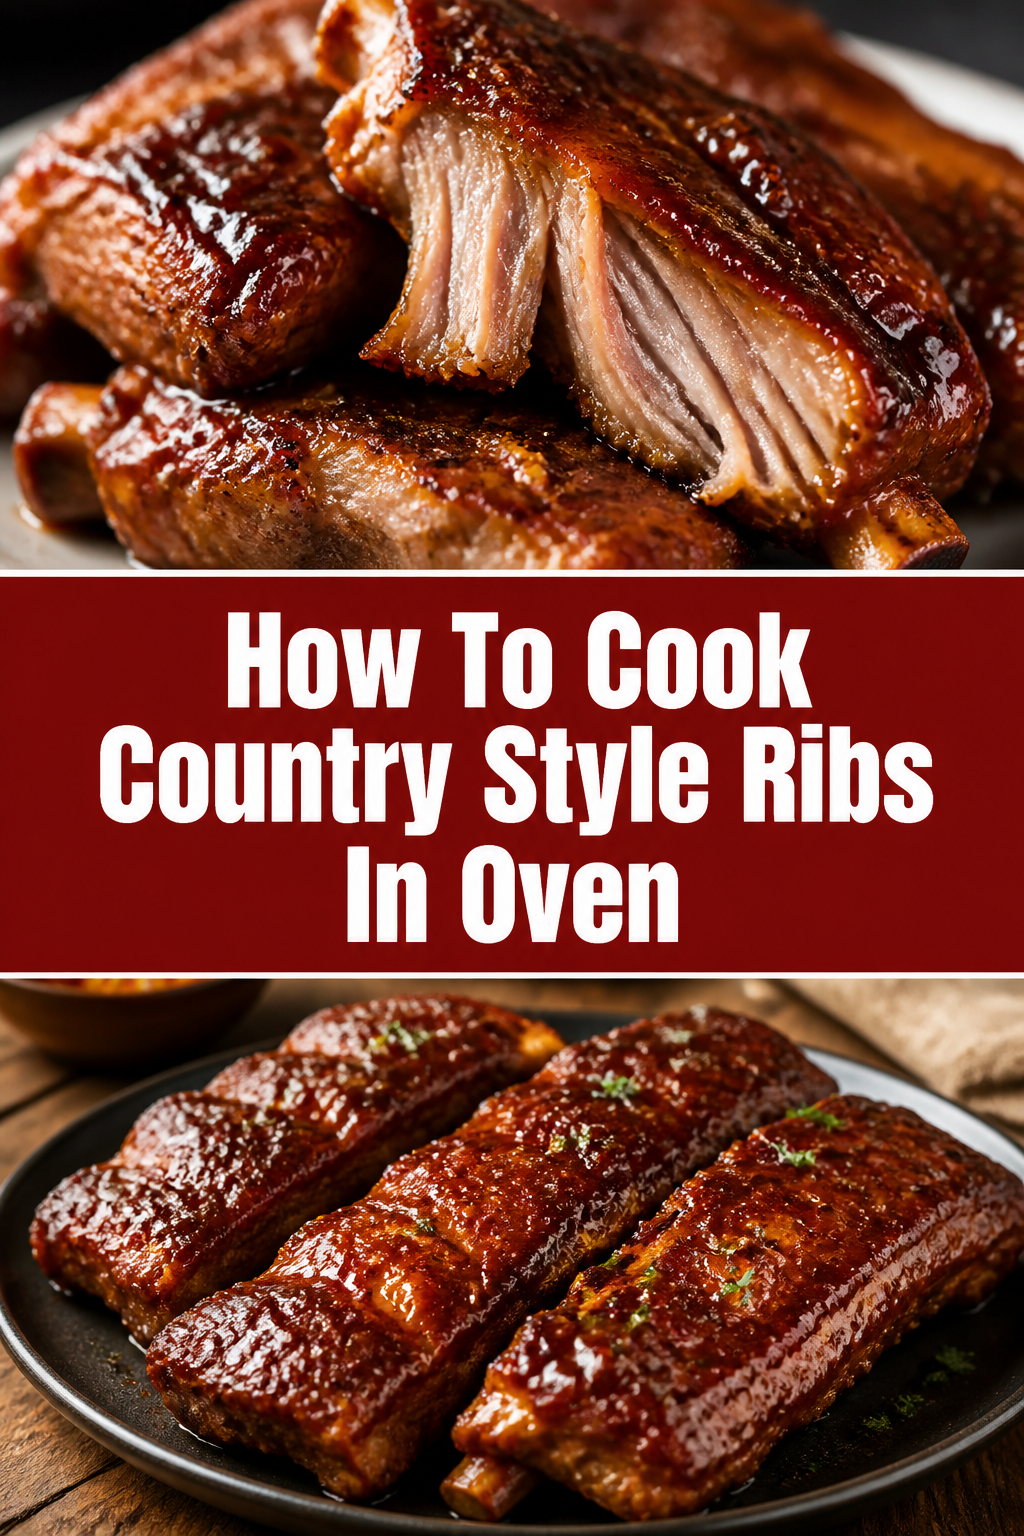
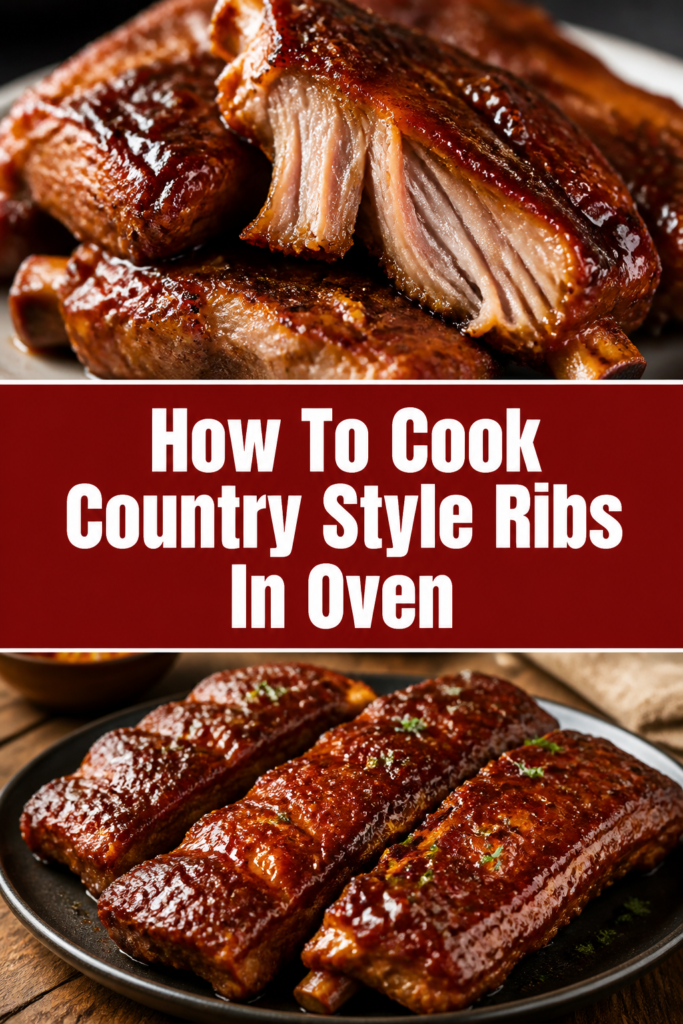
🍖 How To Cook Country Style Ribs In Oven
Few dishes bring as much comfort to the table as perfectly cooked country-style ribs. This cut, often overlooked, offers a delightful balance of meaty texture and rich flavor. My family has enjoyed countless meals centered around these tender, oven-baked ribs.
I’ve refined this method over years, ensuring a foolproof path to succulent ribs every time. You’re about to learn the secrets to truly fall-apart, flavorful country-style ribs without any fuss. Trust me, your kitchen is about to become everyone’s favorite place.
Quick Overview
This guide will walk you through transforming simple country-style ribs into a tender, flavorful masterpiece right in your own oven. You’ll master the art of seasoning, slow roasting, and finishing these comforting ribs.
- Time needed: 3 hours 30 minutes (30 mins prep, 3 hours cook time)
- Difficulty: Beginner
- What you’ll need: Country-style ribs, dry rub ingredients, BBQ sauce, baking dish, aluminum foil
Step-by-Step Instructions
Step 1: Choose Your Ribs Wisely
Start by selecting the right cut of meat. Country-style ribs are typically cut from the blade end of the loin, often boneless but sometimes with a small bone. Look for well-marbled pieces.
Good marbling means more flavor and tenderness once cooked. Aim for ribs that are uniform in size to ensure even cooking. This prevents some pieces from drying out while others are still cooking.
Step 2: Prepare Your Ribs
Remove the ribs from their packaging. Pat them thoroughly dry with paper towels. This step is crucial for allowing your rub to adhere properly and for developing a nice crust.
Trim any excessive, thick fat from the edges. A little fat is good for flavor, but too much can make the ribs greasy. Place the dried ribs on a baking sheet or a large platter.
Pro Tip: Drying the meat isn’t just about rub adhesion. It also helps in browning by removing surface moisture, which can steam the meat instead of searing it.
Step 3: Craft Your Dry Rub
A good dry rub is the foundation of flavor for country-style ribs. In a small bowl, combine your chosen spices. A classic rub includes brown sugar, paprika, garlic powder, onion powder, salt, black pepper, and a touch of cayenne for heat.
Mix these ingredients well until they are evenly distributed. The brown sugar will caramelize beautifully, adding depth to the ribs. Adjust the spice levels to suit your personal preference.
Step 4: Season the Ribs Generously
Once your rub is mixed, sprinkle it liberally over all sides of the country-style ribs. Don’t be shy; the ribs can handle a good amount of seasoning. Gently rub the spices into the meat, pressing them firmly.
Ensure every surface is coated. This creates a flavorful crust that will develop during cooking. Let the seasoned ribs rest at room temperature for at least 30 minutes, or even better, refrigerate them for 1-2 hours (or overnight) to allow the flavors to penetrate.
Step 5: Preheat Your Oven and Prepare Baking Dish
Preheat your oven to 275°F (135°C). This low and slow temperature is key to achieving incredibly tender ribs. Get a sturdy baking dish or roasting pan ready.
Line the baking dish with heavy-duty aluminum foil, leaving enough overhang to create a tight seal later. This helps with cleanup and steaming the ribs. If you don’t have heavy-duty foil, use two layers of regular foil.
Step 6: The Initial Slow Roast (Covered)
Arrange the seasoned country-style ribs in a single layer in your prepared baking dish. Make sure they aren’t overly crowded; if necessary, use two dishes. Pour about 1/2 cup of apple cider vinegar, chicken broth, or water into the bottom of the dish. This liquid will create steam, tenderizing the ribs.
Cover the baking dish tightly with the overhanging aluminum foil. Crimp the edges securely to seal in the moisture. Place the covered dish in the preheated oven and bake for 2 to 2.5 hours.
Pro Tip: The liquid at the bottom isn’t just for steam; it also collects the rendered fat and drippings, which can be used later to moisten the ribs or make a sauce.
Step 7: The BBQ Sauce Application
After the initial covered baking time, carefully remove the dish from the oven. The ribs should be very tender at this point, but not falling apart completely. Increase your oven temperature to 375°F (190°C).
Carefully remove the foil cover from the baking dish. Drain off any excess liquid from the pan, leaving just a little for moisture. Generously brush your favorite BBQ sauce over all surfaces of the ribs. Use a good quality sauce that you enjoy.
Step 8: The Final Roast (Uncovered)
Return the uncovered baking dish with the sauced ribs to the oven. Bake for an additional 30-45 minutes at 375°F (190°C). This higher temperature will caramelize the BBQ sauce, creating a sticky, delicious glaze.
Keep an eye on the ribs during this phase to prevent the sauce from burning. If the sauce starts to brown too quickly, you can loosely tent the dish with foil. The ribs are ready when the sauce is caramelized and bubbly, and the meat is incredibly tender.
Step 9: Rest and Serve
Once the ribs are beautifully glazed and tender, remove the baking dish from the oven. It’s crucial to let the ribs rest before serving. Loosely tent the dish with foil and let them sit for 10-15 minutes.
Resting allows the juices to redistribute throughout the meat, resulting in a more succulent and flavorful bite. After resting, slice the country-style ribs into individual portions and serve immediately. These ribs pair wonderfully with mashed potatoes, coleslaw, or cornbread.
Common Mistakes to Avoid
Not Drying the Ribs
Many home cooks skip the step of patting the ribs dry with paper towels. This oversight prevents the dry rub from properly adhering to the meat. When ribs are wet, the rub can clump or slide off, leading to uneven seasoning and a less flavorful crust.
Always take the extra minute to thoroughly dry your ribs before applying any seasoning. This small effort makes a significant difference in the final taste and texture. A dry surface also helps achieve better browning and caramelization.
Overcrowding the Baking Dish
When you pack too many ribs into a single baking dish, you hinder proper air circulation. This causes the ribs to steam rather than roast, preventing them from developing that desirable crust and rich flavor. Steamed ribs can be tender but lack depth.
Ensure there’s enough space around each piece of meat in the pan. If necessary, use two separate baking dishes to give the ribs room to breathe. This allows for even cooking and better browning.
Baking at Too High a Temperature
Country-style ribs benefit immensely from a low and slow cooking process. Baking them at too high a temperature initially will dry out the meat before it has a chance to become tender. You’ll end up with tough, chewy ribs instead of fall-apart deliciousness.
Stick to the recommended 275°F (135°C) for the initial covered bake. This gentle heat slowly breaks down the connective tissues, making the ribs incredibly tender. The higher temperature comes in only at the end for glazing.
Applying BBQ Sauce Too Early
Brushing BBQ sauce on the ribs at the very beginning of the cooking process is a common error. Most BBQ sauces contain sugar, which will burn and blacken long before the ribs are fully cooked and tender. This results in a bitter, unappealing crust.
Wait until the ribs are almost fully cooked and tender before adding the BBQ sauce. The sauce needs only about 30-45 minutes at a higher temperature to caramelize and become sticky. This timing creates a perfect glaze without burning.
Troubleshooting
Ribs Are Dry and Tough
If your country-style ribs turn out dry and tough, it’s usually due to overcooking at too high a temperature or not cooking them long enough at a low temperature. They might not have had enough moisture during the initial covered bake.
To prevent this, ensure your oven temperature is accurate. Use an oven thermometer if you’re unsure. Always include liquid in the pan during the covered phase, and make sure the foil seal is tight to trap steam. If they’re still tough, they likely need more low-and-slow cooking time.
BBQ Sauce Is Burning
Burning BBQ sauce indicates that it was applied too early or the final baking temperature was too high for too long. Sugar in the sauce caramelizes quickly and can turn bitter if exposed to excessive heat.
To fix this, apply the sauce only during the last 30-45 minutes of cooking. Keep a close eye on the ribs during this final stage. If you notice the sauce browning too rapidly, loosely tent the dish with aluminum foil to protect it while the ribs finish cooking.
Ribs Don’t Have Much Flavor
Lack of flavor often stems from insufficient seasoning or not allowing the rub enough time to penetrate the meat. A timid hand with the dry rub won’t yield the robust taste you’re looking for.
Be generous with your dry rub, ensuring all surfaces are well-coated. For best results, season the ribs and let them rest in the refrigerator for at least an hour, or even overnight. This allows the spices to meld with the meat, enhancing its natural flavor.
Key Takeaways
- Dry the Ribs: Always pat ribs dry before seasoning for better rub adhesion and crust development.
- Generous Seasoning: Don’t skimp on the dry rub; it’s the foundation of rich flavor.
- Low and Slow is Key: Bake ribs at 275°F (135°C) for initial tenderizing, using liquid and a tight foil seal.
- Timing for Sauce: Apply BBQ sauce only after ribs are mostly tender, during the final 30-45 minutes, to prevent burning.
- Rest the Meat: Allow ribs to rest for 10-15 minutes after cooking to ensure juicy, tender results.
- Avoid Overcrowding: Give ribs space in the baking dish for even cooking and browning.
Frequently Asked Questions
Can I use frozen country-style ribs?
Yes, you can use frozen country-style ribs, but they must be fully thawed before you begin cooking. Thawing ensures even cooking and allows the dry rub to properly adhere. Place them in the refrigerator overnight or use the cold water method for faster thawing.
What if I don’t have apple cider vinegar for the pan liquid?
If you don’t have apple cider vinegar, chicken broth or even plain water will work just as well to create steam and moisture in the baking dish. The goal is to keep the environment moist for tender ribs. You can also use a light beer or hard cider for added flavor.
How do I know when the ribs are done?
The ribs are done when they are incredibly tender. You should be able to easily pull a piece of meat off with a fork, or the meat should show significant pull-back from any bones present. An internal temperature of 190-205°F (88-96°C) indicates optimal tenderness for ribs.
Can I prepare the ribs ahead of time?
Absolutely. You can season the ribs with the dry rub and refrigerate them overnight, or even for up to 24 hours, before baking. This allows the flavors to deepen. Cooked ribs can be refrigerated for 3-4 days and reheated gently in the oven or microwave.
Our Top Recommended Finds
- Large Roasting Pan with Rack: Essential for even cooking and allowing fat to drip away from the ribs.
- Heavy-Duty Aluminum Foil: Creates a tight seal for steaming and makes cleanup much easier.
- Meat Thermometer: Ensures your ribs reach the perfect internal temperature for tenderness and safety.
Ready to Savor the Flavor?
You now have all the knowledge and steps to create truly unforgettable country-style ribs in your own oven. This recipe isn’t just about cooking; it’s about bringing warmth and incredible flavor to your home. Imagine the smiles around your dinner table when these tender, saucy ribs make their appearance.
Don’t wait to try this comforting classic. Gather your ingredients, follow these simple steps, and prepare to impress yourself and your loved ones. Once you’ve mastered these ribs, consider experimenting with different dry rubs or homemade BBQ sauces for even more culinary adventures. The journey to deliciousness starts today!