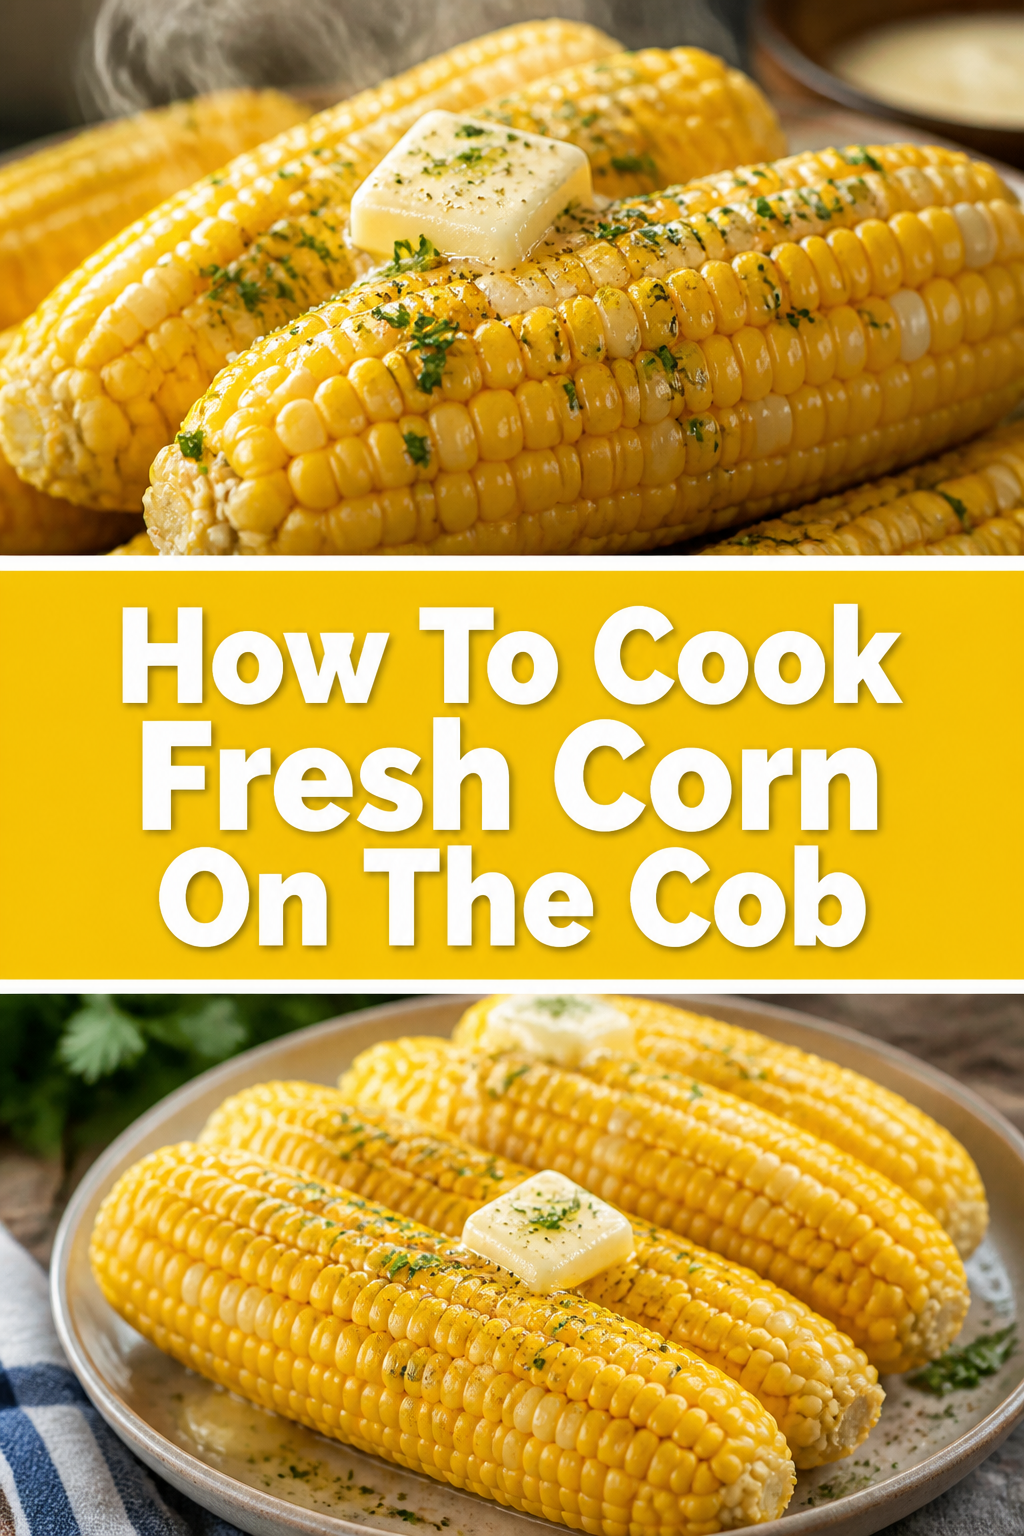
🌽 How To Cook Fresh Corn On The Cob
I have spent twenty years standing over steaming pots and hot grills every summer to find the perfect bite.
There is a specific science to getting that crisp, sweet pop without ending up with mushy or rubbery kernels.
This guide comes from my own kitchen trials and countless family barbecues where the corn was always the star of the plate.

Quick Overview
Cooking corn is a simple joy that requires minimal prep but rewards you with maximum flavor.
- Time needed: 5 to 20 minutes depending on the method
- Difficulty: Beginner
- What you’ll need: Fresh corn ears, a large pot or grill, tongs, butter, and sea salt
Step-by-Step Instructions
Step 1: Selecting the Best Ears
Look for bright green husks that feel slightly damp and tightly wrapped around the ear.
Feel the kernels through the husk to ensure they are plump and run all the way to the tip of the cob.
Check the silk sticking out of the top; it should be brown and sticky, not dry or black.
Pro Tip: Avoid pulling back the husk in the grocery store because this dries out the corn quickly; instead, trust the weight and feel of the ear.
Step 2: Shucking and Cleaning
Grip the silk and the top of the husk firmly in one hand while holding the base with the other.
Pull downward in one swift motion to strip away the majority of the green leaves and hair.
Rub a damp paper towel or a soft kitchen brush over the kernels to remove the stubborn remaining silk strands.
Step 3: Preparing the Boiling Water
Fill a large stockpot about two-thirds full with cold water to give the corn plenty of room to move.
Bring the water to a rolling boil over high heat before you even think about adding the corn.
Add a tablespoon of sugar if you want to enhance the natural sweetness, but never add salt to the water yet.
Pro Tip: Salting the boiling water toughens the cell walls of the corn, resulting in a rubbery texture rather than a crisp one.
Step 4: The Boiling Method
Lower the ears carefully into the boiling water using tongs to avoid splashes.
Cover the pot and wait for the water to return to a boil, which usually takes about a minute.
Cook the corn for exactly three to five minutes for young, tender ears or up to seven minutes for larger ones.
Step 5: The Grilling Method
Preheat your grill to medium-high heat while you lightly brush the shucked corn with oil or melted butter.
Place the ears directly onto the grates and close the lid to trap the heat and smoky flavor.
Turn the corn every two minutes using tongs until the kernels are bright yellow and have charred brown spots.
Step 6: The Oven Roasting Method
Preheat your oven to 400 degrees Fahrenheit and prepare a large sheet of aluminum foil for each ear.
Rub each ear with butter and a sprinkle of salt before wrapping it tightly in the foil.
Roast the corn on the middle rack for 20 to 25 minutes until the kernels are tender and steaming.
Pro Tip: You can add a clove of smashed garlic or a sprig of thyme inside the foil wrap for an infused herbal flavor.
Step 7: The Microwave Shortcut
Leave the husk on the corn to act as a natural steaming chamber for the fastest possible results.
Microwave one or two ears for four minutes, then let them sit for two minutes to finish steaming.
Cut off the bottom end of the cob and the corn will slide right out of the husk, silk-free.
Step 8: Testing for Doneness
Pierce a kernel with the tip of a sharp knife or a fingernail to see if it is ready.
Watch for a milky liquid to spurt out, which indicates the corn is perfectly cooked and juicy.
Remove the corn from the heat immediately once the color shifts from a pale yellow to a vibrant, deep gold.
Step 9: Seasoning and Serving
Drain the corn well if you boiled it, or unwrap it carefully from the foil to let the steam escape.
Roll the hot cob in a dish of softened butter so every single kernel gets a rich coating.
Sprinkle generously with flaky sea salt and cracked black pepper while the butter is still melty.
Common Mistakes to Avoid
Overcooking the Kernels
Many people believe that boiling corn for ten or fifteen minutes makes it softer, but the opposite is true. High heat for a long duration breaks down the delicate sugars and turns the interior of the kernel into a starchy paste.
You only need enough time to heat the corn through and slightly soften the exterior skin. If you leave it in the pot too long, you lose that signature “pop” that defines fresh summer corn.
Salting the Cooking Water
Adding salt to the boiling water is a standard practice for pasta, but it is a disaster for fresh corn. Salt draws moisture out of the kernels and strengthens the pectin in the cell walls.
This results in corn that feels tough and chewy regardless of how fresh it was when you bought it. Save the salt for the very end when the corn is on your plate and covered in butter.
Buying Corn Too Far in Advance
Corn is one of the few vegetables that begins to lose its quality the moment it is picked from the stalk. The natural sugars in the kernels start converting into starch immediately after harvest.
If you buy corn and leave it on the counter for three days, it will taste bland and floury. Always try to cook your corn the same day you purchase it from the farm stand or grocery store.
Troubleshooting
The Corn is Chewy and Tough
This usually happens when the corn is overcooked or if the ears were slightly past their prime when purchased. If you find yourself with tough corn, try cutting the kernels off the cob and sautéing them briefly in a pan with a little cream.
The fat in the cream helps soften the outer skin of the kernels and masks the starchy texture. Adding a pinch of sugar during this process can also help revive some of the lost sweetness.
The Kernels Look Shriveled
Shriveled kernels are a sign of dehydration, often caused by leaving the corn uncovered in the refrigerator. To fix this, soak the shucked ears in a bowl of ice-cold water for thirty minutes before cooking.
The kernels will absorb some of the moisture and plump back up before they hit the heat. This trick works best for boiling or steaming methods rather than grilling.
The Flavor is Bland
If your corn lacks that “wow” factor, it might be an older variety or simply grown in poor soil. You can boost the flavor by using a compound butter made with lime juice, chili powder, and cotija cheese.
Alternatively, try browning your butter in a skillet before drizzling it over the cob to add a nutty, toasted dimension. A splash of lemon juice can also brighten up corn that feels a bit flat on the palate.
Key Takeaways
- Choose ears with bright green husks and moist, brown silk for the freshest taste.
- Never add salt to your boiling water as it makes the kernels tough and rubbery.
- Boil for only 3 to 5 minutes to maintain the perfect crisp-tender texture.
- Use the microwave with the husk on for a quick, mess-free cooking option.
- Cook corn the same day you buy it to prevent sugars from turning into starch.
- Always apply butter and salt immediately after cooking while the corn is still steaming.
Frequently Asked Questions
Can I cook corn ahead of time and reheat it?
You can definitely cook corn in advance, but it is best served immediately for the best texture. If you must reheat it, wrap the cooked ears in a damp paper towel and microwave them for thirty seconds to keep them from drying out.
Is it better to grill corn in the husk or shucked?
Grilling in the husk steams the corn and provides a mild grassy flavor while protecting the kernels from burning. Grilling shucked corn allows for direct contact with the flame, which creates those delicious charred, caramelized bits that many people prefer.
How do I store leftover corn on the cob?
Store leftovers in an airtight container or a zip-top bag in the refrigerator for up to three days. For the best results, cut the kernels off the cob before storing so you can easily toss them into salads, salsas, or chowders later.
Can you freeze fresh corn on the cob?
Yes, but you should blanch it first by boiling it for about two to three minutes and then immediately dunking it in an ice bath. This stops the enzyme action that destroys flavor and color, allowing the corn to stay fresh in the freezer for up to eight months.
Our Top Recommended Finds
- Stainless Steel Corn Holders: These small picks make it easy to handle hot, buttery cobs without getting your hands messy or burning your fingers.
- Silicone Basting Brush: A heat-resistant brush is perfect for evenly spreading melted butter or oil over the kernels whether you are grilling or roasting.
- Corn Stripper Tool: If you enjoy using fresh corn in other recipes, a dedicated stripper tool removes kernels quickly and safely without the mess of using a chef’s knife.
Elevate Your Summer Side Dish Game
Now that you know the secrets to the perfect ear of corn, you can experiment with different toppings like pesto, parmesan, or even bacon bits.
Fresh corn is the ultimate canvas for seasonal flavors, and mastering the basic cook time is the first step toward becoming a backyard hero.
Pick up a few ears from your local market this afternoon and put these methods to the test at your next dinner.