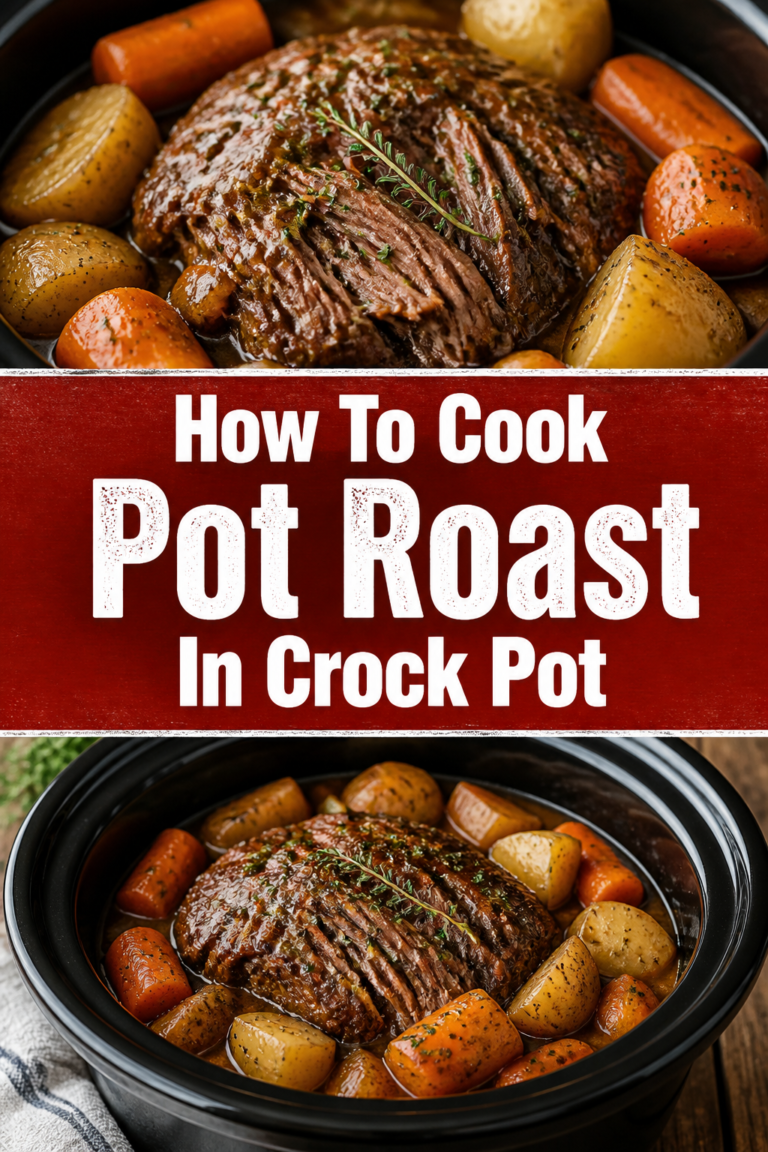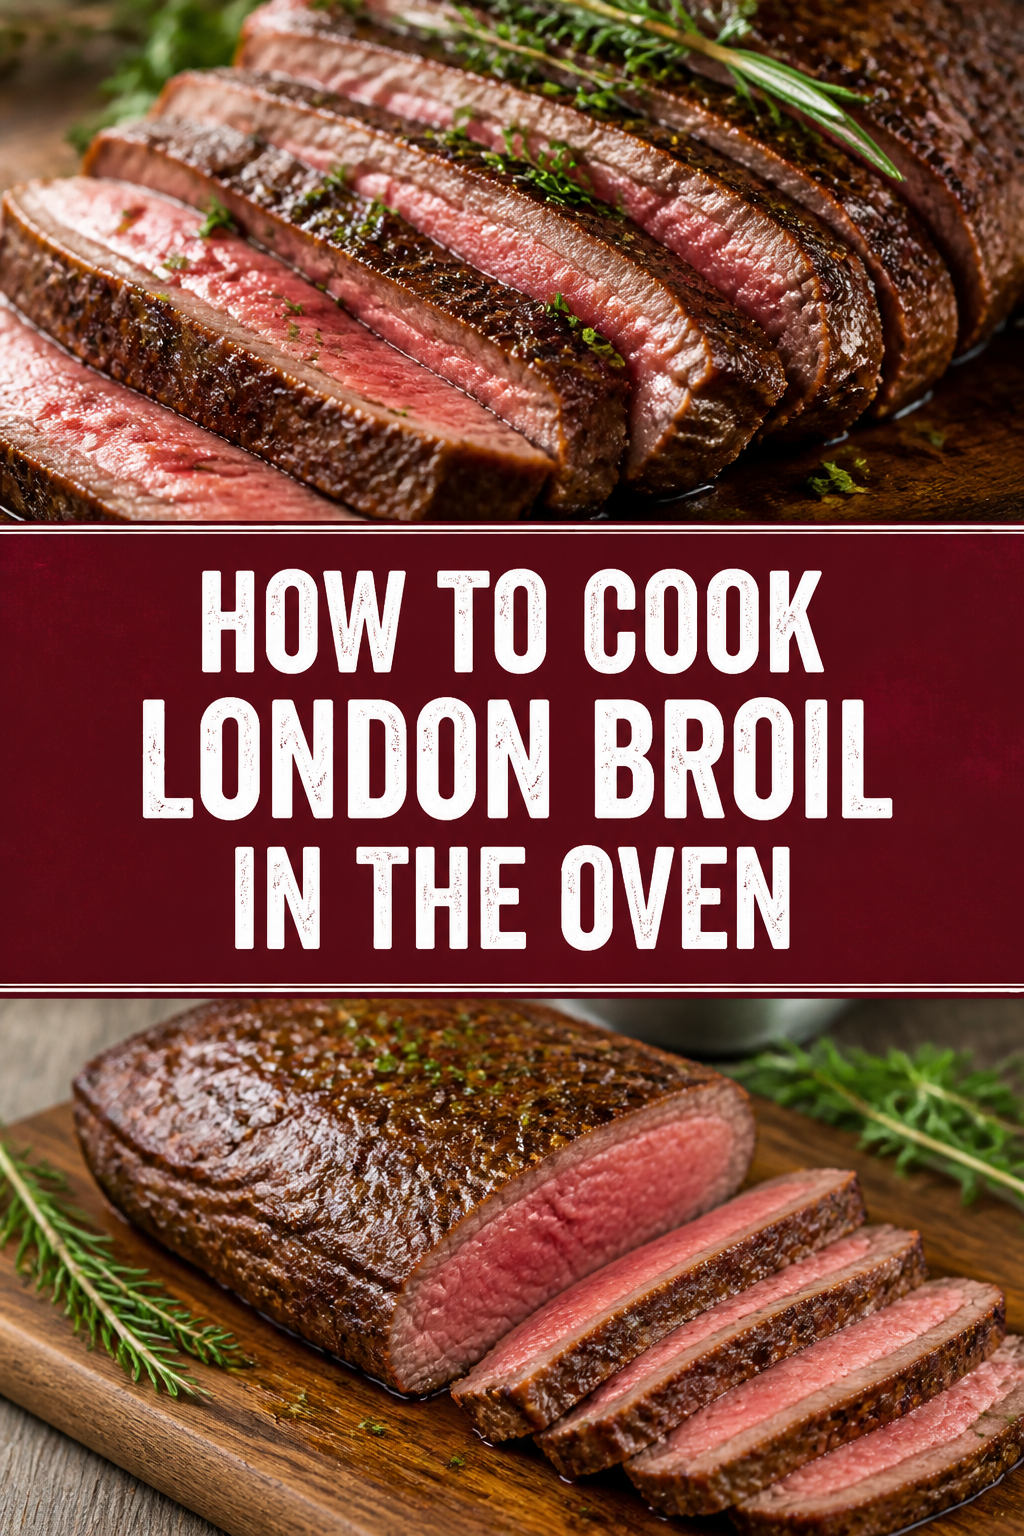
🥩 How To Cook London Broil In The Oven
Cooking a London broil can feel intimidating because it is a lean, tough cut of meat that requires specific handling.
I have spent years perfecting this technique in my own kitchen to ensure every slice is tender rather than chewy.
This guide shares the exact methods I use to transform an affordable cut of beef into a restaurant-quality meal.

Quick Overview
Mastering the London broil involves a combination of acidic marination and high-heat broiling.
You will learn how to balance flavors, control oven temperatures, and slice the meat for maximum tenderness.
- Time needed: 6-8 hours (including marinating time)
- Difficulty: Intermediate
- What you’ll need: Top round or flank steak, a broiler pan, a digital meat thermometer, and marinade ingredients.
Step-by-Step Instructions
Step 1: Select the Right Cut of Meat
Choose a top round roast or a flank steak that is approximately two inches thick for the best results.
London broil is actually a cooking method, not a specific muscle, but most grocery stores label top round this way.
Look for a piece of meat that has a deep red color and minimal visible gristle running through the center.
Pro Tip: If you find a piece that is uneven in thickness, use a meat mallet to gently pound the thicker end so it cooks at the same rate as the rest of the steak.
Step 2: Prepare a High-Acid Marinade
Whisk together a mixture of olive oil, balsamic vinegar, soy sauce, minced garlic, and a touch of Worcestershire sauce.
The acid in the vinegar and soy sauce is vital because it helps break down the tough muscle fibers characteristic of this cut.
Avoid using too much salt in the marinade, as the soy sauce already provides a significant amount of sodium.
Add dried herbs like rosemary or thyme to the liquid to infuse the meat with earthy notes during the soaking process.
Step 3: Marinate for the Optimal Duration
Place the meat and the marinade into a large, resealable plastic bag and squeeze out as much air as possible.
Let the steak sit in the refrigerator for at least six hours, though overnight is even better for deep flavor penetration.
Flip the bag every few hours if possible to ensure the liquid reaches every surface of the beef.
Do not exceed 24 hours of marinating, or the acid will begin to turn the texture of the meat mushy.
Step 4: Bring the Meat to Room Temperature
Remove the steak from the refrigerator about 45 to 60 minutes before you plan to start cooking.
Cooking a cold steak leads to an uneven finish where the outside is charred but the inside remains raw and cold.
Setting the meat on the counter allows the internal temperature to rise slightly, ensuring the heat penetrates the center quickly.
Pro Tip: Always pat the meat completely dry with paper towels after removing it from the marinade to ensure you get a proper sear rather than steaming the beef.
Step 5: Prepare the Broiler and Rack
Adjust your oven rack so that the meat will sit about 4 to 5 inches away from the heating element.
Turn your broiler to the “High” setting and let it preheat for at least ten minutes before the meat goes in.
A hot broiler mimics the intense direct heat of a grill, which is necessary for creating a flavorful crust.
Line your broiler pan with aluminum foil for easier cleanup, but ensure the slits in the pan remain open for drainage.
Step 6: Broil the First Side
Position the steak on the broiler pan and slide it into the oven directly under the glowing heating element.
Set a timer for 6 to 8 minutes depending on the thickness of your specific cut of beef.
Keep the oven door slightly ajar if your oven model requires it to prevent the heating element from cycling off.
Watch the meat closely through the oven window to ensure the surface is browning but not burning.
Step 7: Flip and Finish Cooking
Use long kitchen tongs to carefully flip the steak over to expose the uncooked side to the heat.
Broil the second side for another 5 to 7 minutes while monitoring the internal temperature with a thermometer.
You are aiming for an internal temperature of 130°F to 135°F for a perfect medium-rare finish.
The temperature will continue to rise about five degrees after you take it out of the oven.
Step 8: Let the Meat Rest
Transfer the cooked London broil to a cutting board or a warm plate and cover it loosely with foil.
This is the most important step in the entire process because it allows the juices to redistribute through the muscle.
If you cut into the meat immediately, the juices will run out onto the board, leaving the beef dry and tough.
Wait at least 10 to 15 minutes before you pick up your carving knife.
Step 9: Slice Against the Grain
Identify the direction of the long muscle fibers running through the meat before you make your first cut.
Position your knife perpendicular to those fibers and slice the meat into very thin strips.
Slicing against the grain shortens the fibers, making the meat much easier to chew and more tender on the palate.
Hold your knife at a slight 45-degree angle to create wider, more attractive slices for presentation.
Common Mistakes to Avoid
Skipping the Marinade
Many people treat London broil like a standard ribeye and think a simple salt and pepper rub is enough.
Because this cut comes from a hard-working muscle group, it lacks the fat marbling that provides natural tenderness.
Without the enzymatic breakdown provided by an acidic marinade, the meat will likely be far too tough to enjoy.
Overcooking the Beef
London broil is best served medium-rare; anything beyond medium will result in a texture similar to shoe leather.
The lean nature of the cut means there is no fat to keep it moist if the proteins are cooked for too long.
Always use a digital thermometer rather than relying on time alone, as every oven broiler performs differently.
Using a Glass Baking Dish
Never use a glass or ceramic dish under a broiler because the intense, direct heat can cause the material to shatter.
Standard baking sheets can also warp under the high heat of a broiler, leading to uneven cooking.
A dedicated two-piece broiler pan is the safest and most effective tool for this specific cooking method.
Slicing Too Thick
Even a perfectly cooked and marinated London broil will feel tough if the slices are too thick.
Thick chunks of lean beef require a lot of jaw work to break down, which ruins the dining experience.
Aim for slices that are no thicker than a quarter of an inch to ensure the best mouthfeel.
Troubleshooting
The Outside is Burnt But the Inside is Raw
This usually happens when the meat is placed too close to the broiler element or if it was not brought to room temperature.
If you notice the crust getting too dark, move the oven rack down one level to increase the distance from the heat.
You can also turn off the broiler and finish the meat at a standard bake setting of 350°F to reach the desired internal temp.
The Meat is Too Salty
If your finished product tastes like a salt lick, you likely used too much soy sauce or left it in the marinade too long.
To fix this after cooking, serve the meat with a side of unsalted mashed potatoes or a bright, acidic chimichurri sauce.
The acidity of a fresh herb sauce can help cut through the perceived saltiness of the beef.
The Meat is Grey and Lacks a Crust
A grey appearance usually means the surface of the meat was wet when it went into the oven.
The moisture turns into steam, which prevents the Maillard reaction from creating that brown, flavorful crust.
Next time, ensure you use several paper towels to blot the steak until the surface feels tacky rather than slippery.
Key Takeaways
- Acid is mandatory: Always use vinegar, citrus, or soy sauce in your marinade to soften the tough muscle fibers.
- Temperature control: Bring the meat to room temperature before cooking to ensure even heat distribution.
- The 135-degree rule: Pull the meat at 130°F to 135°F for a medium-rare result that stays juicy.
- Patience pays off: Resting the meat for 10-15 minutes is a non-negotiable step for retaining moisture.
- Slice thin: Always cut against the grain at an angle to maximize the tenderness of each bite.
Frequently Asked Questions
What is the best cut of meat for London broil?
The most common and effective cut is the top round roast, which is lean and flavorful.
Flank steak is also a popular choice, though it is usually thinner and requires less time under the broiler.
Both cuts require the same marinating and slicing techniques to be successful.
Can I cook London broil without a broiler pan?
You can use a wire cooling rack set inside a sturdy, rimmed baking sheet as a substitute.
This setup allows air to circulate under the meat and lets the rendered juices drip away from the steak.
Just make sure the baking sheet is rated for high-heat use so it doesn’t buckle in the oven.
How long should I marinate the meat?
A minimum of six hours is required to see any significant change in the texture of the beef.
For the best results, aim for 12 to 18 hours to allow the flavors to reach the center of the cut.
Do not go past 24 hours, as the meat can become unpleasantly soft and mushy.
Is London broil healthy?
Yes, it is one of the leanest cuts of beef available, making it a great source of high-quality protein.
It contains very little saturated fat compared to cuts like ribeye or New York strip.
By making your own marinade, you can also control the amount of sugar and sodium in the meal.
Our Top Recommended Finds
- Instant-Read Digital Thermometer: This tool takes the guesswork out of cooking and prevents you from serving overcooked meat.
- Heavy-Duty Broiler Pan: A porcelain-coated steel pan is durable and provides the best airflow for high-heat oven cooking.
- Long Carving Knife: A sharp, thin blade allows you to make those essential thin slices without tearing the meat.
Master Your Next Oven-Roasted Feast
Now that you have the technical foundation, it is time to put these steps into practice in your own kitchen.
You might want to experiment with different marinade bases, such as red wine or balsamic glaze, to find your favorite flavor profile.
Once you master the London broil, you can apply these same high-heat techniques to other lean cuts like tri-tip or hanger steak.
Pick up a top round roast this weekend and see how simple it is to create a gourmet meal on a budget.