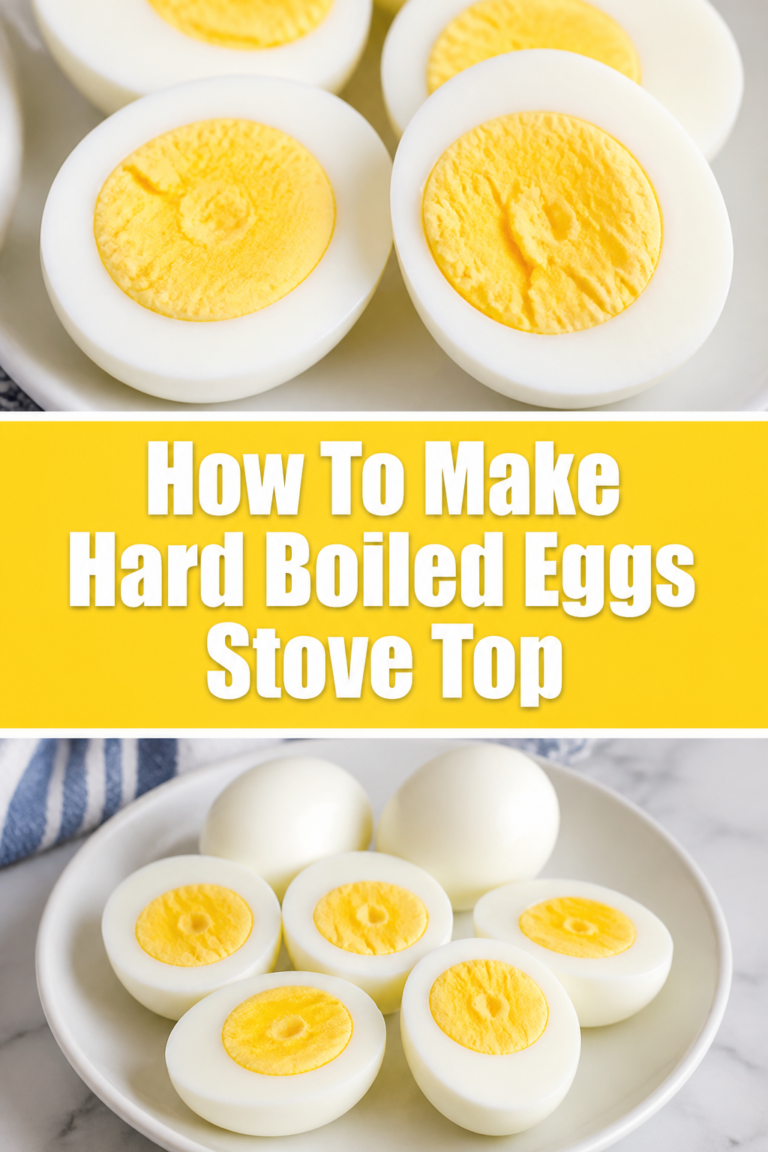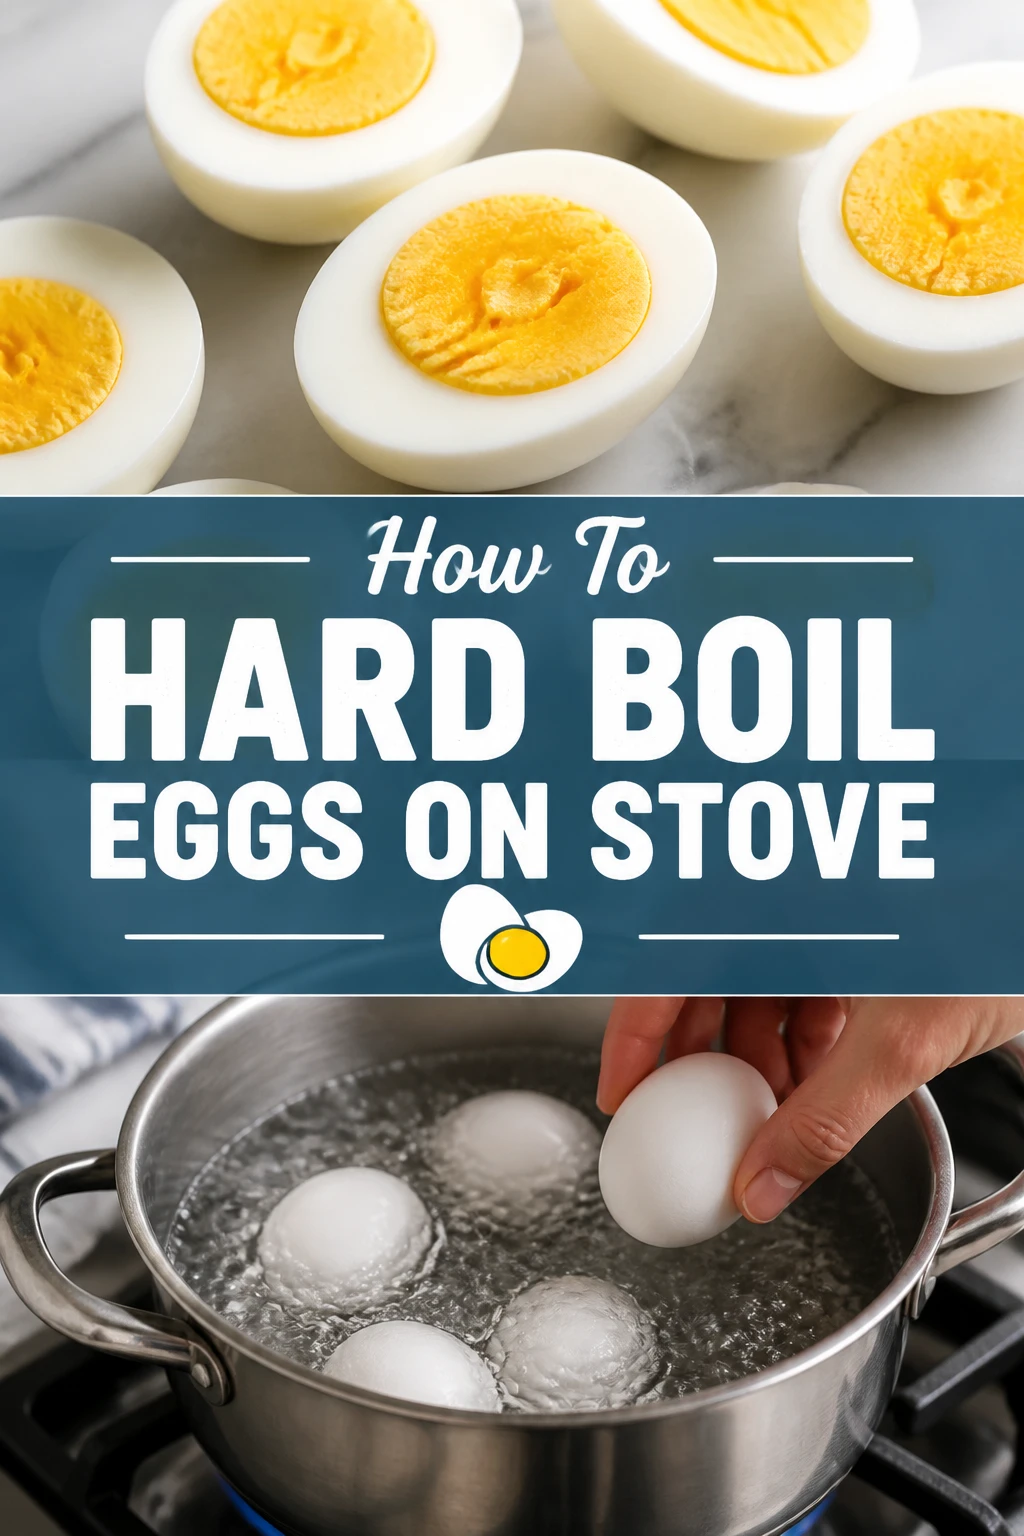
🥚 How To Hard Boil Eggs On Stove
Hard boiling an egg seems simple until you are left with a rubbery white and a chalky, green-tinted yolk.
I have spent years in professional kitchens perfecting the timing to ensure every egg is creamy and easy to peel.
This guide will help you master the stovetop method so you never have to struggle with a stubborn shell again.
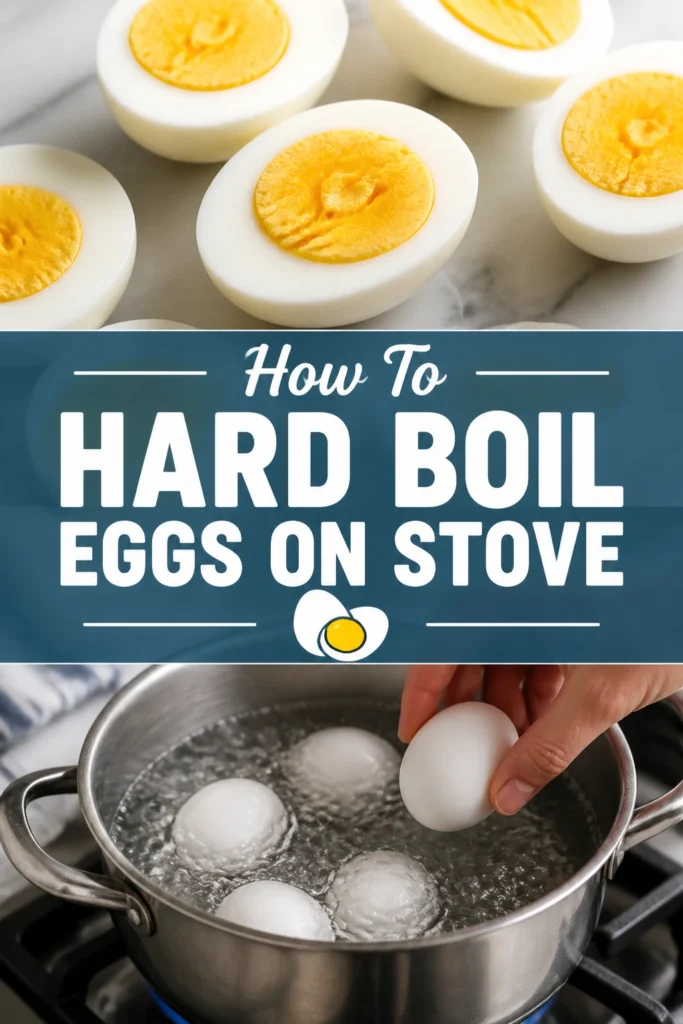
Quick Overview
Before you turn on the burner, here is a snapshot of what you will need and how long the process takes.
- Time needed: 15 to 20 minutes
- Difficulty: Beginner
- What you’ll need: Large eggs, a heavy-bottomed saucepan, cold water, a bowl of ice, and a slotted spoon.
Step-by-Step Instructions
Step 1: Choose the Right Eggs
Start with eggs that have been in your refrigerator for at least a week if possible.
Fresh eggs are wonderful for poaching or frying, but they are a nightmare to peel when hard-boiled.
As an egg ages, the pH level of the white increases, which causes it to bond less tightly to the inner shell membrane.
Pro Tip: If you only have farm-fresh eggs, add a half-teaspoon of baking soda to the water to increase the alkalinity and help with peeling.
Inspect each egg for hairline cracks before you begin the cooking process.
Even a tiny fracture will expand in the heat, causing the egg white to leak out and create a mess in your pot.
Step 2: Arrange the Eggs in the Pot
Place your eggs in a single layer at the bottom of your saucepan.
Avoid stacking the eggs on top of each other, as this leads to uneven cooking and potential breakage.
If you are cooking a large batch, use a wider pot rather than a deeper one to maintain that single layer.
Ensure there is enough room for the eggs to move slightly without banging violently against the sides of the pan.
Step 3: Add Cold Water
Fill the pot with cold tap water until the eggs are covered by at least one inch.
Using cold water is essential because it allows the eggs to heat up gradually along with the liquid.
If you drop cold eggs directly into boiling water, the thermal shock often causes the shells to crack instantly.
Measure the depth by eye; the water should be deep enough that it won’t evaporate below the tops of the eggs during the boil.
Step 4: Bring to a Rolling Boil
Place the pot on the stove over high heat and leave it uncovered.
Watch the water closely until it reaches a vigorous, rolling boil where large bubbles are breaking the surface rapidly.
Do not start your timer yet, as the actual “cooking” time begins once the heat source is managed.
Pro Tip: Stay near the stove during this stage so you can catch the exact moment the water peaks in temperature.
Step 5: Remove from Heat and Cover
Turn off the burner completely as soon as the water reaches that full boil.
Move the pot to a cool burner if you are using an electric stove, as the heating elements retain heat for a long time.
Cover the pot with a tight-fitting lid to trap the steam and residual heat inside.
This “carryover cooking” method is much gentler than boiling the eggs the entire time, resulting in a tender texture.
Step 6: Set Your Timer
Decide on your desired yolk consistency and set your kitchen timer immediately.
For a slightly soft but set yolk (medium-boiled), aim for 8 to 9 minutes of sitting time.
For a standard hard-boiled egg with a fully set, creamy yellow center, 10 to 12 minutes is the sweet spot.
Avoid going past 13 or 14 minutes, as this is when the chemical reaction between sulfur and iron begins to create that unappealing green ring.
Step 7: Prepare the Ice Bath
Fill a medium-sized bowl with cold water and a generous handful of ice cubes while the eggs are resting.
This is arguably the most important step in the entire process for both texture and ease of peeling.
The ice bath stops the cooking process instantly, preventing the eggs from becoming overdone and rubbery.
Make sure there is enough water in the bowl to fully submerge the eggs once they are added.
Step 8: Shock the Eggs
Use a slotted spoon to gently transfer the eggs from the hot water into the ice bath.
Leave the eggs in the ice water for at least 5 to 10 minutes.
This rapid cooling causes the egg to shrink slightly inside the shell, pulling away from the membrane.
Wait until the eggs feel completely cold to the touch before you attempt to peel them.
Step 9: Peel with Care
Tap the egg gently on a hard surface to crack the shell all over.
Roll the egg between your palm and the counter with light pressure to create a web of small cracks.
Start peeling from the wider end of the egg, where the air pocket is located.
Pro Tip: Peel the eggs under a thin stream of cool running water to help wash away the shell fragments and lubricate the membrane.
Common Mistakes to Avoid
Using Very Fresh Eggs
Fresh eggs have a lower pH level which makes the inner membrane stick like glue to the shell. If you buy eggs from a farmers market, let them sit in your fridge for a week before boiling them. This small wait time will save you from the frustration of mangled egg whites.
Boiling the Eggs Too Long
Leaving the eggs in boiling water for the entire duration often leads to a rubbery, tough consistency. The high heat toughens the proteins in the egg whites. By using the “off-heat” method described above, you ensure the whites stay delicate while the yolks cook through.
Skipping the Ice Bath
If you let eggs air-dry after cooking, they continue to cook from the residual heat inside. This almost always leads to overcooked yolks and shells that are fused to the white. The thermal shock of the ice bath is the secret to a perfect result every time.
Crowding the Pot
When eggs are packed too tightly, they don’t cook evenly because the water cannot circulate around them. They are also more likely to knock against each other and crack. Always use a pot large enough to give every egg its own space on the bottom.
Troubleshooting
The Dreaded Green Ring
If you see a greyish-green layer around your yolk, the eggs were cooked for too long or not cooled fast enough. This is a reaction between the sulfur in the white and the iron in the yolk. It is perfectly safe to eat, but it indicates the egg is overdone and may have a slightly sulfurous smell.
The Shell is Sticking to the White
This usually happens because the eggs were too fresh or they weren’t shocked in ice water long enough. If you encounter a stubborn egg, try peeling it while it is fully submerged in a bowl of water. The water helps get between the membrane and the white to lift the shell away.
The Egg Cracked During Cooking
Cracking usually occurs because the eggs were dropped into the pot too hard or the water was at a violent boil. Always start with cold water and place the eggs in the pot before adding the liquid. If an egg does crack, adding a splash of vinegar to the water can help the white coagulate faster and seal the leak.
Key Takeaways
- Age matters: Use eggs that are 7-10 days old for the easiest peeling experience.
- Start cold: Always begin with eggs in cold water to prevent cracking and ensure even cooking.
- The “Off-Heat” method: Bring water to a boil, then turn off the heat and cover to cook the eggs gently.
- Timing is everything: 12 minutes in covered hot water produces a perfect, creamy hard-boiled yolk.
- Ice is essential: Always use an ice bath for at least 5 minutes to stop the cooking and loosen the shell.
- Peel under water: Use a running faucet or a bowl of water to help the shell slide off smoothly.
Frequently Asked Questions
How long do hard-boiled eggs last in the fridge?
Hard-boiled eggs can be stored in the refrigerator for up to seven days. It is best to keep them in their shells until you are ready to eat them to prevent them from absorbing odors. If you have already peeled them, keep them in a sealed container or a bowl of cold water that you change daily.
Why are my yolks off-center?
Yolks tend to drift toward the side of the egg as it sits in the carton. If you want perfectly centered yolks for deviled eggs, try storing the carton on its side for 24 hours before cooking. You can also gently stir the eggs during the first few minutes of the heating process to help center the yolk.
Is it better to steam eggs or boil them?
Steaming is another excellent method that many people find makes eggs even easier to peel. However, the stovetop boiling method is more traditional and easier to control for beginners who don’t have a steamer basket. Both methods rely on the same principle of gentle heat followed by a cold shock.
Can I use this method for soft-boiled eggs?
Yes, you can use the same start-from-cold method for soft-boiled eggs. You simply need to reduce the “sitting” time in the hot water. For a very runny yolk and soft white, try 4 to 5 minutes; for a “jammy” yolk, aim for 6 to 7 minutes.
Our Top Recommended Finds
- Heavy-Bottomed Stainless Steel Saucepan: A high-quality pan distributes heat evenly, preventing hot spots that can cause eggs to crack.
- Precision Kitchen Timer: While your phone works, a dedicated loud kitchen timer ensures you don’t miss the critical cooling window.
- Silicone Slotted Spoon: This tool allows you to move eggs in and out of the water gently without damaging the shells.
Master Your Morning Routine
Now that you have mastered the art of the perfect hard-boiled egg, you have a versatile protein ready for any meal.
You might want to explore making classic deviled eggs with a hint of smoked paprika or a fresh Nicoise salad.
Try boiling a batch of six eggs this Sunday so you have healthy, easy-to-grab snacks available all week long.
Mastering these small kitchen basics is the first step toward becoming a more confident and efficient home cook.