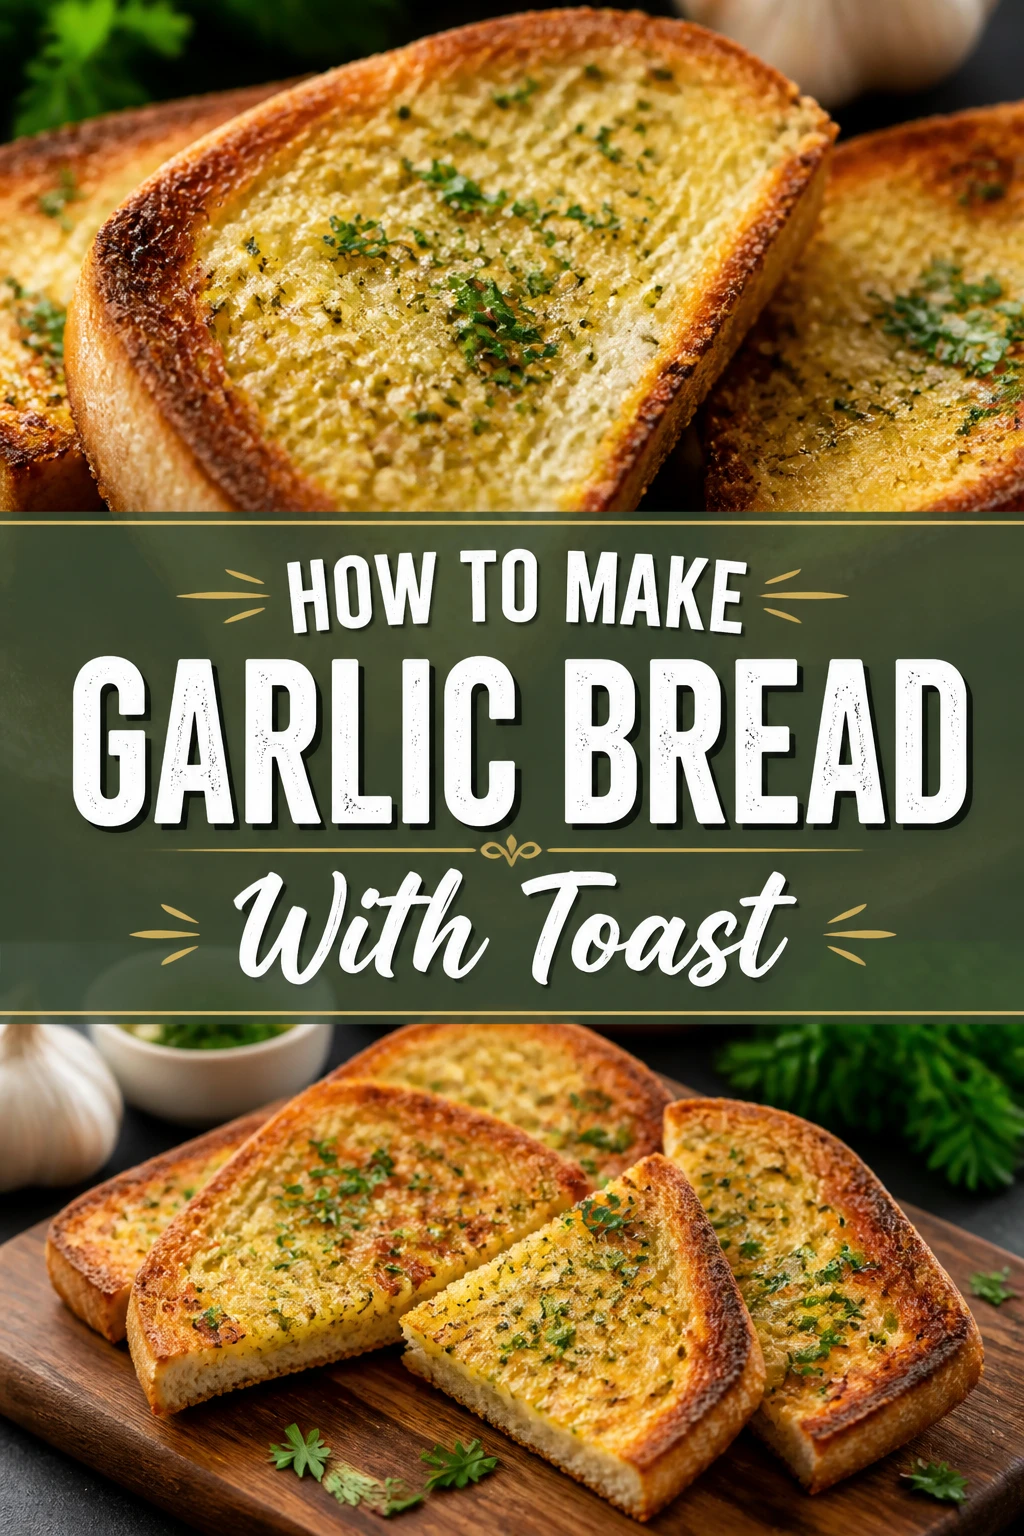
🍞 How To Make Garlic Bread With Toast
I have spent countless late nights in my kitchen trying to turn basic pantry staples into something that feels like a gourmet meal.
This method for making garlic bread with toast is my favorite “kitchen hack” because it uses standard sliced bread to create a side dish that rivals any Italian restaurant.
You can trust this guide because I have tested every variable, from butter temperatures to bread thickness, to ensure your results are consistently crispy and flavorful.
Quick Overview
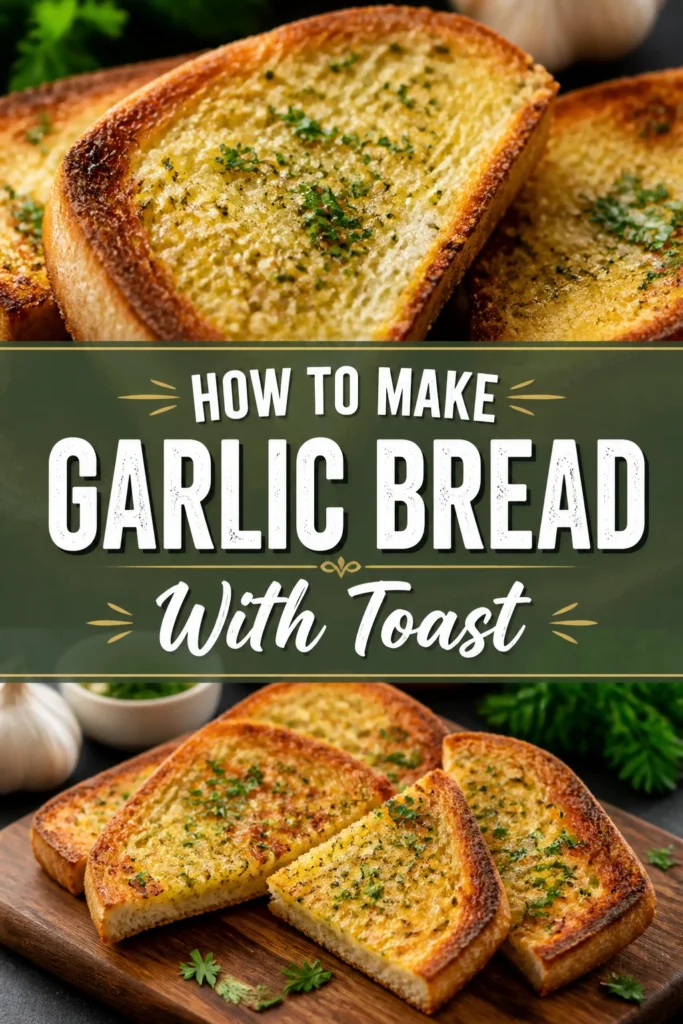
This process transforms ordinary sandwich bread or pre-toasted slices into a buttery, aromatic accompaniment for pasta, soup, or salads.
- Time needed: 10-12 minutes
- Difficulty: Beginner
- What you’ll need: Sliced bread, butter, fresh garlic, dried or fresh herbs, and a toaster or oven.
Step 1: Select Your Bread Base
The foundation of great garlic bread starts with the type of sliced bread you have in your pantry.
While standard white sandwich bread works perfectly for a nostalgic, soft-crunch feel, you can also use thick-cut Texas toast or sourdough slices.
Look for bread that is slightly sturdy so it can hold the weight of the garlic butter without collapsing or becoming overly floppy.
If your bread is very fresh and soft, it may benefit from a very light “pre-toast” in the toaster on the lowest setting just to dry out the surface.
Sourdough offers a tangy contrast to the rich butter, while whole wheat adds a nutty depth that pairs well with roasted garlic flavors.
Pro Tip: Use bread that is a day or two old; the slightly lower moisture content allows the butter to soak in without making the toast soggy.
Step 2: Soften the Butter Correcty
The texture of your butter is the most critical factor in achieving an even spread without tearing the delicate surface of the toast.
Remove a half-stick of salted butter from the refrigerator at least thirty minutes before you plan to start cooking.
You want the butter to be “pliable” but not oily or melted into a liquid state.
If you are in a rush, you can grate cold butter with a cheese grater to help it reach room temperature in just a few minutes.
Avoid the microwave if possible, as it often melts the center while leaving the outside hard, which leads to uneven garlic distribution.
Using high-quality European-style butter can elevate the flavor significantly due to its higher fat content and richer yellow color.
Step 3: Prepare the Fresh Garlic
Fresh garlic is the soul of this recipe and provides a pungent, spicy kick that pre-minced jars simply cannot replicate.
Peel two to three large cloves of garlic and remove any green sprouts from the center, as these can be bitter.
You should aim for a very fine consistency, almost like a paste, so the garlic blends seamlessly into the softened butter.
Use a microplane or a fine grater to process the garlic directly into the butter bowl for the best results.
If you prefer a more rustic texture, you can mince the garlic with a sharp knife and then mash it with the side of the blade and a pinch of salt.
The salt acts as an abrasive, helping to break down the garlic fibers into a smooth, spreadable mash.
Pro Tip: If you find raw garlic too sharp, sauté the minced garlic in a teaspoon of olive oil for sixty seconds before mixing it into the butter.
Step 4: Blend the Herb and Spice Mixture
Adding layers of flavor to your garlic butter will make the toast taste more complex and professional.
Stir in a teaspoon of dried parsley or a tablespoon of finely chopped fresh parsley for that classic green speckled look.
Add a pinch of onion powder or a dash of dried oregano if you want to lean into a more traditional “pizza parlor” flavor profile.
Incorporate a small amount of freshly cracked black pepper to provide a subtle heat that cuts through the richness of the fat.
If you enjoy a bit of spice, a pinch of red pepper flakes can be folded into the mixture at this stage.
Make sure to taste a tiny bit of the mixture on a piece of plain bread to see if it needs an extra pinch of salt, especially if you used unsalted butter.
Step 5: Master the First Toasting Pass
To ensure the bread stays crisp under the layer of butter, a two-stage toasting process is often the most effective method.
Place your plain bread slices into the toaster and set it to about 40% of its maximum power.
The goal here is not to brown the bread fully, but to create a dry, slightly firm exterior that acts as a barrier.
If you are using an oven, place the slices on a wire rack over a baking sheet at 350 degrees Fahrenheit for about three minutes.
Remove the bread while it is still pale but feels significantly firmer to the touch than when it was raw.
This step prevents the butter from soaking all the way through to the bottom, which often results in a “greasy” rather than “crispy” experience.
Step 6: Apply the Garlic Spread
Now that your bread is prepped and your butter is seasoned, it is time to assemble the slices.
Spread a generous, even layer of the garlic butter over one side of each warm toast slice.
Be sure to reach all the way to the very edges of the crust to ensure that no bite is left dry or unseasoned.
Use the back of a spoon or a small offset spatula to press the garlic bits slightly into the pores of the bread.
If you are making “cheesy” garlic toast, this is the moment to sprinkle a thin layer of shredded mozzarella or grated parmesan over the top.
The heat from the pre-toasted bread will start to melt the butter immediately, allowing the garlic oils to penetrate the surface.
Pro Tip: Don’t overdo the butter; a thin, translucent layer is usually enough to provide maximum flavor without making the bread heavy.
Step 7: The Final Golden Crisp
The final step involves a quick blast of heat to cook the raw garlic and brown the edges of the bread.
Set your oven to the “Broil” setting and place the buttered slices on a baking sheet on the top rack.
You must stay in front of the oven during this process, as the transition from golden brown to burnt happens in a matter of seconds.
Watch for the butter to bubble vigorously and the edges of the bread to turn a deep, golden mahogany color.
If you don’t want to use an oven, you can place the buttered slices back into a toaster oven or even a dry skillet over medium heat.
If using a skillet, place the buttered side down first for sixty seconds, then flip to warm the other side briefly.
Step 8: Rest and Garnish
Allowing the garlic bread to sit for just a minute after it comes out of the heat is a step many people skip.
Transfer the toast to a wooden cutting board rather than leaving it on the hot metal baking sheet.
The wooden surface absorbs a bit of the excess steam, which helps the bottom of the toast stay crunchy.
Garnish with a final sprinkle of fresh herbs or a light dusting of flaky sea salt while the butter is still bubbling.
Slice the toast into diagonal triangles or thin “fingers” for an attractive presentation that is easy to dip into sauces.
Serve the garlic bread immediately while the center is still soft and the edges are shatteringly crisp.
Common Mistakes to Avoid
Using Cold Butter for Spreading
Trying to spread cold, hard butter onto a soft slice of bread is a recipe for disaster. You will likely end up tearing holes in the bread or having large clumps of butter in one spot and none in another. Always plan ahead to ensure your butter is at a soft, creamy room temperature before you begin mixing.
Overcrowding the Baking Sheet
If you are making multiple slices at once, it is tempting to squeeze them all onto one small tray. However, if the slices are touching, the edges will steam instead of crisping up. Give each piece of toast at least an inch of breathing room so the hot air can circulate around the crusts properly.
Walking Away from the Broiler
The broiler is a powerful tool that can ruin your meal in an instant. Many people put their garlic bread in and then turn around to stir their pasta or set the table. Within thirty seconds, the high heat can turn your perfect golden toast into a charred, bitter mess. Stay focused and keep your eyes on the oven window until the bread is done.
Troubleshooting
The Bread is Too Soggy
If your garlic bread feels limp and greasy, it is usually because too much butter was used or the bread was too soft to begin with. Next time, try the “pre-toast” method mentioned in Step 5 to create a firmer surface. You can also try increasing the heat of your oven to cook the moisture out of the butter more quickly.
The Garlic Tastes Bitter or Burnt
Garlic becomes bitter when it is burned at high temperatures for too long. If your toast looks fine but tastes off, the garlic pieces might have been too large or exposed to the direct flame of the broiler for too long. Try mincing the garlic finer so it incorporates into the butter, or move your oven rack one level lower to provide more distance from the heat source.
Key Takeaways
- Use fresh garlic: The flavor difference between fresh cloves and jarred or powdered garlic is massive.
- Temperature matters: Softened butter ensures a smooth application and prevents the bread from tearing.
- Pre-toast for crunch: A quick dry-toast before adding butter prevents the “soggy middle” syndrome.
- Watch the broiler: Always supervise the final browning stage to prevent burning.
- Edge-to-edge coverage: Ensure the garlic butter reaches the very perimeter of the slice for the best experience.
- Rest on wood: Use a cutting board for cooling to maintain the integrity of the bottom crust.
Frequently Asked Questions
Can I use margarine or oil instead of butter?
Yes, you can use margarine or olive oil as a substitute for butter. Olive oil will result in a crispier, more “fried” texture and a distinct Mediterranean flavor. If using oil, mix the garlic and herbs into the oil first, then brush it onto the bread with a pastry brush to ensure even coverage without soaking the slice too heavily.
How do I store and reheat leftover garlic toast?
Leftover garlic bread can be stored in an airtight container at room temperature for one day or in the fridge for up to three days. To reheat, avoid the microwave as it will make the bread rubbery. Instead, place the slices in a toaster oven or a dry pan over medium heat for two minutes until the butter sizzles again and the bread regains its crunch.
Is garlic powder a good substitute for fresh cloves?
While fresh garlic is superior in flavor, garlic powder can be used in a pinch. If using powder, use about 1/4 teaspoon for every clove called for in the recipe. Garlic powder distributes very evenly, which is a benefit, but it lacks the spicy “bite” and aromatic oils that make fresh garlic bread so addictive.
Our Top Recommended Finds
- Stainless Steel Microplane: This tool is essential for creating the fine garlic paste needed for a smooth, professional butter spread.
- Silicone Pastry Brush: A high-quality brush allows you to apply melted butter or oil-based garlic mixtures with precision and ease.
- Heavy-Duty Rimmed Baking Sheet: A sturdy pan prevents warping at high broiler temperatures and ensures even heat distribution for all your slices.
Start Your Garlic Bread Journey
Now that you have mastered the fundamental steps, you can begin experimenting with different toppings and bread varieties.
Try adding a sprinkle of smoked paprika for a woody depth or a drizzle of honey for a surprising sweet-and-salty combination.
The beauty of this recipe lies in its simplicity and the way it turns a basic loaf of bread into a highlight of the meal.
Gather your ingredients and try making a batch tonight to see how much of a difference these small techniques can make.