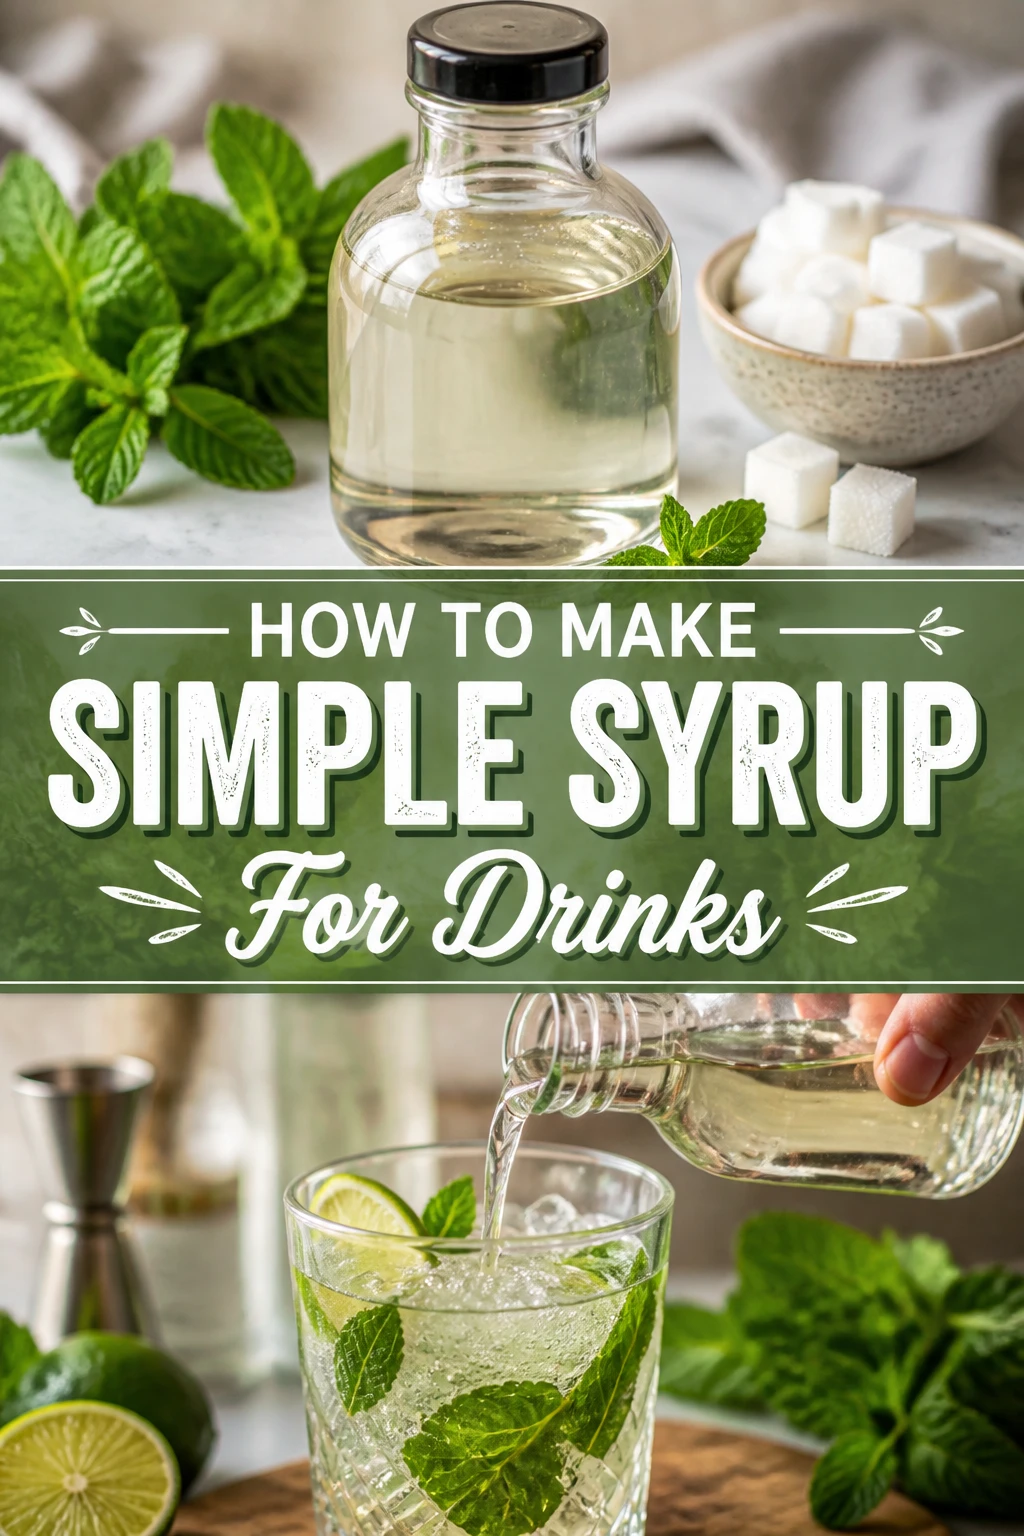
🍹 How To Make Simple Syrup For Drinks
Making simple syrup at home is a game-changer for anyone who enjoys crafting delicious drinks. I remember my first time trying to sweeten a cocktail with granulated sugar, only to end up with a gritty mess at the bottom of the glass. That’s when I discovered the magic of simple syrup.
It truly transforms your mixology, ensuring every sip is smooth and perfectly balanced. Trust me; this guide will help you master it with ease, just as I did.
Quick Overview
This guide will walk you through creating a perfectly balanced simple syrup, essential for countless cocktails and beverages. You’ll learn how to combine sugar and water into a smooth, sweet liquid that integrates beautifully into any drink. Get ready to elevate your home bar.
- Time needed: 5 minutes active, 15-20 minutes total (including cooling)
- Difficulty: Beginner
- What you’ll need: Granulated sugar, water, a small saucepan, a spoon, and an airtight container.
Step-by-Step Instructions
Step 1: Gather Your Ingredients and Tools
Before you begin, ensure you have everything ready. This makes the process smooth and enjoyable. You’ll need just two basic ingredients and a few common kitchen items.
You will need granulated sugar and water, preferably filtered for the best taste. For tools, grab a small saucepan, a stirring spoon, and a heat-safe, airtight container for storage. Having these items organized prevents any mid-process scrambling.
Step 2: Measure Your Water and Sugar
The standard ratio for simple syrup is 1:1, meaning equal parts sugar and water. For most home bar needs, starting with one cup of sugar and one cup of water is ideal. This yields a good amount for several drinks.
You can easily scale this up or down depending on how much syrup you need. Just remember to maintain that equal parts ratio for consistency. Using a liquid measuring cup for water and a dry measuring cup for sugar works perfectly.
Pro Tip: While 1:1 is standard, a ‘rich’ simple syrup uses a 2:1 sugar-to-water ratio. This makes a thicker, sweeter syrup that can be useful for certain cocktails, but start with 1:1 for versatility.
Step 3: Combine in a Saucepan
Pour your measured water into the small saucepan. Then, add the measured granulated sugar directly into the water. It’s okay if the sugar doesn’t immediately dissolve; that’s what the next step is for.
Ensure your saucepan is clean and dry before adding the ingredients. A small to medium-sized pan works best to allow for gentle heating and easy stirring.
Step 4: Heat Gently
Place the saucepan on your stovetop over medium-low heat. The goal here is to gently warm the mixture, not to boil it vigorously. High heat can cause the water to evaporate too quickly, altering your ratio.
Gently heating helps the sugar crystals break down and dissolve evenly. Keep a close eye on the mixture during this stage to prevent scorching.
Step 5: Stir Until Dissolved
Begin stirring the sugar and water mixture continuously with your spoon. You will notice the sugar crystals gradually disappearing into the water. Continue stirring until all the sugar is completely dissolved.
This usually takes only a few minutes. Once the liquid becomes clear and you can no longer see any sugar granules at the bottom of the pan, your syrup is ready. Remove the saucepan from the heat immediately.
Pro Tip: Avoid over-stirring or vigorous boiling once the sugar is dissolved. This can introduce air bubbles or even lead to crystallization later on. A gentle, constant stir is all you need.
Step 6: Cool Completely
Allow the simple syrup to cool down to room temperature. This is a crucial step for both flavor and safety. Hot syrup can crack glass containers or thin out your drinks if used too soon.
You can let it cool on the counter, or for a quicker cool-down, place the saucepan in a larger bowl of ice water. Ensure no water from the ice bath gets into your syrup. Cooling thoroughly prevents condensation inside your storage container.
Step 7: Store Properly
Once the simple syrup is completely cool, carefully pour it into your chosen airtight container. Glass jars or bottles with tight-fitting lids are excellent choices. Labeling the container with the date of preparation is a good habit.
Store your simple syrup in the refrigerator. This will significantly extend its shelf life. Proper storage keeps your syrup fresh and ready for whenever inspiration strikes.
Step 8: Use in Your Favorite Drinks
Now that you have your homemade simple syrup, the possibilities are endless. Add it to cocktails like Old Fashioneds, Margaritas, or Mojitos for perfect sweetness. It also works wonderfully in non-alcoholic beverages.
Try it in iced tea, lemonade, or even a homemade soda. The smooth texture ensures uniform sweetness throughout your drink, without any gritty residue. Experiment and enjoy your perfectly sweetened creations!
Common Mistakes to Avoid
Using the Wrong Ratio
Many beginners might eyeball the measurements or use too much sugar. A 1:1 ratio of sugar to water is standard for simple syrup because it creates a balanced sweetness and consistency. Deviating too much can make your syrup overly sweet, too thin, or too thick for most recipes. Stick to precise measurements for reliable results.
Overheating or Boiling Too Vigorously
It’s tempting to blast the heat to dissolve the sugar faster, but this is a common pitfall. Boiling the syrup too hard or for too long can cause the water to evaporate, concentrating the sugar. This can lead to a thicker, stickier syrup than intended, and even encourage crystallization as it cools. Gentle heat and just enough time for the sugar to dissolve are key.
Not Cooling Completely
Pouring warm syrup into a cold glass container can cause the glass to crack. More importantly, using warm syrup in cold drinks will rapidly melt ice, diluting your cocktail or beverage. Always allow the syrup to cool completely to room temperature before storing or using it. This ensures your drinks remain perfectly chilled and balanced.
Improper Storage
Leaving simple syrup out on the counter or storing it in a non-airtight container significantly shortens its lifespan. Simple syrup is prone to bacterial growth and mold if not stored correctly. Always use a clean, airtight container and keep it refrigerated. This preserves its freshness and prevents spoilage.
Troubleshooting
Syrup is Cloudy
If your simple syrup appears cloudy instead of clear, it could be due to a couple of reasons. Sometimes, impurities in tap water can contribute to cloudiness. Using filtered water can often resolve this. It can also happen if the sugar wasn’t fully dissolved, leaving tiny suspended particles. Ensure complete dissolution by stirring thoroughly over gentle heat.
Syrup Crystallized
Crystallization is a common issue, often occurring if the syrup was overheated or if sugar crystals were left on the sides of the pan. Overheating can cause the sugar to recrystallize as it cools. To fix this, gently reheat the syrup with a tiny splash of water, stirring until the crystals dissolve again. Next time, avoid aggressive boiling and wipe down the pan’s sides with a wet pastry brush during heating.
Syrup Molded Early
Finding mold in your simple syrup before its expected shelf life is frustrating. This usually indicates contamination or improper storage. Ensure all your equipment (saucepan, spoon, storage container) is scrupulously clean before use. Always store the syrup in an airtight container in the refrigerator. If mold appears, discard the batch and start fresh with clean tools.
Key Takeaways
- Always use a 1:1 ratio of sugar to water for standard simple syrup.
- Heat the mixture gently over medium-low heat, stirring until the sugar fully dissolves.
- Avoid vigorous boiling to prevent water evaporation and crystallization.
- Allow the simple syrup to cool completely to room temperature before storing or using.
- Store simple syrup in a clean, airtight container in the refrigerator for optimal freshness.
- Simple syrup is incredibly versatile, enhancing both alcoholic and non-alcoholic beverages.
Frequently Asked Questions
Can I use brown sugar instead of granulated sugar?
Yes, you absolutely can use brown sugar to make simple syrup. This creates a rich, molasses-flavored syrup often called “brown sugar simple syrup.” It’s fantastic in whiskey cocktails, coffee drinks, or any recipe where you want a deeper, warmer sweetness. The process is exactly the same as with granulated sugar.
How long does homemade simple syrup last?
Properly stored simple syrup, kept in an airtight container in the refrigerator, typically lasts for about 2-4 weeks. If you notice any cloudiness, off-smells, or mold, it’s best to discard it. For longer storage, you can add a small amount of vodka (about 1 teaspoon per cup of syrup) as a preservative, extending its life slightly.
What’s the difference between simple syrup and rich simple syrup?
Simple syrup uses a 1:1 ratio of sugar to water, providing a balanced sweetness and medium viscosity. Rich simple syrup, on the other hand, uses a 2:1 ratio of sugar to water. This results in a much thicker, sweeter syrup that provides more body and sweetness with less liquid, often preferred in specific cocktails to avoid dilution.
Can I make simple syrup without heat?
Yes, you can make “cold simple syrup” or “cold process simple syrup.” This involves combining sugar and water in an airtight container and shaking or stirring vigorously until the sugar dissolves. It takes longer and requires more effort, but it’s an option if you prefer not to use heat. It’s especially useful for delicate flavored syrups, as heat can sometimes alter flavors.
Our Top Recommended Finds
- Small Stainless Steel Saucepan: A sturdy, non-reactive saucepan is essential for even heating and easy cleaning. Look for one with a heavy bottom to prevent scorching.
- Airtight Glass Jars with Lids: Perfect for storing your simple syrup. Glass is non-reactive and allows you to easily see the contents. Mason jars or swing-top bottles work wonderfully.
- Liquid Measuring Cup Set: Accurate measurements are key. A good quality set ensures you always hit that perfect 1:1 ratio for consistent results every time.
Elevate Your Home Bar Today
You now have all the knowledge and steps to create perfect simple syrup right in your kitchen. This fundamental ingredient will unlock a whole new world of cocktail possibilities. No more gritty sugar or unbalanced drinks for you.
Take this first step towards becoming a more confident home bartender. Experiment with infusing your simple syrup with herbs, spices, or fruit peels to create unique flavors. Go ahead, make a batch today, and impress yourself and your guests with effortlessly delicious drinks!