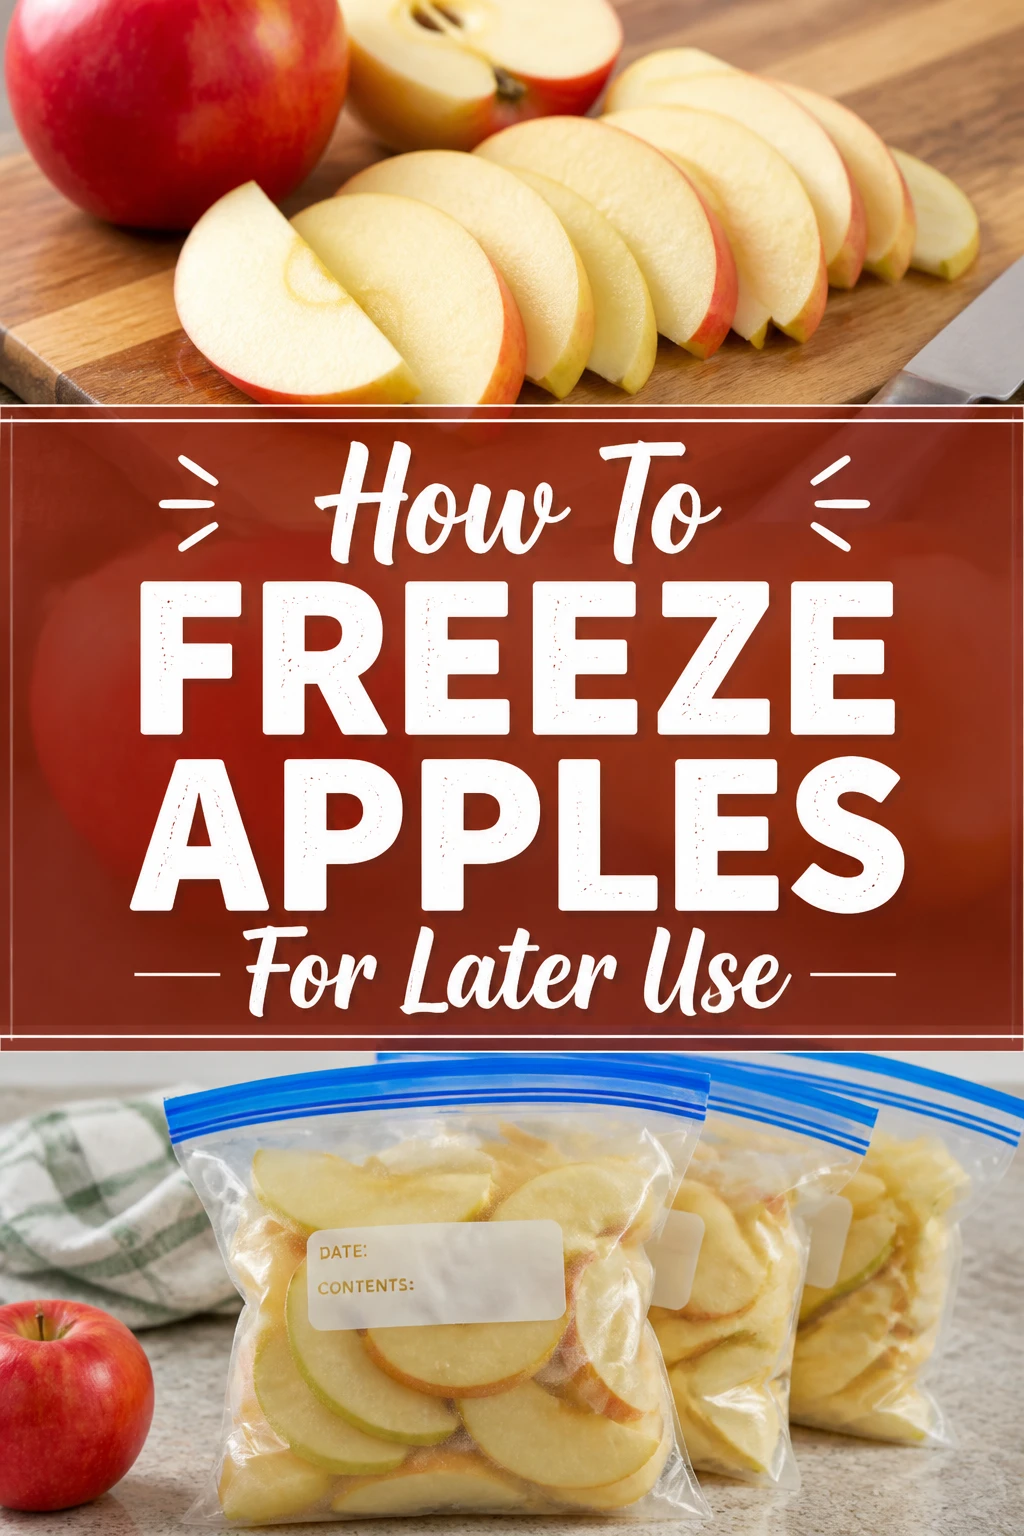
🍎 How To Freeze Apples For Later Use
There’s nothing quite like the crisp taste of a fresh apple, but what do you do when your harvest is too abundant, or you find a fantastic deal at the market?
Freezing apples is a brilliant way to preserve their goodness for months, ensuring you always have a supply for pies, sauces, and smoothies.
I’ve been freezing apples from my own small orchard for years, perfecting the process to keep them tasting great, and I’m here to share all my tried-and-true methods with you.
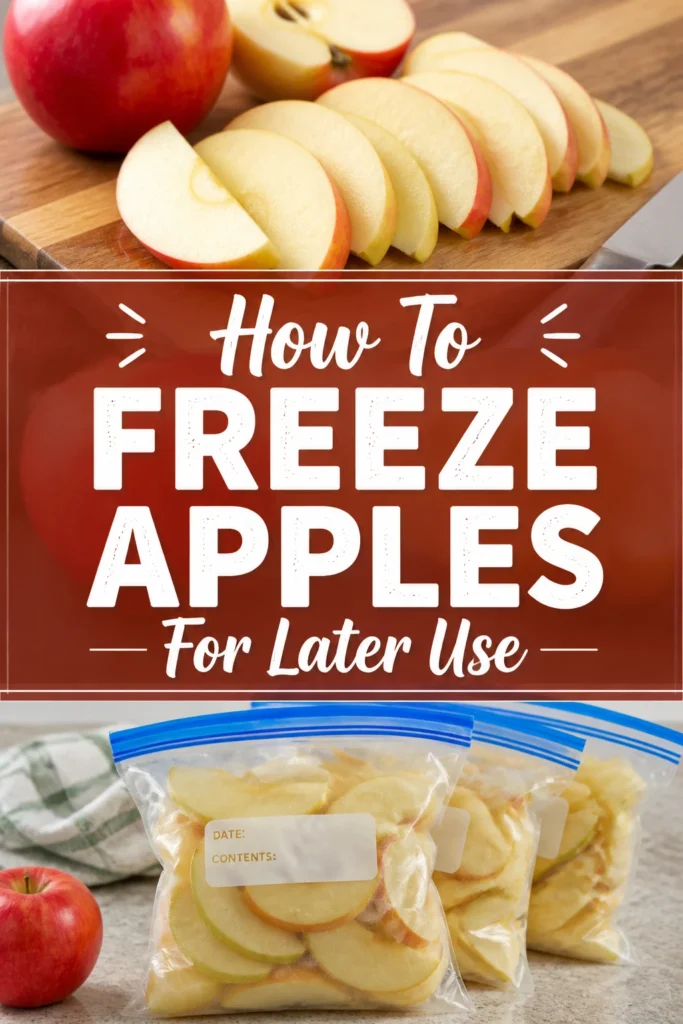
Quick Overview
This guide will walk you through the simple steps to freeze apples, preparing them for a variety of future culinary adventures. You’ll learn how to select, prepare, and properly store apples in your freezer.
- Time needed: 30 minutes to 1 hour (prep), plus 2-4 hours (initial freeze), then ongoing storage.
- Difficulty: Beginner
- What you’ll need: Fresh apples, vegetable peeler, corer, sharp knife, cutting board, large bowls, lemon juice or ascorbic acid, baking sheets, parchment paper, freezer bags or airtight containers.
Step-by-Step Instructions
Step 1: Choose and Clean Your Apples
The journey to perfectly frozen apples begins with selection. Always opt for firm, ripe apples without blemishes or soft spots. Varieties like Honeycrisp, Granny Smith, Fuji, Gala, and Braeburn hold up particularly well to freezing and thawing.
Once you’ve gathered your chosen fruit, it’s time for a thorough wash. Rinse each apple under cool running water, gently rubbing away any dirt or residue. A vegetable brush can be helpful for this step.
After washing, pat the apples completely dry with a clean cloth or paper towel. Excess moisture can lead to ice crystals and freezer burn later on.
Pro Tip: Using a mix of sweet and tart apples can add complexity to your future baked goods. Granny Smith for tartness and Fuji for sweetness make a great combination.
Step 2: Peel, Core, and Slice Your Apples
This is where the magic really begins. First, peel your apples using a vegetable peeler. While leaving the skin on is an option, most recipes benefit from peeled apples, and it prevents a tougher texture after thawing.
Next, core each apple. An apple corer makes this task quick and easy, removing the seeds and fibrous core in one swift motion. If you don’t have a corer, a sharp knife can be used to carefully cut around the core.
Finally, slice your apples to your desired thickness. For pies and crumbles, aim for slices about 1/4 to 1/2 inch thick. If you plan to make apple sauce or smoothies, you can chop them into smaller chunks. Consistency in size helps with even freezing.
Step 3: Prevent Browning (Pre-Treatment)
Apples, when exposed to air, will naturally oxidize and turn brown. This doesn’t affect their safety, but it can make them less appealing visually. A quick pre-treatment prevents this discoloration.
You have a few excellent options. The simplest is an acidulated water bath: mix 1/2 tablespoon of lemon juice per cup of cold water in a large bowl. Alternatively, use a commercial fruit protector, often made with ascorbic acid, following the package directions.
Submerge your apple slices in this solution for about 3-5 minutes, ensuring all surfaces are coated. This brief soak is enough to inhibit the browning enzymes.
Pro Tip: Don’t oversoak the apples, as they might absorb too much liquid and become mushy. A quick dip is all that’s needed.
Step 4: Drain and Dry Thoroughly
After their anti-browning bath, it’s crucial to remove as much moisture as possible. Excess water will turn into ice crystals in the freezer, leading to freezer burn and a less desirable texture.
Drain the apple slices well in a colander. Gently shake the colander to dislodge any clinging water droplets. For an even better result, spread the slices out in a single layer on clean kitchen towels or several layers of paper towels.
Blot them thoroughly until they feel dry to the touch. This step is often overlooked but is vital for maintaining apple quality during freezing.
Step 5: Flash Freeze for Best Results
Flash freezing prevents the apple slices from clumping together, making it easy to grab just the amount you need later on. This method is a game-changer for convenience.
Line a baking sheet with parchment paper or a silicone baking mat. This prevents the apples from sticking to the tray. Arrange the dried apple slices in a single layer on the prepared baking sheet, ensuring they don’t touch each other.
Place the baking sheet in your freezer and let the apples freeze solid. This usually takes 2 to 4 hours, depending on the thickness of your slices and the temperature of your freezer.
Step 6: Transfer to Freezer-Safe Storage
Once your apple slices are completely frozen solid, they are ready for long-term storage. This step is about protecting them from freezer burn and keeping them fresh.
Remove the baking sheet from the freezer. The flash-frozen slices should easily lift off the parchment paper. Transfer the frozen apple pieces into heavy-duty freezer bags or airtight containers.
If using freezer bags, press out as much air as possible before sealing. Air is the enemy of frozen food, contributing to freezer burn. For containers, ensure they are completely sealed.
Pro Tip: Consider portioning your apples into amounts you typically use for recipes (e.g., 2 cups for a pie). This makes future cooking much faster and prevents refreezing unused portions.
Step 7: Label and Store
Proper labeling is essential for any frozen food. You might think you’ll remember what’s in there, but trust me, you won’t in a few months!
Label each bag or container with the date of freezing and the type of apple, if you used a specific variety. You might also add a note about the intended use, like “pie apples” or “smoothie chunks.”
Store the labeled containers in the coldest part of your freezer. Frozen apples can maintain their quality for up to 8-12 months. After this time, they are still safe to eat but might experience a decline in texture or flavor.
Common Mistakes to Avoid
Not Preventing Browning
Skipping the pre-treatment step with lemon juice or ascorbic acid is a common oversight. While the apples are still safe to eat, they will turn an unappetizing brown color. This discoloration can carry over into your cooked dishes, making them look less appealing. Always take the few extra minutes for this crucial step to maintain their vibrant appearance.
Freezing Apples Wet
If you don’t thoroughly dry your apple slices after washing and the anti-browning bath, you’ll end up with a lot of ice crystals. These crystals not only contribute to freezer burn but can also make the apples mushy when thawed, significantly impacting their texture. Always pat them completely dry before flash freezing.
Freezing in Large Clumps
Throwing all your apple slices directly into a freezer bag without flash freezing first is a recipe for a solid block of fruit. This makes it impossible to take out a small portion without thawing the entire batch, which can lead to waste and refreezing issues. Flash freezing ensures individual pieces, offering maximum convenience and flexibility.
Using Non-Freezer-Safe Containers
Regular plastic bags or thin containers are not designed for the harsh conditions of a freezer. They can easily develop tiny tears or allow air to seep in, leading to freezer burn. Always invest in quality heavy-duty freezer bags or airtight, freezer-safe containers to protect your apples from moisture loss and off-flavors.
Troubleshooting
Apples Turn Mushy After Thawing
If your apples become too soft or mushy after thawing, it’s often due to too much moisture during the freezing process or improper pre-treatment. Ensure you thoroughly dry the apples before flash freezing and avoid over-soaking them in the anti-browning solution. While mushy apples might not be ideal for pies, they are still perfect for applesauce, smoothies, or apple butter where texture is less critical.
Apples Have Freezer Burn
Freezer burn appears as dry, discolored spots on your frozen apples. This happens when apples are exposed to air, causing moisture to evaporate. To prevent this, always remove as much air as possible from freezer bags, use airtight containers, and ensure your packaging is freezer-safe. While freezer-burned apples are safe to eat, their texture and flavor can be compromised. Trim away severely affected areas before using.
Apples Still Turning Brown
If your apples are still browning despite pre-treatment, the solution might not have been strong enough, or the apples weren’t fully submerged. Double-check the concentration of your lemon juice or ascorbic acid solution. Ensure all apple surfaces are coated and that they soak for the recommended time. Sometimes, very ripe apples are more prone to browning, so adjust the pre-treatment time slightly if needed.
Key Takeaways
- Always choose firm, blemish-free apples for freezing.
- Peeling, coring, and slicing are essential preparation steps.
- Use a lemon juice bath or ascorbic acid to prevent browning.
- Thoroughly dry apple slices before freezing to prevent ice crystals.
- Flash freezing on a baking sheet prevents clumping.
- Store apples in airtight, freezer-safe containers, removing excess air.
- Label packages with the date for optimal freshness tracking.
Frequently Asked Questions
Do I have to peel apples before freezing?
While you don’t absolutely have to peel apples, it’s highly recommended for most recipes. The skin can become tough or leathery after freezing and thawing, which isn’t ideal for pies or sauces. If you plan to use the apples for smoothies where texture isn’t as critical, leaving the skin on is fine and adds extra fiber.
Can I freeze whole apples?
Freezing whole apples is generally not recommended. The high water content in apples will expand upon freezing, causing the cell walls to break down. When thawed, whole apples will become very mushy and unappetizing, making them unsuitable for most culinary uses. It’s always best to peel, core, and slice them first.
How long do frozen apples last?
Properly frozen apples, stored in airtight containers, can maintain their quality for 8 to 12 months. Beyond this timeframe, they are still safe to consume, but you might notice a decline in their texture, flavor, or nutritional value. Always label your packages with the date to keep track of their freshness.
Do I need to blanch apples before freezing?
No, blanching apples is not necessary before freezing. The pre-treatment with lemon juice or ascorbic acid is sufficient to prevent enzymatic browning and maintain color. Blanching can sometimes make apples too soft, which is generally undesirable for their post-thaw texture.
Our Top Recommended Finds
- Apple Peeler, Corer, Slicer: This 3-in-1 tool dramatically speeds up prep time, making quick work of large batches of apples.
- Heavy-Duty Freezer Bags: Essential for protecting your apples from freezer burn, these bags are thicker and more durable than standard storage bags.
- Parchment Paper: Perfect for lining baking sheets during flash freezing, ensuring your apple slices don’t stick and are easy to transfer.
Embrace Your Apple Abundance
Freezing apples is a simple, rewarding process that transforms a seasonal bounty into year-round convenience. Imagine the delight of baking a fresh apple pie in the middle of winter, using apples harvested months ago.
This method not only reduces waste but also provides a healthy, ready-to-use ingredient for countless dishes.
Don’t let another apple harvest go unpreserved. Take these steps today and fill your freezer with future culinary possibilities.