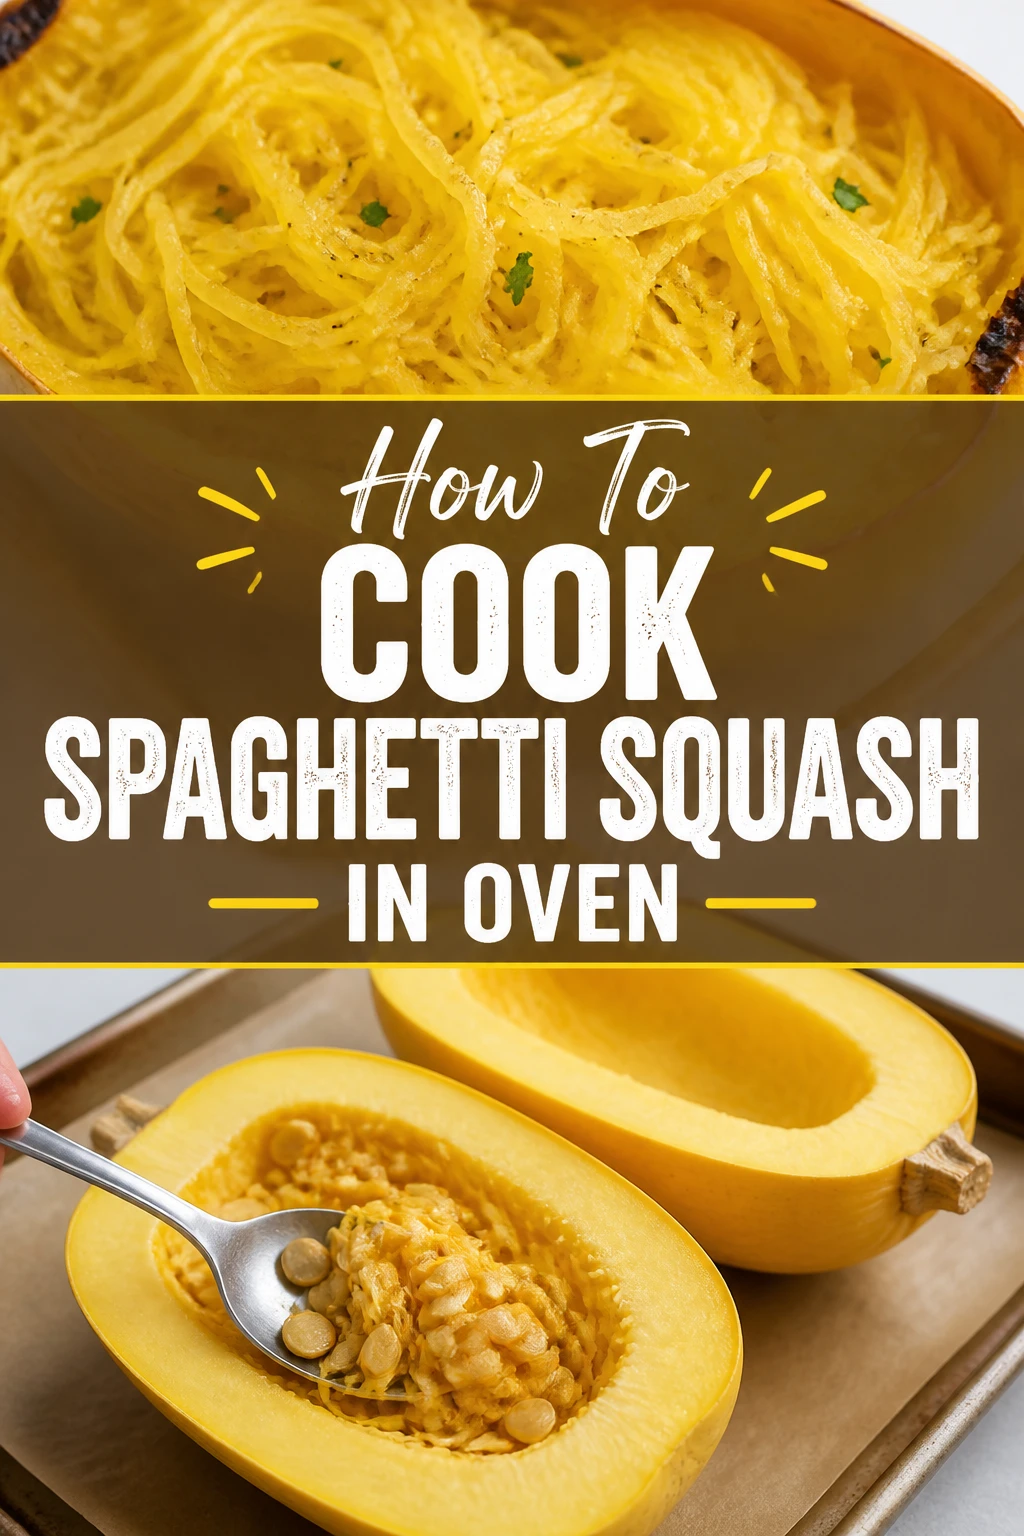
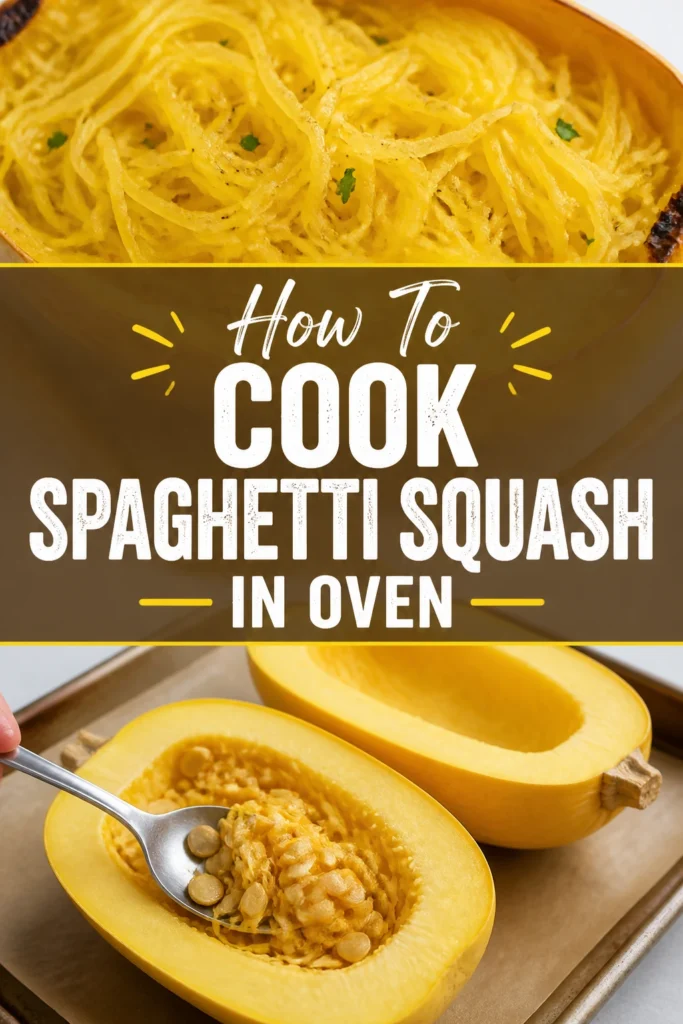
🌟 How To Cook Spaghetti Squash In Oven
Spaghetti squash is a culinary miracle that transforms a humble, hard-shelled vegetable into tender, pasta-like strands.
I have spent years perfecting this roasting technique after many soggy, flavorless attempts in my own kitchen.
This guide provides the exact method I use to ensure your squash is savory, slightly caramelized, and perfectly textured every time.
Quick Overview
Cooking spaghetti squash in the oven is a simple process that requires more patience than active effort.
You will learn how to safely cut the squash, season it for maximum flavor, and roast it to a golden finish.
- Time needed: 50 to 65 minutes
- Difficulty: Beginner
- What you’ll need: A sharp chef’s knife, a sturdy baking sheet, olive oil, and a large metal spoon.
Step 1: Select and Prepare Your Squash
Start by choosing a squash that feels heavy for its size and has a deep yellow color.
Avoid any gourds with soft spots, cracks, or greenish tints, as these may be underripe or starting to spoil.
Wash the exterior of the squash thoroughly under cold running water to remove any dirt or debris from the field.
Dry the skin completely with a clean kitchen towel so your hands don’t slip during the cutting process.
Pro Tip: If the squash feels impossibly hard to cut, poke a few holes in the skin with a fork and microwave it for three minutes to soften the shell.
Step 2: Slice the Squash Safely
Cutting a spaghetti squash is the most intimidating part of the process because of its thick, rounded exterior.
Place the squash on a stable cutting board; if it rolls around, tuck a damp paper towel underneath the board for grip.
Trim a small slice off the top and bottom ends to create flat surfaces that won’t wobble while you work.
Stand the squash upright on one of the flat ends and slice it down the middle from top to bottom.
Use a rocking motion with your knife rather than trying to force it straight down through the center.
Step 3: Clear Out the Seeds
Once the squash is halved, you will see a center filled with seeds and stringy pulp similar to a pumpkin.
Grab a large metal spoon or a specialized grapefruit spoon with serrated edges for better leverage.
Scrape the interior cavity firmly to remove all the seeds and the wet, fuzzy bits of pulp.
Discard the guts, or save the seeds to roast them later just like you would with pumpkin seeds.
Ensure the inside of the squash looks clean and smooth before you move on to the seasoning phase.
Step 4: Season for Depth of Flavor
Spaghetti squash has a very mild, slightly sweet flavor that acts as a blank canvas for your favorite spices.
Drizzle about one tablespoon of high-quality olive oil or avocado oil over the flesh of each half.
Rub the oil across the entire interior surface and the rim of the squash using your fingers or a pastry brush.
Sprinkle a generous amount of kosher salt and freshly cracked black pepper over the oiled flesh.
Add garlic powder, dried oregano, or red pepper flakes if you want to lean into an Italian flavor profile.
Pro Tip: Don’t over-oil the squash, as too much fat can lead to a greasy texture rather than a tender one.
Step 5: Position for the Oven
The way you place the squash on the baking sheet significantly impacts the final texture of the “noodles.”
Line your baking sheet with parchment paper or a silicone mat to prevent sticking and make cleanup easier.
Place the squash halves cut-side down on the prepared baking sheet.
Create a small seal between the squash rim and the pan, which allows the interior to steam while the edges caramelize.
Ensure there is at least an inch of space between the two halves so the hot air can circulate evenly around them.
Step 6: Roast Until Tender
Preheat your oven to 400°F (200°C) to ensure a high enough heat for browning the natural sugars in the vegetable.
Slide the baking sheet onto the middle rack of the oven where the temperature is most consistent.
Bake for 40 to 50 minutes, depending on the size of your squash and the power of your oven.
Check for doneness by pressing on the back of the squash; it should feel slightly soft and give under pressure.
Flip one half over and pierce the flesh with a fork; if the fork slides in with no resistance, it is ready.
Step 7: Cool and Shred
Removing the squash from the oven is just the beginning of the transformation into spaghetti strands.
Let the squash rest on the pan for at least 10 minutes so the steam can settle and you don’t burn your hands.
Hold one half steady with a oven mitt or a clean towel while you work.
Rake a fork across the flesh starting from the outer edges and moving toward the center.
Watch as the squash naturally separates into long, thin ribbons that resemble angel hair pasta.
Pro Tip: For the longest strands, scrape the fork horizontally across the width of the squash rather than vertically from end to end.
Common Mistakes to Avoid
Roasting the Squash Face Up
Many people place the squash with the flesh facing the ceiling, thinking it will brown better this way.
This actually allows the moisture to evaporate too quickly, resulting in dry, crunchy strands that don’t feel like pasta.
Roasting face down traps the natural moisture inside the cavity, steaming the fibers into the perfect “al dente” texture.
Overcooking the Vegetable
Leaving the squash in the oven for too long is the primary reason people end up with a mushy, watery mess.
Once the squash passes the point of tenderness, the cellular structure breaks down and the strands lose their individual shape.
Start checking your squash at the 35-minute mark to ensure you catch it right as it becomes tender but still holds its form.
Using Too Much Water in the Pan
Some recipes suggest adding a half-inch of water to the baking sheet to help the steaming process.
This often backfires by boiling the squash rather than roasting it, which kills the flavor and makes the skin soggy.
The moisture naturally contained within the squash is more than enough to create steam when placed cut-side down.
Troubleshooting
The Squash is Watery and Soggy
If your shredded strands are sitting in a pool of liquid, you likely had a squash with very high water content.
You can fix this by placing the shredded strands in a clean kitchen towel or cheesecloth and gently squeezing over the sink.
Alternatively, spread the strands out on a paper-towel-lined plate for five minutes to let the excess moisture absorb.
The Strands are Hard and Crunchy
Crunchy strands mean the squash was either undercooked or you bought a squash that wasn’t fully ripe.
If you have already shredded it, you can place the strands in a microwave-safe bowl with a teaspoon of water.
Cover the bowl and microwave in 30-second intervals until the strands reach your desired level of softness.
Key Takeaways
- Always wash and dry the exterior to ensure safety and cleanliness during the cutting phase.
- Microwave the whole squash for 3 minutes if the skin is too tough to cut through safely.
- Roast the squash halves cut-side down to trap steam and create the best texture.
- Use a temperature of 400°F to encourage caramelization and flavor development.
- Scrape the flesh horizontally to get the longest, most pasta-like strands possible.
- Let the squash rest before shredding to prevent steam burns and allow the fibers to set.
Frequently Asked Questions
Can I cook the spaghetti squash whole?
Yes, you can roast a spaghetti squash whole if you are short on time or afraid of the knife work.
You must pierce the skin multiple times with a knife to allow steam to escape, or the squash might explode in the oven.
Note that roasting it whole takes longer and prevents you from seasoning the inside or getting those caramelized edges.
How long does cooked spaghetti squash last in the fridge?
Once you have roasted and shredded the squash, it will stay fresh in an airtight container for up to five days.
It is an excellent option for meal prep because it reheats beautifully in a skillet or microwave.
If you find it has released more water after sitting in the fridge, simply drain the liquid before reheating.
Is spaghetti squash actually a good substitute for pasta?
While it doesn’t taste exactly like wheat pasta, it has a very similar “mouthfeel” and absorbs sauces extremely well.
It is much lower in calories and carbohydrates, making it a favorite for those on keto or low-glycemic diets.
Pairing it with a heavy meat sauce or a creamy alfredo makes the transition from grain pasta almost seamless.
Our Top Recommended Finds
- Heavy-Duty 8-Inch Chef’s Knife: A sharp, weighted knife is essential for safely cutting through the thick rind of winter squashes.
- Half-Sheet Baking Pan with Rim: A sturdy aluminum pan prevents warping at high temperatures and keeps any juices from dripping into your oven.
- Silicone Baking Mats: These provide a non-stick surface that helps the squash edges brown without sticking to the metal.
Elevate Your Next Healthy Meal
Now that you have mastered the art of roasting spaghetti squash, the possibilities for your dinner table are endless.
You can try stuffing the shells with taco meat and cheese for a low-carb bake or tossing the strands with pesto and pine nuts.
The key is to experiment with different sauces and proteins to find the combinations your family loves most.
Grab a squash from the grocery store today and put these steps into practice for a delicious, nutrient-dense meal.