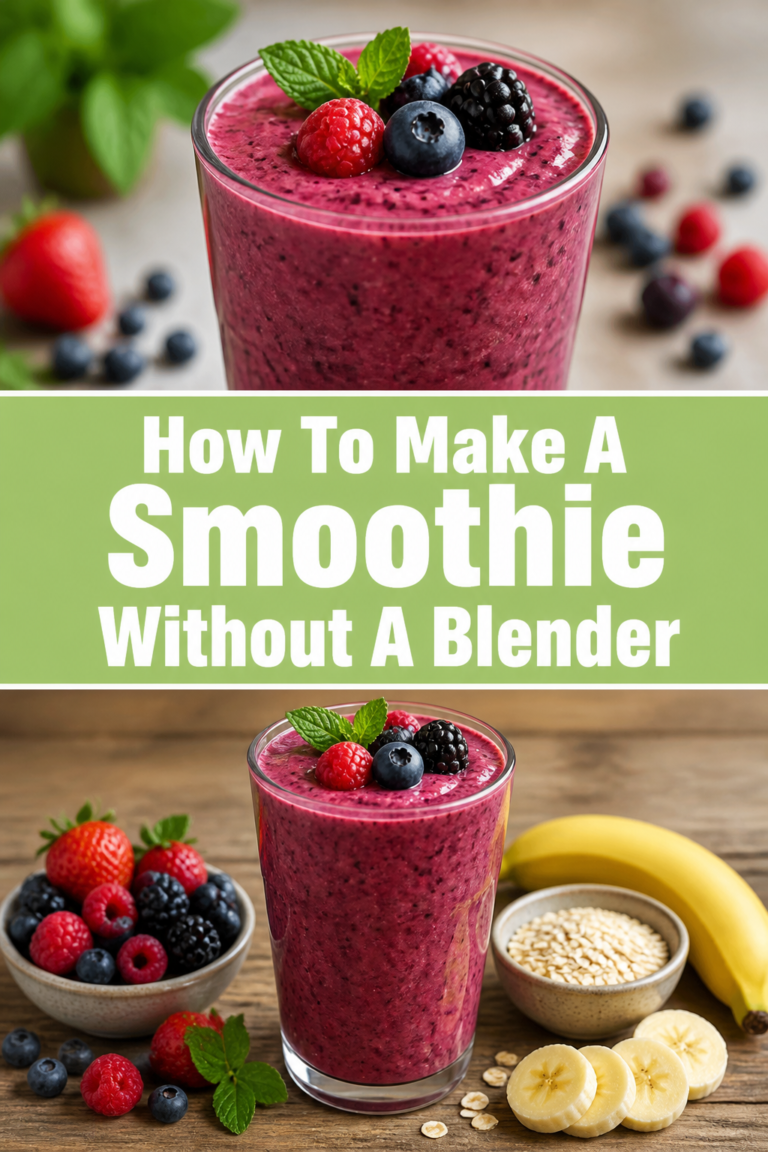
🍧 How To Make A Slushy At Home
Remember those scorching summer days, longing for something truly refreshing? A homemade slushy was always my go-to treat.
I spent countless afternoons perfecting the art of turning simple ingredients into a frosty, flavorful delight. This guide shares all my best tips and tricks.
You’ll soon be crafting perfect slushies that taste even better than store-bought versions, right from your own kitchen.

Quick Overview
This guide will walk you through creating delicious, icy slushies from scratch. You’ll master the perfect consistency and flavor balance.
- Time needed: 15 minutes active, 2-4 hours chilling/freezing
- Difficulty: Beginner
- What you’ll need: Blender, ice, fruit/flavoring, sweetener, liquid
Step-by-Step Instructions
Step 1: Gather Your Essentials
Start by collecting all your ingredients and necessary kitchen tools. Having everything ready makes the process smooth and enjoyable. This prevents any last-minute searching.
You will need a sturdy blender, preferably one with an “ice crush” or “pulse” setting. A powerful motor is key for achieving that fine, icy texture. Less powerful blenders might struggle.
Grab your chosen fruits, juices, sweeteners, and ice. Also, make sure you have measuring cups and spoons for accuracy. A freezer-safe container will be useful later.
Step 2: Choose Your Flavor Base
The heart of any great slushy is its flavor. Fresh fruit, fruit juice, or even flavored syrups work wonderfully. Think about your favorite combinations.
For a vibrant and natural taste, fresh or frozen berries, mango, or pineapple are excellent choices. Frozen fruit provides a thicker consistency without needing as much ice.
If using fruit juice, opt for 100% juice without added sugars. Popular options include orange, apple, cranberry, or grape juice. You can also mix different juices for unique blends.
Step 3: Prepare Your Ingredients
If you’re using fresh fruit, wash it thoroughly and chop it into small, manageable pieces. Remove any seeds or tough cores. This ensures smooth blending.
Measure out your chosen liquid. This could be water, juice, or a combination. The liquid helps the blender work efficiently and contributes to the final texture.
Prepare your sweetener. Granulated sugar, honey, maple syrup, or a simple syrup all work well. Adjust the amount based on the sweetness of your fruit or juice.
Pro Tip: For the best results, chill all your liquid ingredients in the refrigerator for at least an hour before blending. Colder liquids help create a finer, less watery slushy.
Step 4: Create a Flavor Concentrate
Before adding ice, you’ll want to make a concentrated flavor base. This ensures your slushy isn’t diluted and has a robust taste. It also helps dissolve any sugar.
Combine your fruit (if using), juice, and sweetener in the blender. Blend until completely smooth. At this stage, you’re making a sweet, flavorful liquid.
Taste the mixture and adjust the sweetness or flavor as needed. Add more fruit for intensity or a little more sweetener if it’s too tart. This is your chance to perfect the taste.
Step 5: Chill the Concentrate
Pour your blended flavor concentrate into a freezer-safe container or a shallow dish. Place it in the freezer for at least 2-4 hours. The goal is to get it very cold, almost slushy-like itself.
This chilling step is crucial for achieving that perfect, smooth slushy texture. Freezing the concentrate slightly prevents the final product from becoming too watery when you add ice. It also helps the ice blend more easily.
Stir the mixture every 30-45 minutes during the chilling process. This breaks up any large ice crystals and ensures even freezing. You want it to be thick and partially frozen, not a solid block.
Step 6: Blend for Slushy Perfection
Once your concentrate is properly chilled and partially frozen, it’s time for the final blend. Transfer the chilled concentrate back into your powerful blender.
Add about 1-2 cups of ice cubes to the blender, depending on the volume of your concentrate. Start with less ice than you think you need; you can always add more.
Begin blending on a low setting, then gradually increase the speed. Use the “pulse” setting frequently to break down the ice without overheating the mixture. Scrape down the sides of the blender with a spatula as needed.
Continue blending until you reach your desired slushy consistency. It should be smooth, thick, and pourable, with no large chunks of ice remaining. Add more ice, a few cubes at a time, if it’s too thin. Add a splash of liquid if it’s too thick.
Pro Tip: If your blender is struggling, add a tablespoon or two of cold water or juice. This extra liquid helps the blades catch and process the ice more effectively. Don’t add too much, though, or your slushy will be too thin.
Step 7: Serve and Enjoy
Immediately pour your freshly blended slushy into chilled glasses. The texture is best right after blending. Garnish with a slice of fresh fruit or a sprig of mint for an extra touch.
Serve with a wide straw or a spoon, depending on how thick you made it. Encourage everyone to enjoy it quickly before it melts.
Watch the smiles appear as everyone savors your homemade creation. It’s a truly satisfying reward for your efforts.
Step 8: Experiment with Variations
Now that you’ve mastered the basic technique, feel free to get creative. The possibilities for slushy flavors are endless. Try new fruit combinations or add different twists.
Consider adding a scoop of sorbet or ice cream to your blend for a creamier, dessert-like slushy. A touch of vanilla extract can also enhance many fruit flavors.
For adult versions, a splash of your favorite spirit can turn a simple slushy into a refreshing cocktail. Just remember to enjoy responsibly.
Common Mistakes to Avoid
Not Chilling the Concentrate Enough
Many people rush the chilling step, thinking they can just blend everything with ice. However, skipping this crucial step often leads to a watery, diluted slushy. The initial chill allows the flavors to meld and the base to thicken, providing a better foundation. Take the time to properly chill your concentrate for a superior result.
Adding Too Much Liquid
It’s tempting to add a lot of liquid to help the blender, but this is a common pitfall. Too much water or juice will make your slushy thin and soupy, losing that signature icy texture. Start with minimal liquid and add small amounts only if the blender truly struggles. You want just enough to get things moving.
Using a Weak Blender
A standard kitchen blender might struggle with large quantities of ice, resulting in chunky slushies or even a damaged motor. Invest in a blender with a powerful motor and robust blades, ideally designed for crushing ice. This ensures a smooth, consistent texture every time and extends your appliance’s life.
Over-Blending
While you want a smooth consistency, over-blending can generate heat, causing your slushy to melt prematurely. Blend in short bursts, using the pulse function, and stop as soon as the desired texture is achieved. Quick, efficient blending keeps your slushy colder and thicker.
Troubleshooting
Slushy is Too Watery
If your slushy turns out too thin, it likely means you added too much liquid or not enough ice. To fix this, add a few more ice cubes and blend again in short pulses. You can also try adding a handful of frozen fruit, which will thicken it without diluting the flavor.
Another reason might be that your flavor concentrate wasn’t chilled enough before blending. If you have extra concentrate, freeze it longer next time. For an immediate fix, pour the watery slushy into a shallow dish and freeze it for 30 minutes, stirring halfway through, then re-blend.
Slushy is Too Icy/Chunky
This usually happens if your blender isn’t powerful enough or if you added too much ice at once. If your slushy has large ice chunks, add a tablespoon or two of cold water or juice to the blender. This provides enough liquid for the blades to catch and process the remaining ice.
Blend again on a high setting, using short pulses, until smooth. You might also need to scrape down the sides of the blender more frequently to ensure all ingredients are incorporated. A powerful blender with sharp blades is key to preventing this issue.
Flavor is Off
If your slushy tastes bland, it might need more sweetener or more intense fruit flavor. Add a little extra sugar, honey, or a concentrated fruit syrup. Blend briefly to combine.
If it’s too sweet, a squeeze of lemon or lime juice can balance the flavors. A pinch of salt can also surprisingly enhance sweetness and overall taste without making it salty. Adjust in small increments, tasting after each addition.
Key Takeaways
- Always chill your liquid ingredients and concentrate thoroughly before blending for the best texture.
- Use a powerful blender, preferably one designed for ice crushing, to achieve a smooth slushy.
- Start with less ice and liquid, then gradually add more until you reach your desired consistency.
- Adjust sweetness and flavor before the final blend, as it’s harder to correct afterward.
- Serve your homemade slushy immediately to enjoy its perfect frosty texture.
- Don’t be afraid to experiment with different fruits, juices, and sweeteners to discover new favorites.
Frequently Asked Questions
Can I make a slushy without a blender?
Making a true slushy without a blender is challenging, but not impossible. You can create a similar icy treat by freezing your flavor concentrate in a shallow dish. Stir it every 30-60 minutes with a fork, scraping the sides, until it forms fine ice crystals. This granita-style method takes longer and requires more manual effort.
How long does homemade slushy last?
Homemade slushies are best enjoyed immediately after blending. Their icy texture quickly melts and separates. If you have leftovers, you can pour them into an airtight container and freeze them. When ready to enjoy again, you’ll likely need to re-blend them with a splash of liquid to restore the slushy consistency.
Can I use artificial sweeteners?
Yes, you can absolutely use artificial sweeteners in your homemade slushy. Liquid or granulated sugar substitutes work just as well as traditional sugar. Adjust the amount according to the product’s sweetness equivalency to sugar, as some artificial sweeteners are much more potent. Taste and adjust carefully.
What about alcoholic slushies?
Creating alcoholic slushies is a popular variation. Simply add your desired spirit to the flavor concentrate before chilling or during the final blend. Keep in mind that alcohol lowers the freezing point, so you might need slightly more ice or a longer chilling time to achieve the ideal slushy consistency. Always drink responsibly.
Our Top Recommended Finds
- High-Powered Blender: Essential for effortlessly crushing ice and achieving a super-smooth texture without strain.
- Ice Cube Trays with Lids: Perfect for making clean, consistently sized ice cubes and preventing freezer odors from affecting your ice.
- Reusable Slushy Cups with Straws: These insulated cups keep your slushy colder for longer, and wide straws are ideal for thick drinks.
Your Frosty Adventure Awaits
You now have all the knowledge and tips needed to create incredible slushies right in your own kitchen. No more waiting in lines or settling for artificial flavors.
The satisfaction of crafting your perfect icy drink is immense. Imagine the endless flavor combinations you can explore.
So, gather your ingredients, fire up that blender, and start your frosty adventure today. Your taste buds will thank you!