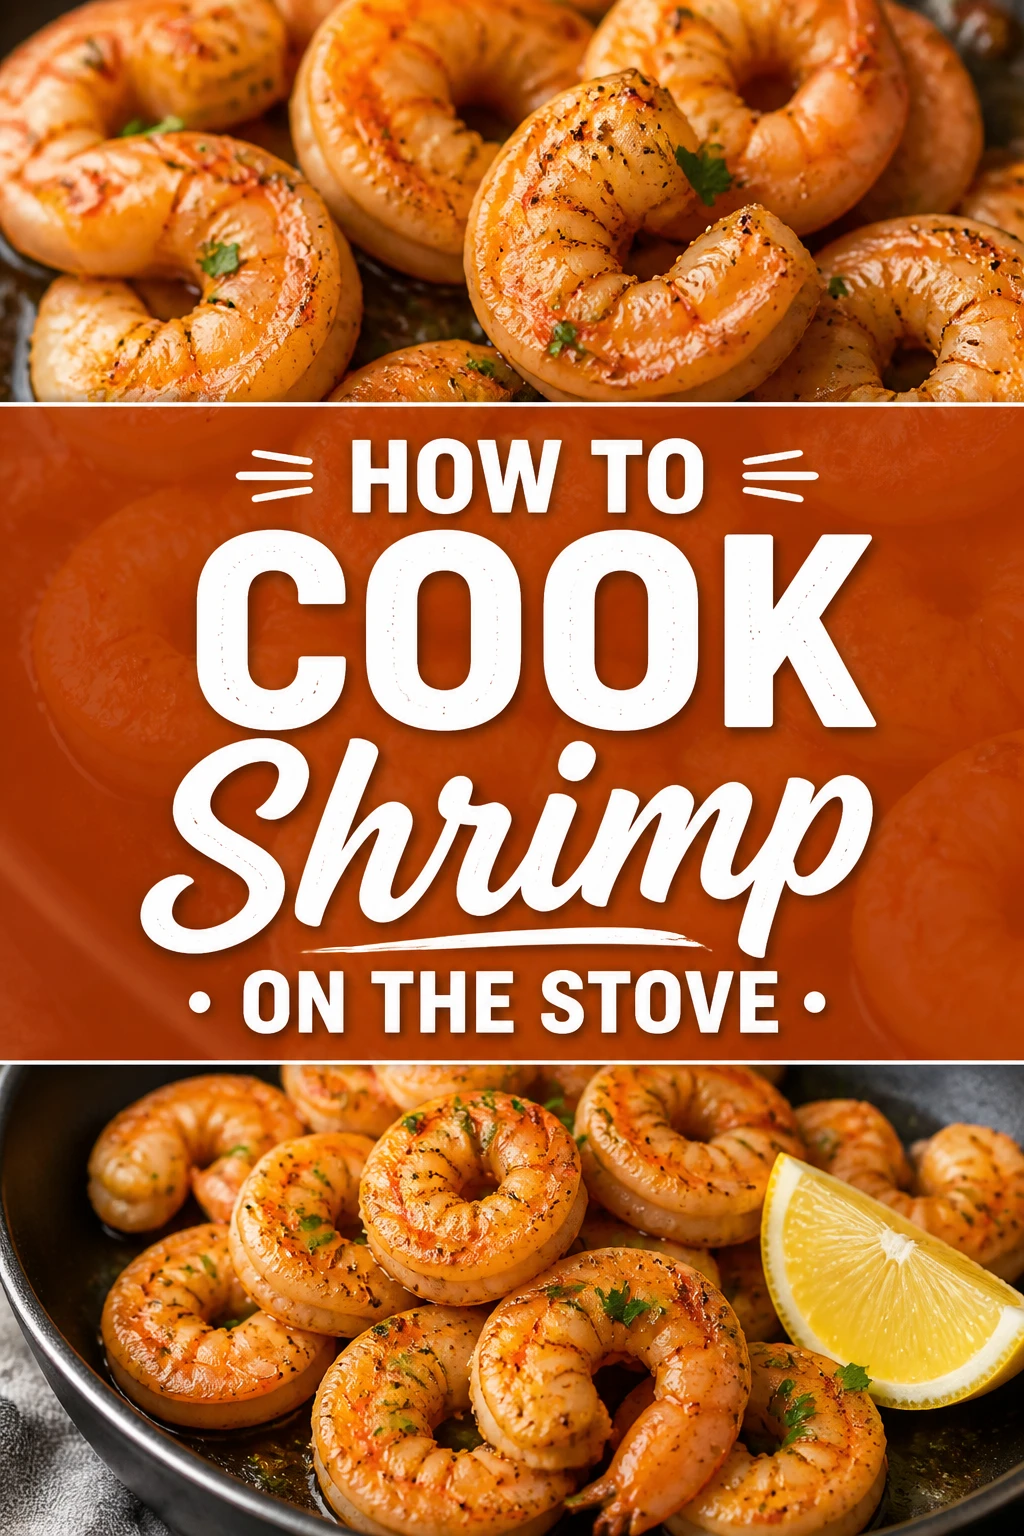
🍤 How To Cook Shrimp On The Stove
I have spent years in professional and home kitchens learning that the simplest ingredients often require the most precision.
Shrimp can transform from a succulent, sweet delicacy to a rubbery, tasteless disappointment in less than sixty seconds.
This guide provides the exact methodology I use to ensure every batch comes out perfectly seared, juicy, and full of flavor.
Quick Overview
Cooking shrimp on the stove is one of the fastest ways to get a high-protein meal on the table.
- Time needed: 15-20 minutes (including prep)
- Difficulty: Beginner
- What you’ll need: Large skillet, tongs, paper towels, high-heat oil, and fresh or thawed shrimp.
Step 1: Select the Right Shrimp
Choose your shrimp based on the final dish you intend to create.
Large or jumbo shrimp (usually labeled 16/20 or 21/25 count) are the best choice for stovetop cooking.
The numbers on the bag indicate how many shrimp make up one pound; lower numbers mean larger shrimp.
Larger shrimp stay juicy longer and provide a better surface area for a golden-brown sear.
Look for “shell-on” or “easy-peel” varieties if you want the best flavor, though pre-peeled shrimp save significant time.
Pro Tip: Buy frozen shrimp that are “IQF” (Individually Quick Frozen) to ensure they haven’t clumped together and frozen into a solid block.
Step 2: Thaw Your Shrimp Properly
Thaw the shrimp completely before they ever touch the heating element.
Place the frozen shrimp in a large bowl and cover them with cold tap water.
Change the water every 10 minutes; they should be fully thawed within 20 to 30 minutes.
Avoid using warm or hot water, as this will start cooking the outside of the shrimp while the inside remains frozen.
Never thaw shrimp at room temperature on the counter, as this poses a food safety risk.
If you have the time, thawing them in a covered bowl in the refrigerator overnight is the most gentle method.
Step 3: Clean and Prep
Clean the shrimp by removing the shells and the dark vein running along the back.
If you bought “easy-peel” shrimp, the back is already slit, making it simple to pull the shell away.
Decide whether to leave the tails on or off based on your preference.
Tails act as a convenient handle for finger foods and add a bit of extra flavor to the pan juices.
To devein, use a small paring knife to make a shallow cut along the back and lift out the dark digestive tract.
Rinse the cleaned shrimp under cold water one last time to remove any stray shell fragments.
Step 4: Remove All Surface Moisture
Dry the shrimp thoroughly using several layers of paper towels.
This is the most important step for achieving a restaurant-quality sear.
Moisture is the enemy of browning; if the shrimp are wet, they will steam rather than sear.
Press down firmly on the shrimp to soak up water from every crevice.
The surface of the shrimp should feel tacky and matte, not slick or shiny.
Pro Tip: Let the dried shrimp sit on a fresh layer of paper towels for five minutes in the fridge to ensure the surface is bone-dry.
Step 5: Season Liberally
Season the shrimp in a bowl just before you are ready to cook.
A simple combination of kosher salt, cracked black pepper, and garlic powder works for almost any cuisine.
Avoid adding fresh garlic or delicate herbs at this stage, as they will burn in the high heat of the pan.
Toss the shrimp gently to ensure every piece is evenly coated in the dry rub.
If you want a spicy kick, add a pinch of smoked paprika or cayenne pepper.
Wait to add acidic ingredients like lemon juice until the very end of the cooking process.
Step 6: Select Your Cooking Fat
Prepare your skillet with a fat that can handle high temperatures.
Avocado oil, grapeseed oil, or light olive oil are excellent choices because they have high smoke points.
Butter adds incredible flavor but can burn easily if used alone at high heat.
A great compromise is using a mixture of oil and butter to get the flavor without the scorching.
You only need enough fat to lightly coat the bottom of the pan—about one to two tablespoons.
Step 7: Heat the Skillet
Heat a large stainless steel or cast-iron skillet over medium-high heat.
Wait until the oil is shimmering and just starting to show a faint wisp of smoke.
A hot pan ensures the shrimp start cooking the moment they make contact.
If the pan is too cold, the shrimp will release their juices and boil in their own liquid.
You can test the heat by dropping one shrimp into the center; it should sizzle loudly immediately.
Pro Tip: Use a heavy-bottomed pan to ensure even heat distribution and prevent hot spots that could burn individual shrimp.
Step 8: Sear in a Single Layer
Arrange the shrimp in the pan, making sure they do not overlap.
Cook in batches if your skillet is not large enough to hold all the shrimp at once.
Crowding the pan drops the temperature significantly and leads to a rubbery texture.
Leave about half an inch of space between each shrimp to allow steam to escape.
Once they are in the pan, do not move them for at least 60 to 90 seconds.
This undisturbed contact time is what creates the delicious golden crust.
Step 9: Flip and Finish
Flip each shrimp using tongs once the bottom edge turns pink and opaque.
The second side usually takes less time than the first—often only 60 seconds.
Watch for the shrimp to curl into a “C” shape; this is the universal sign of perfect doneness.
If they curl tightly into an “O” shape, they are likely overcooked and will be tough.
The flesh should be opaque all the way through with no translucent grey spots remaining.
Step 10: Deglaze and Serve
Remove the pan from the heat immediately once the shrimp are done.
Add a splash of white wine, chicken stock, or lemon juice to the hot pan to loosen the browned bits.
Toss the shrimp in this quick pan sauce to coat them in extra flavor.
Transfer the shrimp to a warm plate or serving bowl right away to stop the cooking process.
Garnish with fresh parsley, cilantro, or chives for a pop of color and freshness.
Common Mistakes to Avoid
Cooking Shrimp While Still Frozen
Attempting to cook shrimp straight from the freezer is a recipe for disaster. The outside will become overcooked and tough before the inside even finishes thawing. This results in an uneven texture that is both watery and rubbery at the same time.
Overcrowding the Skillet
When you put too many shrimp in the pan at once, the temperature of the metal drops instantly. Instead of searing, the shrimp will release moisture and begin to boil. You will lose the golden-brown crust and end up with grey, unappealing seafood.
Using Low Heat
Shrimp need to be cooked fast and hot. Using low heat keeps the shrimp in the pan for too long, which dries out the interior. High heat allows you to get a beautiful exterior while keeping the middle tender and juicy.
Walking Away from the Stove
Shrimp cook in a matter of minutes, sometimes even seconds. If you step away to chop vegetables or answer the door, you will likely return to overcooked shrimp. Stay focused on the pan and have your serving plate ready before you start.
Troubleshooting
The Shrimp Are Rubbery and Tough
This is the classic sign of overcooking. If your shrimp are tightly curled into a circle, they have been on the heat too long. Next time, pull them off the stove just as they form a “C” shape and look opaque. Residual heat will finish the cooking process once they are on the plate.
The Shrimp Are Sticking to the Pan
Sticking usually happens for two reasons: either the pan wasn’t hot enough or you tried to flip them too early. When protein is properly seared, it naturally releases from the pan surface. If a shrimp resists when you try to flip it, give it another 30 seconds to develop a crust.
There Is No Brown Crust
If your shrimp look pale and grey, they were likely too wet when they hit the oil. Excess water creates a barrier of steam that prevents the Maillard reaction from occurring. Always double-check that you have patted the shrimp dry with paper towels until they are no longer slick.
Key Takeaways
- Always thaw shrimp completely in cold water before cooking to ensure even heat distribution.
- Pat the shrimp extremely dry with paper towels to achieve a crispy, golden-brown sear.
- Use high heat and a high-smoke-point oil to cook the shrimp quickly without burning the fat.
- Avoid crowding the pan; cook in batches to maintain the skillet’s temperature.
- Look for the “C” shape to determine doneness and avoid the “O” shape of overcooking.
- Season at the very last second to prevent the salt from drawing out internal moisture before searing.
Frequently Asked Questions
Should I leave the tails on or take them off?
This is largely a matter of presentation and convenience. Leaving the tails on makes the shrimp look larger and more attractive on a plate. However, if you are tossing the shrimp into a pasta or a salad, removing the tails beforehand makes the meal much easier to eat.
What is the best oil for cooking shrimp on the stove?
You want an oil with a high smoke point so it doesn’t break down and taste bitter at high temperatures. Avocado oil is the gold standard for its neutral flavor and high heat tolerance. Grapeseed oil or canola oil are also reliable, budget-friendly options for searing seafood.
How do I know if the shrimp are actually done?
Visual cues are your best friend when cooking shrimp. They should change from a translucent grey to an opaque pinkish-white. If you want to be precise, an instant-read thermometer should register 120°F (49°C) for perfectly tender results.
Can I cook shrimp in butter without burning it?
Yes, but you have to be careful with the timing. Start the cooking process with a high-heat oil to get the initial sear. Add a tablespoon of butter during the last 60 seconds of cooking to baste the shrimp and add that rich, nutty flavor without scorching the milk solids.
Our Top Recommended Finds
- 12-Inch Cast Iron Skillet: This provides the heavy heat retention necessary for a perfect sear across every single shrimp.
- Stainless Steel Locking Tongs: Precision tongs allow you to flip individual shrimp quickly and accurately without damaging the delicate flesh.
- Digital Instant-Read Thermometer: This tool removes the guesswork, ensuring you never serve undercooked or overcooked seafood again.
Mastering the Art of the Quick Sear
Now that you have mastered the basics of stovetop shrimp, you can experiment with different flavor profiles.
Try a Mediterranean style with lemon, oregano, and feta, or go for a bold Cajun blackened seasoning.
The techniques you learned here—drying, high heat, and batch cooking—apply to almost any seafood you prepare.
Take these skills into your kitchen tonight and notice the difference that a proper sear makes in your cooking.