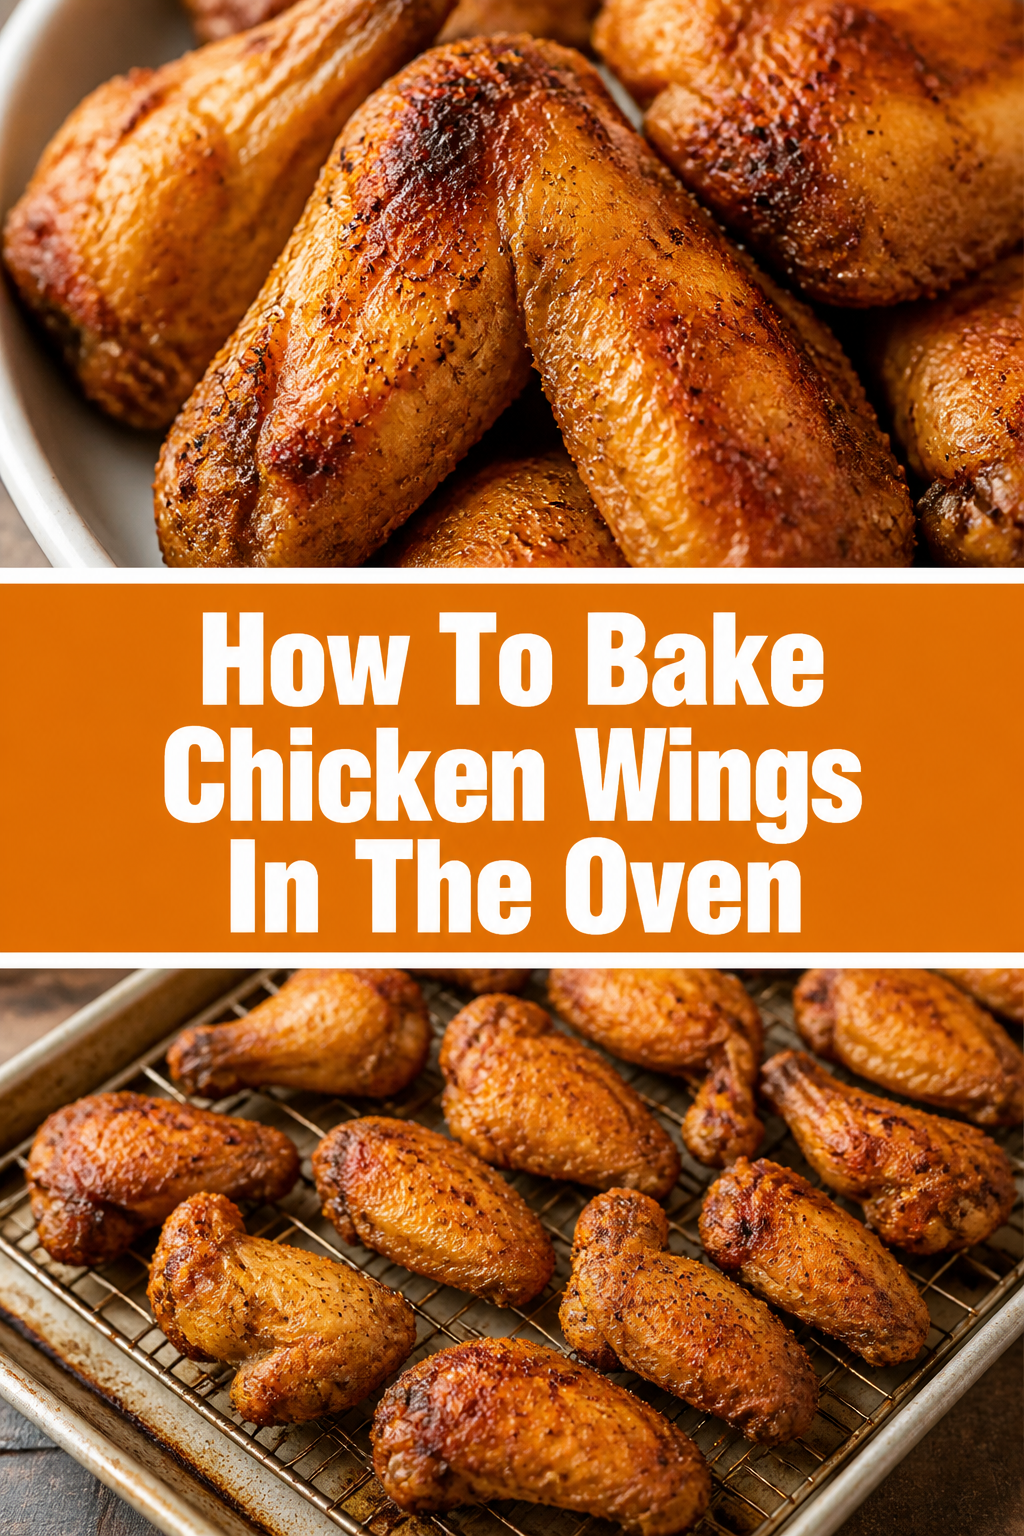
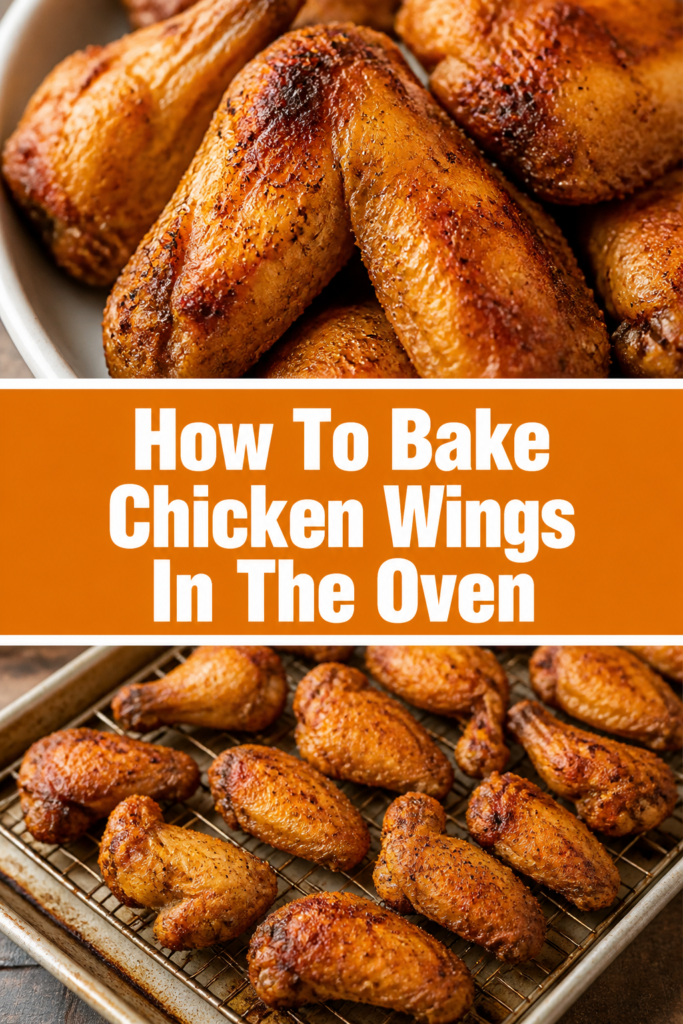
🍗 How To Bake Chicken Wings In The Oven
I spent years trying to replicate the crunch of a deep-fried wing without the greasy mess and the lingering smell of oil in my kitchen.
After dozens of soggy batches and experiments with different temperatures, I finally discovered the precise method that yields shattering skin every single time.
This guide comes from my personal trial and error, ensuring you can skip the mistakes and go straight to the perfect game-day snack.
Quick Overview
Baking chicken wings is a simple process that relies more on technique than complicated ingredients.
You will learn how to transform raw wings into golden, crispy masterpieces using a standard home oven.
- Time needed: 55 to 65 minutes
- Difficulty: Beginner
- What you’ll need: Chicken wings, baking powder, salt, a wire rack, and a rimmed baking sheet.
Step-by-Step Instructions
Step 1: Prep and Separate the Wings
Start by selecting high-quality chicken wings from your local butcher or grocery store.
If you bought whole wings, you will need to separate them into “flats” and “drums” by cutting through the joints.
Discard the wing tips or save them in a freezer bag to make chicken stock later.
Pro Tip: Using kitchen shears is often easier and safer than a knife for beginners when navigating the wing joints.
Make sure the wings are fully thawed if you bought them frozen, as any ice crystals will ruin the texture.
Pat each piece dry with paper towels to remove as much surface moisture as possible before you do anything else.
Step 2: Dry the Skin Thoroughly
Remove every trace of moisture from the exterior of the chicken to ensure the skin can crisp up rather than steam.
I recommend laying the wings out on a clean tray and letting them sit uncovered in the refrigerator for an hour if you have the time.
This cold air circulation helps tighten the skin and creates a better surface for the seasoning to adhere to.
If you are in a rush, use multiple paper towels and press firmly on each wing to soak up all the liquid.
Moisture is the primary enemy of a crispy wing, so do not rush this particular part of the process.
Step 3: Apply the Secret Ingredient
Toss the dried wings in a large bowl with a mixture of salt and aluminum-free baking powder.
The baking powder is the “secret” because it raises the pH level of the chicken skin, allowing the proteins to break down and brown more effectively.
Use about one tablespoon of baking powder for every pound of chicken wings to get the right coverage.
Pro Tip: Make sure you use baking powder, not baking soda, as baking soda will leave a metallic and unpleasant bitter taste.
Ensure every wing is lightly coated in the powder, but shake off any heavy excess so it does not clump.
This chemical reaction creates tiny bubbles on the surface of the skin, which increases the surface area and results in a crunchier texture.
Step 4: Set Up the Baking Rack
Prepare a rimmed baking sheet by lining it with aluminum foil for an easier cleanup process later.
Place an oven-safe wire cooling rack inside the baking sheet so the wings sit elevated above the pan.
This elevation is vital because it allows hot air to circulate around the entire wing, including the bottom.
If you place the wings directly on the foil, they will sit in their own rendered fat and become soggy on one side.
Lightly spray the wire rack with a non-stick cooking spray to prevent the skin from tearing when you try to flip them.
Step 5: Arrange with Proper Spacing
Place the seasoned wings onto the wire rack in a single layer, ensuring they are not touching each other.
Crowding the pan will create a pocket of steam between the wings, which prevents the skin from reaching that golden-brown state.
If you have a large amount of chicken, it is better to use two separate baking sheets rather than trying to cram them onto one.
Position the wings so the skinniest parts are toward the center of the tray where the heat is slightly more stable.
This spacing ensures that the heat can hit every angle of the meat simultaneously.
Step 6: Execute the Two-Stage Bake
Preheat your oven to 250°F (120°C) for the first phase of the cooking process.
Bake the wings at this low temperature for about 30 minutes to render out the fat from under the skin slowly.
Once the 30 minutes are up, keep the wings in the oven and increase the temperature to 425°F (220°C).
Pro Tip: This low-to-high method mimics the “double fry” technique used in professional kitchens for maximum crispiness.
Bake at the higher temperature for another 30 to 40 minutes, or until the wings are golden brown and the skin looks blistered.
The total time will vary slightly based on the size of your wings and the accuracy of your oven temperature.
Step 7: Flip for Even Browning
Rotate the baking sheet halfway through the high-heat phase to account for any hot spots in your oven.
Use a pair of tongs to carefully flip each wing over so the underside gets direct exposure to the top heating element.
You will notice the fat dripping down into the foil-lined pan, which is exactly what you want to see.
Check the progress frequently during the last 10 minutes to ensure the tips do not start to burn.
The wings are done when they reach an internal temperature of at least 165°F, though wings are actually better when cooked to 185°F for a more tender texture.
Step 8: Toss in Your Favorite Sauce
Transfer the hot wings from the oven into a large, clean metal bowl immediately after they finish baking.
Pour your sauce of choice over the wings while they are still piping hot to help the sauce adhere and slightly caramelize.
Use a folding motion with a spatula or shake the bowl vigorously to ensure every nook and cranny is coated.
If you prefer dry-rub wings, this is the time to sprinkle on your extra spices while the natural oils are still on the surface.
Serve them immediately, as the moisture in the sauce will eventually start to soften that hard-earned crispy skin.
Common Mistakes to Avoid
Using Baking Soda Instead of Baking Powder
This is the most frequent error people make when trying to follow a crispy wing recipe. Baking soda has a very strong alkaline flavor that will make your chicken taste like soap or metal. Always double-check the label on your container to ensure it specifically says “Baking Powder.”
Skipping the Wire Rack
Many people think they can just put the wings on a flat cookie sheet or a piece of parchment paper. Without the elevation of a wire rack, the bottom of the wing sits in a pool of rendered chicken fat. This results in one side being crispy while the other side remains rubbery and greasy.
Saucing the Wings Before Baking
Applying a sugary sauce like BBQ or buffalo sauce at the beginning of the bake will lead to disaster. The sugars in the sauce will burn long before the chicken is cooked through, leaving you with charred, bitter skin. Always wait until the very end of the process to apply your wet ingredients.
Troubleshooting
The Skin is Still Chewy
If your wings come out of the oven looking cooked but the skin feels rubbery, the oven temperature was likely too low. You can fix this by turning on the broiler for 2 to 3 minutes at the very end. Stay close to the oven door and watch them carefully, as the broiler can turn “perfect” into “burnt” in a matter of seconds.
The Wings are Sticking to the Rack
This usually happens if the rack wasn’t greased or if the wings were moved before the skin had a chance to sear. If you find them sticking, do not force them off with tongs, as you will tear the skin. Give them another 5 minutes in the heat; often, the skin will naturally release from the metal once it becomes sufficiently crispy.
The Baking Powder Left a White Residue
A visible white powder on the finished wing means you used too much or didn’t toss them well enough. You can usually fix this by lightly brushing the wings with a tiny bit of oil or tossing them in sauce. Next time, try sifting the baking powder over the wings to get a finer, more even distribution.
Key Takeaways
- Dryness is essential: Use paper towels and a fridge rest to remove all surface moisture from the chicken.
- Baking powder works: The chemical reaction with the skin is the only way to get deep-fried results in a standard oven.
- Airflow matters: Always use a wire rack over a baking sheet to allow heat to reach the bottom of the wings.
- Two-step heat: Starting at a low temperature renders the fat, while the high temperature finishes the crunch.
- Sauce at the end: Keep the wings dry during the bake to prevent burning and preserve the texture of the skin.
Frequently Asked Questions
Can I use frozen wings for this recipe?
You can use frozen wings, but they must be completely thawed and dried before you start the seasoning process. If you try to bake them while they are still frozen, they will release a massive amount of water in the oven. This extra moisture will steam the wings and make it impossible to achieve a crispy exterior.
How do I make the wings spicy without sauce?
To keep the wings maximum-crispy, you can create a dry spice rub. Mix cayenne pepper, smoked paprika, garlic powder, and onion powder with your baking powder and salt. This allows the heat to bake directly into the skin without adding the moisture found in traditional hot sauces.
Is it possible to overcook chicken wings?
Chicken wings are very forgiving because they have a high fat-to-meat ratio and plenty of connective tissue. While most chicken parts dry out at 165°F, wings actually benefit from being cooked to 185°F or even 190°F. The higher internal temperature allows the collagen to break down, making the meat fall-off-the-bone tender.
Do I need to use oil for this method?
No, you do not need to add any oil to the wings themselves. The wings contain enough natural fat in the skin to fry themselves as they bake. Adding extra oil can actually interfere with the baking powder’s ability to dry out the skin and create those tiny, crispy bubbles.
Our Top Recommended Finds
- Stainless Steel Cooling Rack: A sturdy, oven-safe rack is the most important tool for ensuring even airflow and preventing soggy bottoms.
- Digital Meat Thermometer: This allows you to check the internal temperature accurately so you never have to guess if the chicken is safe to eat.
- Large Stainless Steel Mixing Bowl: A wide bowl provides enough space to toss the wings in sauce vigorously without losing any over the sides.
Master Your Next Game Day Spread
Now that you have the technique for the ultimate crispy wing, you can experiment with an endless variety of flavors.
Try making a batch of honey garlic wings or perhaps a lemon pepper dry rub to see which one your family prefers.
The best way to improve is to get into the kitchen and start your first batch today.