🍳 How To Season A Cast Iron Skillet
I still remember the day I inherited my grandmother’s heavy cast iron skillet, which had been tucked away in a damp basement for a decade.
It was covered in a thick layer of orange rust and looked like it belonged in a scrap yard rather than a kitchen.
After a few hours of work and a proper seasoning session, that same pan now has a jet-black finish that is slicker than any modern non-stick pan I own.
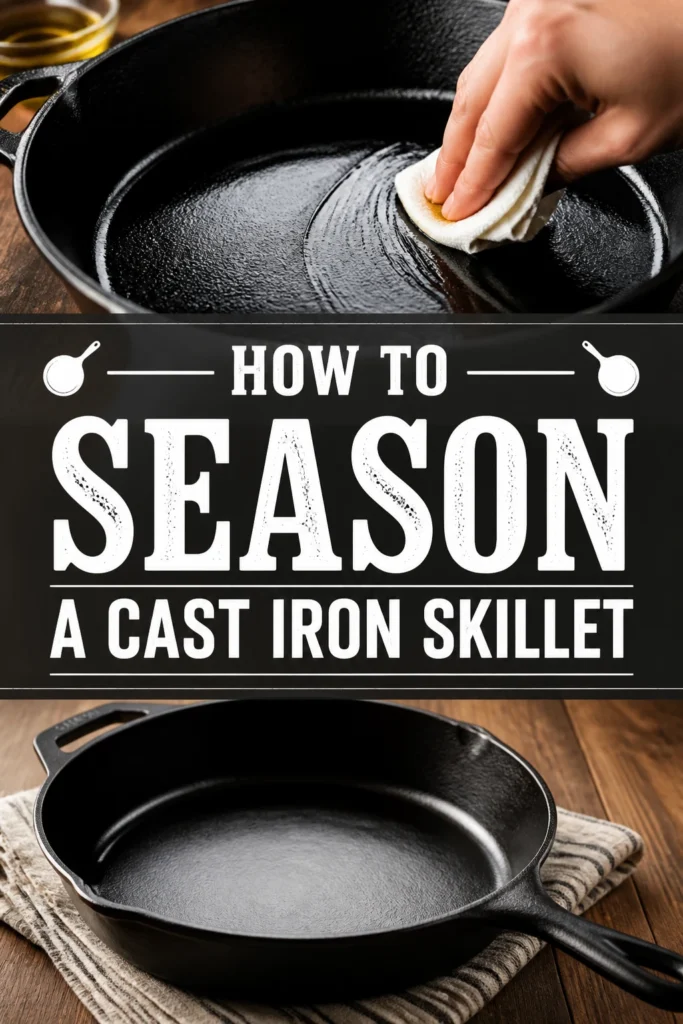
Quick Overview
Seasoning is the process of baking oil onto the metal to create a protective, non-stick layer through a chemical reaction called polymerization.
- Time needed: 2 to 3 hours (mostly hands-off)
- Difficulty: Beginner
- What you’ll need: A cast iron skillet, high-smoke point oil, paper towels, and an oven.
Step 1: Clean the Surface
The first step in seasoning is ensuring you are working with a clean slate.
If your pan is brand new, it likely has a factory coating of wax or oil to prevent rust during shipping that needs to be removed.
If you are restoring an old pan, you need to scrub away any food debris, old flaky seasoning, or light rust spots.
Use warm water and a small amount of mild dish soap for this initial deep clean.
While people often say you should never use soap on cast iron, it is perfectly fine when you are preparing to re-season the entire piece.
Scrub the pan vigorously with a stiff brush or a chainmail scrubber to get into every pore of the metal.
Pro Tip: If the pan has heavy rust, you can use a bit of steel wool to grind it down to the raw, gray iron before starting the seasoning process.
Rinse the pan thoroughly and ensure no soap residue or loose grit remains on the surface.
Step 2: Dry Thoroughly with Heat
Water is the primary enemy of cast iron because it causes immediate oxidation.
Simply wiping the pan with a towel is not enough because the iron is porous and holds moisture in its microscopic “valleys.”
Place your clean skillet on a stove burner over medium-low heat for about five to ten minutes.
Wait until you see wisps of steam disappearing and the metal feels hot to the touch.
This ensures every bit of moisture has evaporated from the surface and the pores of the iron have opened up.
Heating the metal also prepares it to better absorb the oil you are about to apply.
Once the pan is bone-dry and warm, remove it from the heat and let it cool just enough so you can handle it safely.
Step 3: Apply a Thin Layer of Oil
Now you will apply the fat that will eventually become your hard, non-stick coating.
Choose an oil with a high smoke point, such as grapeseed oil, canola oil, or specialized cast iron seasoning blends.
Pour about a tablespoon of oil into the warm skillet.
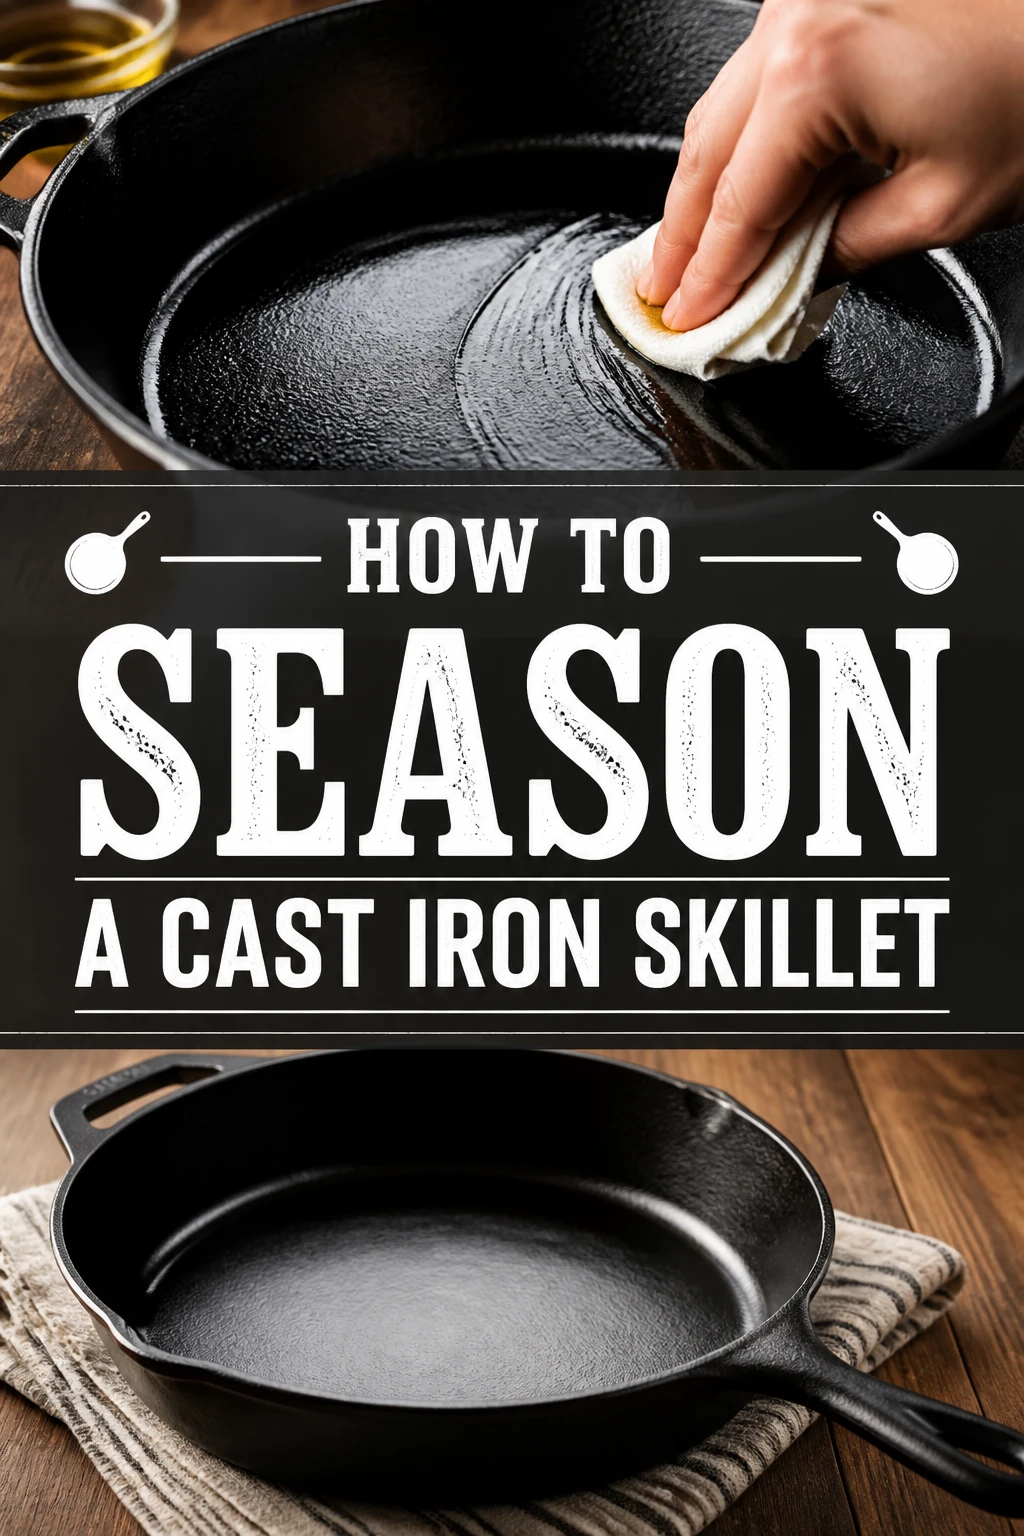
Use a clean paper towel or a lint-free cloth to rub the oil over every single inch of the pan.
Do not just focus on the cooking surface; you must coat the sides, the handle, and the entire exterior bottom of the pan.
The goal is to protect the entire piece of iron from the air to prevent rust from forming anywhere.
Pro Tip: Avoid using butter or unrefined coconut oil for this process, as they have low smoke points and will burn away rather than polymerize.
The pan should look shiny and wet at this stage, but you are not done with the application yet.
Step 4: Buff Away the Excess
This is the most critical step that most people get wrong during their first attempt.
You must take a fresh, dry paper towel and try to wipe all the oil back off the pan.
Wipe the skillet until it no longer looks greasy or wet, but rather has a dull, matte sheen.
It might feel like you are removing all the work you just did, but a microscopic layer of oil will remain bonded to the iron.
If you leave too much oil on the pan, it will bead up during the heating process and leave sticky, brown spots.
These sticky spots are difficult to remove and will make your food gum up when you try to cook.
Think of this like applying a thin stain to wood rather than a thick coat of paint.
Step 5: Bake at High Heat
Preheat your oven to a temperature slightly above the smoke point of your chosen oil.
For grapeseed or canola oil, a temperature between 450°F and 500°F is usually ideal.
Place a sheet of aluminum foil or a large baking sheet on the bottom rack of the oven to catch any stray drips.
Place your skillet upside down on the middle rack of the oven.
Upside-down placement ensures that if there is any microscopic excess oil, it will drip out rather than pooling in the bottom of the pan.
Let the skillet bake for one full hour at this high temperature.
During this time, the heat causes the oil molecules to link together into a plastic-like solid that is chemically bonded to the metal.
Your kitchen might get a little smoky during this process, so it is a good idea to turn on your exhaust fan or open a window.
Step 6: Cool and Repeat
After the hour is up, turn off the oven but do not remove the skillet immediately.
Let the pan cool down slowly inside the oven for at least thirty minutes to an hour.
Gradual cooling helps the seasoning layer settle and prevents the metal from warping due to extreme temperature shifts.
Once the pan is cool enough to handle, inspect the surface.
It should look slightly darker and feel smooth to the touch.
For a brand-new or stripped pan, one coat is rarely enough to provide a truly non-stick experience.
Repeat steps three through five at least two or three more times to build a durable foundation.
Each layer adds more protection and makes the surface increasingly slick for cooking eggs or delicate fish.
Common Mistakes to Avoid
Using Too Much Oil
Many beginners think that more oil equals more non-stick power, but the opposite is true in the oven.
Excess oil that isn’t wiped away will turn into a sticky, tacky mess that doesn’t fully harden.
If your pan feels gummy after it comes out of the oven, you didn’t wipe it well enough before baking.
The only fix for a gummy pan is to scrub it back down and start the process over with much thinner layers.
Using the Wrong Temperature
If your oven is set too low, the oil will never reach its smoke point and will not polymerize.
You will end up with a pan that is just oily and warm rather than seasoned and protected.
Conversely, if the oven is excessively hot (above 550°F), you might actually begin to burn off existing seasoning.
Always check the smoke point of your specific oil and aim for about 25 to 50 degrees above that mark.
Rushing the Drying Process
Applying oil to a pan that still has moisture trapped in its pores is a recipe for disaster.
The water will eventually turn to steam under the oil layer, causing the seasoning to flake off in big chunks later.
Never rely on a towel alone to dry your cast iron before you begin the seasoning steps.
The stovetop heating method is the only way to ensure the iron is truly ready to accept the oil.
Troubleshooting
The Seasoning is Flaking Off
If you see black flakes coming off in your food, your seasoning layer has become too thick or was applied over a dirty surface.
This often happens if you use flaxseed oil, which creates a very hard but brittle layer that can chip easily.
To fix this, scrub the pan with a stiff brush to remove the loose flakes and apply a fresh, thin layer of seasoning using a more flexible oil like grapeseed.
Avoid using metal spatulas with sharp corners if you notice your seasoning is prone to chipping.
The Pan Looks Gray or Dull
A gray or dull appearance usually means the iron is “thirsty” and the seasoning layer is getting thin.
This is common after cooking acidic foods like tomatoes or wine, which can eat away at the protective coating.
You do not need to do a full oven-seasoning session to fix this issue.
Simply apply a very light coat of oil after your next cleaning and heat it on the stove until it smokes slightly to restore the sheen.
Rust Spots are Appearing
Rust occurs when the iron is exposed to oxygen and moisture without a protective barrier.
Small rust spots can be scrubbed away with a bit of oil and a coarse salt paste.
Once the rust is gone, you must immediately re-season that area to prevent the rust from returning.
If the rust is widespread, you will need to follow the full step-by-step guide to strip and rebuild the finish.
Key Takeaways
- Always start with a clean, rust-free pan and use heat to ensure it is completely dry.
- Use high-smoke point oils like grapeseed or canola for the most durable finish.
- Wipe away almost all the oil before baking to avoid a sticky or gummy residue.
- Bake the pan upside down at 450°F-500°F for at least one hour.
- Repeat the process multiple times to build a deep, non-stick patina over time.
- Maintenance is easier than restoration, so oil your pan lightly after every use.
Frequently Asked Questions
Can I use soap to clean my seasoned skillet?
Yes, you can use a small amount of modern dish soap to clean a seasoned cast iron skillet.
The “no soap” rule comes from the old days when soap contained lye, which would strip the seasoning away instantly.
Modern dish soaps are much gentler and will not harm the hard, polymerized layer you have built up in the oven.
What is the best oil for seasoning cast iron?
Grapeseed oil is widely considered the best choice because it has a high smoke point and creates a very tough bond.
Canola oil and vegetable oil are also excellent, affordable options that are readily available in most kitchens.
Avoid using animal fats like lard or bacon grease for long-term storage seasoning, as they can go rancid over time if the pan isn’t used frequently.
How often do I need to re-season my pan?
If you use your pan regularly and oil it after each use, you may never need to do a full oven-seasoning again.
The best way to maintain a skillet is simply to cook with it, especially foods with high fat content like bacon or sautéed onions.
You only need to repeat the oven process if the pan starts to look dull, food begins to stick, or rust appears.
Why is my pan sticky after seasoning?
Stickiness is almost always caused by applying too much oil or not heating the pan to a high enough temperature.
The oil has partially dried but hasn’t fully turned into a solid polymer layer.
You can sometimes fix this by putting the pan back in the oven at a higher temperature for another hour to finish the reaction.
Our Top Recommended Finds
- Grapeseed Oil: This is our top choice for seasoning because of its high smoke point and neutral flavor profile.
- Chainmail Scrubber: This tool is perfect for removing stubborn food bits without stripping away your hard-earned seasoning.
- Cast Iron Conditioner: These pre-made blends often contain beeswax and specialized oils that make the seasoning process even easier.
Put Your Skillet To Work
Now that your skillet is seasoned and ready, the best thing you can do is start using it every day.
Cast iron improves with age, and every meal you cook adds another microscopic layer to that non-stick surface.
Try searing a thick steak or baking a batch of cornbread to see how well your new finish performs.
If you want to expand your skills, look into how to cook acidic sauces in cast iron without damaging the metal.
Grab your favorite ingredients and start building that legendary patina today.