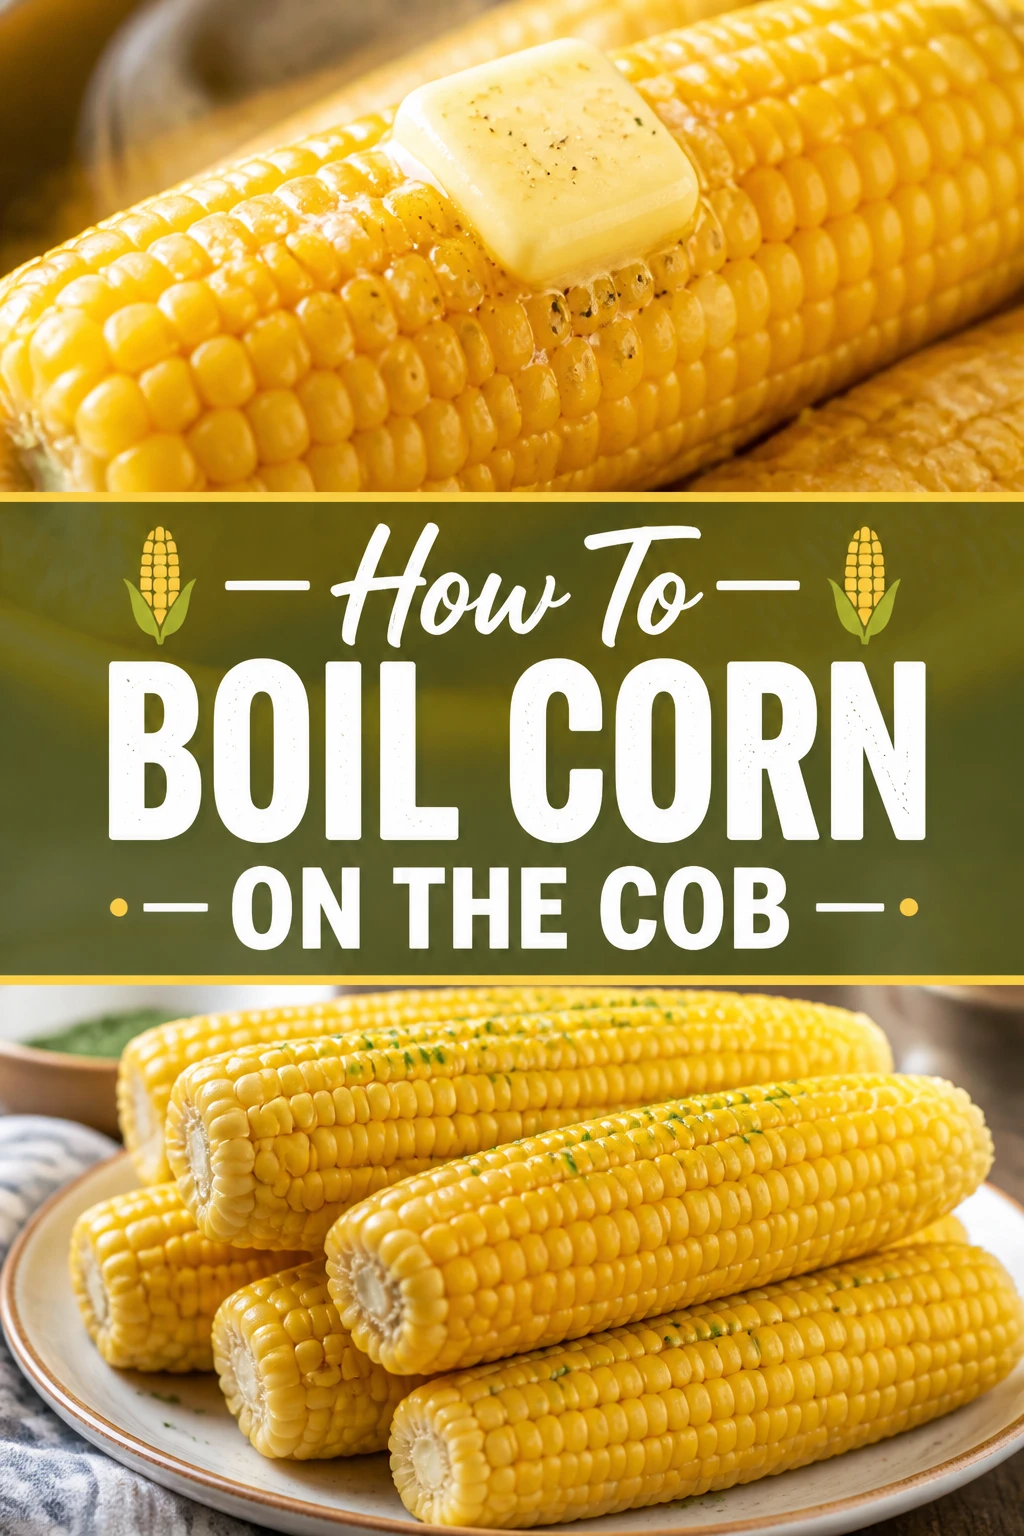
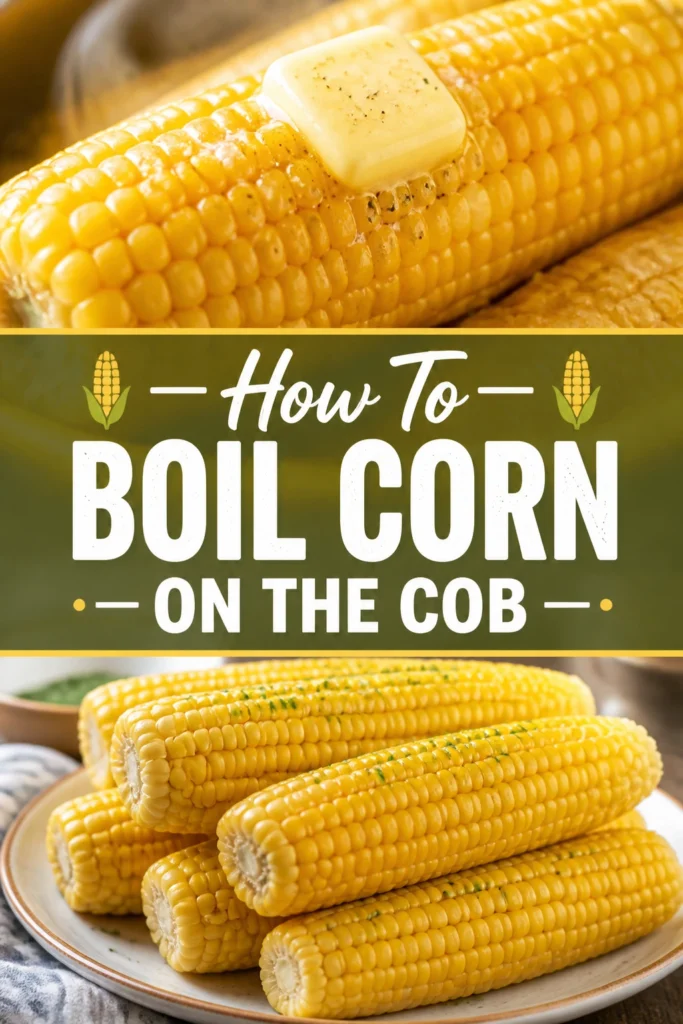
🌽 How To Boil Corn On The Cob
There’s nothing quite like fresh corn on the cob, especially when it’s perfectly cooked.
I grew up on a farm, and summer evenings often meant a bounty of sweet corn, so I’ve boiled countless ears over the years.
This guide shares all my tried-and-true methods to achieve that tender, juicy perfection every time.
Quick Overview
You’re about to master the simple art of boiling corn on the cob, transforming raw ears into a delicious side dish or snack.
Get ready for sweet, tender kernels that pop with flavor.
- Time needed: 15-20 minutes (including prep)
- Difficulty: Beginner
- What you’ll need: Fresh corn, large pot, tongs, butter (optional), salt (optional)
Step-by-Step Instructions
Step 1: Choose Your Corn Wisely
Selecting the best corn is the first crucial step for a great outcome. Look for ears with bright green husks that are tightly wrapped.
The silk emerging from the top should be slightly damp and golden or brown, not dry or black.
Gently peel back a small section of the husk to check the kernels; they should be plump, milky, and uniform in size.
Avoid any ears with dry husks, a pale appearance, or kernels that are shriveled or have dark spots.
Pro Tip: Buy corn on the day you plan to cook it, if possible. The sugars in corn begin converting to starch soon after harvest, so freshness means maximum sweetness.
Step 2: Prepare the Corn
Once you have your fresh corn, it’s time for a little prep work. You’ll need to remove the outer layers and silk.
Peel back the green husks completely, pulling them down towards the stem end.
Break or cut off the stem end, leaving a clean, ready-to-cook ear.
Remove as much of the silk as you can. A stiff brush or even a damp paper towel can help dislodge stubborn strands.
Step 3: Get Your Pot Ready
The right pot size makes a difference for even cooking. Choose a large stockpot that can comfortably hold all your corn.
The ears should be able to lie down mostly submerged without being overly crowded.
Fill the pot with enough cold water to cover the corn completely once it’s added.
Do not add salt to the water yet, as this can sometimes toughen the corn kernels.
Step 4: Bring Water to a Boil
Place your pot of water on the stovetop over high heat. Put a lid on the pot to help the water come to a boil faster.
Wait until the water reaches a rolling boil, with large, active bubbles breaking the surface.
This ensures the water temperature is consistent when you add the corn.
Step 5: Add the Corn to the Pot
Carefully add the shucked corn on the cob to the boiling water. Use tongs to gently lower each ear into the pot.
Try to avoid splashing hot water.
Make sure all the corn ears are fully submerged in the water.
If some ears float, you can gently push them down with a spoon or tongs to ensure they cook evenly.
Step 6: Cook the Corn to Perfection
Once the corn is in the pot, the water temperature will drop slightly. Allow the water to return to a rolling boil.
Boil the corn for 3-5 minutes. This timeframe is ideal for fresh, sweet corn.
Overcooking can make corn tough and diminish its natural sweetness, so keep a close eye on the clock.
Pro Tip: For older or less fresh corn, you might extend the cooking time by an extra minute or two, but generally, shorter is better for preserving tenderness and flavor.
Step 7: Remove and Serve
Once the cooking time is up, it’s time to retrieve your perfectly boiled corn. The kernels should look plump and bright yellow.
Carefully remove each ear from the hot water using tongs.
Allow any excess water to drip off before placing them on a serving platter.
Serve immediately for the best taste and texture. Hot corn is ready for your favorite toppings.
Offer butter, salt, pepper, or even a sprinkle of chili powder for an extra kick.
Common Mistakes to Avoid
Overcooking the Corn
Many people believe corn needs to boil for a long time, but this is a common misconception. Overcooking corn can quickly turn tender kernels into a tough, chewy, and starchy mess.
The natural sugars in fresh corn are delicate; excessive heat breaks them down, leading to a loss of sweetness and a less pleasant texture.
Stick to the recommended 3-5 minute boiling time for vibrant, juicy corn that retains its natural sweetness and satisfying pop.
Adding Salt to Boiling Water Too Early
While salt enhances flavor, adding it to the boiling water at the beginning can actually have an adverse effect on corn. Salt can draw moisture out of the corn kernels.
This process can toughen the outer skin of the kernels, making them less tender and enjoyable to eat.
It’s best to add salt after the corn is cooked, either directly to the ears or as part of a seasoned butter topping, ensuring maximum tenderness.
Crowding the Pot
Trying to cook too many ears of corn in a pot that is too small can lead to uneven cooking. When the pot is overcrowded, the water temperature drops significantly and struggles to return to a rolling boil.
This results in some ears cooking slowly or inconsistently, while others might be undercooked.
Always use a large enough pot to allow the corn to be fully submerged and to boil freely, ensuring each ear cooks evenly and thoroughly.
Ignoring Freshness
The quality of your corn significantly impacts the final taste. Using old or subpar corn, even if boiled perfectly, will not yield delicious results.
As corn ages, its natural sugars convert to starch, leading to a less sweet and sometimes mealy texture.
Always prioritize fresh, vibrant ears of corn with plump kernels and green husks to guarantee the best possible flavor and texture after boiling.
Troubleshooting
Corn is Too Tough or Chewy
If your corn turns out tough, the most likely culprit is overcooking. Even a minute or two extra can change the texture significantly, making the kernels firm and less pleasant to eat.
Another factor could be the age of the corn; older corn naturally has less sugar and more starch, which can contribute to a tougher texture.
For future batches, reduce your boiling time. Aim for 3-4 minutes for very fresh corn. Also, ensure you are buying the freshest corn available, ideally from a local market.
Kernels Lack Sweetness
A lack of sweetness often points to corn that isn’t fresh. The sugars in corn begin to convert to starch very quickly after harvest, losing their natural sweetness.
Another reason could be adding salt to the cooking water, which can sometimes diminish the perception of sweetness.
Always try to buy corn on the day you plan to cook it. If you must store it, keep it refrigerated in its husk. Avoid salting the cooking water; instead, season the corn after it’s boiled.
Unevenly Cooked Corn
If some parts of your corn are perfectly tender while others are still a bit firm, it’s usually due to uneven heat distribution during cooking. This often happens when the pot is too crowded.
When there isn’t enough space, the water can’t circulate effectively, and not all ears get consistent exposure to the boiling water.
To fix this, use a larger pot that allows all the corn ears to be fully submerged and have room to move. If you have many ears, consider boiling them in batches to ensure even cooking.
Key Takeaways
- Select Fresh Corn: Prioritize ears with bright green husks and plump, milky kernels for optimal sweetness and texture.
- Shuck and Clean Thoroughly: Remove all husks and silk before cooking to ensure a clean eating experience.
- Use a Large Pot: Ensure the corn has enough space to be fully submerged and cook evenly without crowding.
- Boil for 3-5 Minutes: This short cooking time is key for tender, juicy kernels; overcooking leads to toughness.
- Avoid Early Salting: Add salt after cooking to prevent toughening the corn kernels.
- Serve Immediately: Corn is best enjoyed hot off the boil with your favorite seasonings.
Frequently Asked Questions
Can I boil corn on the cob in the microwave?
Yes, you can boil corn on the cob in the microwave for a quicker method. Simply place shucked corn in a microwave-safe dish with a few tablespoons of water.
Cover the dish and microwave on high for 2-4 minutes per ear, depending on your microwave’s power. This method steams the corn, resulting in tender kernels.
How do I store leftover boiled corn?
To store leftover boiled corn, let it cool completely. Then, wrap each ear tightly in plastic wrap or aluminum foil, or place them in an airtight container.
Store the corn in the refrigerator for up to 3-4 days. You can reheat it in the microwave, on the stovetop, or even on the grill for a smoky flavor.
Can I boil corn on the cob with the husk on?
Boiling corn with the husk on is a popular method that helps to steam the corn within its natural wrapper, locking in moisture and flavor. Simply place the un-shucked ears directly into boiling water.
Boil for about 10-15 minutes. Once cooked, the husks and silk will peel away easily, revealing perfectly steamed corn. This method can be a bit messier to eat but yields very tender results.
Our Top Recommended Finds
- Large Stockpot: Essential for boiling multiple ears of corn without crowding, ensuring even cooking. Look for one with a thick bottom for better heat distribution.
- Long-Handled Tongs: Perfect for safely lowering corn into boiling water and retrieving it without splashes. Silicone-tipped tongs are gentle on the corn.
- Corn Holders: These small skewers make eating hot corn much easier and cleaner, keeping your hands free from butter and heat.
Embrace Your Inner Corn Connoisseur
You now possess all the knowledge needed to boil corn on the cob like a seasoned pro. This simple skill elevates summer meals and brings joy to any table.
Don’t wait for a special occasion; fresh corn is a delight on its own or as a vibrant side.
Try pairing your perfectly boiled corn with grilled meats, fresh salads, or even turning leftovers into a zesty corn salsa.
Go ahead, grab some fresh ears, and enjoy the sweet rewards of your new culinary expertise today!