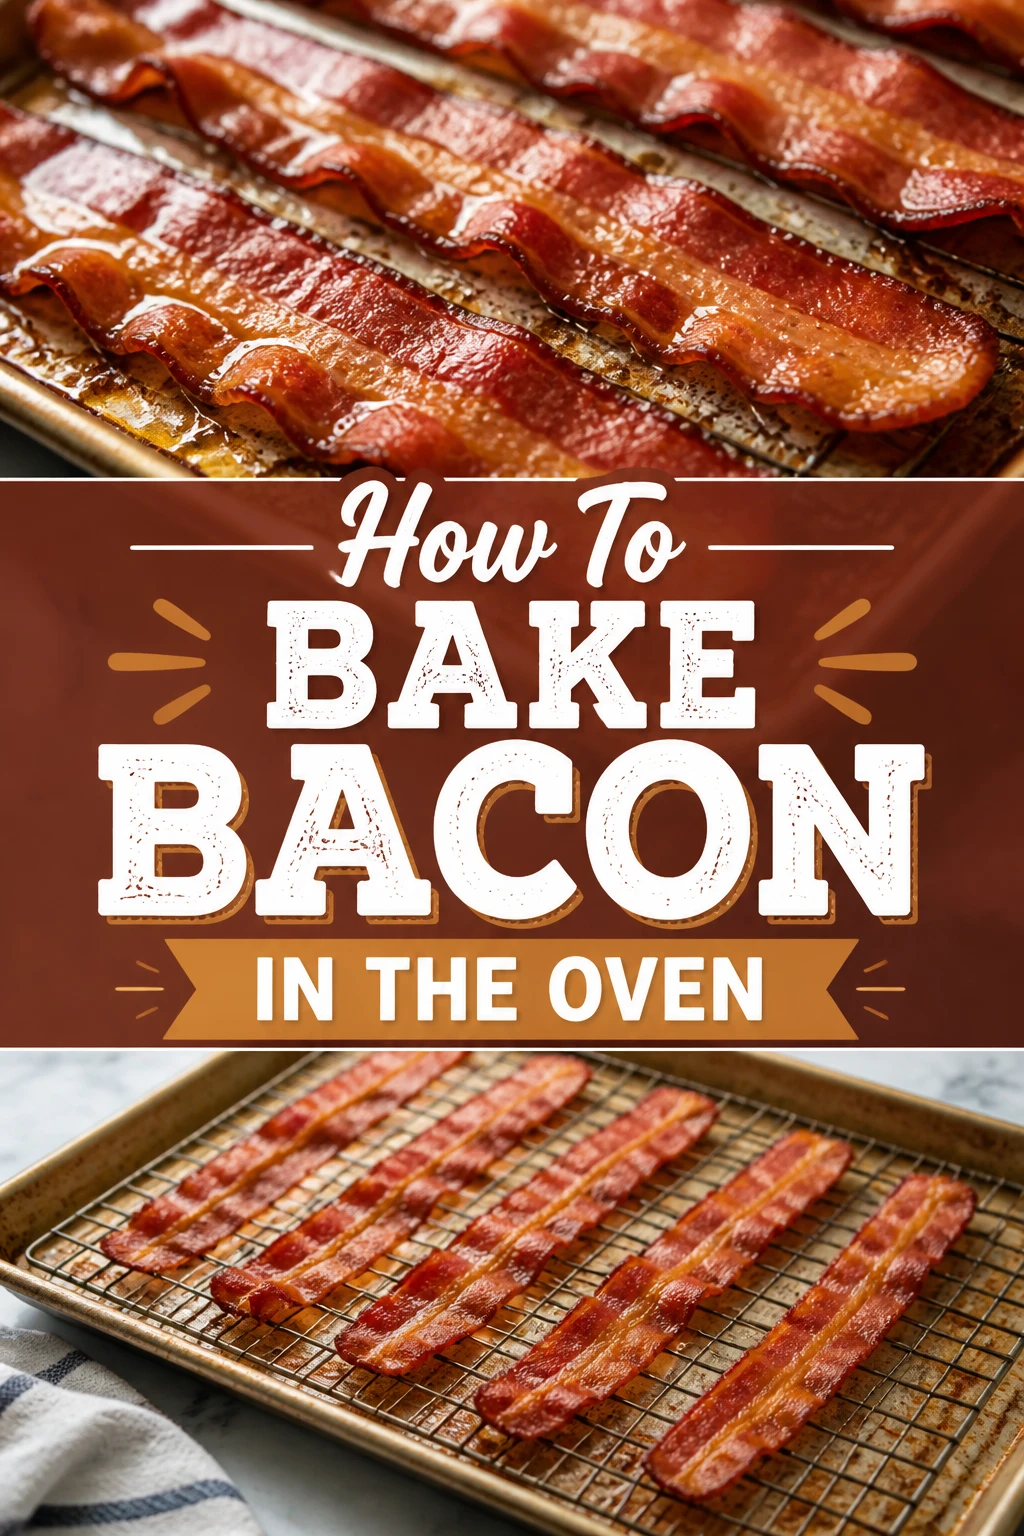
🥓 How To Bake Bacon In The Oven
There’s nothing quite like the aroma of sizzling bacon, but the stovetop mess can be a real hassle.
For years, I struggled with unevenly cooked strips and grease splatters until I discovered the magic of oven-baked bacon.
Trust me, once you try this method, you’ll never go back to frying pan chaos and you’ll understand why this technique is superior.
Quick Overview
You’re about to master the simplest, cleanest way to achieve perfectly crispy bacon every single time.
Say goodbye to grease splatters and hello to consistent, delicious results with minimal effort and maximum flavor.
- Time needed: 20-30 minutes (including prep and cook time)
- Difficulty: Beginner
- What you’ll need: Baking sheet, aluminum foil or parchment paper, wire rack (optional but recommended), tongs, paper towels, and of course, bacon!
Step-by-Step Instructions
Step 1: Preheat Your Oven
Starting with a properly preheated oven is the secret to achieving consistently crispy bacon without any soggy spots.
This initial burst of heat ensures the fat renders quickly and evenly across all your bacon strips, preventing them from just sitting in their own grease.
- Set your oven to a steady 400°F (200°C). This temperature is ideal for cooking bacon thoroughly while allowing it to crisp up beautifully.
- Allow your oven ample time to fully preheat. This usually takes at least 15-20 minutes, even after the indicator light suggests it’s ready, to ensure the internal temperature is stable.
Pro Tip: Resist the urge to place your bacon in a cold or partially heated oven. Doing so will lead to a longer cooking time and a tougher, less desirable texture. Patience here truly pays off.
Step 2: Prepare Your Baking Sheet
This crucial step is all about making cleanup a breeze and ensuring your bacon cooks beautifully without sticking.
Proper preparation prevents any mess from baking onto your pan and helps manage the rendered fat effectively.
- Line a sturdy, rimmed baking sheet with heavy-duty aluminum foil or parchment paper. Make sure the lining covers the entire surface and extends up the sides of the pan.
- Ensure the lining creates a shallow basin to effectively catch all the bacon grease as it renders. This makes disposal incredibly simple later on.
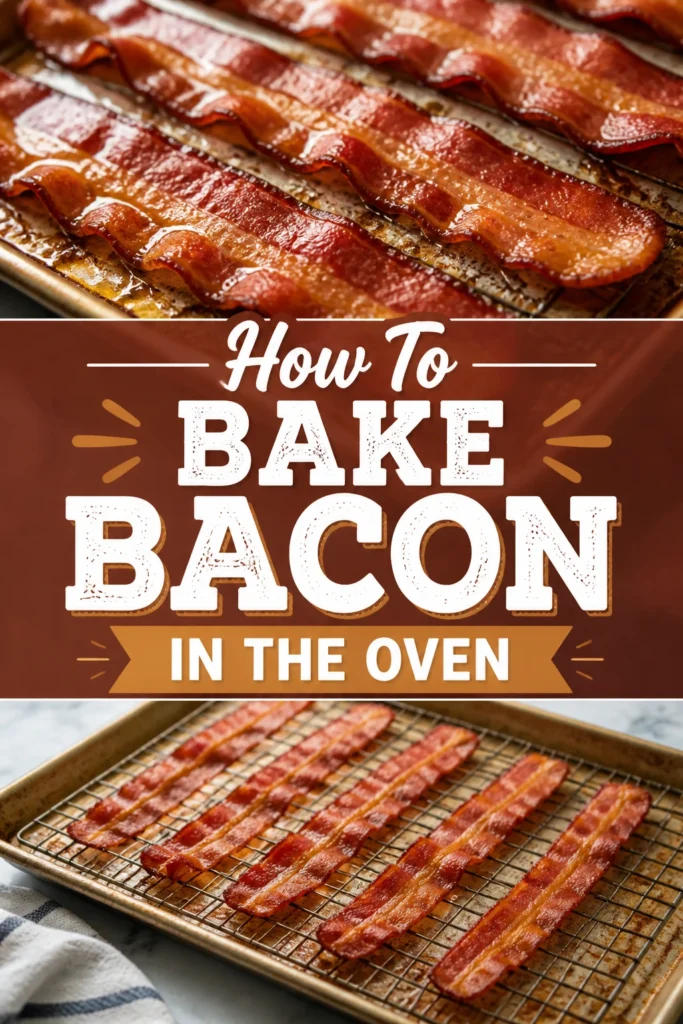
- Place an oven-safe wire rack directly onto the lined baking sheet. This elevates the bacon, allowing air to circulate all around it for ultimate crispiness.
Step 3: Arrange the Bacon
How you lay out your bacon fundamentally impacts its texture and cooking consistency.
Proper spacing is absolutely vital for promoting even air circulation and ensuring each strip browns perfectly.
- Lay the bacon strips in a single layer on the prepared wire rack or directly on the lined baking sheet if you’re not using a rack.
- Avoid overlapping the strips at all costs. When bacon overlaps, it causes the pieces to steam each other, resulting in limp and chewy textures.
- Leave a small, distinct space between each individual piece of bacon. This allows hot air to circulate freely around every strip, encouraging uniform crisping.
Pro Tip: If you’re planning to cook a large quantity of bacon, it’s always better to use two separate baking sheets. Crowding a single pan will significantly extend the cooking time and ultimately yield less crispy results.
Step 4: Bake the Bacon
This is the moment where the transformation happens! Oven temperature and precise timing are your most important allies here.
Keep a close watch on your bacon as it cooks, remembering that exact cooking times can vary based on the bacon’s thickness and your personal preference for crispness.
- Carefully place the baking sheet, with the bacon arranged on it, into your fully preheated oven. Position it on the middle rack for optimal heat distribution.
- Bake for 15-20 minutes as a general guideline. Thinner bacon will typically be ready closer to 15 minutes, while thicker cuts might need up to 20 minutes or even a little more.
- Begin checking the bacon around the 12-minute mark, especially if you prefer it less crispy or if you’re cooking thinner varieties.
- Continue baking until the bacon reaches your desired golden brown color and achieves that perfect, shatteringly crispy texture.
Step 5: Monitor and Flip (Optional)
While not strictly necessary, a quick flip halfway through the baking process can sometimes aid in achieving even crisping, especially if you’re not using a wire rack.
This step is particularly beneficial if your oven tends to have noticeable hot spots or if you’re striving for absolute perfection in every single strip.
- Observe the bacon’s progress through the oven door without opening it too frequently, as this can cause temperature fluctuations.
- Consider carefully flipping the strips halfway through the cooking time using a pair of sturdy tongs. This helps ensure both sides brown evenly, particularly if they are directly on the baking sheet.
- Adjust the remaining cooking time slightly if you choose to flip, as momentarily opening the oven and manipulating the bacon can slightly cool it down.
Step 6: Remove and Drain
Once your bacon has reached its ideal crispness and golden hue, it’s time to carefully remove it from the oven and eliminate any excess grease.
This essential step ensures your bacon is perfectly delicious, not overly greasy, and ready to be enjoyed immediately.
- Carefully remove the hot baking sheet from the oven using reliable oven mitts to protect your hands. The pan will be extremely hot.
- Transfer the perfectly cooked bacon strips to a plate that has been generously lined with several layers of absorbent paper towels.
- Blot the top of the bacon gently with another clean paper towel. This extra step helps to soak up any remaining surface fat, enhancing its crispness.
Pro Tip: Remember that bacon will continue to crisp up slightly as it cools on the paper towels. For this reason, it’s often best to remove it from the oven just a moment before it reaches your absolute desired crispness to prevent it from becoming overcooked.
Step 7: Reserve the Bacon Fat (Optional)
Do not be quick to discard that flavorful, rendered bacon grease! It is truly a culinary gem that can add incredible depth to many dishes.
Properly storing this precious fat allows you to elevate future meals with its rich, smoky, and savory essence.
- Allow the hot bacon grease that has collected in the lined pan to cool down completely. This prevents accidents and makes handling safer.
- Carefully pour the fully cooled grease through a fine-mesh sieve or cheesecloth into a clean, heat-safe, and airtight container. This strains out any small bits of bacon.
- Store the sealed container of rendered bacon fat in your refrigerator. It will keep well for several weeks and is fantastic for frying eggs, sautéing vegetables, or adding a savory base to gravies and cornbread.
Step 8: Serve and Enjoy
Your perfectly baked bacon is now ready to be the star attraction of your meal, delivering maximum flavor with minimal fuss.
Serve it immediately and savor the incredible crispy, savory goodness you’ve just effortlessly created.
- Arrange the beautifully cooked bacon on a serving platter or directly onto individual plates.
- Pair it traditionally with classic breakfast items like fluffy scrambled eggs, stacks of golden pancakes, or crispy waffles.
- Consider crumbling it over fresh salads, baked potatoes, creamy soups, or even incorporating it into sandwiches for an extra layer of flavor.
- Relish the deep satisfaction of perfectly cooked bacon without any of the usual stovetop mess or hassle.
Common Mistakes to Avoid
Using a Cold Oven
Placing bacon into an oven that hasn’t fully preheated is a very common misstep that many people make. This error leads directly to the bacon cooking slowly and, more importantly, very unevenly.
When the oven isn’t hot enough, the fat renders out too gradually, often resulting in rubbery, tough, or chewy bacon instead of the desired crispy perfection. Always wait patiently for your oven to reach the target temperature before placing any bacon inside.
Overlapping Bacon Strips
When bacon strips are crowded together or, even worse, overlapping on the baking sheet, they effectively steam each other instead of crisping. This prevents proper air circulation around each individual piece.
The unfortunate outcome is often soggy, inconsistently cooked bacon with varying textures. It is crucial to always arrange your strips in a single, uncrowded layer with a little space between them for optimal crisping and even cooking.
Forgetting to Line the Pan
Skipping the aluminum foil or parchment paper lining might seem like a minor oversight in the moment, but it guarantees a major cleanup headache later. Bacon releases a significant amount of hot grease as it cooks.
This rendered grease will inevitably bake onto your pan, requiring extensive and often tiresome scrubbing to remove. Lining the pan ensures incredibly easy disposal of the fat and leaves you with a virtually clean baking sheet.
Not Monitoring Cook Time
Bacon has a tendency to go from perfectly crispy to completely burnt in a surprisingly short amount of time. Setting a timer and then walking away completely from the kitchen is a direct recipe for disaster.
Always keep a vigilant eye on your bacon, especially during the final few minutes of the cooking process. Oven temperatures can vary significantly, and even slight differences can drastically affect the final crispness and prevent burning.
Troubleshooting
Bacon Isn’t Crispy Enough
If your bacon comes out chewy, limp, or lacks that satisfying crunch, it’s most likely due to insufficient cooking time or improper fat rendering. First, ensure your oven was fully preheated to the recommended 400°F (200°C).
Try extending the cooking time by an additional few minutes, checking its progress very frequently to prevent overcooking. Also, consistently using a wire rack can significantly improve crispness by allowing air to circulate freely around all sides of the strips.
Bacon is Burning Too Quickly
If you find your bacon browning too fast or even burning before it’s fully cooked, your oven temperature might be running too high, or the bacon strips themselves could be exceptionally thin. Consider having your oven’s calibration checked if you suspect it consistently runs hot.
For very thin bacon, you should reduce the overall cooking time and begin checking for doneness much earlier, perhaps starting around the 10-12 minute mark. You can also try lowering the oven temperature slightly to 375°F (190°C) if consistent burning remains an issue.
Unevenly Cooked Bacon
Uneven cooking often points to either inconsistent hot spots within your oven or, more commonly, overcrowding on the baking sheet. If certain areas of the bacon are perfectly done while others are still undercooked, try rotating your baking sheet halfway through the cooking process.
Always double-check that you’re not overlapping the bacon strips and that they have ample space between them. Utilizing a wire rack also greatly promotes more even cooking by lifting the bacon out of its rendered fat, allowing for consistent heat exposure.
Key Takeaways
- Always preheat your oven to a precise 400°F (200°C) for consistently optimal bacon results.
- Line your baking sheet with foil or parchment paper to guarantee an incredibly easy cleanup experience.
- Arrange bacon in a single, non-overlapping layer to ensure even crisping and thorough cooking.
- Monitor cooking closely, especially during the final minutes, as bacon can crisp very quickly.
- Drain all cooked bacon on paper towels immediately to remove any excess grease and enhance crispness.
- Never discard the rendered bacon fat; it’s a valuable and flavorful cooking ingredient for many dishes.
Frequently Asked Questions
Can I bake different types of bacon in the oven?
Absolutely! This versatile oven baking method works wonderfully for virtually all types of bacon available, including popular varieties like thick-cut, standard thin-cut, and even turkey bacon. You will simply need to adjust the cooking time accordingly for each type.
Thicker cuts of bacon will naturally require a few extra minutes in the oven, while much thinner cuts will cook significantly faster. Regardless of the type, always keep a close eye on its progress to achieve your desired level of crispness.
Do I need a wire rack for baking bacon?
While a wire rack isn’t strictly mandatory for baking bacon, it is very highly recommended for achieving the absolute crispiest results. The rack effectively lifts the bacon out of its rendered fat, allowing hot air to circulate freely all around the strips.
If you choose not to use one, the bacon will still cook well directly on the lined baking sheet, but it might be slightly less crispy on the bottom. You can mitigate this by flipping the bacon halfway through the cooking process for better overall browning.
How do I store leftover cooked bacon?
Properly cooked bacon, once cooled, should be stored in an airtight container or a securely sealed plastic bag in the refrigerator. When stored correctly, it will typically remain fresh and