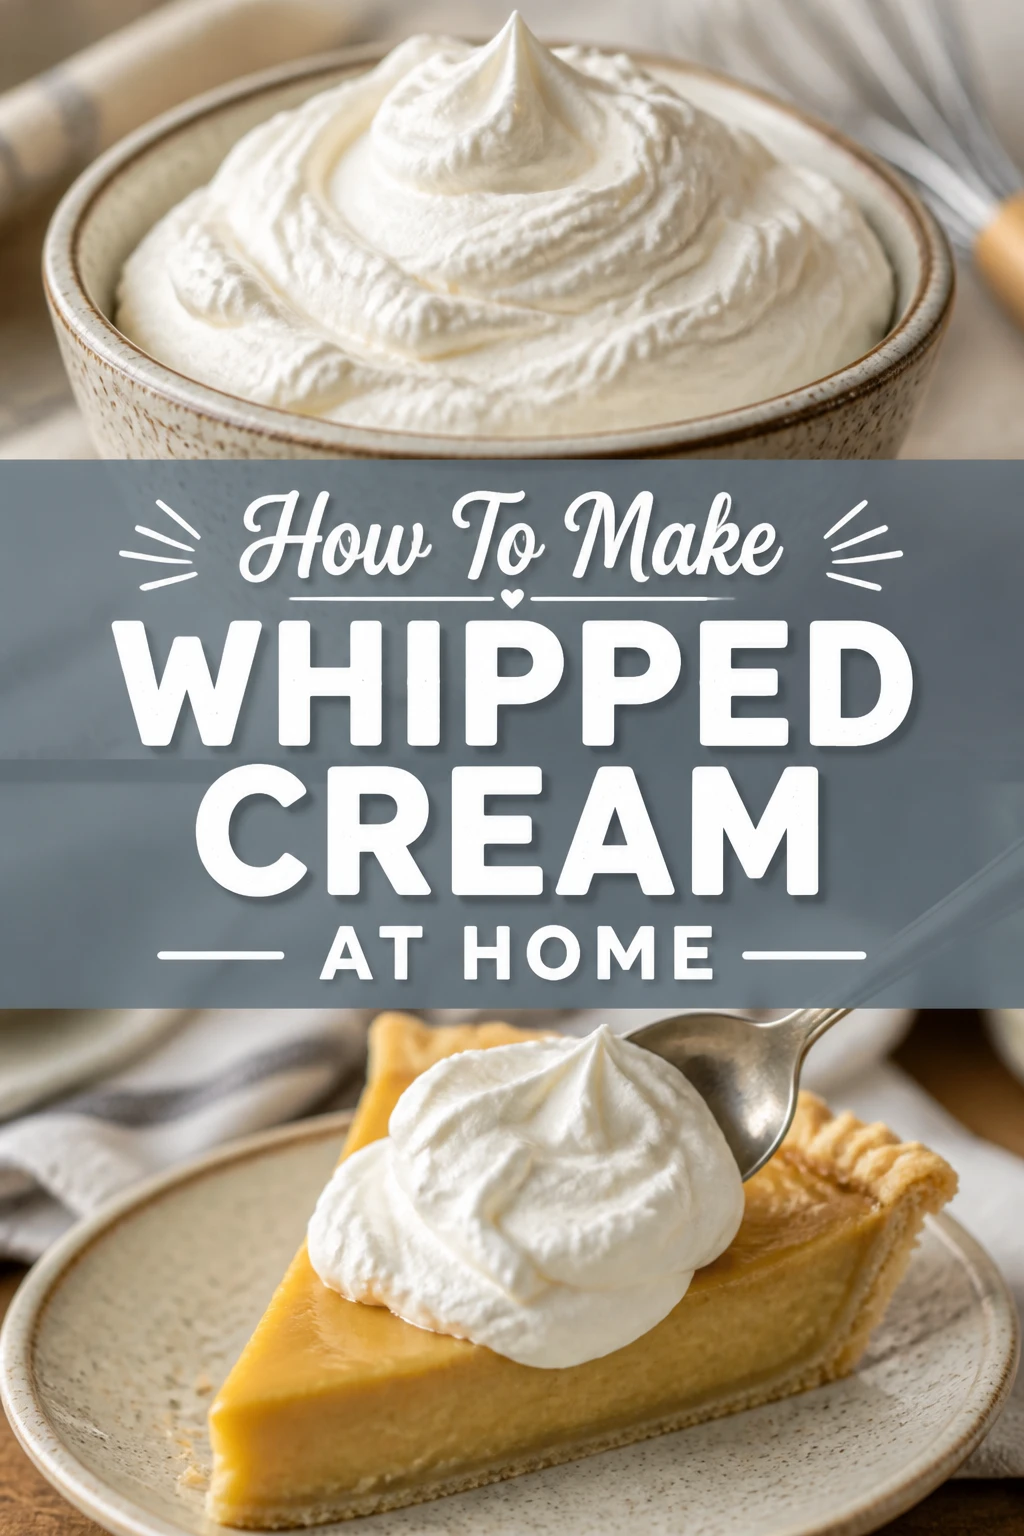
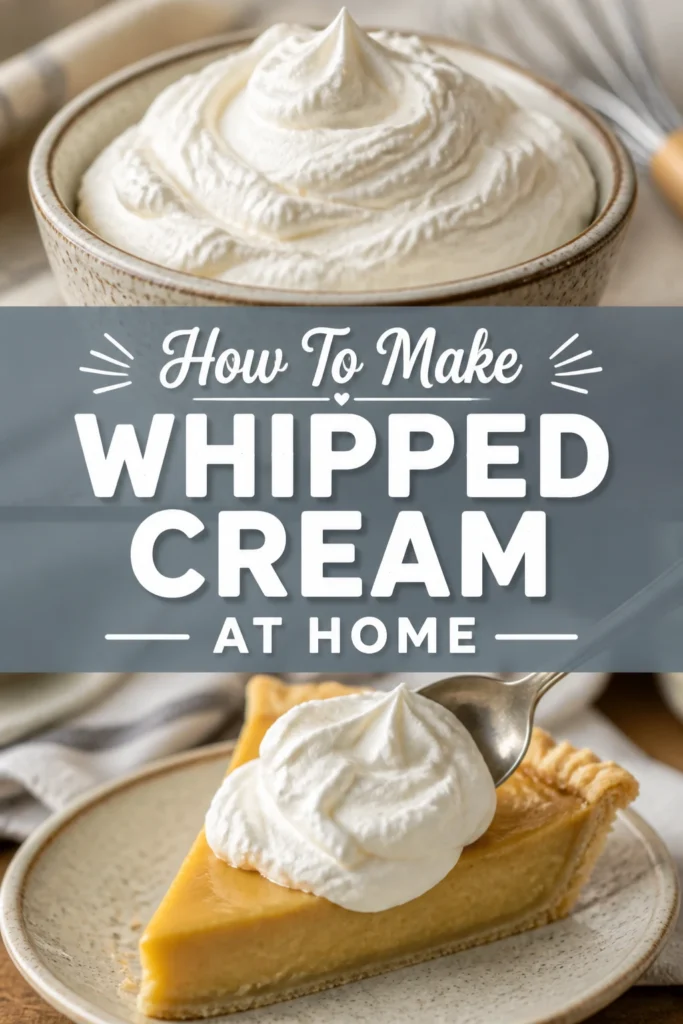
🍦 How To Make Whipped Cream At Home
Imagine a cloud-like topping, airy and sweet, gracing your favorite desserts.
Making your own whipped cream is surprisingly simple and incredibly rewarding, transforming ordinary treats into something special.
Having perfected countless batches over the years for pies, hot chocolates, and fruit tarts, I’m excited to share the straightforward method that guarantees perfect results every time.
Quick Overview
This guide will walk you through creating light, fluffy, and perfectly sweetened whipped cream from scratch. You’ll soon be enjoying a fresh, homemade topping far superior to anything store-bought.
- Time needed: 10-15 minutes (active prep & whipping)
- Difficulty: Beginner
- What you’ll need: Heavy cream, sugar, vanilla extract, a cold bowl, and a whisk (hand mixer or stand mixer recommended).
Step-by-Step Instructions
Step 1: Gather Your Ingredients and Tools
The secret to superior whipped cream begins with quality ingredients and chilled equipment. Start by taking your heavy cream, sugar, and vanilla extract out of the pantry and fridge.
You’ll need a large mixing bowl, preferably made of metal or glass, and a whisk attachment for your stand mixer, hand mixer, or a sturdy balloon whisk if you’re going manual.
Pro Tip: Place your mixing bowl and whisk attachment (or manual whisk) in the freezer for at least 15-20 minutes before you begin. Colder equipment helps the cream whip up faster and hold its shape better.
Step 2: Chill Your Heavy Cream
Ensure your heavy cream is very cold. This is perhaps the most crucial step for achieving light and stable whipped cream.
Cream that isn’t sufficiently chilled will struggle to emulsify and might take much longer to whip, leading to a less stable end product.
Keep it in the refrigerator until the very moment you’re ready to pour it into your chilled bowl.
Step 3: Combine Ingredients in the Chilled Bowl
Remove your chilled bowl and whisk from the freezer. Pour the cold heavy cream into the bowl.
Add your chosen sweetener, typically granulated sugar or powdered sugar, and a splash of vanilla extract.
For every cup of heavy cream, a good starting point is 1-2 tablespoons of sugar and ½ to 1 teaspoon of vanilla extract, but feel free to adjust to your taste.
Step 4: Begin Whipping on Low Speed
If using an electric mixer, start on a low speed to incorporate the sugar and vanilla into the cream without splashing.
This initial gentle mixing also helps to gradually introduce air, preventing the cream from becoming grainy prematurely.
Continue for about 30 seconds until the ingredients are just combined and you see small bubbles forming.
Step 5: Increase Speed and Watch for Soft Peaks
Gradually increase the mixer speed to medium-high. You will notice the cream beginning to thicken and expand.
Keep a close eye on the consistency. After a few minutes, the cream will start to form “soft peaks.”
These are peaks that hold their shape briefly when you lift the whisk, but then gently flop over.
Pro Tip: For a more stable whipped cream, especially if serving outdoors or letting it sit for a while, you can add a teaspoon of powdered sugar (which contains cornstarch) or a pinch of cream of tartar at this stage. This helps stabilize the cream.
Step 6: Continue Whipping to Medium or Stiff Peaks
For most applications, medium peaks are ideal. The cream will be fluffy and hold its shape well, but still have a slight softness.
If you need a very firm topping for piping intricate decorations, continue whipping until “stiff peaks” form.
Stiff peaks stand straight up when the whisk is lifted and do not flop at all.
Step 7: Monitor Closely to Prevent Over-Whipping
As you approach your desired consistency, pay very close attention. The transition from perfectly whipped cream to over-whipped, grainy cream happens quickly.
Stop the mixer frequently to check the texture by lifting the whisk. Once the cream reaches the desired peak consistency, stop immediately.
Over-whipped cream will separate and become chunky, eventually turning into butter if you continue.
Step 8: Taste and Adjust (Optional)
Once your whipped cream has reached the desired consistency, give it a quick taste test.
If you prefer it sweeter, gently fold in a little more powdered sugar. If you want a stronger vanilla flavor, add another tiny splash of extract.
Make any adjustments by hand with a spatula or spoon to avoid over-whipping with the mixer.
Common Mistakes to Avoid
Using Warm Cream or Equipment
Attempting to whip cream that isn’t thoroughly chilled, or using a warm bowl and whisk, is a common pitfall. Warm cream struggles to emulsify and achieve the necessary volume, often resulting in a runny, unstable product.
Always ensure your heavy cream comes straight from the refrigerator, and chill your mixing bowl and whisk for at least 15-20 minutes beforehand. This cold environment is essential for quick, stable whipping.
Over-Whipping
This is arguably the most frequent mistake. Whipped cream transitions from perfect to grainy and separated very rapidly, often in just a few seconds of extra whipping. Over-whipped cream loses its smooth, airy texture and can become lumpy, resembling cottage cheese before turning into butter.
Always keep a close eye on the cream as it whips, especially in the final stages. Stop the mixer and check the consistency frequently, stopping as soon as it reaches your desired soft, medium, or stiff peaks.
Under-Sweetening or Over-Sweetening
The right amount of sweetness is subjective, but using too little sugar can leave the cream tasting bland, while too much can make it cloyingly sweet and potentially affect its texture. Granulated sugar can sometimes feel grainy if not fully dissolved, especially if added late in the process.
Start with a moderate amount of sugar (1-2 tablespoons per cup of cream) and taste as you go. Powdered sugar (confectioners’ sugar) is often preferred as it dissolves more easily and contains a touch of cornstarch, which can help stabilize the cream.
Using Low-Fat Cream
Only heavy cream (also known as heavy whipping cream) contains enough milk fat (typically 36% or more) to whip properly and hold its shape. Lighter creams, half-and-half, or milk simply do not have the fat content required for stable whipped cream.
Always check the label to ensure you are purchasing heavy cream or heavy whipping cream. Using any other dairy product will result in a runny, un-whippable liquid.
Troubleshooting
My Whipped Cream is Too Runny
If your whipped cream remains liquid or too thin, the most likely culprits are insufficient chilling or not enough whipping. Ensure your cream, bowl, and whisk were all very cold before starting. If it’s still runny, continue whipping on medium-high speed, but be careful not to over-whip.
Sometimes, adding a small amount of powdered sugar (which contains cornstarch) or a pinch of cream of tartar can help stabilize it and encourage it to thicken, especially if the cream wasn’t cold enough to begin with.
My Whipped Cream is Grainy or Separated
A grainy or separated texture indicates that your whipped cream has been over-whipped. You’ve essentially started the process of making butter. Unfortunately, there’s no way to fully reverse this once it’s happened.
If it’s only slightly grainy, you might be able to salvage it by gently folding in a tablespoon or two of fresh, cold liquid heavy cream by hand. This can sometimes smooth out the texture a little. For severely over-whipped cream, it’s best to start a new batch.
The Peaks Aren’t Holding Their Shape
If your peaks are soft and collapse quickly, it means the cream hasn’t been whipped enough, or it wasn’t cold enough to begin with. Ensure all your equipment and cream are thoroughly chilled. Continue whipping on medium-high speed until the peaks hold their desired shape (soft, medium, or stiff) when you lift the whisk.
For added stability, especially in warmer conditions or if you need the cream to hold for longer, consider adding a stabilizer like a teaspoon of powdered sugar (for its cornstarch content) or a pinch of cream of tartar during the whipping process.
Key Takeaways
- Always use very cold heavy cream and chilled equipment for best results.
- Start whipping on low speed, then gradually increase to medium-high.
- Watch closely for soft, medium, or stiff peaks and stop immediately to prevent over-whipping.
- Over-whipped cream becomes grainy and cannot be fully salvaged.
- Adjust sweetness and flavor (like vanilla) to your personal preference.
- Heavy cream (36% milk fat or higher) is essential; lighter creams will not whip.
Frequently Asked Questions
Can I make whipped cream ahead of time?
While fresh is best, you can make whipped cream a few hours in advance. Store it in an airtight container in the refrigerator. If it loses some of its fluffiness, you can gently re-whisk it by hand for a few seconds before serving to restore some volume.
What’s the difference between heavy cream and whipping cream?
Heavy cream and heavy whipping cream are essentially the same, containing at least 36% milk fat. Whipping cream (sometimes just labeled “light whipping cream”) has a slightly lower fat content, typically 30-35%, and may not whip as stiffly or hold its shape as long as heavy cream.
Can I use a sugar substitute?
Yes, you can absolutely use sugar substitutes like erythritol, stevia, or monk fruit sweeteners. Add them to taste just as you would with regular sugar. Powdered sugar substitutes often work best for texture and dissolving easily.
How long does homemade whipped cream last?
Homemade whipped cream is best enjoyed within 24-48 hours. Beyond that, it tends to lose its texture and can start to weep or separate. Always store it in an airtight container in the coldest part of your refrigerator.
Our Top Recommended Finds
- Stand Mixer: A kitchen workhorse that makes whipping hands-free and effortless, ideal for larger batches or if you bake frequently.
- Hand Mixer: A versatile and compact option, perfect for smaller kitchens and occasional use, offering great control over the whipping process.
- Stainless Steel Mixing Bowls: Durable, easy to chill, and non-reactive, these bowls are excellent for keeping cream cold and ensuring consistent whipping.
Whip Up Culinary Joy Today
You now possess the knowledge and confidence to create exquisite homemade whipped cream. This simple skill elevates countless desserts and beverages, adding a touch of elegance and freshness that store-bought alternatives simply can’t match.
Don’t just read about it; embrace the joy of making your own. Grab that heavy cream, chill your bowl, and experience the satisfaction of transforming liquid into a cloud of deliciousness.
Why not try pairing your freshly whipped cream with a warm apple pie, a bowl of fresh berries, or a decadent hot chocolate? The possibilities are endless, and your taste buds will thank you.