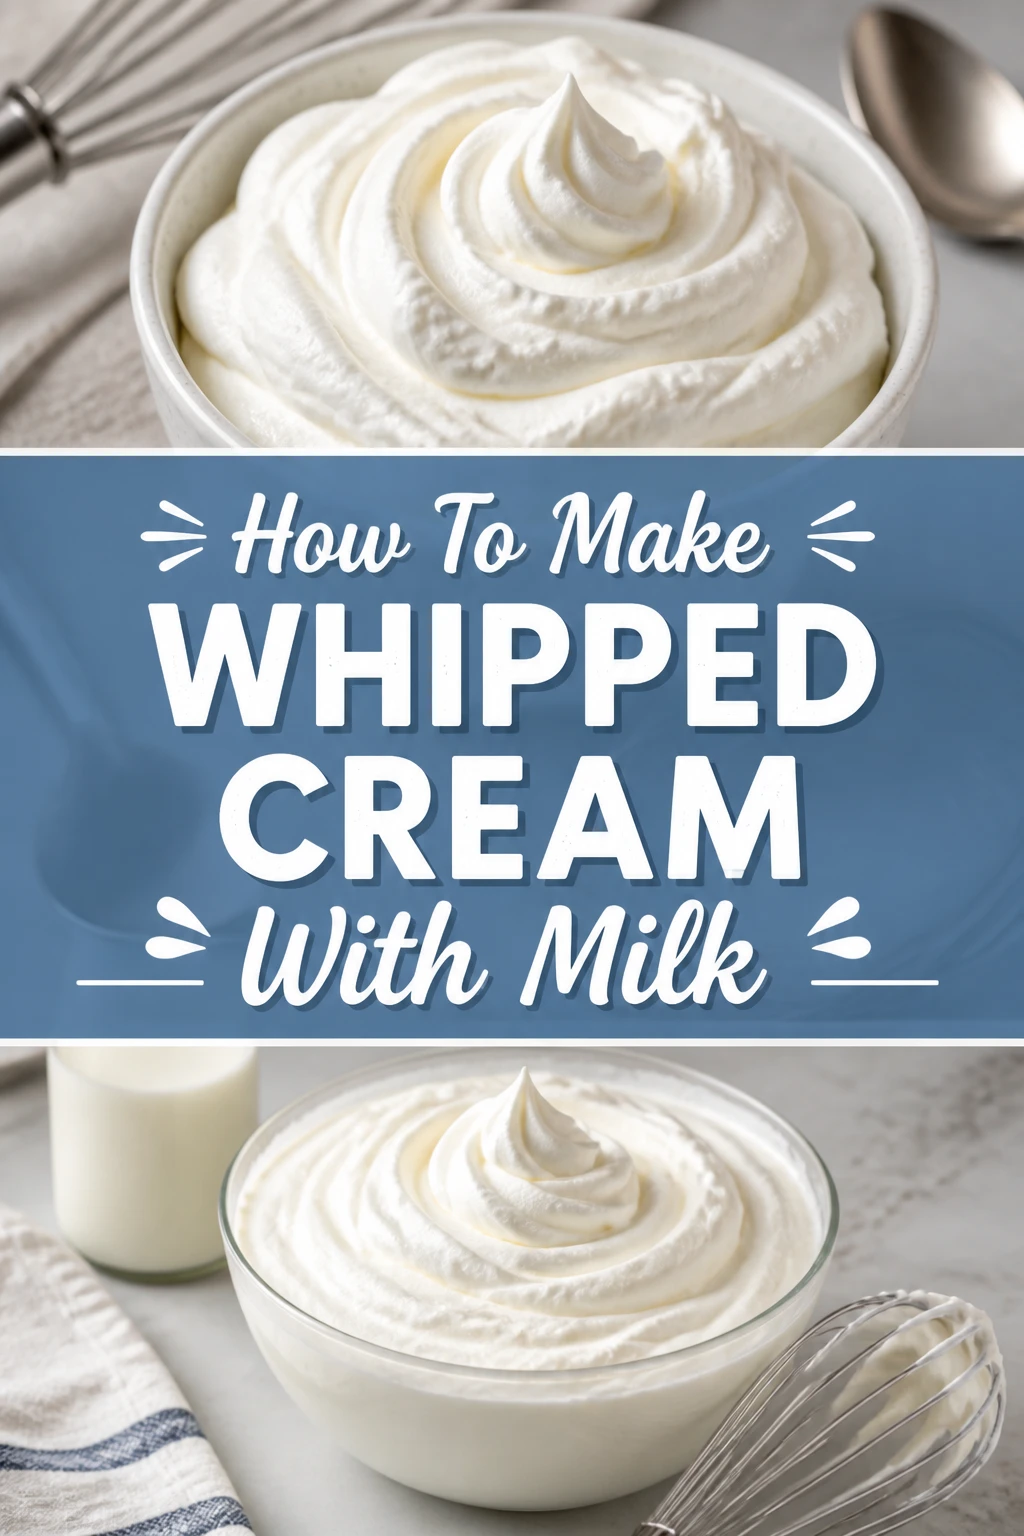
🥛 How To Make Whipped Cream With Milk
Have you ever found yourself craving a dollop of fluffy whipped cream, only to realize your fridge is out of heavy cream?
It’s a common kitchen dilemma, and one I’ve personally faced many times when baking on a whim.
After some experimentation, I discovered a clever way to achieve a surprisingly light and airy topping using just regular milk, and I’m excited to share that practical, tested method with you today.
Quick Overview
This guide will show you how to transform ordinary milk into a delightful, stable whipped topping, perfect for desserts or hot beverages.
You’ll learn the secrets to achieving a good texture, even without the high-fat content of traditional whipping cream.
- Time needed: 20 minutes active, plus 2-4 hours chilling
- Difficulty: Intermediate
- What you’ll need: Milk, sugar, vanilla, unflavored gelatin, mixing bowls, whisk or electric mixer, saucepan.
Step-by-Step Instructions
Step 1: Gather Your Ingredients and Chill Equipment
Begin by collecting all your necessary ingredients and equipment. Having everything ready makes the process smooth and enjoyable.
The colder your tools and ingredients are, the better your chances of achieving a successful whip with milk.
- Place your mixing bowl and whisk (or electric mixer attachments) in the freezer for at least 15-20 minutes.
- Measure out your milk, sugar, and unflavored gelatin.
- Ensure your milk is as cold as possible; straight from the fridge is best.
Pro Tip: Using a metal or glass bowl will help it stay cold longer than plastic, significantly aiding the whipping process. The colder environment helps the milk proteins and fat (even minimal amounts) hold air better.
Step 2: Bloom the Gelatin
Gelatin is our secret weapon here, providing the structure that milk alone lacks for stable peaks.
Blooming it properly ensures it dissolves smoothly and works effectively.
- Pour 2 tablespoons of cold water into a small, heatproof bowl.
- Sprinkle 1 teaspoon of unflavored gelatin evenly over the water.
- Let it sit for 5-10 minutes, allowing the gelatin granules to absorb the water and soften. This process is called “blooming.”
Step 3: Warm Milk and Dissolve Sweetener
A small portion of the milk needs to be warmed to dissolve the gelatin and sugar completely.
This step ensures a smooth, lump-free final product.
- Pour 1/2 cup of your measured cold milk into a small saucepan.
- Add 2-3 tablespoons of granulated sugar to the saucepan, adjusting to your sweetness preference.
- Heat the milk and sugar over medium-low heat, stirring constantly until the sugar completely dissolves. Do not boil the milk.
Step 4: Combine Milk Mixture with Stabilizer
Now, we’ll incorporate the bloomed gelatin into the warm milk mixture.
This step creates the stabilizing base for our whipped milk.
- Remove the saucepan from the heat once the sugar is dissolved.
- Add the bloomed gelatin to the warm milk in the saucepan.
- Stir continuously until the gelatin is fully dissolved and there are no visible granules. The mixture should be clear.
Step 5: Chill the Stabilized Milk Mixture
Chilling is a critical step that allows the gelatin to set slightly, giving the milk structure before whipping.
Patience here will pay off with a much better texture.
- Pour the warm milk and gelatin mixture into your chilled mixing bowl (the one you put in the freezer).
- Add the remaining cold milk (approximately 1.5 cups if you started with 2 cups total) to the bowl.
- Stir gently to combine everything thoroughly.
- Cover the bowl with plastic wrap and refrigerate for at least 2-4 hours, or ideally, overnight. The mixture should be very cold and slightly thickened, like a very loose jelly.
Pro Tip: Don’t rush the chilling. If the mixture isn’t sufficiently cold and slightly set, it won’t whip properly. An overnight chill is often the best approach for optimal results.
Step 6: Whip the Chilled Milk Mixture
Once thoroughly chilled, it’s time for the exciting part: whipping your milk into a creamy topping.
Use your pre-chilled whisk or mixer attachments for the best outcome.
- Retrieve the chilled milk mixture and your cold whisk/mixer from the freezer.
- Begin whipping the milk mixture on medium-high speed with an electric mixer, or vigorously by hand with a whisk.
- Continue whipping, focusing on incorporating air into the mixture.
Step 7: Add Vanilla and Continue Whipping
Flavor is essential, and vanilla extract adds that classic, comforting taste to your whipped topping.
Adding it mid-whip helps distribute it evenly.
- Once the mixture starts to look foamy and slightly thicker, add 1 teaspoon of vanilla extract.
- Continue whipping on medium-high speed.
- Observe the texture as you whip; it will gradually become lighter and more voluminous.
Step 8: Check for Soft Peaks and Serve
The goal is to achieve soft, billowy peaks that hold their shape for a short time.
This indicates your whipped milk is ready to enjoy.
- Keep whipping until soft peaks form. When you lift the whisk, the peaks should hold their shape for a moment before gently folding over.
- Avoid over-whipping, as this can cause the mixture to become grainy or lose its airy texture.
- Serve immediately over your favorite desserts, fruit, or hot beverages.
Step 9: Store Properly
While best served fresh, you can store any leftover whipped milk.
Proper storage helps maintain its texture for a short period.
- Transfer any remaining whipped topping to an airtight container.
- Refrigerate for up to 2-3 days.
- Note that it may lose some of its volume and become slightly less airy over time, but it will still be delicious.
Common Mistakes to Avoid
Not Chilling Everything Thoroughly
One of the biggest pitfalls when making whipped cream with milk is insufficient chilling. Warm milk, bowls, or whisks will severely hinder the whipping process, preventing the mixture from thickening properly.
Always ensure your milk, mixing bowl, and whipping attachments are as cold as possible, preferably after a stint in the freezer, to create the ideal environment for aeration and stabilization.
Improper Gelatin Dissolution
If your gelatin isn’t bloomed first or isn’t fully dissolved in the warm milk, you’ll end up with a lumpy or gritty texture in your final product. Undissolved gelatin won’t provide the necessary structure.
Take the time to properly bloom the gelatin in cold water and then stir it thoroughly into the warm milk until it’s completely clear and smooth before combining it with the rest of the cold milk for chilling.
Rushing the Chilling Process
After combining the stabilized milk mixture, it needs ample time to chill and for the gelatin to set to a slightly thickened, very cold state. Trying to whip it too soon will result in a runny, unwhippable liquid.
Patience is key here. Allow at least 2-4 hours, or ideally, chill the mixture overnight in the refrigerator. The mixture should feel like a very loose, cold jelly before you attempt to whip it.
Over-Whipping
While milk-based whipped cream is less prone to “breaking” like heavy cream, over-whipping a stabilized milk mixture can still lead to a less desirable texture. It might become grainy or lose its delicate aeration.
Watch the mixture carefully as you whip. Stop as soon as soft peaks form, where the peaks hold their shape but gently curl over. This ensures a light, fluffy consistency.
Troubleshooting
My Mixture Won’t Thicken
If your milk mixture isn’t thickening after prolonged whipping, the most likely culprits are insufficient chilling or incorrect gelatin preparation. The mixture must be extremely cold, almost slushy, before whipping.
Ensure your bowl and whisk were thoroughly chilled, and the milk mixture itself spent enough time in the refrigerator (4+ hours or overnight). Also, double-check that you used the correct amount of gelatin and that it dissolved completely without lumps.
The Whipped Cream is Runny
A runny consistency usually indicates that the gelatin didn’t fully activate or wasn’t incorporated correctly, or that the mixture wasn’t cold enough during whipping. The gelatin provides the necessary structure.
Re-evaluate your gelatin blooming and dissolving steps. If you suspect the gelatin didn’t set, you might be able to gently reheat a small portion of the mixture, dissolve more bloomed gelatin, and then re-chill the entire batch before attempting to whip again.
There Are Lumps in My Whipped Cream
Lumps typically point to undissolved gelatin. This happens when the gelatin isn’t bloomed properly, or it doesn’t fully melt into the warm milk and sugar mixture.
Next time, make sure to sprinkle the gelatin evenly over cold water to bloom, then stir it into the warm milk until absolutely no granules remain. If lumps appear in the final product, it’s difficult to fix, but you can strain it if the lumps are large enough to be caught.
Key Takeaways
- Always chill your mixing bowl and whisk thoroughly before starting.
- Unflavored gelatin is essential for stabilizing milk-based whipped cream.
- Properly bloom and dissolve the gelatin to avoid a lumpy texture.
- Allow ample time for the stabilized milk mixture to chill completely before whipping.
- Whip until soft peaks form, being careful not to over-whip.
- This method allows you to create a light, airy topping even without heavy cream.
Frequently Asked Questions
Can I use non-dairy milk for this recipe?
Yes, you can absolutely use non-dairy milk. Almond milk, oat milk, or soy milk can work, but results may vary slightly in texture and stability due to differing fat and protein content. Full-fat non-dairy milks often yield better results.
Can I skip the gelatin?
Skipping the gelatin is not recommended for achieving stable whipped cream with regular milk. Without the stabilizer, milk simply doesn’t have enough fat or protein to trap and hold air effectively, resulting in a very thin, unstable foam that quickly deflates.
How long does whipped milk cream last?
When stored in an airtight container in the refrigerator, your whipped milk cream will generally last for 2-3 days. It may lose some of its initial volume and airiness over time, but it will still be flavorful and suitable for use.
What kind of milk is best for this?
Whole milk (full-fat) will provide the best results for this recipe, as its higher fat content contributes to a slightly richer taste and better texture. However, 2% milk can also be used successfully, though it might yield a slightly lighter consistency.
Our Top Recommended Finds
- Stand Mixer: A sturdy stand mixer with a whisk attachment makes whipping effortless and consistent, freeing up your hands for other tasks.
- Hand Mixer: A reliable hand mixer is perfect for smaller batches and offers versatility, making it a great alternative if you don’t have a stand mixer.
- Stainless Steel Mixing Bowls: These bowls chill quickly and maintain a cold temperature, which is crucial for successful whipping, especially when working with milk.
Whip Up Your Culinary Creativity Today
Now you have the knowledge and steps to create a delightful whipped topping using just milk.
This clever technique opens up a world of possibilities for your desserts, coffees, and fruit salads, proving that a little ingenuity goes a long way in the kitchen.
Don’t let a lack of heavy cream stop your culinary adventures. Try this method today and enjoy a light, airy treat that’s both resourceful and delicious!