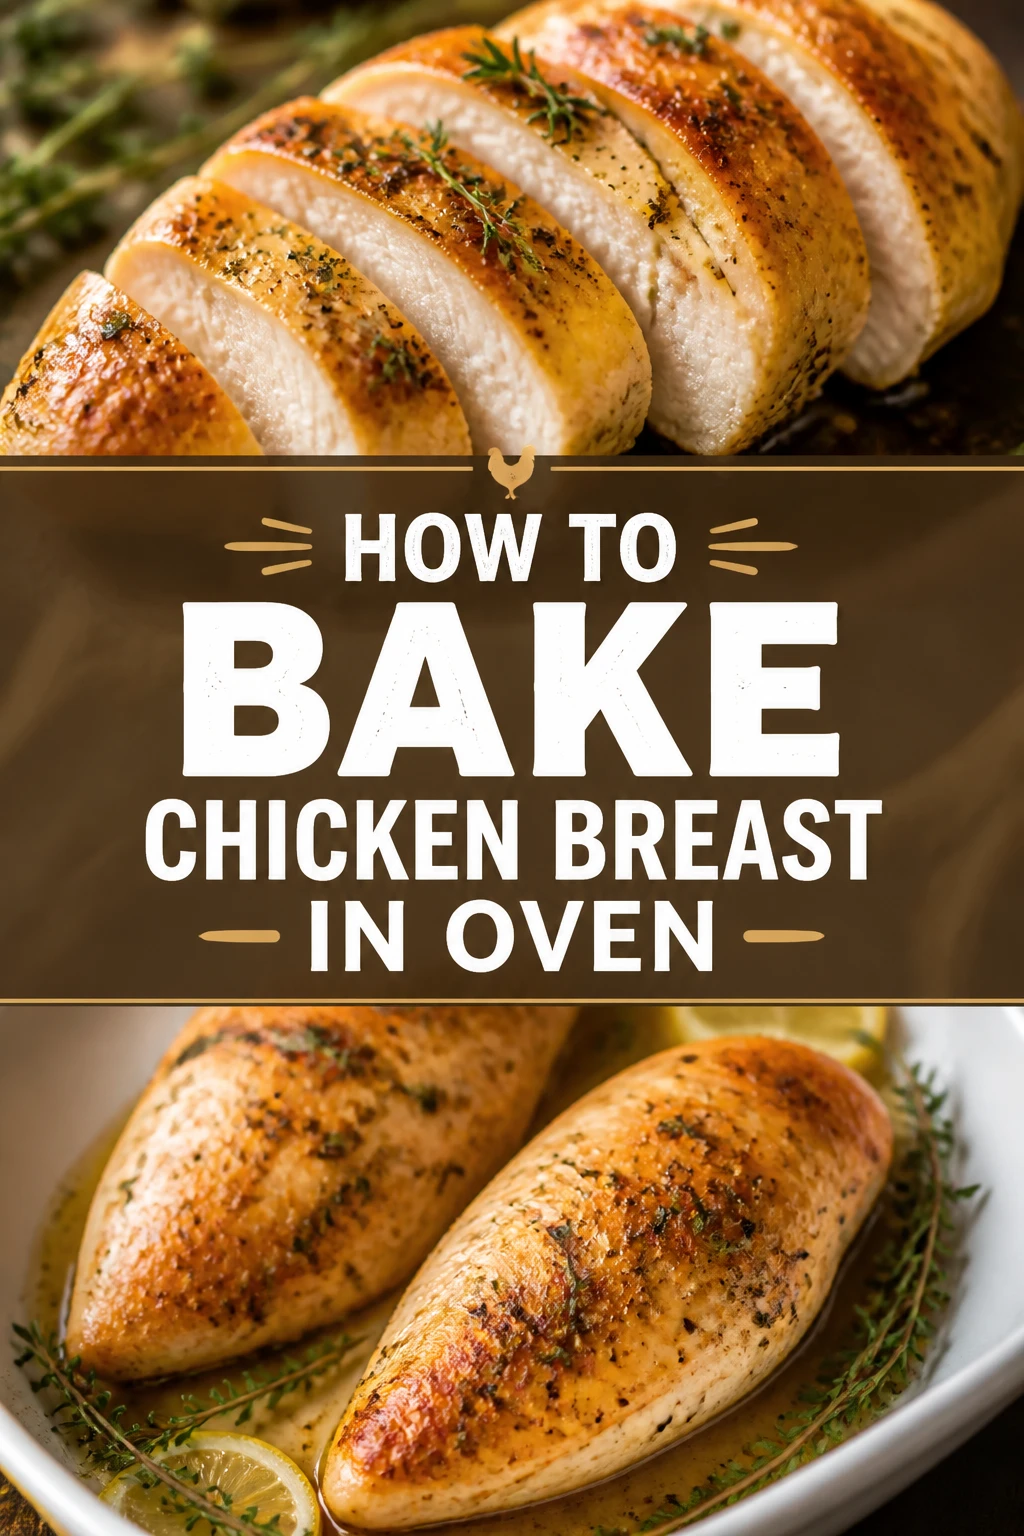
🍗 How To Bake Chicken Breast In Oven
I used to think that a dry, rubbery chicken breast was just an unavoidable part of a healthy diet.
After years of trial and error in my own kitchen, I discovered that the difference between a “cardboard” dinner and a juicy masterpiece comes down to a few simple techniques.
This guide is built on hundreds of weeknight meals and professional tips to ensure you never have to choke down a dry piece of poultry again.
Quick Overview
Baking chicken is a foundational skill that allows you to meal prep for the week or get a healthy dinner on the table in under thirty minutes.
You are going to learn how to prepare the meat, choose the right temperature, and use a few pro secrets to lock in every drop of moisture.
- Time needed: 25-30 minutes
- Difficulty: Beginner
- What you’ll need: Boneless skinless chicken breasts, olive oil, seasonings, a baking sheet, and an instant-read meat thermometer.
Step 1: Temper the Meat
Take your chicken out of the refrigerator about 15 to 20 minutes before you plan to start cooking.
If you put a freezing cold piece of meat into a hot oven, the outside will overcook before the inside can even start to warm up.
Allowing the meat to come closer to room temperature ensures that the protein fibers don’t “shock” and tighten up immediately upon hitting the heat.
Pro Tip: Never leave raw chicken out for more than 20 minutes to ensure you stay within food safety guidelines while still achieving an even cook.
This small window of time allows the internal temperature to rise just enough to facilitate a much more uniform baking process.
You will notice that the texture of the finished product is significantly more tender when you avoid the “thermal shock” of a 40-degree breast hitting a 425-degree oven.
Step 2: Pat the Chicken Dry
Use paper towels to thoroughly pat every inch of the chicken breasts until they are completely dry to the touch.
Moisture is the enemy of browning, and if the surface of the meat is wet, it will steam in the oven rather than roast.
Steamed chicken often looks grey and unappealing, whereas dry chicken allows the oil and spices to adhere properly and create a beautiful golden crust.
Make sure to flip the breasts over and dry the underside as well, as liquid tends to pool underneath the meat on the cutting board.
If you have the time, you can even leave the chicken uncovered in the fridge for an hour to let the skin air-dry, but a quick pat with a paper towel works perfectly for daily cooking.
Step 3: Level the Thickness
Place the chicken breasts between two sheets of plastic wrap or inside a large zip-top bag to prevent any splashing.
Chicken breasts are naturally uneven, with one side being very thick and the other side tapering down to a thin point.
By the time the thick part is cooked through, the thin end is usually dried out and overdone.
Pound the thickest part of the breast with a meat mallet or the bottom of a heavy skillet until the entire piece is an even thickness.
You aren’t trying to make a thin cutlet; you just want a uniform shape so that every bite finishes cooking at the exact same moment.
Pro Tip: If you don’t have a mallet, a heavy rolling pin works wonders for leveling out the meat without tearing the delicate fibers.
Step 4: Apply the Fat
Drizzle a generous amount of high-quality olive oil or avocado oil over the chicken breasts.
Fat is a conductor of heat, helping the oven’s warmth penetrate the meat more efficiently while also adding a rich mouthfeel.
The oil also acts as a “glue” that holds your seasonings in place so they don’t just fall off the meat and burn on the bottom of the pan.
Rub the oil into the meat with your hands or a brush, ensuring that the entire surface, including the sides, is well-coated.
If you want a richer flavor profile, you can use melted butter, but keep in mind that butter has a lower smoke point and may brown very quickly at high temperatures.
Step 5: Season Aggressively
Sprinkle your choice of dry rub over both sides of the chicken, holding your hand about six inches above the meat to get an even distribution.
A basic but delicious blend includes kosher salt, cracked black pepper, garlic powder, onion powder, and smoked paprika.
Do not be afraid of salt; chicken is a relatively bland protein that requires a good amount of seasoning to truly shine.
The salt also works to break down some of the proteins, which helps the meat retain more of its natural juices during the baking process.
If you prefer a specific cuisine, you can swap these for Italian seasoning, taco seasoning, or even a lemon-pepper blend.
Pro Tip: Always season the “bottom” of the breast first, then flip and season the “top” so the presentation side looks the best when it comes out of the oven.
Step 6: Choose the Right Temperature
Preheat your oven to 425°F (218°C) for the best results with standard-sized chicken breasts.
While many old recipes suggest 350°F, a higher temperature actually cooks the chicken faster, which gives the juices less time to evaporate.
High-heat roasting creates a slight sear on the outside while keeping the center tender and moist.
If your chicken breasts are exceptionally large (over 10 ounces each), you might want to drop the temp to 400°F to ensure the center cooks without burning the edges.
Always ensure your oven is fully preheated before the chicken goes in; putting meat into a cold oven is a recipe for a tough, rubbery dinner.
Step 7: Arrange on the Pan
Place the seasoned chicken on a rimmed baking sheet lined with parchment paper or aluminum foil for easy cleanup.
Make sure there is at least an inch of space between each breast so that the hot air can circulate around the meat.
If the pan is too crowded, the chicken will release its juices and begin to boil in its own liquid rather than roasting.
This air circulation is what creates that desirable roasted texture and prevents the meat from becoming soggy.
If you are cooking for a large group, use two separate baking sheets rather than trying to cram everything onto one tray.
Step 8: Use a Meat Thermometer
Bake the chicken for 15 to 22 minutes, depending on the thickness of the meat.
The only way to know for sure that your chicken is done without cutting into it and letting all the juices escape is to use a digital thermometer.
Insert the probe into the thickest part of the breast, ensuring you don’t go all the way through to the pan.
You are looking for an internal temperature of 165°F (74°C).
However, you should actually pull the chicken out of the oven when it hits 160°F, as the temperature will continue to rise while it rests.
Pro Tip: Check the temperature at the 15-minute mark so you aren’t surprised by how quickly high heat can cook the meat.
Step 9: The Mandatory Rest
Transfer the chicken to a clean plate or cutting board and tent it loosely with a piece of aluminum foil.
Wait at least 5 to 10 minutes before you even think about slicing into the meat.
During the cooking process, the heat forces the juices into the center of the breast; resting allows those juices to redistribute back to the edges.
If you cut it immediately, all that liquid will run out onto the board, leaving you with a dry piece of meat on your plate.
This is perhaps the most important step in the entire process, yet it is the one most people skip because they are hungry.
Common Mistakes to Avoid
Using a Glass Baking Dish
Glass is a poor conductor of heat compared to metal. It takes longer to heat up and longer to cool down, which can lead to uneven cooking and a lack of browning on the bottom of the chicken. Use a light-colored metal baking sheet for the most consistent results.
Relying on “Clear Juices”
Many people were taught to wait until the juices “run clear” to determine if chicken is done. This is an outdated and unreliable method because juices can appear clear even if the meat hasn’t reached a safe temperature, or they can stay pinkish in perfectly safe meat. Always trust a digital thermometer over a visual cue.
Overcrowding the Pan
When chicken breasts are touching each other on the pan, they trap steam between them. This prevents the edges from getting that roasted texture and often leads to a rubbery consistency. Give your chicken some breathing room so the dry heat of the oven can do its job properly.
Troubleshooting
The Chicken is Tough and Rubbery
This is almost always a sign of overcooking. When chicken passes that 165°F mark, the protein fibers begin to shrink and squeeze out all the moisture, resulting in a rubber-band texture. Next time, pull the meat out at 160°F and let the carry-over heat finish the job.
The Seasoning is Burnt
If your spices look black and taste bitter, your oven might be running too hot or you used a rub with a high sugar content. Dried herbs and sugar-based rubs (like BBQ) can burn at 425°F. Try using a lower temperature like 375°F for longer if you are using sweet glazes or delicate herbs.
The Chicken is Pale and Wet
If your chicken looks more like it was boiled than baked, you likely skipped the “pat dry” step or your oven wasn’t fully preheated. Make sure the surface of the meat is bone-dry before adding oil and ensure the oven is screaming hot before you slide the tray inside.
Key Takeaways
- Always pound the chicken to an even thickness to ensure the whole breast finishes cooking at the same time.
- Dry the surface of the meat with paper towels to achieve a better sear and prevent steaming.
- Bake at a higher temperature (400°F-425°F) for a shorter amount of time to lock in moisture.
- Use an instant-read thermometer to pull the meat at 160°F for perfectly juicy results.
- Never skip the 5-10 minute resting period after the chicken leaves the oven.
- Season both sides of the meat thoroughly to maximize flavor in every bite.
Frequently Asked Questions
Can I bake frozen chicken breasts?
While you can technically bake chicken from frozen, it is not recommended for the best texture. The outside will often become very tough before the inside is safely cooked through. It is much better to thaw the chicken overnight in the refrigerator for a more even and tender result.
Should I cover the chicken with foil while baking?
For standard boneless chicken breasts, you should leave them uncovered. Covering them traps steam, which prevents the meat from browning and can lead to a “boiled” texture. If you find the chicken is browning too fast, you can tent it loosely, but generally, uncovered is the way to go.
How long does baked chicken last in the fridge?
Properly stored in an airtight container, baked chicken breast will stay fresh and delicious for 3 to 4 days. This makes it an excellent option for meal prepping salads, wraps, or grain bowls for the work week. Just be sure to let it cool slightly before sealing it in a container to prevent excess moisture buildup.
Our Top Recommended Finds
- Digital Instant-Read Thermometer: This is the single most important tool in your kitchen for preventing dry chicken. It gives you an accurate reading in seconds.
- Heavy-Duty Rimmed Baking Sheet: A good aluminum pan distributes heat evenly and won’t warp in a high-temperature oven.
- Pre-cut Parchment Paper Sheets: These make cleanup a breeze and prevent the chicken from sticking to the pan without needing extra grease.
Level Up Your Dinner Game
Now that you have mastered the basic technique for a juicy baked chicken breast, the possibilities are endless.
You can start experimenting with different marinades, like a balsamic vinaigrette or a yogurt-based lemon herb dressing, to add even more depth to your meals.
Try using this perfectly cooked chicken in a fresh Caesar salad or slicing it up for some quick weeknight fajitas.
The secret is all in the preparation and the temperature, so grab your thermometer and get cooking tonight.