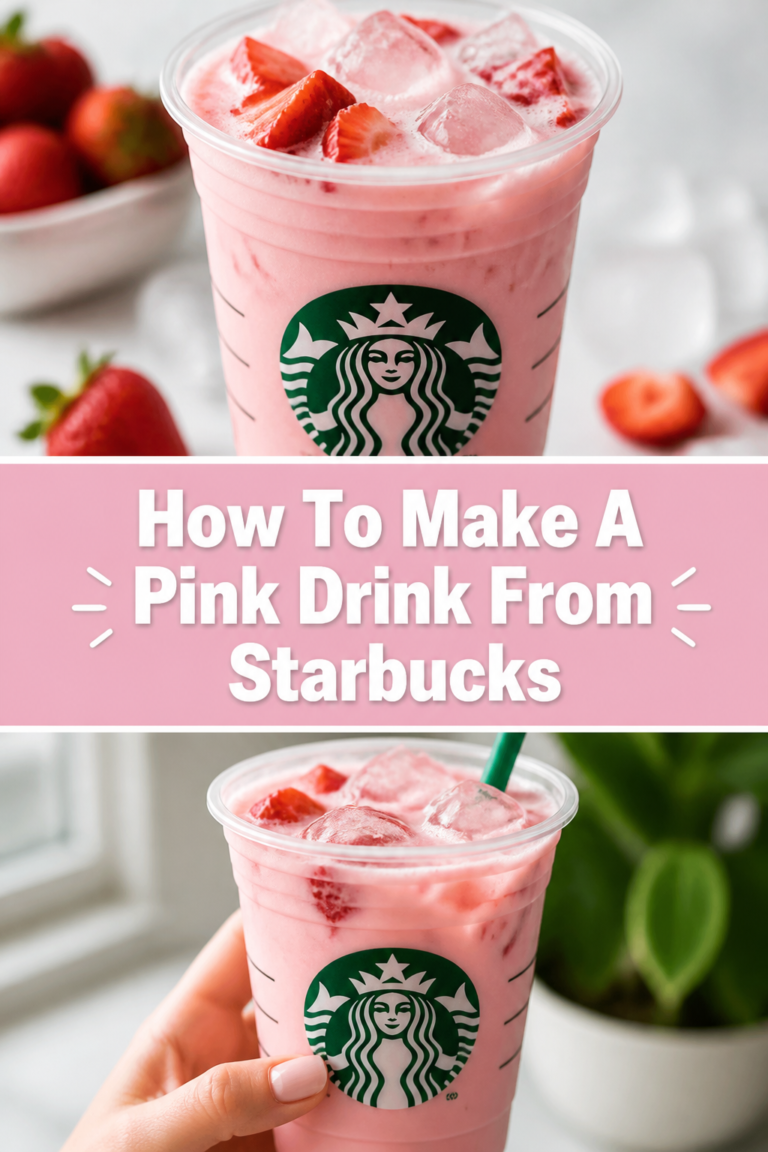
☕ How To Make A Frappuccino At Home
I spent three years working as a barista in a high-volume cafe where I blended hundreds of frozen drinks every single shift.
Most people think the secret to a great Frappuccino is a fancy machine, but it is actually all about the chemistry of your ingredients.
In this guide, I will show you exactly how to replicate that signature velvety texture using tools you already have in your kitchen.

Quick Overview
You can skip the long drive-thru lines and save a significant amount of money by mastering this technique at home.
- Time needed: 10 minutes
- Difficulty: Beginner
- What you’ll need: High-speed blender, strong coffee or espresso, milk of choice, sweetener, ice, and a thickening agent.
Step-by-Step Instructions
Step 1: Brew a Concentrated Coffee Base
Start by brewing coffee that is much stronger than what you would usually drink black.
The ice and milk will dilute the flavor significantly, so you need a punchy base to ensure the coffee taste shines through.
Use either two shots of espresso or a half-cup of double-strength cold brew concentrate for the best results.
If you are using a standard drip brewer, use twice the amount of coffee grounds for the same amount of water.
Pro Tip: Always let your coffee cool to at least room temperature before blending to prevent the ice from melting instantly.
Step 2: Select Your Milk and Creamer
Choose a milk with a higher fat content if you want a richer, more authentic mouthfeel.
Whole milk is the gold standard for blended drinks because the fat encapsulates the air bubbles created during blending.
Substitute with oat milk or coconut milk if you prefer a dairy-free version, as these have the creamy consistency needed for a frozen drink.
Avoid using skim milk or almond milk unless you are okay with a thinner, more icy texture that separates quickly.
Step 3: Add the Secret Binder
Incorporate a small amount of Xanthan gum or a thick flavored syrup to act as an emulsifier.
This is the “secret” step that prevents your drink from separating into chunks of ice and flavored water.
Measure just a quarter-teaspoon of Xanthan gum for a single serving to achieve that professional, smooth consistency.
If you don’t have Xanthan gum, using a heavy dose of chocolate or caramel sauce can help bind the ingredients together.
Pro Tip: You can find Xanthan gum in the baking aisle of most grocery stores; one bag will last you for hundreds of drinks.
Step 4: Measure Your Ice Ratio
Fill your serving glass with ice cubes and then dump those cubes into the blender to get the perfect measurement.
Using the actual cup you plan to drink from ensures you don’t end up with leftover slush or a half-empty glass.
Opt for smaller ice cubes if your blender is not particularly powerful, as this puts less strain on the motor.
Large, solid ice cubes often result in a smoother finish if you have a high-performance blender like a Vitamix or Ninja.
Step 5: Layer Your Sweeteners
Pour in your liquid sweeteners like simple syrup, maple syrup, or flavored coffee syrups at this stage.
Granulated sugar does not dissolve well in cold liquids and will leave your drink feeling gritty.
Adjust the sweetness level based on your preference, keeping in mind that cold temperatures dull our perception of sugar.
A standard 16-ounce drink usually requires about two to three tablespoons of syrup to match the sweetness of a commercial version.
Step 6: Execute the Perfect Blend
Secure the lid tightly and start the blender on its lowest speed setting to break up the large ice chunks.
Slowly increase the speed to high and blend for approximately 30 to 45 seconds.
Watch for a “vortex” to form in the center of the blender, which indicates that everything is being pulled through the blades evenly.
Stop blending the moment you no longer hear the rattling sound of ice hitting the sides of the jar.
Step 7: Decorate the Glass
Drizzle chocolate or caramel sauce along the inside walls of your glass before pouring the mixture in.
This creates those beautiful aesthetic swirls and adds a burst of flavor to every sip you take.
Pour the blended mixture slowly to keep the sauce designs intact against the glass.
Tap the bottom of the glass on the counter a few times to remove any large air pockets trapped at the bottom.
Step 8: Add the Finishing Touches
Top your creation with a generous swirl of whipped cream to lock in the cold and add a luxurious finish.
Add a final drizzle of sauce or a sprinkle of cookie crumbles or cocoa powder for a professional look.
Insert a wide-diameter straw so you can easily pull the thick, icy mixture through without struggle.
Serve immediately, as home-blended drinks tend to melt faster than those made with commercial stabilizers.
Common Mistakes to Avoid
Using Hot Coffee Directly
Pouring hot espresso or freshly brewed coffee over ice before blending is the fastest way to ruin the texture.
The heat causes the ice to melt into water immediately, resulting in a thin, watery mess rather than a slushy consistency.
Always chill your coffee in the fridge for twenty minutes or use a cocktail shaker with ice to flash-chill it before it touches the blender.
Neglecting the Emulsifier
Many people wonder why their homemade drinks separate into a layer of ice and a layer of liquid within minutes.
Commercial coffee shops use a “base syrup” that contains binders to keep the water and fats bonded together.
Skipping the Xanthan gum or a thick syrup means your drink will lose its structural integrity before you finish the first half.
Over-Blending the Mixture
Running the blender for too long generates friction heat, which will begin to melt the fine ice crystals you just created.
You want to blend just until the sound of the ice changes from a crunch to a smooth hum.
If you blend for two minutes straight, you will end up with a cold coffee soup instead of a frozen treat.
Troubleshooting
The Drink Is Too Thin or Watery
This usually happens if you used too much milk or the coffee base was still warm when you started.
Try adding another half-cup of ice and a teaspoon of instant coffee powder to thicken it up without losing flavor.
Next time, ensure your coffee is ice-cold and reduce the milk volume by an ounce or two.
The Blender Is Stuck and Not Moving
If the blades are spinning but the ice isn’t moving, you have an “air bridge” where the blades are spinning in a pocket of air.
Turn off the blender and use a long spoon to stir the ingredients and break up the air pocket.
You may need to add a splash more milk to provide enough liquid for the blades to catch the ice and create a vortex.
Key Takeaways
- Concentration is key: Use double-strength coffee or espresso to ensure the flavor isn’t lost in the ice.
- Temperature matters: Never blend with hot coffee; always chill your base first.
- Don’t skip the binder: Use Xanthan gum or a thick sauce to prevent separation and achieve a velvety texture.
- Measure with your cup: Use your actual serving glass to measure the ice for perfect portions every time.
- Use liquid sugar: Simple syrups or honey dissolve better than granulated sugar in cold blended drinks.
- Fat equals flavor: Whole milk or creamy oat milk provides the best mouthfeel for a cafe-style experience.
Frequently Asked Questions
Can I make a Frappuccino without a blender?
It is very difficult to get the correct texture without a blender, but you can make a “shaken” version.
Shake your cold coffee, milk, and syrup in a jar with crushed ice very vigorously for one minute.
It won’t be a slushy, but it will be frothy and cold, which satisfies the same craving.
How do I make a caffeine-free version?
Simply swap the coffee base for a decaffeinated espresso or a strong herbal tea like Rooibos.
You can also make a “cream-based” version by omitting the coffee entirely and adding a bit more milk and vanilla extract.
This is a great option for kids or for a late-night dessert that won’t keep you awake.
Is it possible to make this keto-friendly?
Yes, you can use unsweetened almond milk and a heavy splash of heavy cream for the base.
Substitute the sugar with a liquid monk fruit or erythritol sweetener to keep the carb count low.
Be sure to use a sugar-free Xanthan gum as your binder to maintain the thick texture without the sugar.
Our Top Recommended Finds
- High-Speed Blender: A powerful motor is essential for crushing ice into a snow-like consistency without leaving large chunks.
- Xanthan Gum Powder: This is the single most important ingredient for achieving the “commercial” texture at home.
- Torani or Monin Syrups: These professional-grade syrups provide the exact flavor profiles used in major coffee chains.
Elevate Your Home Barista Game
Now that you have mastered the classic coffee base, you can start experimenting with wild flavor combinations.
Try adding a handful of chocolate chips for a Java Chip version or a swirl of strawberry puree for a fruit-cream delight.
The beauty of making these at home is that you have total control over the ingredients and the cost.
Grab your blender and start experimenting with your first batch today to see how much better a fresh, homemade version can be.