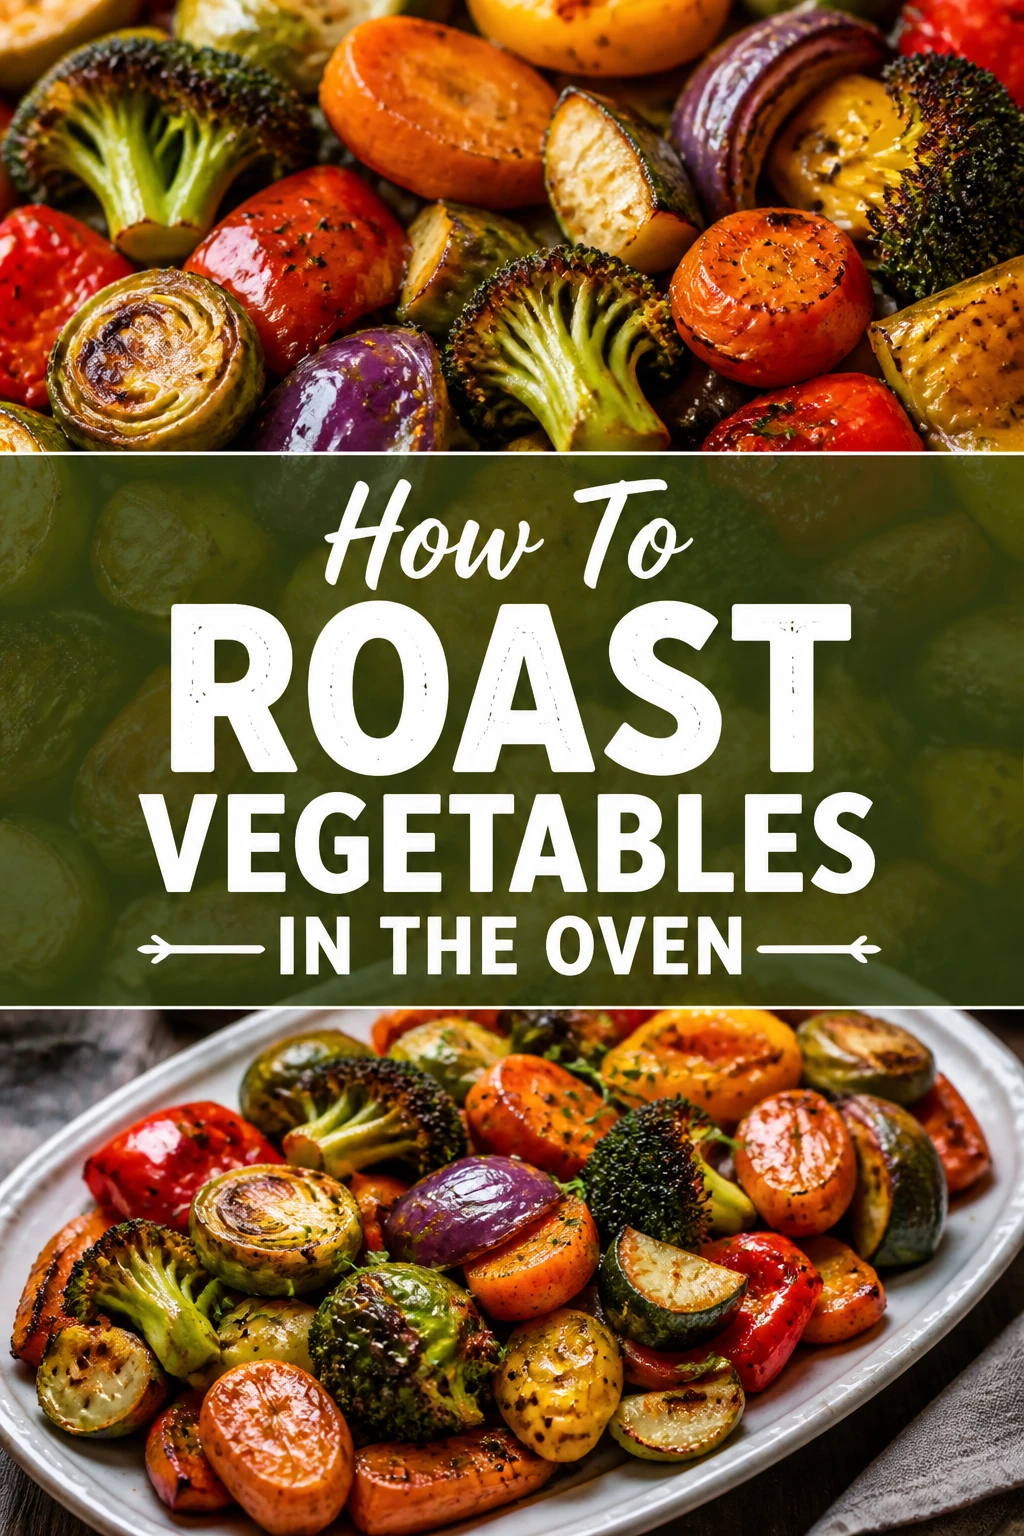
🥦 How To Roast Vegetables In The Oven
There is a specific kind of magic that happens when high heat meets a humble tray of vegetables.
After years of professional catering and thousands of sheet pans, I have learned that roasting is less of a recipe and more of a reliable formula.
This guide will show you how to transform raw produce into caramelized, crispy bites every single time.
Quick Overview
Roasting is the process of cooking food with dry heat in an oven. This method concentrates the natural sugars in vegetables, creating a deep flavor profile that boiling or steaming simply cannot match.
- Time needed: 30 to 45 minutes
- Difficulty: Beginner
- What you’ll need: A rimmed baking sheet, parchment paper, high-smoke point oil, and your choice of seasonal vegetables.
Step-by-Step Instructions
Step 1: Preheat Your Oven to the Sweet Spot
Set your oven temperature to 425°F (220°C). This high heat is the secret to achieving a browned, crispy exterior while keeping the inside tender.
Position your oven rack in the center or lower-middle spot. This ensures the bottom of the pan gets enough heat to sear the vegetables, while the top circulates hot air for even cooking.
Allow the oven to fully reach its temperature before you even think about putting the pan inside. A cold start leads to mushy, steamed vegetables rather than roasted ones.
Pro Tip: Place your empty baking sheet in the oven while it preheats. When you toss the vegetables onto the hot metal later, they will start searing immediately.
Step 2: Prepare and Dry Your Vegetables
Wash your vegetables thoroughly to remove any dirt or debris. This is especially important for root vegetables like carrots and potatoes that grow directly in the soil.
Dry every piece of produce with a clean kitchen towel or paper towels. Moisture is the enemy of a good roast because any water left on the surface will turn into steam.
Ensure the vegetables are bone-dry before you apply any oil. If they are even slightly damp, the oil will not adhere properly, and you will lose that coveted crunch.
Step 3: Chop for Uniformity and Surface Area
Cut your vegetables into pieces that are roughly the same size. This ensures that every piece on the tray finishes cooking at the exact same time.
Maximize the surface area by cutting vegetables with flat edges. For example, slicing a Brussels sprout in half or cubing a butternut squash provides more “face time” with the hot pan.
Group vegetables by density if you are cooking a variety. Harder vegetables like beets and potatoes take longer, while softer ones like bell peppers or asparagus cook quickly.
Pro Tip: If you want to roast different types of vegetables together, cut the harder ones into smaller pieces and the softer ones into larger chunks to balance the cooking time.
Step 4: Apply the Fat and Seasonings
Drizzle a high-heat oil over your vegetables in a large mixing bowl. Avoid using extra virgin olive oil for high-heat roasting as it can smoke; opt for avocado oil, grapeseed oil, or refined olive oil instead.
Toss the vegetables with your hands or a large spoon until every single piece is thinly and evenly coated. You want them to look glossy, but they should not be sitting in a pool of oil.
Sprinkle a generous amount of kosher salt and freshly cracked black pepper. Salt is essential for drawing out moisture and highlighting the natural sweetness of the produce.
Wait to add fresh herbs or delicate spices like garlic powder until the last 10 minutes of roasting. High heat can burn these ingredients, making them taste bitter if they stay in too long.
Step 5: Give the Vegetables Some Space
Spread the vegetables out on a large, rimmed baking sheet in a single layer. Lining the pan with parchment paper or a silicone mat can help with cleanup and prevent sticking.
Avoid crowding the pan at all costs. If the vegetables are touching or overlapping, they will release steam into each other, resulting in a soft, soggy texture.
Use two separate baking sheets if you have a large amount of produce. It is better to have extra dishes to wash than to ruin the texture of your meal by packing the tray too tightly.
Pro Tip: Aim for at least half an inch of space between each piece of vegetable to allow the hot air to circulate freely.
Step 6: Roast and Rotate for Even Browning
Slide the baking sheet into the oven and set a timer for 15 minutes. Most vegetables will need between 25 and 45 minutes total, depending on their density.
Flip the vegetables halfway through the cooking process using a wide spatula. This exposes the other side of the vegetables to the direct heat of the pan for maximum browning.
Rotate the pan 180 degrees when you flip the food. Most ovens have “hot spots,” and rotating the tray ensures that the pieces in the back don’t burn while the pieces in the front stay pale.
Step 7: Check for Doneness and Finish
Test the largest piece of vegetable with a fork or a paring knife. It should slide in easily with almost no resistance, indicating the inside is fully softened.
Look for deep golden-brown edges and slightly charred spots. These dark areas are where the most flavor lives, so do not be afraid of a little color.
Remove the tray from the oven and let it sit for two minutes before serving. This brief rest allows the vegetables to release from the pan naturally if they are sticking slightly.
Pro Tip: Squeeze a fresh lemon over the vegetables or drizzle a small amount of balsamic glaze immediately after they come out of the oven to brighten the heavy, roasted flavors.
Common Mistakes to Avoid
The Crowded Pan Syndrome
The most frequent error people make is trying to fit too much onto one tray. When vegetables are packed together, the moisture they release has nowhere to go, so it stays on the surface and steams the food. This results in gray, limp vegetables that lack any structural integrity or caramelized flavor.
To fix this, always use the largest baking sheet you own. If you see that the vegetables are touching, take the time to move some to a second tray or save them for another meal.
Using the Wrong Temperature
Setting the oven to 350°F is a mistake for roasting. At this lower temperature, the vegetables will cook through to the center long before the outside has a chance to brown. You will end up with a tray of soft, mushy food that looks boiled rather than roasted.
Stick to the 400°F to 425°F range. This high heat triggers the Maillard reaction, which is the chemical process that creates those delicious, savory browned flavors on the surface of the food.
The Fear of Fat
Some people try to roast vegetables without any oil or with a very tiny amount to save on calories. Without enough fat, the vegetables will dry out and become leathery rather than crispy. Oil acts as a heat conductor, helping the oven’s heat penetrate the food while protecting the surface from burning too quickly.
You generally need about one to two tablespoons of oil per pound of vegetables. Ensure every piece has a thin, shimmering coat of oil to get the best results.
Troubleshooting
Vegetables Are Burnt Outside but Raw Inside
This usually happens when the oven temperature is too high or the vegetables were cut into pieces that are too large. If the outside is darkening too quickly, lower the oven temperature by 25 degrees and cover the tray loosely with foil to let the centers finish cooking.
Next time, try cutting the vegetables into smaller, more uniform cubes. Smaller pieces have a better ratio of surface area to volume, allowing them to cook through at the same rate the exterior browns.
Vegetables Are Pale and Limp
If your vegetables look wet and haven’t developed any brown spots, your oven was likely too cool or you used too much oil. Excess oil can weigh down the vegetables and prevent them from crisping up properly.
Make sure you are preheating the oven for at least 20 minutes before cooking. You can also try moving the baking sheet to the lowest rack of the oven for the last five minutes to get more direct heat from the bottom element.
Key Takeaways
- Always preheat your oven to at least 400°F or 425°F for the best results.
- Dry your produce thoroughly after washing to prevent steaming.
- Cut for consistency so that all pieces finish cooking at the same time.
- Avoid crowding the pan to allow for proper air circulation and browning.
- Toss with enough oil to coat every surface, ensuring a crispy texture.
- Flip halfway through to achieve even caramelization on all sides.
Frequently Asked Questions
Can I roast frozen vegetables?
Yes, you can roast frozen vegetables, but do not thaw them first. Thawing makes them waterlogged and mushy. Instead, toss the frozen pieces in oil and seasonings and put them directly into a very hot oven. They may take a few extra minutes to cook, and you should use a slightly higher temperature to help evaporate the extra moisture quickly.
Which oil is best for roasting at high temperatures?
Avocado oil is widely considered the best choice because it has a very high smoke point of around 520°F. Grapeseed oil and refined olive oil are also excellent options. Avoid unrefined oils like extra virgin olive oil or butter for long roasts at 425°F, as they can burn and create an acrid flavor.
Should I use parchment paper or aluminum foil?
Parchment paper is generally better for roasting vegetables because it is naturally non-stick and doesn’t react with acidic ingredients like lemon juice or tomatoes. Foil is fine if you run out of parchment, but you will need to grease it well with oil or non-stick spray to prevent the vegetables from tearing when you try to flip them.
How do I store and reheat roasted vegetables?
Store leftovers in an airtight container in the refrigerator for up to four days. To reheat them while maintaining their texture, avoid the microwave, which will make them soggy. Instead, put them back in a 400°F oven or an air fryer for 5 to 7 minutes until they are hot and the edges have regained their crispness.
Our Top Recommended Finds
- Heavy-Duty Rimmed Baking Sheets: Look for “half-sheet” pans made of commercial-grade aluminum. They distribute heat evenly and won’t warp under high temperatures.
- Pre-cut Parchment Paper Sheets: These lie flat on your pan immediately and save you the frustration of trying to unroll a curly sheet of paper while handling hot trays.
- High-Quality Flaky Sea Salt: Finishing your roasted vegetables with a pinch of flaky salt adds a delightful crunch and a burst of flavor that table salt cannot provide.
Elevate Your Next Meal With Roasted Perfection
Now that you have mastered the fundamental technique, the possibilities for your dinner table are endless.
You can use these roasted gems as a side dish, toss them into a hearty grain bowl, or blend them into a silky soup.
Grab your favorite seasonal vegetable today and put these steps into practice to see the difference high-heat roasting makes.