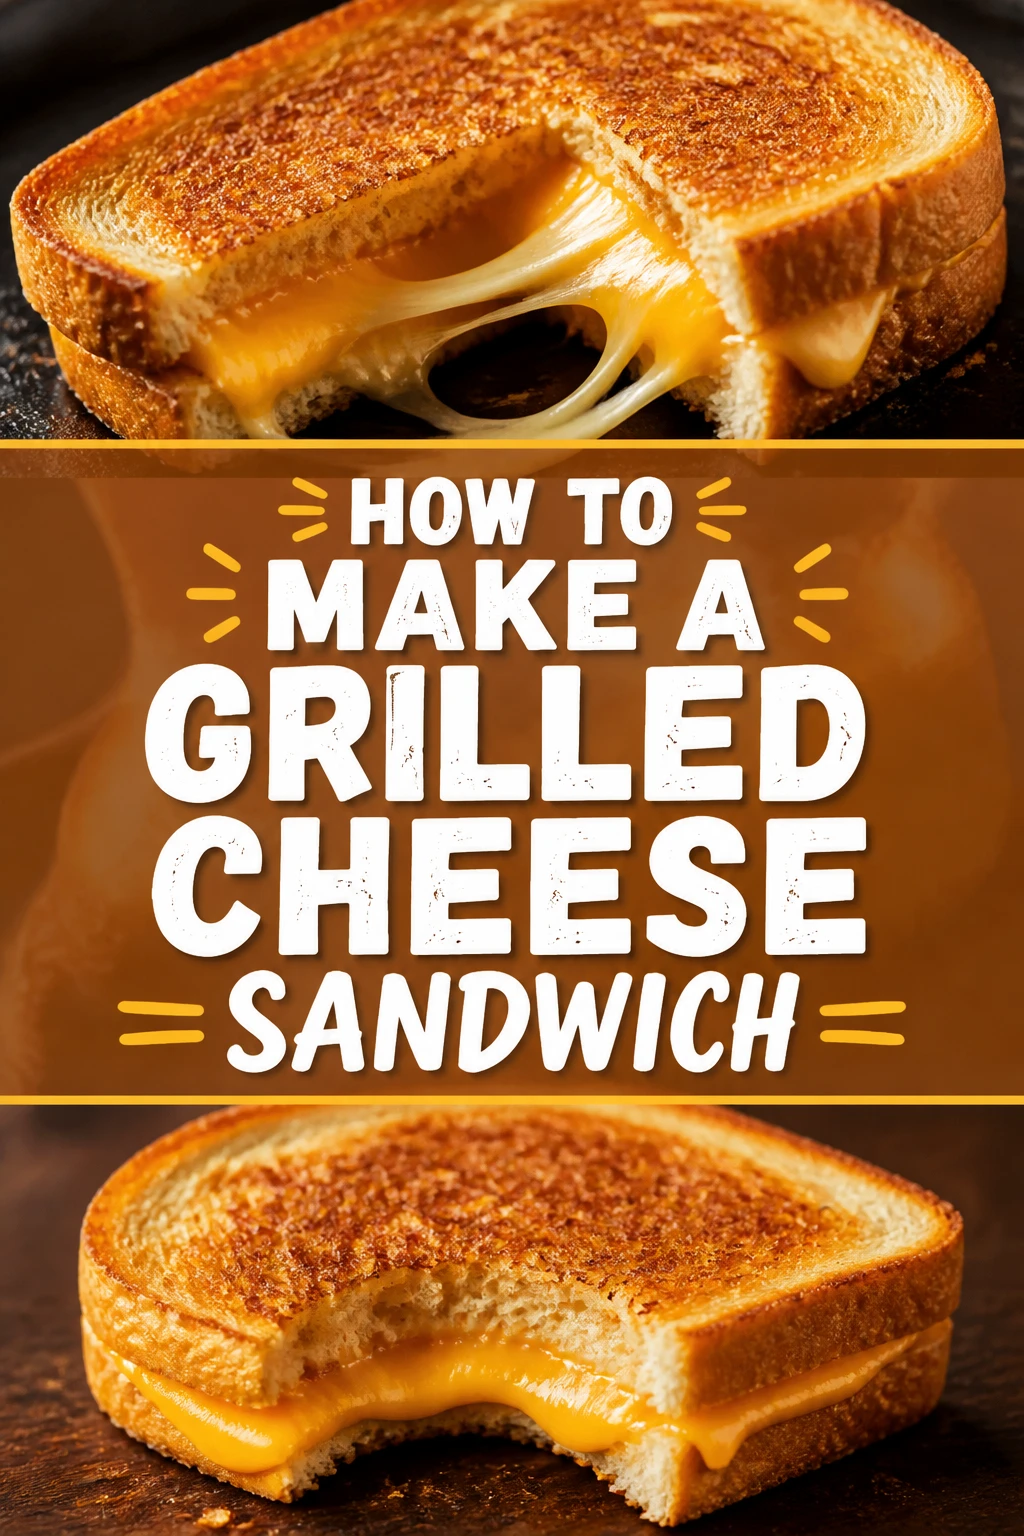
🧀 How To Make A Grilled Cheese Sandwich
There’s a special kind of magic in a perfectly made grilled cheese sandwich.
It’s a simple pleasure, a comfort food that brings warmth and a smile with every golden, crispy bite.
I’ve personally crafted countless grilled cheese masterpieces over the years, from quick weeknight meals to gourmet creations, and I’m excited to share the foolproof method that consistently delivers perfection.
Quick Overview
This guide will equip you to create a grilled cheese sandwich that’s crispy on the outside, gooey on the inside, and utterly delicious. You’ll master the art of even browning and perfect cheese melt.
- Time needed: 10-15 minutes
- Difficulty: Beginner
- What you’ll need: Bread, cheese, butter or mayonnaise, a non-stick pan or griddle.
Step-by-Step Instructions
Step 1: Gather Your Ingredients and Tools
Before you begin, ensure everything is within easy reach. This makes the cooking process smooth and enjoyable.
Select your preferred bread, cheese, and fat (butter or mayonnaise).
Grab a good non-stick pan or griddle, a spatula, and a plate for serving.
Pro Tip: Using room temperature butter or mayonnaise spreads much more easily and evenly across the bread. This prevents tearing and ensures consistent browning.
Step 2: Choose Your Bread Wisely
The foundation of any great grilled cheese is the bread. Your choice significantly impacts the final texture and taste.
Opt for a sturdy, medium-thick sliced bread that can hold up to grilling without becoming too soggy or falling apart.
White sandwich bread is a classic for its soft crumb and neutral flavor, but sourdough, challah, or brioche also make fantastic choices.
Step 3: Select Your Cheese for Optimal Melt
The cheese is the star of the show, providing that irresistible gooey center. A good melt is crucial.
Choose cheeses known for their excellent melting properties, such as American, cheddar, Monterey Jack, Gruyere, or a blend.
Using a combination of cheeses can add depth of flavor; for instance, sharp cheddar for tang and Monterey Jack for extra stretch.
Slice your cheese evenly, or use pre-sliced cheese for convenience.
Step 4: Prepare the Bread with Your Chosen Fat
This step is critical for achieving that beautiful golden-brown crust. The fat helps conduct heat and adds flavor.
Spread an even, thin layer of butter or mayonnaise on one side of each slice of bread.
Butter offers a rich, classic flavor, while mayonnaise provides an incredibly crispy, golden crust and a slightly tangy taste without tasting like mayo.
Ensure the fat covers the entire surface of the bread, especially to the edges, to prevent dry spots.
Pro Tip: Mayonnaise on the outside of the bread creates an exceptionally crispy and uniformly golden crust, often superior to butter in terms of crispness. Give it a try if you haven’t!
Step 5: Assemble Your Sandwich
Now it’s time to bring the components together. Thoughtful assembly ensures even melting and structural integrity.
Place one slice of bread, fat-side down, into your cold or very lightly heated pan.
Arrange your cheese slices evenly over the bread, making sure they cover the surface without hanging too far over the edges, which could lead to burning.
Top with the second slice of bread, fat-side up.
Step 6: Heat the Pan and Begin Grilling
Patience is key here; low and slow heat is the secret to perfection. Rushing this step leads to burnt exteriors and cold interiors.
Place your assembled sandwich into a cold or barely warm non-stick pan.
Turn the heat to medium-low. This allows the bread to toast slowly and the cheese to melt gradually.
Cook for 3-5 minutes on the first side, or until the bread is golden brown and crispy.
Pro Tip: Covering the pan with a lid for a minute or two during the cooking process creates a steamy environment that helps the cheese melt more quickly and evenly, especially if you’re using thicker cheese slices.
Step 7: Flip and Finish Grilling
The moment of truth for the first side. A successful flip leads to a perfectly cooked sandwich.
Carefully slide your spatula under the sandwich and gently flip it over to the second side.
Continue cooking for another 3-5 minutes, or until the second side is also golden brown and the cheese inside is completely melted and gooey.
Adjust the heat as needed to prevent burning, keeping it at a consistent medium-low.
Step 8: Serve Immediately
A grilled cheese sandwich is best enjoyed fresh off the pan. The textures and temperatures are at their peak.
Remove the sandwich from the pan and place it on a cutting board.
Slice it diagonally, a classic presentation that reveals the gooey cheese pull.
Serve with a side of tomato soup for the ultimate comfort food experience, or enjoy it on its own.
Common Mistakes to Avoid
Too High Heat
Many people make the mistake of cranking up the heat, thinking it will speed up the process. High heat causes the bread to burn quickly on the outside while leaving the cheese inside cold and unmelted. This results in an unpleasant contrast of textures.
Always start with a cold or barely warm pan and keep the heat at a consistent medium-low. This allows the heat to penetrate slowly, ensuring the bread toasts perfectly and the cheese has ample time to become wonderfully gooey.
Not Enough Fat on the Bread
Skimping on butter or mayonnaise is another common pitfall. An insufficient layer of fat leads to dry, unevenly toasted bread that lacks that signature crispy, golden crust. It can also cause the bread to stick to the pan.
Ensure you apply an even, thin layer of your chosen fat across the entire surface of the bread that will touch the pan. This provides consistent browning, prevents sticking, and adds delicious flavor and crispness.
Using the Wrong Type of Cheese
While any cheese can be put in a sandwich, not all cheeses are ideal for grilling. Hard, aged cheeses like Parmesan or crumbly cheeses like feta don’t melt smoothly or create that desirable gooey stretch. This can lead to a dry or lumpy interior.
Stick to cheeses known for their excellent melting properties, such as American, cheddar, Monterey Jack, Gruyere, or Fontina. These cheeses soften beautifully and create a creamy, satisfying interior texture.
Overcrowding the Pan
Trying to cook too many sandwiches at once in a small pan can lead to uneven cooking. The pan’s temperature drops, and steam can build up, preventing the bread from crisping properly. This results in soggy, poorly toasted sandwiches.
Cook one or two sandwiches at a time, depending on your pan size, ensuring there’s enough space around each for even heat distribution. This allows the bread to toast evenly and achieve maximum crispness.
Troubleshooting
Burnt Outside, Cold Inside
This is a classic sign that your pan was too hot when you started cooking, or the heat was too high throughout the process. The outside of the bread quickly scorched before the internal heat could reach and melt the cheese.
To fix this, always start with a cold or barely warm pan, then set your stove to medium-low heat. Cook slowly and patiently. Covering the pan with a lid for a minute or two can also help trap heat and melt the cheese more efficiently without burning the bread.
Soggy or Limp Bread
Soggy bread usually happens for a few reasons. Either not enough fat was applied to the bread, or too much steam built up in the pan, or the pan wasn’t hot enough to begin with, causing the bread to absorb moisture rather than crisp up.
Ensure you spread an even, thin layer of butter or mayonnaise from edge to edge on the outside of your bread. Use a non-stick pan and avoid overcrowding. If using a lid, only keep it on long enough to help the cheese melt, then remove it to allow steam to escape and the bread to crisp.
Cheese Not Melting Properly
If your cheese isn’t melting, it’s likely due to insufficient heat, too short cooking time, or using a cheese that doesn’t melt well. You might end up with a warm sandwich, but solid, unyielding cheese in the middle.
First, ensure you’re using a good melting cheese. Then, confirm your heat is truly at medium-low and you’re cooking for the recommended 3-5 minutes per side. If needed, cover the pan briefly with a lid to trap heat and encourage a better melt. You can also use thinner slices of cheese.
Key Takeaways
- Always use medium-low heat for slow, even cooking.
- Apply a generous, even layer of butter or mayonnaise to the outside of the bread for crispness.
- Choose cheeses known for their excellent melting qualities.
- Patience is essential; don’t rush the grilling process.
- Serving immediately ensures the best texture and temperature.
- A cold pan start prevents immediate burning and allows for gradual heating.
Frequently Asked Questions
What’s the best cheese for grilled cheese?
The “best” cheese is subjective, but for optimal melt and flavor, American, sharp cheddar, Monterey Jack, and Gruyere are top contenders. A blend of two or three cheeses often yields the most complex and satisfying results.
Should I use butter or mayonnaise on the outside of the bread?
Both work wonderfully, offering slightly different results. Butter provides a classic rich, savory flavor. Mayonnaise, however, often creates an even crispier, more uniformly golden-brown crust without imparting a strong mayo flavor to the final product.
What kind of bread works best?
A sturdy, medium-thick sliced bread is ideal. Classic white sandwich bread is a great choice, but sourdough offers a tangy note, challah provides richness, and brioche gives a slightly sweet, decadent touch. Avoid very thin or overly crumbly breads.
Can I add anything else to my grilled cheese?
Absolutely! Thin slices of ham or turkey, caramelized onions, a slice of tomato, or a spread of pesto can elevate your sandwich. Ensure any additions are thin enough to heat through without preventing the cheese from melting properly.
Our Top Recommended Finds
- High-Quality Non-Stick Pan: Essential for easy flipping and preventing sticking, ensuring a perfect crust every time.
- Sturdy Metal Spatula: A thin, wide spatula makes it easy to get under the sandwich for a clean flip without damaging the bread.
- Serrated Bread Knife: For perfectly slicing your bread, especially if you’re using a fresh loaf, ensuring even thickness.
Your Golden Opportunity Awaits
You now possess the knowledge and the step-by-step guide to craft a truly exceptional grilled cheese sandwich. This isn’t just about cooking; it’s about creating a moment of pure comfort and satisfaction.
Don’t let these tips sit idle. Gather your ingredients, choose your favorite cheese, and head to the kitchen.
Your perfect grilled cheese is just minutes away, ready to be enjoyed. Why not make one right now?