🧁 How To Make Icing For Cinnamon Rolls
There is nothing quite like the aroma of fresh cinnamon rolls wafting through your home on a slow morning.
I have spent years perfecting the art of the swirl, and I can tell you that the icing is what truly defines the experience.
You can trust this guide because I have tested every variable, from butter temperature to sugar ratios, to ensure you get a bakery-quality finish every single time.

Quick Overview
This guide will show you how to create a rich, velvety icing that balances sweetness with a hint of tang.
- Time needed: 10 minutes
- Difficulty: Beginner
- What you’ll need: Softened butter, powdered sugar, vanilla extract, heavy cream or milk, and optional cream cheese.
Step 1: Choose Your Texture Profile
Decide whether you want a thin glaze or a thick, spreadable cream cheese frosting before you begin.
A classic glaze is made primarily with powdered sugar and milk, resulting in a translucent finish that seeps into the rolls.
A cream cheese icing is much richer and sits on top of the roll like a decadent cloud of flavor.
If you prefer a lighter sweetness, the glaze is your best bet for a traditional breakfast feel.
For those who want a dessert-heavy cinnamon roll, the cream cheese version is the gold standard in professional bakeries.
Pro Tip: If you are making these for a crowd, a cream cheese base is more stable and holds its shape better at room temperature.
Step 2: Soften Your Base Ingredients
Bring your butter and cream cheese to room temperature at least two hours before you plan to mix your icing.
Attempting to cream cold butter results in small, stubborn lumps that no amount of whisking can fully remove.
The fats should be soft enough that your finger leaves a clean indentation without meeting any resistance.
Do not melt the butter in the microwave, as this changes the molecular structure and prevents the icing from becoming fluffy.
If you are in a rush, cut the butter into small cubes and let them sit near the warm oven for fifteen minutes.
This increased surface area allows the fat to soften evenly and quickly without turning into a liquid mess.
Step 3: Sift The Powdered Sugar
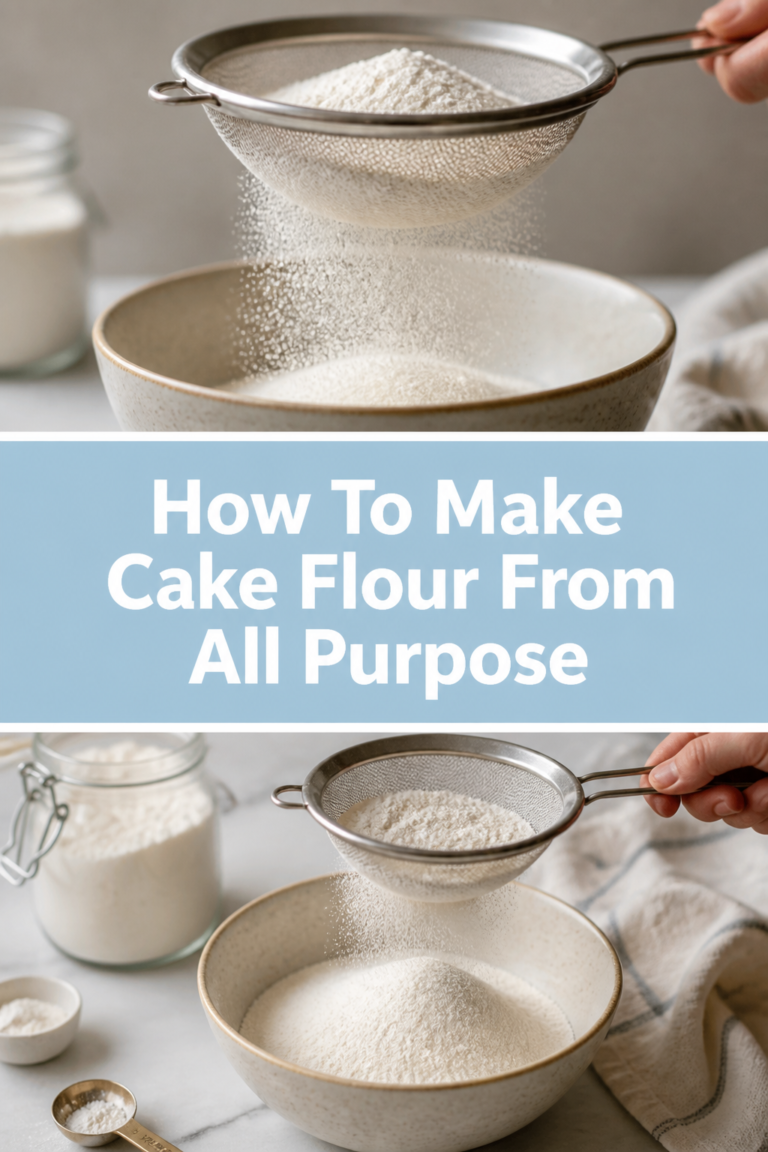
Pass your confectioners’ sugar through a fine-mesh sieve into a large mixing bowl to eliminate clumps.
Powdered sugar is notorious for holding onto moisture and forming hard beads that ruin the smooth texture of your icing.
Sifting also aerates the sugar, which contributes to a lighter and more voluminous final product.
Even if the sugar looks smooth in the bag, the pressure of storage often creates invisible clusters.
This step might seem tedious, but it is the secret difference between a homemade-looking glaze and a professional finish.
You will notice that the sifted sugar behaves much better when it comes time to incorporate the liquid elements.
Step 4: Cream The Fats And Sugar
Combine the softened butter and cream cheese in a bowl and beat them together until they are completely homogenous.
Slowly add the sifted powdered sugar in small batches rather than dumping it all in at once.
This prevents a “sugar cloud” from erupting out of your bowl and ensures every grain of sugar is coated in fat.
Use a hand mixer on medium speed or a sturdy whisk if you want a bit of an arm workout.
Continue mixing until the color lightens from a yellow tint to a pale, creamy off-white.
This process builds the structural foundation of the icing, allowing it to hold its shape once applied to the warm rolls.
Pro Tip: Scrape the sides of the bowl frequently with a rubber spatula to ensure no unmixed pockets of butter remain.
Step 5: Incorporate Flavor And Salt
Add a high-quality vanilla extract and a tiny pinch of fine sea salt to the mixture.
Vanilla acts as a flavor enhancer that bridges the gap between the spicy cinnamon and the sweet sugar.
If you want a truly gourmet look, use vanilla bean paste to see those beautiful black flecks throughout the icing.
The salt is an essential ingredient that most people overlook, but it is vital for cutting through the intense sugar content.
Without salt, the icing can feel “cloying” or overly sugary on the palate.
A small amount of salt balances the flavors and makes the cream cheese tang stand out more prominently.
Step 6: Adjust Consistency With Liquid
Pour in your heavy cream or milk one tablespoon at a time while continuing to whisk the mixture.
Heavy cream will result in a much richer, fluffier icing that mimics the texture of a high-end donut shop.
Milk creates a thinner, more traditional glaze that is easier to drizzle over large batches of rolls.
Stop adding liquid the moment the icing reaches a “ribbon” stage, where it falls off the whisk and holds its shape for a few seconds.
If you want a pourable glaze, continue adding liquid until it flows easily but still coats the back of a spoon.
Remember that the heat from the rolls will naturally thin the icing further once it is applied.
Step 7: Time The Application Perfectly
Wait about five to ten minutes after the cinnamon rolls come out of the oven before you start icing them.
If you apply the icing immediately, the intense heat will cause the fats to melt and the icing will disappear into the dough.
While some people love this “soaked” style, it often leaves the tops of the rolls looking bare and dry.
If you wait until the rolls are completely cold, the icing will sit on top like a hard shell and won’t bond with the pastry.
The sweet spot is when the rolls are still very warm to the touch but no longer piping hot.
This allows the bottom layer of icing to melt slightly into the crevices while the top layer stays thick and creamy.
Pro Tip: Reserve a small amount of icing to apply a second “touch-up” layer just before serving for a beautiful presentation.
Common Mistakes to Avoid
Using Cold Ingredients
When you try to mix cold cream cheese or butter with sugar, the fat will break into tiny beads rather than becoming a smooth paste. This creates a gritty texture that is unpleasant to eat and visually unappealing. Always plan ahead and ensure your ingredients are soft enough to spread like room-temperature peanut butter.
Over-Mixing the Liquid
Adding too much milk or cream too quickly is the fastest way to ruin a batch of icing. Once the icing becomes too thin, you have to add significantly more powdered sugar to fix it, which can make the flavor too sweet. Always use a measured spoon and add liquid incrementally to maintain total control over the viscosity.
Ignoring the Sieve
Many home bakers assume that whisking will break up any lumps in the powdered sugar. In reality, those lumps are often compressed sugar that requires physical force to break down. Sifting is a non-negotiable step if you want your cinnamon rolls to look like they came from a professional kitchen.
Troubleshooting
The Icing Is Too Runny
If your icing is sliding off the rolls and pooling at the bottom of the pan, it needs more structure. Add more sifted powdered sugar, one tablespoon at a time, until the thickness returns. You can also try chilling the icing in the refrigerator for ten minutes to firm up the butter before trying again.
The Icing Is Too Gritty
Grittiness usually means the sugar hasn’t fully dissolved or you skipped the sifting process. To fix this, you can try adding a tiny splash of warm (not hot) milk and whisking vigorously. The warmth helps the sugar crystals break down and integrate into the fat more smoothly.
The Flavor Is Too Sweet
If the icing tastes like pure sugar, you need to introduce acidity or salt to balance the profile. Add an extra half-teaspoon of lemon juice or a bit more cream cheese to the mix. The acid in the lemon or the tang of the cheese will neutralize the sugar and create a more complex flavor profile.
Key Takeaways
- Temperature control: Always use room-temperature butter and cream cheese for a smooth finish.
- Sifting matters: Never skip sifting your powdered sugar if you want to avoid lumpy icing.
- Salt is essential: Use a pinch of salt to balance the sweetness and enhance the vanilla.
- Wait for the rolls: Let your rolls cool for 5-10 minutes so the icing doesn’t melt away completely.
- Incremental liquid: Add milk or cream one tablespoon at a time to reach the perfect consistency.
- Quality vanilla: Use the best vanilla extract or paste you can find for a premium flavor.
Frequently Asked Questions
Can I make this icing in advance?
Yes, you can make the icing up to three days in advance and store it in an airtight container in the refrigerator. Before using it, let it sit on the counter for an hour to soften, then give it a quick whisk to restore the fluffy texture. You may need to add a teaspoon of milk to loosen it back up after it has been chilled.
What is the difference between icing and frosting?
In the world of cinnamon rolls, icing is usually thinner and more glaze-like, while frosting is thick, fluffy, and spreadable. This recipe can function as both depending on how much liquid you choose to add. Most people prefer a hybrid that is thick enough to hold its shape but soft enough to melt slightly into the warm cinnamon spirals.
Can I use a different liquid besides milk?
Absolutely, and this is a great way to experiment with different flavors. You can use heavy cream for a richer taste, coffee for a mocha-inspired roll, or even orange juice for a bright, citrusy twist. Just ensure the liquid is at room temperature so it doesn’t cause the butter in the icing to seize up.
How do I store rolls that have already been iced?
Cinnamon rolls with cream cheese icing should be stored in the refrigerator because of the dairy content. To reheat them, place a roll in the microwave for 15-20 seconds to soften the dough and melt the icing slightly. If you used a simple sugar and milk glaze, they can stay at room temperature in an airtight container for up to two days.
Our Top Recommended Finds
- Offset Spatula: This tool is perfect for spreading icing evenly over the tops of the rolls without making a mess of the edges.
- Fine-Mesh Stainless Steel Sieve: A high-quality sieve ensures your powdered sugar is perfectly aerated and free of any stubborn lumps.
- Vanilla Bean Paste: This provides a much deeper flavor than standard extract and adds beautiful visual speckles to your icing.
Take Your Baking To The Next Level
Now that you have mastered the perfect icing, you are ready to transform your morning routine into a gourmet experience.
The beauty of this recipe is its versatility, allowing you to tweak the thickness and flavor to match your personal preference.
Try experimenting with a dash of maple syrup or some grated orange zest in your next batch to keep things exciting.
Gather your ingredients and start mixing today, because your freshly baked rolls deserve nothing less than the best finish.