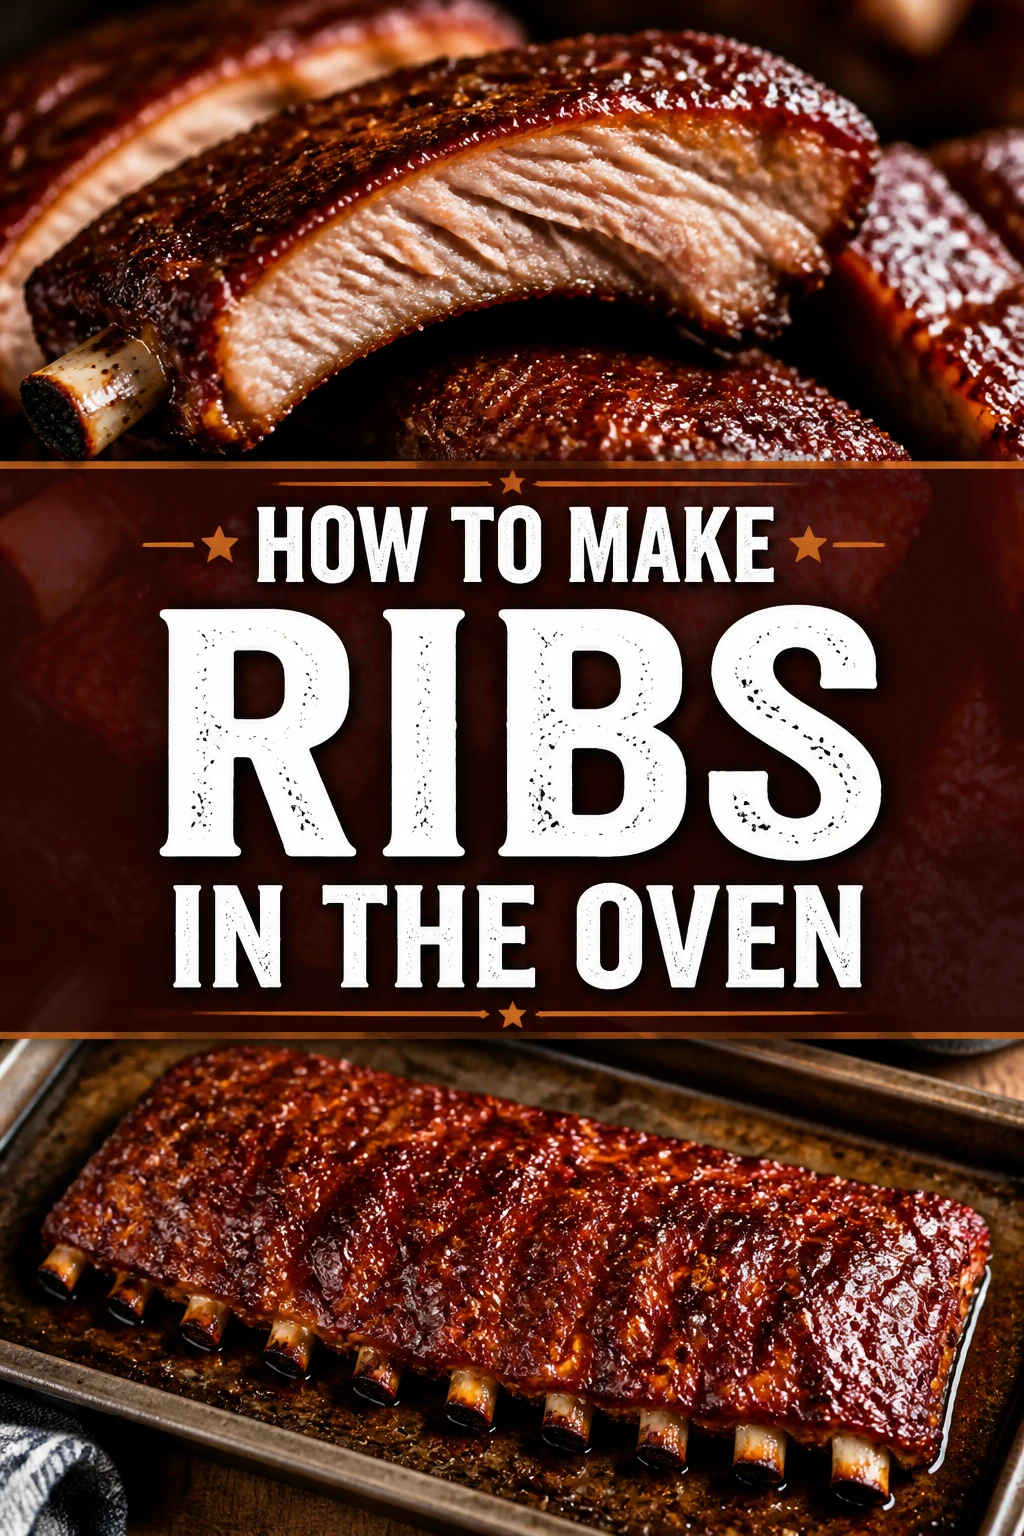
🍖 How To Make Ribs In The Oven
Making delicious, fall-off-the-bone ribs at home might seem like a daunting task, usually reserved for pitmasters with fancy smokers.
But I’m here to tell you that your oven is a secret weapon, capable of producing incredibly tender and flavorful ribs every time.
I’ve personally perfected this method over countless family dinners, consistently impressing guests with juicy results that taste like they spent all day on the grill.
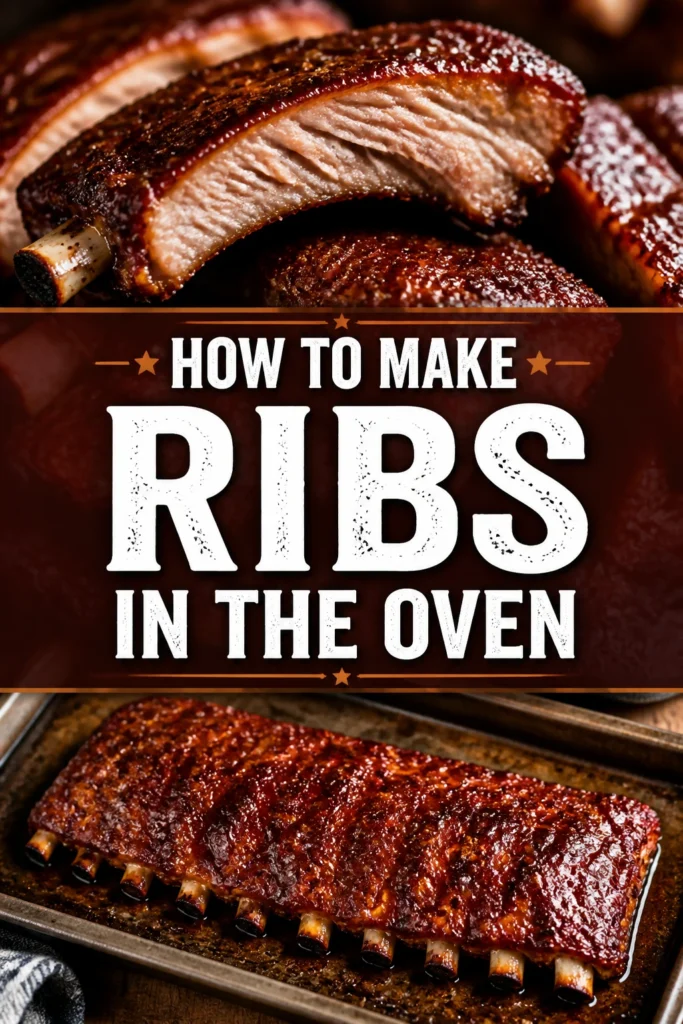
Quick Overview
You’re about to master the art of oven-baked ribs, transforming a rack of meat into a succulent, saucy masterpiece. This guide breaks down every step, ensuring a perfect outcome.
- Time needed: Approximately 3-4 hours (including prep, cooking, and resting).
- Difficulty: Beginner.
- What you’ll need: Ribs, dry rub ingredients, BBQ sauce, aluminum foil, a baking sheet, and a wire rack.
Step-by-Step Instructions
Step 1: Prepare Your Ribs for Perfection
Start with a good rack of ribs; both baby back and spare ribs work beautifully for this method. Remove them from their packaging and pat them thoroughly dry with paper towels. This helps any seasonings or rub adhere better to the meat’s surface.
The most crucial preparation step is removing the thin membrane from the bone side of the ribs. This silvery film, called the pleura, becomes tough and rubbery when cooked. It also prevents your delicious dry rub from penetrating the meat.
To remove it, slide a small, dull knife or the handle of a spoon under the membrane at one end, usually a corner. Gently lift it away from the bone until you can get a good grip.
Grip the freed edge with a paper towel or a clean cloth for a better hold, as it can be slippery. Then, pull it firmly and steadily across the rack until it comes completely off in one piece.
Pro Tip: If the membrane tears, just find another starting point and continue pulling. Don’t skip this step; it makes a huge difference in the final texture and tenderness of your ribs. Some butchers remove it for you, so always check first.
Next, trim any excess, loose fat from the meatier side of the ribs. A little fat is good for flavor and moisture, rendering down to keep the meat juicy. However, large chunks can become greasy and unappetizing.
Aim for an even layer of meat and fat across the entire rack. This ensures consistent cooking and a better eating experience.
Step 2: Craft and Apply Your Flavorful Dry Rub
A great dry rub builds the foundational layer of flavor for your ribs. You can certainly use your favorite store-bought blend, but making your own is surprisingly simple and incredibly rewarding, allowing you to customize the taste.
A classic homemade rub often includes a balance of sweet, savory, and spicy notes. Ingredients like brown sugar, paprika, garlic powder, onion powder, salt, black pepper, and a touch of cayenne for a gentle kick are common.
Mix all your chosen spices thoroughly in a small bowl until they are completely combined. Ensure there are no clumps, especially with brown sugar, for even application.
Generously sprinkle the rub over both sides of the prepared ribs. Don’t be shy with the application; you want a good, even coating that covers every inch of meat.
Gently massage the rub into the meat, ensuring it adheres well to every crevice and surface. This not only helps the flavors meld but also creates a beautiful crust during cooking.
For deeper flavor, you can refrigerate the rubbed ribs for at least 30 minutes, or even overnight. This allows the spices to penetrate the meat.
Step 3: The Low and Slow Bake
Preheat your oven to a consistent 275°F (135°C). This low temperature is key to achieving incredibly tender, fall-off-the-bone ribs without drying them out. It slowly breaks down tough connective tissues.
Place the seasoned ribs, bone-side down, on a large sheet of heavy-duty aluminum foil. You’ll need enough foil to create a completely tight seal around the entire rack.
Wrap the ribs tightly in the foil, ensuring no steam can escape during the long cooking process. This creates a moist, steamy environment, effectively braising the ribs in their own juices and rendering fat.
A double layer of heavy-duty foil is often a good idea to prevent any potential tears and to ensure a perfect seal. Place the foil-wrapped ribs on a sturdy baking sheet; this catches any accidental drips and makes transferring them safer.
Bake for 2.5 to 3 hours for baby back ribs, or 3 to 3.5 hours for spare ribs, depending on their size and thickness. The goal during this stage is to tenderize the meat slowly and thoroughly.
The meat should pull back from the bones, and the ribs will feel very pliable when gently squeezed through the foil. This indicates they are becoming wonderfully tender.
Step 4: Introduce the BBQ Sauce
Once the initial, low-and-slow baking time is complete, carefully remove the ribs from the oven. Set them on a heat-safe surface.
Be extremely cautious when you open the foil; a burst of very hot steam will escape. Gently uncover the ribs, carefully peeling back the top layer of foil.
You’ll immediately notice the meat has significantly shrunk back from the bones, exposing more of the bone tips. This is a clear sign of tenderness.
Now is the perfect time to generously brush your favorite BBQ sauce over the top, meatier side of the ribs. Apply a good, even layer, making sure to cover all the exposed meat.
You can also