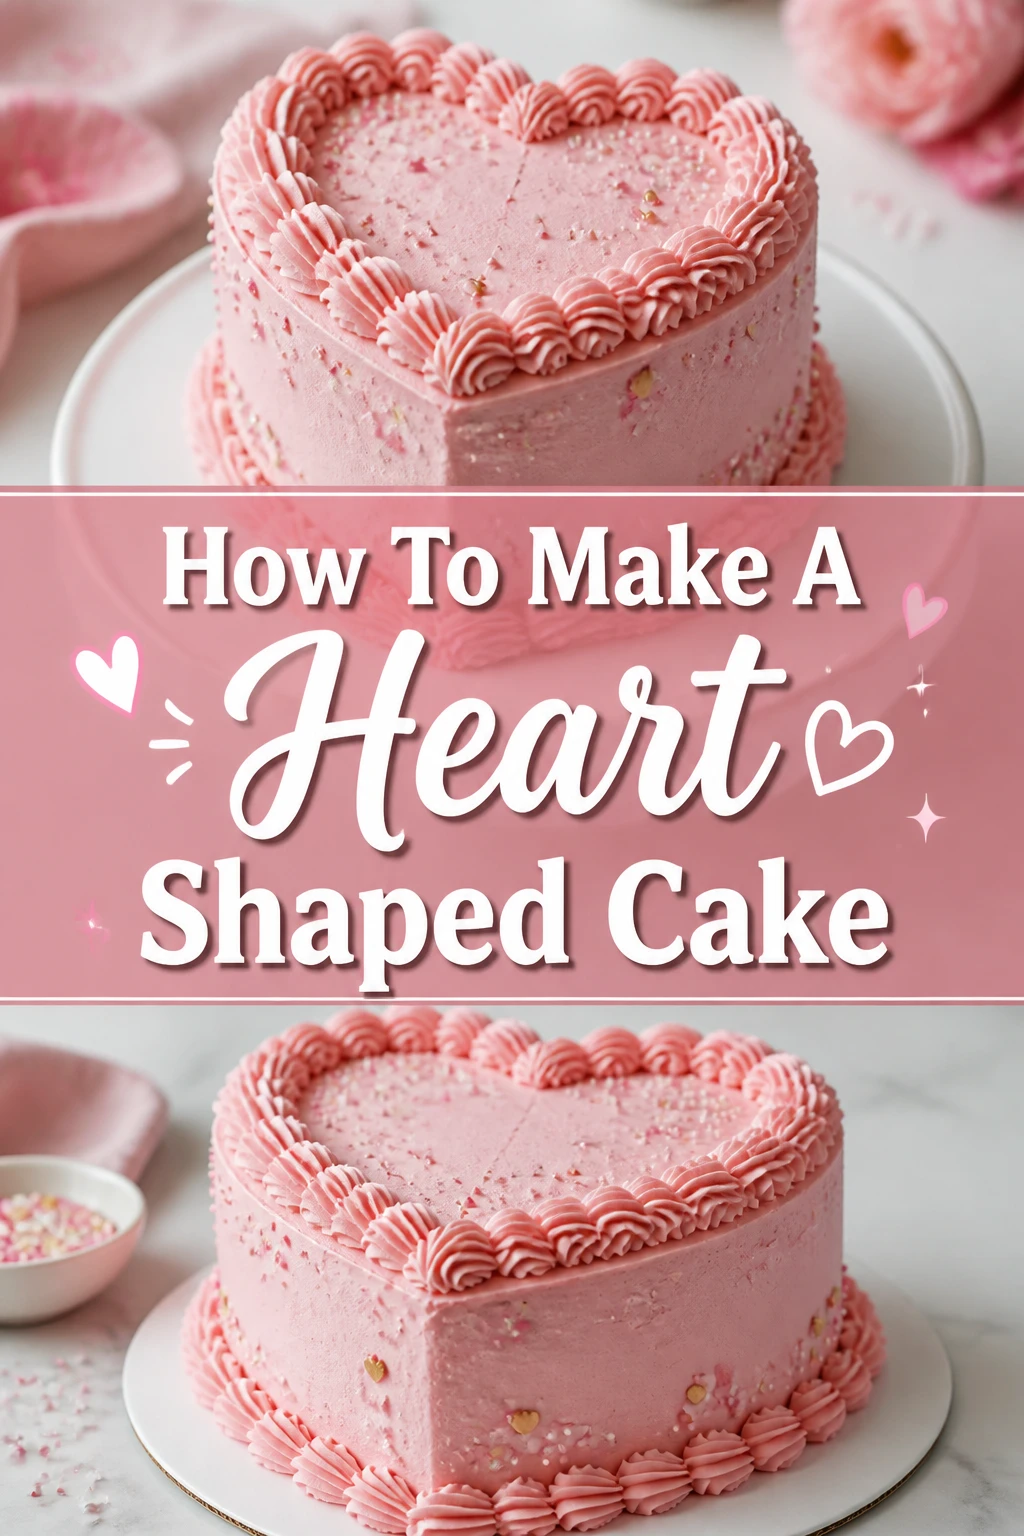
❤️ How To Make A Heart Shaped Cake
Baking a heart-shaped cake brings so much joy, whether for a special anniversary or just to share some love. I remember my first attempt for a friend’s birthday; it felt daunting at first, but the delight on her face made every minute worthwhile. This guide shares all the practical steps I’ve learned, ensuring your cake turns out beautifully every time. You’ll gain the confidence to create a stunning centerpiece that tastes as good as it looks.
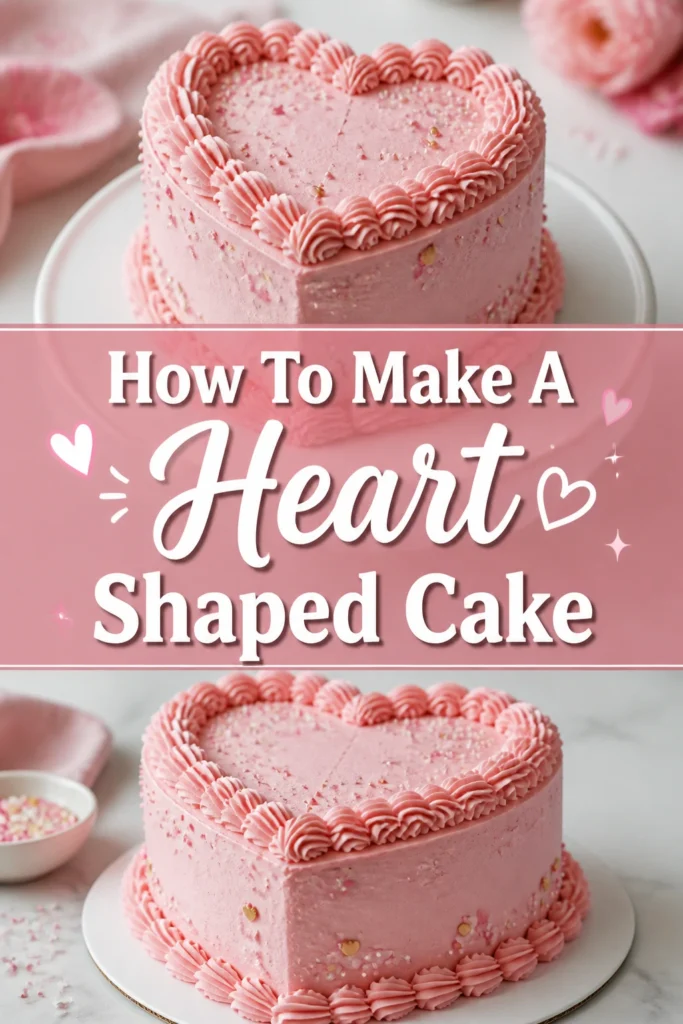
Quick Overview
You’re about to create a beautiful, delicious heart-shaped cake that will impress anyone. This guide covers everything from preparing your pans to decorating your finished masterpiece. Get ready to spread some sweetness!
- Time needed: Approximately 3-4 hours (includes baking, cooling, and decorating)
- Difficulty: Intermediate (requires basic baking skills and some patience)
- What you’ll need: Cake mix or ingredients, two round cake pans (8-inch or 9-inch), one square cake pan (8-inch or 9-inch), frosting, basic baking tools, and a sharp knife.
Step-by-Step Instructions
Step 1: Gather Your Ingredients and Equipment
Before you begin, ensure you have all necessary items laid out. This saves time and prevents last-minute scrambling during the baking process. A well-organized kitchen makes baking much more enjoyable.
Prepare your chosen cake recipe, whether it’s from a box mix or a scratch recipe. Make sure all ingredients are at room temperature if specified.
Collect your baking pans: one 8-inch or 9-inch square pan and two 8-inch or 9-inch round pans. These are crucial for shaping the heart.
Assemble your essential tools. You’ll need mixing bowls, measuring cups and spoons, a whisk or electric mixer, a rubber spatula, parchment paper, a cooling rack, and a sharp serrated knife.
Pro Tip: Read through your entire recipe and this guide once before you start. This helps you visualize the process and anticipate each step.
Step 2: Prepare Your Cake Pans
Proper pan preparation is key to preventing your cakes from sticking. This ensures they release cleanly, making the assembly much easier. Don’t skip this vital step.
Grease all three pans thoroughly with butter or a non-stick baking spray. Ensure you cover every corner and side.
Flour the greased pans by adding a tablespoon or two of flour, then tilting and tapping the pan to coat the entire greased surface. Discard any excess flour.
Line the bottom of each pan with a circle or square of parchment paper. This provides an extra layer of non-stick protection, especially important for delicate cakes.
Step 3: Mix and Bake Your Cakes
Follow your chosen cake recipe’s instructions carefully for the best results. Accurate measurements and proper mixing techniques contribute to a light and tender cake. Avoid overmixing.
Prepare your cake batter according to the recipe. If using a box mix, follow the package directions precisely.
Divide the batter evenly among the three prepared pans. Try to get similar amounts in each pan so the cakes bake uniformly.
Bake the cakes in a preheated oven as directed by your recipe. Baking times might vary slightly between square and round pans, so keep an eye on them.
Check for doneness by inserting a toothpick into the center of each cake. It should come out clean when the cake is ready.
Pro Tip: For even baking, rotate your cake pans halfway through the baking time. This helps prevent one side from browning more than the other.
Step 4: Cool Your Cakes Completely
Patience is essential during the cooling process. Attempting to cut or frost warm cakes will lead to crumbling and a messy result. Allow ample time for cooling.
Remove the cakes from the oven once they are baked. Let them cool in their pans on a wire rack for about 10-15 minutes.
Invert the cakes onto the wire rack to finish cooling completely. Gently peel off the parchment paper from the bottoms.
Wait until the cakes are entirely cool to the touch before moving on to the next step. This can take 1-2 hours, depending on your kitchen temperature.
Step 5: Assemble the Heart Shape
This is where the magic happens and your cake transforms into a heart. Precision here makes all the difference in the final look. Take your time with the cuts.
Trim the square cake first. Use your serrated knife to level the top of the square cake, removing any domed portion. This creates a flat surface for assembly.
Cut each round cake in half. Place one round cake on a cutting board and slice it precisely down the middle, creating two semi-circles. Repeat with the second round cake, yielding four semi-circles in total.
Arrange the square cake in the center of your serving platter or cake board. This will form the bottom point of your heart.
Position two of the semi-circles against two adjacent sides of the square cake. The flat edge of each semi-circle should align perfectly with the sides of the square. This creates the rounded top curves of the heart.
Secure the pieces together with a thin layer of frosting between them. This acts like glue, holding the shape firmly in place. You will now have a recognizable heart shape.
Pro Tip: Use a ruler or straight edge to help you cut the round cakes exactly in half. This ensures symmetry in your heart shape.
Step 6: Apply a Crumb Coat
A crumb coat is a thin layer of frosting that traps any loose crumbs. This step is non-negotiable for a smooth, professional-looking final frosting layer. It seals in all the imperfections.
Prepare your frosting. Ensure it’s at a spreadable consistency. If it’s too stiff, add a tiny bit of milk or water; if too thin, add a bit more powdered sugar.
Apply a very thin layer of frosting over the entire surface of your assembled heart cake. Use an offset spatula or butter knife to spread it evenly.
Cover all exposed cake surfaces, paying special attention to the seams where the cake pieces meet. This helps to camouflage the joins.
Chill the cake in the refrigerator for at least 20-30 minutes. This allows the crumb coat to firm up, effectively locking in any crumbs.
Step 7: Frost and Decorate Your Cake
Now comes the fun part: making your heart cake beautiful! This is your chance to get creative and personalize your creation. Work with a steady hand.
Apply the final layer of frosting. Once the crumb coat is firm, apply a generous amount of frosting to the top and sides of the cake. Use your offset spatula to spread it smoothly and evenly.
Smooth the frosting. For sharp edges and a polished look, use a bench scraper or a long, flat knife to smooth the sides. Heat your spatula in hot water and wipe it dry for an extra smooth finish on the top.
Decorate your heart cake. You can pipe borders, add sprinkles, use edible glitter, or place fresh berries. Consider a simple message or a piped design for a personal touch.
Chill the finished cake again for at least 30 minutes to set the final frosting. This helps it hold its shape and makes it easier to transport or serve.
Pro Tip: When smoothing frosting, work quickly and confidently. If you’re struggling, refrigerate the cake for a few minutes to firm up the frosting, then continue.
Common Mistakes to Avoid
Creating a beautiful cake sometimes involves learning from common pitfalls. Knowing these in advance can save you time and frustration.
Not Cooling Cakes Completely
Trying to cut or frost a warm cake is a recipe for disaster. Warm cakes are fragile, prone to crumbling, and will melt your frosting, leading to a sloppy finish. Always allow your cakes to cool completely on a wire rack, sometimes for several hours, before you even think about trimming or frosting them. This ensures a sturdy foundation for your beautiful creation.
Uneven Cake Layers
If your cake layers are not level, your heart shape will look lopsided and unprofessional. Domed cakes need to be trimmed flat for stable stacking and a neat appearance. Use a serrated knife and a steady hand, or invest in a cake leveler, to ensure all your cake pieces are perfectly flat before assembly. This creates a much more polished final product.
Skipping the Crumb Coat
Many beginners overlook the crumb coat, but it’s a crucial step for a professional finish. Without it, stray crumbs will mix into your final frosting layer, creating an unappealing texture and appearance. A thin, chilled crumb coat seals in all those loose bits, providing a clean canvas for your smooth, final layer of frosting. Don’t skip this step for a pristine cake.
Overmixing the Batter
Overmixing cake batter develops the gluten too much, resulting in a tough, dense cake. You want a light and tender crumb for a delightful eating experience. Mix only until the ingredients are just combined, and no dry streaks of flour remain. A gentle hand with your mixer or whisk will ensure a perfectly tender cake every time.
Troubleshooting
Even experienced bakers encounter issues. Here are solutions to some common problems you might face when making your heart-shaped cake.
Cake Sticking to the Pan
If your cake refuses to release from the pan, it’s likely due to insufficient greasing and flouring. To rescue it, gently run a thin knife or offset spatula around the edges of the cake while it’s still warm. If it’s completely stuck, you can try placing the pan in a larger pan of hot water for a few minutes to loosen the bottom, then try to invert it again. Next time, be extra diligent with parchment paper and baking spray.
Frosting Not Spreading Smoothly
A lumpy or tearing frosting can be frustrating. This often happens if your frosting is too cold, too thick, or if your cake is still slightly warm. Ensure your frosting is at room temperature and has a smooth, spreadable consistency. If it’s too stiff, add a tiny amount of milk or cream, a teaspoon at a time, until it’s just right. If the cake is the problem, chill it again until completely firm.
Heart Shape Looks Uneven
If your assembled heart doesn’t look symmetrical, the issue usually lies in unevenly cut round cakes or misaligned placement. To fix this, you can carefully trim small bits of cake with a sharp knife to refine the shape, especially along the curves. For future attempts, use a ruler to measure the exact center of your round cakes before cutting, and take your time positioning the semi-circles against the square.
Key Takeaways
- Always ensure your cakes are completely cool before assembling or frosting to prevent crumbling.
- Properly prepare your cake pans with grease, flour, and parchment paper for easy release.
- The crumb coat is a crucial step for a smooth, professional-looking final frosting layer.
- Precise cutting of the round cakes is essential for a symmetrical and beautiful heart shape.
- Don’t overmix your cake batter; mix only until ingredients are just combined for a tender crumb.
- Have all your ingredients and tools ready before you start baking to ensure a smooth process.
Frequently Asked Questions
Can I use just one cake mix for this recipe?
Yes, generally one standard box cake mix (which usually yields about 4-5 cups of batter) is enough for this method using 8-inch or 9-inch pans. You’ll divide the batter among one square and two round pans. If you’re unsure, check the volume of batter your chosen pans can hold.
What kind of frosting works best for a heart-shaped cake?
A stable frosting like buttercream (American, Swiss, or Italian meringue) is ideal. These frostings hold their shape well, spread smoothly, and are easy to decorate with. Cream cheese frosting also works beautifully but can be softer, so ensure your cake is well chilled.
Can I make this cake ahead of time?
Absolutely! You can bake the cake layers 1-2 days in advance, wrap them tightly in plastic wrap, and store them at room temperature or freeze them for longer storage. You can also assemble and crumb coat the cake a day ahead, then store it in the refrigerator before applying the final frosting.
How do I transport a heart-shaped cake safely?
The best way to transport a heart-shaped cake is in a sturdy cake box, ideally one that’s slightly larger than the cake itself. Ensure the cake is well chilled so the frosting is firm. If driving, place the box on a flat surface, like the floor of your car, and drive carefully to avoid sudden stops or turns.
Our Top Recommended Finds
- Adjustable Cake Leveler: This tool makes trimming cake domes incredibly easy, ensuring perfectly flat layers every time for a professional finish.
- Offset Spatula Set: A set of offset spatulas in various sizes is invaluable for spreading frosting smoothly and precisely over the cake’s surface.
- Non-Stick Cake Pans: High-quality non-stick pans with removable bottoms or springform mechanisms make releasing your cakes much easier and reduce sticking.
Your Heartfelt Creation Awaits
You now have all the knowledge and steps needed to create a stunning heart-shaped cake. This project is a wonderful way to express love, celebrate milestones, or simply enjoy the art of baking. The process is rewarding, and the end result is always a delightful treat.
Don’t hesitate to personalize your cake with your favorite flavors and decorations. Take this guide and start baking today. Share your beautiful creation with someone special and watch their face light up with joy.