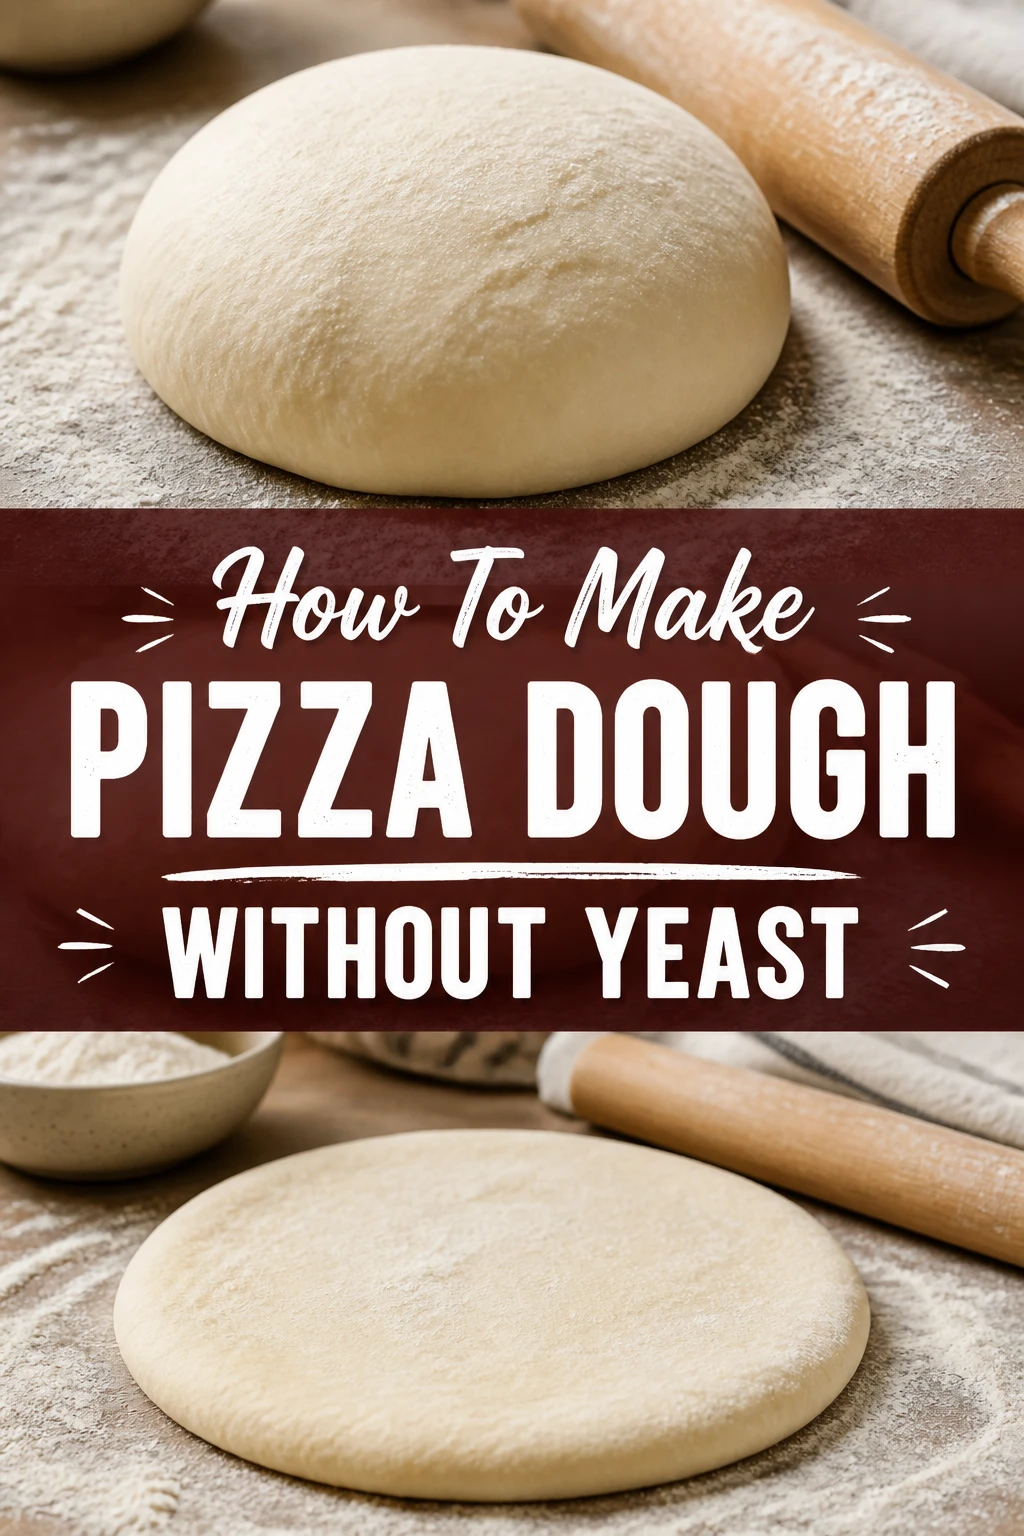
🍕 How To Make Pizza Dough Without Yeast
I have spent countless Friday nights in my kitchen trying to satisfy a sudden pizza craving only to find my yeast packet has expired.
Through trial and error, I discovered that you do not need those tiny granules to create a crispy, delicious crust that holds up to all your favorite toppings.
This guide comes from my personal experience perfecting a “no-wait” dough that relies on simple pantry staples to get dinner on the table in under thirty minutes.
Quick Overview
This recipe is designed for speed and reliability when you want a homemade meal without the three-hour rise time.
- Time needed: 25-30 minutes
- Difficulty: Beginner
- What you’ll need: All-purpose flour, baking powder, salt, olive oil, and water or milk.
Step-by-Step Instructions
Step 1: Measure Your Dry Ingredients
Start by grabbing a large mixing bowl and your measuring tools to ensure accuracy.
Whisk together two and a half cups of all-purpose flour, two teaspoons of baking powder, and one teaspoon of fine sea salt.
Ensure the baking powder is fresh, as this is the primary agent responsible for giving your crust a bit of lift and lightness.
Pro Tip: Sifting the flour and baking powder together helps prevent small clumps and ensures the leavening agent is distributed evenly throughout the dough.
Create a small well in the center of the flour mixture once everything is combined.
Observe the texture of the flour; it should feel light and airy before you introduce any liquids.
Step 2: Incorporate the Wet Ingredients
Pour three-quarters of a cup of room-temperature water and one tablespoon of extra virgin olive oil into the well you created.
Use a sturdy wooden spoon or a silicone spatula to begin drawing the flour from the edges into the liquid center.
Mix slowly at first to prevent the water from splashing over the sides of the bowl.
Continue stirring until the mixture begins to form a shaggy, cohesive ball that pulls away from the sides of the bowl.
Pro Tip: Using milk instead of water will result in a softer, richer crust that browns more quickly in the oven due to the natural sugars.
Check the consistency of the dough; it should be slightly tacky but not so sticky that it clings to your fingers in large clumps.
Add an extra tablespoon of flour if the dough feels too wet, or a teaspoon of water if there are still dry crumbs at the bottom of the bowl.
Step 3: Knead the Dough
Lightly flour a clean, flat work surface like a countertop or a large wooden cutting board.
Turn the dough out onto the surface and begin the kneading process by pushing the dough away from you with the heels of your hands.
Fold the dough back over itself, rotate it ninety degrees, and repeat the pushing motion.
Knead for about three to five minutes until the dough becomes smooth and elastic to the touch.
Avoid over-kneading, as this dough does not have yeast to help soften the structure, and too much handling can lead to a tough, biscuit-like texture.
Pro Tip: You know you are done kneading when the dough springs back slowly after you poke it with your finger.
Feel the transformation of the dough from a rough pile of ingredients into a supple, workable mass.
Step 4: Let the Dough Rest
Form the dough into a smooth ball and place it back into the mixing bowl.
Cover the bowl with a clean kitchen towel or plastic wrap to prevent the surface of the dough from drying out.
Allow the dough to sit undisturbed for about ten minutes at room temperature.
Understand that while this dough does not rise like yeast dough, this resting period is vital for the gluten to relax.
Note that a relaxed dough is much easier to roll out and will not “snap back” when you try to shape it.
Step 5: Prepare Your Oven and Pan
Preheat your oven to 425°F (220°C) while the dough is resting to ensure it is hot enough for a crisp finish.
Prepare your baking sheet or pizza stone by lightly greasing it with olive oil or dusting it with a bit of cornmeal.
Place the pizza stone in the oven during the preheating phase if you are using one, as a hot stone creates a superior bottom crust.
Gather your toppings, sauce, and cheese so they are ready to go as soon as the dough is shaped.
Step 6: Shape the Crust
Transfer the rested dough back to your lightly floured surface.
Use a rolling pin to flatten the dough into a circle or rectangle, depending on the shape of your pan.
Aim for a thickness of about one-quarter of an inch for a standard crust, or thinner if you prefer a cracker-style base.
Lift the edges of the dough occasionally to make sure it isn’t sticking to the counter.
Pro Tip: If the dough resists stretching, let it rest for another five minutes before trying again.
Transfer the shaped dough carefully onto your prepared baking sheet or a piece of parchment paper.
Step 7: Pre-bake the Crust
Place the plain dough in the preheated oven for about five minutes before adding any toppings.
Watch for the surface to lose its raw sheen and begin to look set.
Prevent the “soggy bottom” syndrome by ensuring the dough has a head start on cooking before the heavy sauce and cheese are applied.
Remove the pan from the oven using oven mitts and place it on a heat-safe surface.
Step 8: Add Toppings and Final Bake
Spread a thin layer of pizza sauce over the pre-baked crust, leaving a small border for the “handle.”
Sprinkle a generous amount of shredded mozzarella or your preferred cheese blend over the sauce.
Arrange your favorite toppings like pepperoni, sliced peppers, or fresh basil over the cheese.
Return the pizza to the oven and bake for another 10 to 12 minutes.
Look for the cheese to be bubbly and starting to brown, and the edges of the crust to turn a beautiful golden brown.
Slide the pizza onto a cutting board and let it sit for two minutes before slicing to allow the cheese to set.
Common Mistakes to Avoid
Using Cold Ingredients
Many people take water straight from the cold tap or use milk directly from the refrigerator. Cold liquids inhibit the chemical reaction of the baking powder and make the dough harder to work with. Always use room-temperature or slightly warm liquids to ensure the dough remains soft and the leavening agent activates properly.
Over-Handling the Dough
Because there is no yeast to provide a long-term structure, the dough relies on the delicate balance of gluten and chemical leavening. If you knead the dough for ten or fifteen minutes like you would a traditional bread, it will become incredibly tough. Stop kneading as soon as the dough is smooth to keep the finished product tender.
Applying Too Many Toppings
A no-yeast crust is generally slightly denser than a traditional fermented crust. If you load it down with heavy meats, watery vegetables, and massive amounts of sauce, the center may never fully cook. Stick to a moderate amount of toppings to ensure the crust remains crispy and can support the weight of the slice.
Troubleshooting
The Dough is Too Sticky to Roll
This usually happens if the humidity in your kitchen is high or if the water measurement was slightly heavy. Do not panic and dump a cup of flour on it at once. Instead, sprinkle one tablespoon of flour over the dough and your hands, then gently work it in until the tackiness subsides.
The Crust is Hard and Like a Cracker
If your pizza comes out feeling more like a giant cracker than a doughy crust, you likely rolled it too thin or baked it for too long. Next time, keep the dough slightly thicker, around half a centimeter, and reduce the pre-baking time. You can also try replacing the water with milk to keep the interior crumb softer.
The Dough Keeps Shrinking Back
This is a classic sign of “tight” gluten. If you try to roll the dough and it immediately pulls back toward the center, it needs more time to relax. Cover it and walk away for ten minutes; when you return, the proteins will have loosened, and the dough will stay in the shape you roll it.
Key Takeaways
- Baking powder is your substitute for yeast, providing the necessary lift through a chemical reaction rather than fermentation.
- Resting the dough for at least ten minutes is the most important step for achieving an easy-to-shape crust.
- Pre-baking the crust for a few minutes before adding toppings prevents the dough from becoming gummy under the sauce.
- Room temperature liquids help the ingredients bond more effectively than cold liquids.
- Minimal kneading is required to keep the crust tender and prevent it from becoming overly chewy or tough.
Frequently Asked Questions
Can I use self-rising flour for this recipe?
Yes, you can absolutely use self-rising flour as a shortcut. Since self-rising flour already contains baking powder and salt, you should omit those two ingredients from the recipe. Simply mix the self-rising flour with the oil and water as directed, though you may need to adjust the liquid slightly to get the right consistency.
Does this dough taste like traditional pizza?
It has a slightly different flavor profile because it lacks the “yeasty” or fermented tang of a traditional dough. It tastes more like a fresh, savory flatbread or a very thin biscuit. To mimic the traditional flavor, many people add a teaspoon of garlic powder or dried oregano directly into the dry ingredients.
Can I make this dough ahead of time?
This dough is best used immediately because the baking powder begins to react as soon as it hits the liquid. If you let it sit in the fridge for too long, the leavening power will diminish, and the crust will be flat. If you must prepare it early, mix the dry ingredients in a bag and simply add the wet ingredients when you are ready to bake.
Is this dough vegan-friendly?
The base recipe is naturally vegan as long as you use water and olive oil. If you choose to use milk for a softer crust, you can substitute it with unsweetened almond milk or soy milk with great results. Just ensure your sugar or toppings also align with your dietary preferences.
Our Top Recommended Finds
- A Heavy-Duty Rolling Pin: A classic wooden or marble rolling pin provides the weight needed to flatten this denser dough without much effort.
- Pizza Stone or Steel: These tools hold heat exceptionally well, which is crucial for getting a “no-yeast” crust to crisp up on the bottom.
- Bench Scraper: This tool is perfect for cleaning up floury counters and portioning the dough if you want to make individual-sized pizzas.
Master Your Quick Pizza Skills
Now that you know how to create a foundation without yeast, you can experiment with different flavor infusions.
Try adding crushed rosemary or grated Parmesan cheese directly into the dough before kneading for an elevated experience.
Once you master this quick method, you might find yourself reaching for the baking powder even when you have yeast in the pantry.
Go ahead and fire up your oven right now to put these steps into practice for tonight’s dinner.