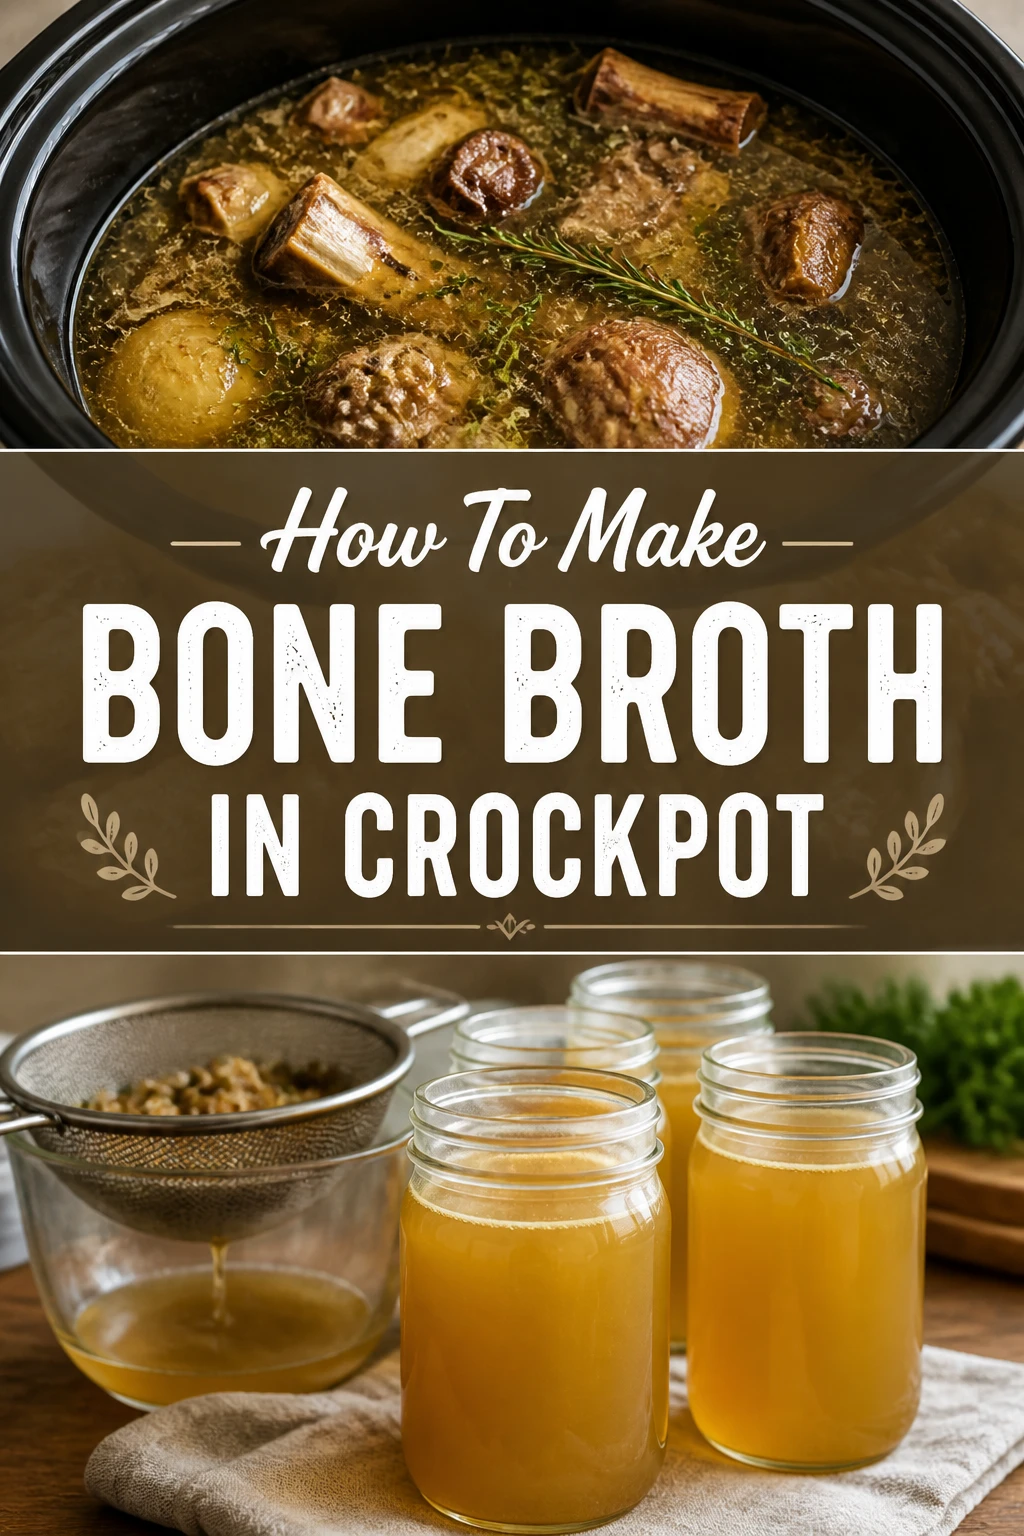
🍲 How To Make Bone Broth In Crockpot
Making bone broth at home is a rewarding experience. It fills your kitchen with an incredible aroma and provides a nutrient-dense elixir. I’ve been making bone broth in my crockpot for years, perfecting the process for maximum flavor and health benefits. This guide shares my tried-and-true method, ensuring your first batch is a success.
Quick Overview
This guide will walk you through creating a rich, gelatinous bone broth using your slow cooker. You’ll learn how to select the best bones, prepare them, and simmer them to perfection. The crockpot makes this process incredibly hands-off and simple.
- Time needed: 24-48 hours active cooking time, plus 30 minutes prep
- Difficulty: Beginner
- What you’ll need: Bones, vegetables, apple cider vinegar, water, a large crockpot, and a fine-mesh strainer
Step-by-Step Instructions
Step 1: Gather Your Ingredients
Start by collecting all the necessary items. High-quality bones are the foundation of excellent bone broth. Aim for a mix of joint bones (like knuckles or feet) for gelatin, and marrow bones for flavor.
You’ll also need some aromatic vegetables like onions, carrots, and celery. A splash of apple cider vinegar (ACV) helps extract minerals from the bones. Plenty of filtered water is essential.
Pro Tip: Visit a local butcher or farmer’s market for the best selection of grass-fed, pasture-raised bones. They often have specific “broth bones” available.
Step 2: Roast Your Bones (Optional, but Recommended)
Roasting your bones before simmering adds incredible depth of flavor. This step caramelizes the bones and any adhering meat, resulting in a richer, darker broth. Spread the bones on a baking sheet and roast at 400°F (200°C) for 20-30 minutes, until lightly browned.
You can also roast any accompanying vegetables for the last 15 minutes to enhance their flavor. This extra step is worth the effort for a truly gourmet broth. If you’re short on time, you can skip roasting, but the flavor will be milder.
Step 3: Prepare Your Vegetables and Aromatics
Roughly chop your onions, carrots, and celery. There’s no need for precision, as these will be strained out later. You can leave the skins on onions and carrots for extra nutrients and color, just ensure they are well-washed.
Garlic cloves and bay leaves are also excellent additions for a savory broth. Feel free to add herbs like parsley or thyme during the last few hours of cooking.
Step 4: Load Your Crockpot
Carefully place the roasted bones into your large crockpot. If you roasted vegetables, add them now as well. Arrange them evenly to ensure good water circulation.
This layering helps distribute the heat and allows all ingredients to contribute to the broth’s flavor. Don’t overfill the pot with solids.
Step 5: Add Liquid and Apple Cider Vinegar
Pour enough filtered water over the bones and vegetables to cover them completely. Leave about an inch of space from the top of the crockpot to prevent overflow during simmering. This ensures everything is submerged.
Add 1-2 tablespoons of apple cider vinegar (ACV) to the water. The acidity helps to draw out minerals and collagen from the bones, making your broth more nutrient-dense. Don’t worry, you won’t taste the vinegar in the final product.
Step 6: Cook Low and Slow
Set your crockpot to the “Low” setting. This slow, gentle simmer is crucial for extracting maximum nutrients and flavor without boiling the broth too aggressively. A rapid boil can make the broth cloudy and reduce its gelatinous quality.
Cook the broth for a minimum of 24 hours, but ideally 36-48 hours. The longer cooking time allows for a fuller extraction from the bones. Check the water level periodically and top it off if needed to keep the bones submerged.
Step 7: Strain and Cool Properly
Once cooking is complete, turn off the crockpot. Carefully remove the large bones and vegetables with tongs or a slotted spoon. Discard these solids, as their nutrients have been fully extracted.
Pour the remaining liquid through a fine-mesh strainer or colander lined with cheesecloth into a large bowl or heat-proof container. This removes any small bone fragments or vegetable bits, leaving you with a clear broth.
Pro Tip: To quickly cool the broth, place the bowl in an ice bath. Rapid cooling prevents bacterial growth and helps solidify the fat layer, making it easier to remove.
Step 8: Skim the Fat and Store
After the broth has cooled completely, a layer of fat will solidify on top. This fat acts as a protective seal, but you can easily skim it off with a spoon if you prefer a lower-fat broth. Some people leave it for extra flavor and nutrients.
Transfer the cooled broth into airtight containers or glass jars. Leave some headspace if you plan to freeze it, as liquids expand.
Step 9: Enjoy or Freeze for Later
Your fresh bone broth is now ready to enjoy! It can be stored in the refrigerator for up to 5-7 days. For longer storage, freeze it in individual portions.
Ice cube trays are excellent for freezing small amounts, perfect for adding to sauces or gravies. Frozen broth can last for several months, ensuring you always have some on hand.
Common Mistakes to Avoid
Not Using Enough Bones
A common pitfall is skimping on the bones. For a truly rich, gelatinous broth, you need a substantial amount. Too few bones result in a watery, less flavorful, and less nutrient-dense broth. Aim for at least 2-3 pounds of bones for a standard 6-quart crockpot.
Cooking at Too High a Temperature
Resist the urge to crank up the heat. High temperatures can cause the broth to become cloudy and can break down the collagen, preventing it from gelling. Always use the “Low” setting on your crockpot. A gentle simmer, not a rolling boil, is the goal for clear, rich broth.
Forgetting Apple Cider Vinegar
Skipping the apple cider vinegar is a missed opportunity. While it doesn’t flavor the broth, its acidity is crucial for leaching minerals and collagen from the bones. Without it, you’re leaving a lot of the good stuff behind. Just a tablespoon or two makes a big difference.
Not Straining Thoroughly
After hours of simmering, you want a clean, smooth broth. Inadequate straining can leave small bone fragments, sediment, or vegetable bits in your finished product. Always use a fine-mesh strainer, and consider lining it with cheesecloth for extra clarity.
Troubleshooting
Broth Not Gelling
If your broth doesn’t gel when chilled, it likely means you didn’t extract enough collagen from the bones. This can happen if you didn’t use enough joint bones (like knuckles or feet), or if the cooking time wasn’t long enough. Try adding more gelatin-rich bones in your next batch, or extend the simmering time to 48 hours.
Bland Flavor
A bland broth often indicates a lack of robust ingredients or insufficient roasting. Ensure you roast your bones to develop deeper flavors. You might also need to increase the amount of aromatic vegetables like onions, carrots, and celery. Adding a pinch of black peppercorns can also boost the savory notes.
Cloudy Broth
Cloudy broth usually results from cooking at too high a temperature, which emulsifies fats and proteins into the liquid. To avoid this, always keep your crockpot on the “Low” setting for a gentle simmer. If your broth is already cloudy, you can try straining it again through a very fine mesh or cheesecloth, though it may not become perfectly clear.
Key Takeaways
- Prioritize Quality Bones: Use a mix of joint and marrow bones from grass-fed sources for the best flavor and gelatin.
- Roast for Deeper Flavor: Browning your bones beforehand significantly enhances the broth’s richness and color.
- Apple Cider Vinegar is Key: A small amount helps extract vital minerals and collagen from the bones.
- Low and Slow is Essential: Simmering on low for 24-48 hours ensures maximum nutrient extraction and clear broth.
- Proper Straining and Cooling: Use a fine-mesh strainer and cool the broth quickly to prevent spoilage and achieve a clean finish.
- Store Smartly: Refrigerate for short-term use or freeze in portions for long-term convenience.
Frequently Asked Questions
Can I reuse the bones?
Generally, it’s not recommended to reuse bones for a second batch of broth. Most of the beneficial nutrients and collagen will have been extracted in the first, long simmer. A second batch would likely yield a much weaker, less flavorful broth.
How long does homemade bone broth last?
Freshly made bone broth can be stored in an airtight container in the refrigerator for 5-7 days. For longer storage, it can be frozen for several months, typically up to 6-12 months, without significant loss of quality.
What kind of bones are best for bone broth?
A mix of bones works best. Joint bones like knuckles, feet (chicken feet, pork feet), and oxtail are great for gelatin. Marrow bones provide richness and flavor. Neck bones and rib bones also work well. Beef, chicken, and even lamb bones can be used.
Can I add spices to my bone broth?
Absolutely! While the core recipe is simple, you can customize your broth with various spices. Whole black peppercorns, star anise, ginger, or even a pinch of turmeric can add unique flavor profiles. Add them during the last few hours of cooking.
Our Top Recommended Finds
- Large Crockpot (6-8 Quart): Essential for making a decent batch of broth. Look for one with a “Low” setting that maintains a gentle simmer.
- Fine-Mesh Strainer: Crucial for separating bones and veggies from the liquid, ensuring a clear, sediment-free broth. A sturdy, stainless steel one is best.
- Freezer-Safe Containers: Glass jars or BPA-free plastic containers are perfect for storing your broth. Silicone molds or ice cube trays are great for individual portions.
Nourish Your Body, One Sip at a Time
Crafting your own bone broth in a crockpot is more than just cooking; it’s an act of self-care. You’re creating a foundational ingredient that supports your well-being, from gut health to joint support. This process is surprisingly simple, yielding incredible rewards.
Don’t wait to experience the warmth and benefits of homemade bone broth. Gather your ingredients this week and let your crockpot do the work. Imagine the savory aroma filling your home, promising delicious meals and comforting sips. Start your bone broth journey today.