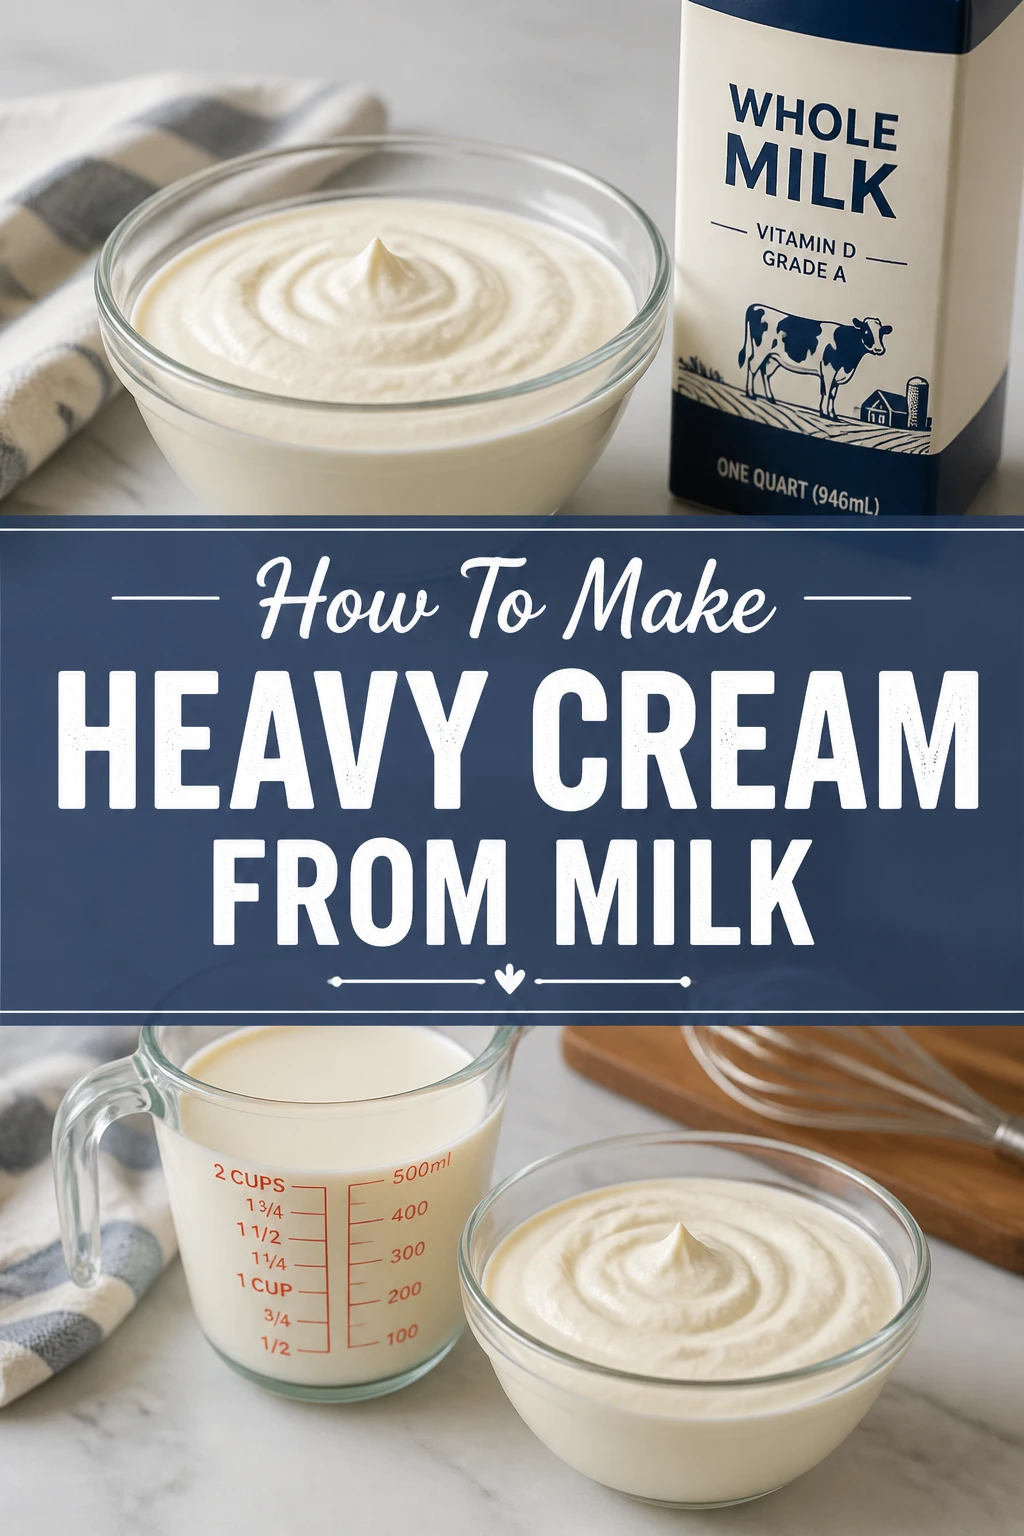
🥛 How To Make Heavy Cream From Milk
Imagine the satisfaction of creating something truly fresh and pure in your own kitchen. Making heavy cream from scratch is one of those rewarding experiences. It’s simpler than you might think, tapping into a natural process that yields a rich, versatile ingredient.
I’ve been experimenting with dairy for years, perfecting techniques to get the best results. This guide shares everything I’ve learned, ensuring you get perfect, thick cream every time. You’ll gain a deeper appreciation for where your food comes from.

Quick Overview
This guide will walk you through the surprisingly straightforward process of separating heavy cream from whole milk. You’ll learn how to leverage simple physics to achieve a wonderfully rich dairy product. Get ready to transform ordinary milk into extraordinary cream.
- Time needed: 24-48 hours (mostly passive chilling time)
- Difficulty: Beginner
- What you’ll need: Whole milk, shallow pan or bowl, refrigerator, spoon or skimmer, airtight container
Step-by-Step Instructions
Step 1: Choose Your Milk Wisely
The foundation of excellent heavy cream begins with the right milk. You need full-fat, unhomogenized whole milk for this method to work effectively. Homogenization breaks down fat globules, preventing them from separating naturally.
Look for milk labeled “creamline” or “non-homogenized.” Raw milk is also an excellent choice if you have access to it and are comfortable with its handling. The higher the fat content, the more cream you will yield.
Pro Tip: Pastured milk often has a richer flavor profile due to the cows’ diet. This can translate to an even more delicious heavy cream. Consider sourcing local, grass-fed milk for the best results.
Step 2: Prepare Your Separation Vessel
Select a wide, shallow dish or pan. A lasagna pan, a large casserole dish, or even a wide, shallow bowl works perfectly. The wider the surface area, the faster and more efficiently the cream will separate.
Ensure the dish is impeccably clean. Any residues could affect the taste or separation process of your cream. Use a dish that can comfortably fit in your refrigerator without being disturbed.
Step 3: Pour and Settle the Milk
Gently pour your chosen unhomogenized whole milk into the prepared shallow dish. Try to fill it to a depth of no more than 2-3 inches. A shallower layer allows the cream to rise more quickly and uniformly.
Avoid splashing or agitating the milk excessively during this step. A calm pour helps the fat globules begin their natural ascent without interference. The goal is a still, undisturbed surface.
Step 4: Chill for Cream Separation
Carefully place the uncovered dish of milk into your refrigerator. The chilling process is crucial for the fat globules to solidify slightly and rise to the surface. This is where gravity and temperature do most of the work.
Leave the milk undisturbed for at least 24 hours, and ideally 36-48 hours. The longer it chills, the more pronounced and thicker the cream layer will become. Ensure your refrigerator is set to a consistent, cold temperature.
Step 5: Observe the Cream Layer
After the recommended chilling time, you will notice a distinct, yellowish-white layer on top of the milk. This is your heavy cream. It will be visibly thicker and often slightly firmer than the milk below.
The cream layer should appear uniform and separate easily from the skim milk beneath it. You might even see a slight ripple effect if you gently tilt the dish. This visual confirmation tells you it’s ready for skimming.
Step 6: Gently Skim the Cream
Using a large, shallow spoon, a slotted skimmer, or a small ladle, carefully begin to scoop the cream off the surface. Work slowly and methodically from one edge of the dish to the other. The key is to be gentle and avoid disturbing the skim milk below.
Angle your spoon slightly to catch only the cream layer. You want to minimize the amount of skim milk you pick up with the cream. This ensures your homemade heavy cream is as rich as possible.
Pro Tip: For a super clean skim, you can use a turkey baster or a small siphon to carefully draw off the skim milk from underneath the cream layer. This leaves the cream perfectly intact on the surface for easy collection.
Step 7: Collect and Store Your Cream
As you skim, transfer the collected heavy cream into a clean, airtight container. A glass jar with a tight-fitting lid is ideal for storage. This protects the cream from absorbing refrigerator odors and keeps it fresh.
Once all the visible cream has been skimmed, immediately seal the container. The remaining liquid in the shallow dish is now skim milk, which can be used for other purposes like baking, smoothies, or drinking.
Step 8: Final Chilling and Usage
Return your container of freshly skimmed heavy cream to the refrigerator for another hour or two. This final chill allows the cream to firm up even more, enhancing its texture and consistency. It will become noticeably thicker.
Your homemade heavy cream is now ready to use in any recipe calling for commercial heavy cream. It’s perfect for whipping, enriching sauces, or adding a luxurious touch to your coffee. Enjoy the rich, natural flavor.
Common Mistakes to Avoid
Using Homogenized Milk
Many people mistakenly try to make cream from regular store-bought homogenized milk. Homogenization is a process that breaks down fat molecules into tiny particles, distributing them evenly throughout the milk. This prevents the cream from naturally separating and rising to the top. Always seek out unhomogenized, cream-top, or raw milk for successful cream making.
Disturbing the Milk During Chilling
Once you’ve poured the milk into its shallow dish and placed it in the refrigerator, it’s crucial to leave it completely undisturbed. Any jostling, bumping, or even too much opening and closing of the fridge door can disrupt the delicate process of fat separation. This agitation can prevent a clean, thick cream layer from forming, resulting in a thinner, less defined cream.
Not Chilling Long Enough
Patience is a virtue when making heavy cream. Rushing the chilling process by only leaving the milk for a few hours will yield poor results. The fat needs ample time, typically 24-48 hours, to solidify and fully rise to the surface. A shorter chilling period means a thinner cream layer and less overall cream collected.
Skimming Too Aggressively
When it’s time to skim, a light touch is essential. Scooping too quickly or too deeply can mix the cream layer back into the skim milk below. This makes it difficult to get a clean separation and reduces the richness of your collected cream. Take your time, use a shallow spoon, and gently glide it across the surface.
Troubleshooting
Cream Layer is Too Thin or Non-existent
If your cream layer is disappointingly thin or seems to be missing, the most common culprit is using homogenized milk. Double-check your milk label to ensure it explicitly states “unhomogenized,” “creamline,” or is raw milk. Another reason could be insufficient chilling time; ensure the milk has sat undisturbed for at least 24-48 hours.
Cream Has a Slightly Sour Taste
A slightly sour taste in your finished cream usually indicates that the milk was left too long or stored at an inconsistent temperature. While unhomogenized milk can last a bit longer, it’s still perishable. Ensure your refrigerator is consistently cold (around 35-40°F or 1-4°C) and try to skim the cream within the 24-48 hour window for optimal freshness.
Cream Won’t Whip Properly
If your homemade cream doesn’t whip up as expected, it might not be thick enough. This can happen if some skim milk was inadvertently mixed in during the skimming process. Try re-chilling the cream for a few more hours to help it firm up. If it still struggles, it might be better suited for cooking or sauces, and you can try to be even more careful with skimming next time.
Key Takeaways
- Always use full-fat, unhomogenized milk for successful cream separation.
- A wide, shallow dish maximizes the surface area for efficient cream rising.
- Chill the milk undisturbed for 24-48 hours to allow the cream to fully separate.
- Gentle, patient skimming is crucial to collect a rich, clean cream layer.
- Store your homemade heavy cream in an airtight container in the refrigerator.
- Homemade cream offers a superior texture and flavor compared to store-bought.
Frequently Asked Questions
Can I use low-fat milk to make heavy cream?
No, low-fat or skim milk will not work for making heavy cream. Heavy cream is essentially concentrated milk fat. Low-fat milk has had most of its fat removed, leaving very little to separate and collect. You need the highest fat content available.
How long does homemade heavy cream last?
Homemade heavy cream generally lasts about 5-7 days in an airtight container in the refrigerator. This is similar to commercial heavy cream. Always check for any off-odors or signs of spoilage before use.
What can I do with the leftover skim milk?
The leftover skim milk is still perfectly good and nutritious. You can use it for drinking, in smoothies, for baking recipes, or in any dish that calls for skim milk. It’s a great byproduct of the cream-making process.
Is homemade heavy cream the same as store-bought?
While similar, homemade heavy cream often has a richer, more natural flavor and a slightly different texture because it hasn’t undergone industrial processing. It’s free from stabilizers or thickeners sometimes found in commercial products. The fat content might vary slightly depending on your milk source.
Our Top Recommended Finds
- Wide Stainless Steel Pan: An 11×13-inch stainless steel pan offers ample surface area for optimal cream separation. It’s durable and easy to clean.
- Slotted Skimmer Spoon: A flat, wide slotted skimmer spoon allows for precise and gentle removal of the cream layer, minimizing disturbance to the milk below.
- Glass Airtight Jars: High-quality glass jars with secure lids are perfect for storing your fresh cream, keeping it fresh and free from refrigerator odors.
Embrace the Creamy Revolution
Making heavy cream from milk is more than just a kitchen hack; it’s a step towards greater self-sufficiency and a deeper connection to your food. The process is simple, the wait is passive, and the reward is a truly superior product. Once you taste the difference, you might never go back to store-bought.
Why not give it a try this week? Pick up some quality unhomogenized milk and prepare to be amazed by the rich, natural cream you can create. Then, explore all the delicious possibilities, from decadent desserts to savory sauces. Your culinary adventures await!