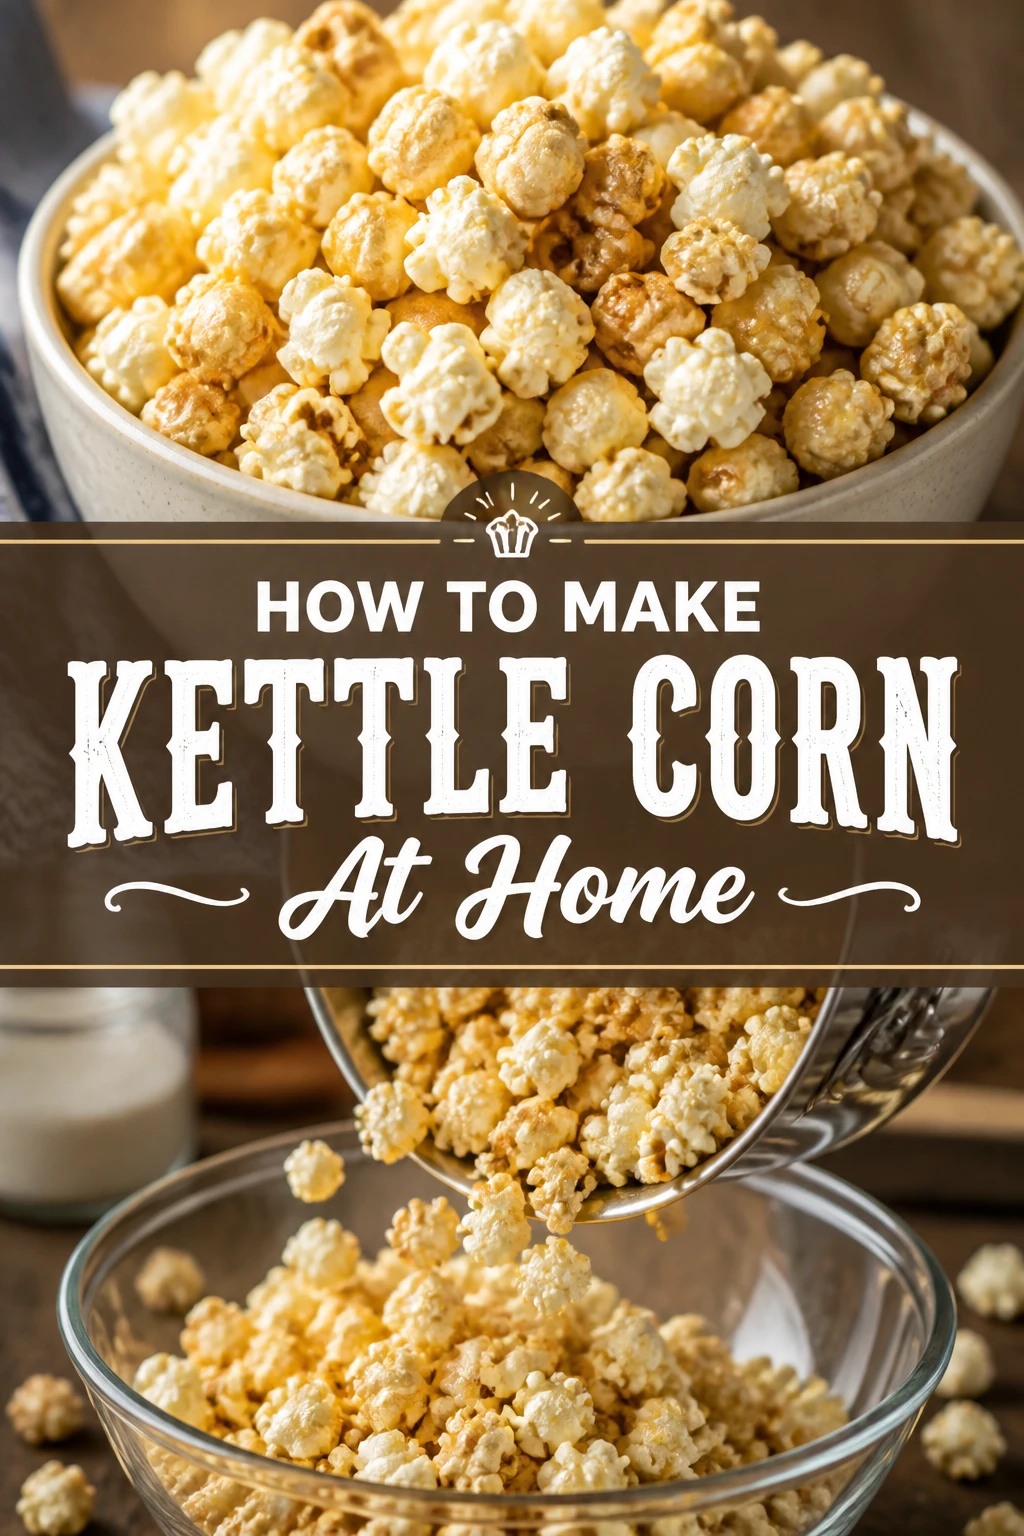
🌟 How To Make Kettle Corn At Home
There’s nothing quite like the sweet and salty crunch of fresh kettle corn. I remember the first time I tried making it at home, convinced it would be a sticky disaster.
To my surprise, with a few simple tricks, it quickly became a household favorite. This guide shares those exact techniques, ensuring your homemade kettle corn is perfectly balanced and irresistible every time.
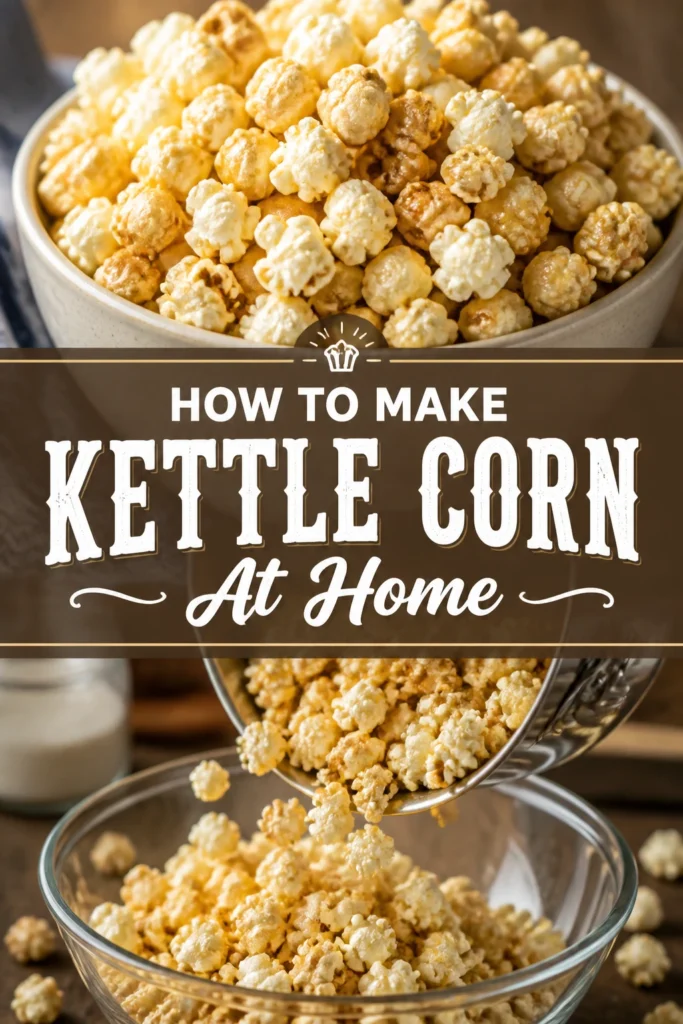
Quick Overview
You’re about to create a classic snack that’s a perfect blend of sweet and savory. This recipe is simple, quick, and uses ingredients you likely already have.
Get ready to impress your family and friends with this delicious treat.
- Time needed: 15-20 minutes
- Difficulty: Beginner
- What you’ll need: Popcorn kernels, oil, sugar, salt, large pot with lid
Step-by-Step Instructions
Step 1: Gather Your Ingredients and Equipment
Collect all your necessary items before you begin popping. This setup ensures a smooth and efficient cooking process, as things move quickly once the heat is on.
You’ll need good quality popcorn kernels, a neutral high-smoke-point oil, granulated sugar, and fine salt. Also grab your largest heavy-bottomed pot, a sturdy lid, and a large bowl for the finished product.
Step 2: Measure Precisely
Measure your ingredients with care. For every 1/2 cup of popcorn kernels, use 2 tablespoons of oil, 2 tablespoons of granulated sugar, and 1/2 teaspoon of fine salt.
Consistency in measurements is key for achieving that perfect sweet and salty balance. Have these portions ready and waiting beside your stovetop.
Step 3: Heat the Oil and Test Kernels
Pour the oil into your large, heavy-bottomed pot. Place the pot over medium-high heat on your stovetop.
Add three popcorn kernels to the oil. Cover the pot with the lid and wait for these test kernels to pop. This indicates your oil has reached the ideal temperature for popping.
Pro Tip: Using a heavy-bottomed pot helps distribute heat evenly, preventing scorching. A clear glass lid is also helpful for monitoring the popping action.
Step 4: Add Remaining Kernels, Sugar, and Salt
Remove the pot from the heat once the test kernels have popped. Carefully take out the popped test kernels and discard them.
Add the remaining unpopped kernels, the pre-measured sugar, and the salt to the hot oil. Stir everything quickly to coat the kernels evenly with the sugar and salt mixture.
Step 5: Return to Heat and Shake Constantly
Place the pot back on the medium-high heat. Secure the lid tightly.
Begin to gently shake the pot back and forth continuously. This constant motion is crucial for preventing the sugar from burning and for ensuring all kernels pop evenly.
Pro Tip: Hold the pot firmly by its handle and shake it in a circular or back-and-forth motion. Keep the lid on tight to prevent escaping kernels.
Step 6: Listen for the Popping to Slow
Continue shaking the pot as the kernels begin to pop vigorously. The popping will intensify for a minute or two.
Listen closely for the sound of the popping to slow down significantly. Once there are 2-3 seconds between pops, it’s time to remove the pot from the heat.
Step 7: Remove and Pour Immediately
Take the pot off the heat as soon as the popping slows. Do not wait for all popping to stop, as lingering heat can quickly burn the sugar.
Carefully and immediately pour the hot kettle corn into your large prepared bowl. This stops the cooking process and prevents the popcorn from becoming soggy or sticking together.
Step 8: Cool and Separate
Spread the kettle corn out in the large bowl to help it cool down. Use a spoon or spatula to gently break apart any clusters that have formed.
Allow the kettle corn to cool for a few minutes before serving. This brief cooling period helps the sweet coating crisp up, enhancing the texture.
Common Mistakes to Avoid
Not Shaking the Pot Enough
Failing to shake the pot continuously is a common pitfall. Without constant agitation, the sugar will settle at the bottom of the pot and burn, creating a bitter taste and sticky mess.
Always keep the pot moving over the heat to ensure even coating of the kernels and to prevent scorching of the sugar and oil.
Adding Sugar Too Early or Too Late
Adding sugar at the wrong time can ruin your kettle corn. If you add it with the oil and test kernels, it will burn before the main batch even starts popping.
Adding it too late, after most kernels have popped, means it won’t properly adhere or melt, leaving you with plain popcorn and separate sugar crystals. Follow the timing in Step 4 for best results.
Using the Wrong Type of Oil
Some oils have a low smoke point and will burn before the popcorn has a chance to pop. This imparts an unpleasant flavor to your kettle corn and can fill your kitchen with smoke.
Always opt for a neutral oil with a high smoke point like coconut oil, canola oil, or vegetable oil for optimal popping and flavor.
Overcrowding the Pot
Filling your pot with too many kernels reduces air circulation and heat distribution. This leads to a lot of unpopped kernels and unevenly cooked popcorn.
Stick to the recommended 1/2 cup of kernels for a standard large pot. If you want more, make multiple batches rather than trying to cram everything into one go.
Troubleshooting
Burnt Sugar or Popcorn
If your kettle corn tastes burnt or has dark, sticky sugar, it’s likely due to lack of shaking or leaving it on the heat too long. Constant motion prevents sugar from settling and burning.
Remove the pot from heat immediately once popping slows, rather than waiting for all sounds to cease. This rapid response prevents further scorching.
Lots of Unpopped Kernels
A significant number of unpopped kernels, often called “old maids,” can result from insufficient heat or overcrowding the pot. The oil might not have been hot enough when kernels were added.
Ensure your oil is properly preheated with the test kernels and avoid exceeding the recommended kernel amount per batch for optimal popping efficiency.
Soggy or Chewy Kettle Corn
Kettle corn that’s not crispy usually means it wasn’t removed from the pot quickly enough or wasn’t spread out to cool properly. Trapped steam can make it soft.
Pour the popcorn into a large, open bowl immediately after popping stops and spread it out. This allows steam to escape and helps the sugar coating crisp up as it cools.
Key Takeaways
- Always measure your ingredients precisely for the best sweet and salty balance.
- Preheat your oil correctly using test kernels to ensure optimal popping temperature.
- Shake the pot continuously over the heat to prevent sugar from burning and ensure even popping.
- Remove the pot from the heat as soon as popping slows to avoid scorching the sugar.
- Immediately transfer the hot kettle corn to a large bowl and spread it out to cool and crisp.
- Use a heavy-bottomed pot and a high-smoke-point, neutral oil for best results.
Frequently Asked Questions
Can I use brown sugar instead of granulated sugar?
While you can experiment, granulated sugar is highly recommended for kettle corn. Brown sugar has molasses, which makes it more prone to burning and sticking, often leading to a less desirable texture and flavor for this specific recipe.
What’s the best type of salt to use?
Fine salt, such as fine sea salt or regular table salt, works best. Its small crystals adhere well to the popcorn and dissolve easily into the sugar coating, providing an even salty flavor throughout each bite.
How do I store leftover kettle corn?
Store leftover kettle corn in an airtight container at room temperature. This helps maintain its crispness and prevents it from going stale. It’s usually best enjoyed within 1-2 days for optimal freshness and texture.
Can I make kettle corn in an air popper?
Air poppers are not suitable for making kettle corn because they don’t use oil and cannot incorporate sugar during the popping process. The sugar would simply melt and burn without the oil to help coat the kernels and distribute heat.
Our Top Recommended Finds
- Whirley-Pop Stovetop Popcorn Popper: This specialized pot has a hand crank that continuously stirs the kernels, making kettle corn even easier and preventing burning. It’s a game-changer for homemade popcorn.
- Large Stainless Steel Mixing Bowl Set: Having a generously sized bowl is essential for tossing your kettle corn and allowing it to cool without clumping. Stainless steel is durable and easy to clean.
- Fine Grain Sea Salt: A good quality fine sea salt ensures even seasoning and dissolves beautifully into the sweet coating, giving you that perfect sweet and salty crunch every time.
Your Next Popping Adventure Awaits
You now possess all the knowledge needed to create perfect kettle corn right in your own kitchen. This snack is more than just popcorn; it’s a delightful blend of simple flavors that brings joy to any occasion.
Don’t just read about it – gather your ingredients and get popping today. Once you master this recipe, consider experimenting with different seasonings or even trying out homemade caramel corn for another sweet treat.