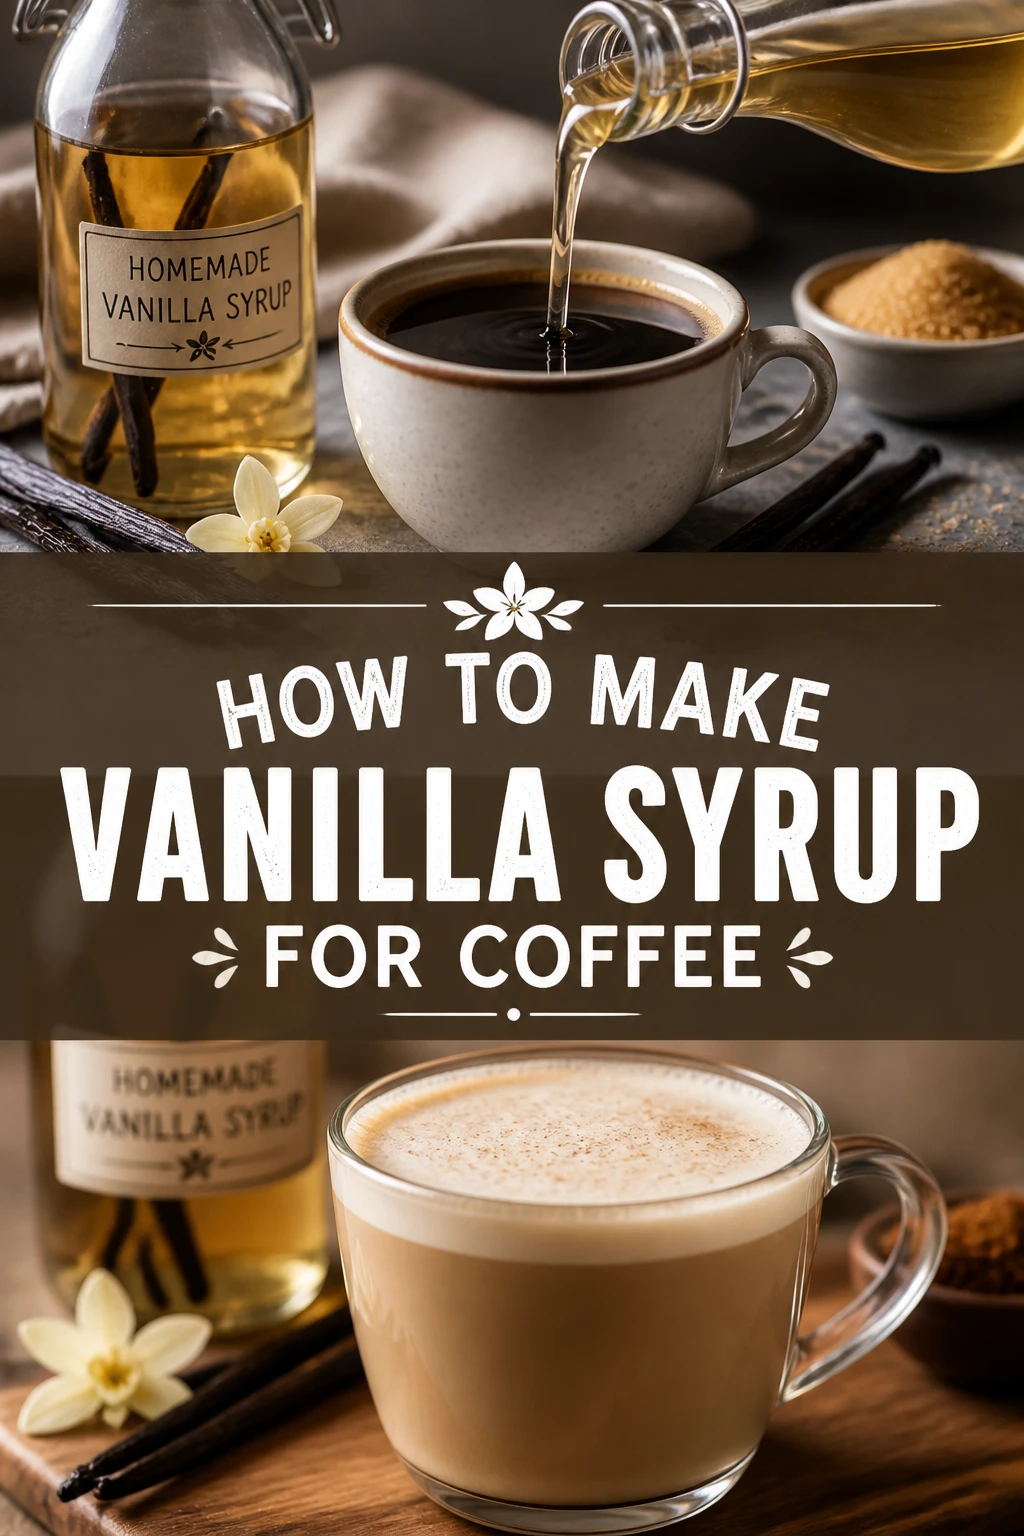
✨ How To Make Vanilla Syrup For Coffee
Transforming your morning coffee into a café-worthy delight is simpler than you think. I’ve spent countless hours perfecting homemade syrups, and vanilla is always a crowd-pleaser. This guide comes from personal experience, ensuring you get the best results every time.
You’ll discover how easy it is to craft your own delicious vanilla syrup, elevating your coffee without any artificial flavors. Get ready to impress yourself and your guests with this simple, yet profoundly impactful, recipe.

Quick Overview
This guide will walk you through creating a luscious vanilla syrup that rivals any store-bought version. You’ll master the art of combining simple ingredients into a flavorful concentrate, perfect for all your coffee creations.
- Time needed: 15-20 minutes (active), plus cooling
- Difficulty: Beginner
- What you’ll need: Sugar, water, vanilla extract (or bean), saucepan, whisk, airtight bottle
Step-by-Step Instructions
Step 1: Gather Your Ingredients and Equipment
Before you begin, ensure you have everything ready. This makes the entire process smooth and enjoyable. A little preparation goes a long way in the kitchen.
You will need granulated sugar, fresh water, and high-quality vanilla extract. Alternatively, you can use a vanilla bean for a more intense, natural flavor. Have a medium saucepan, a whisk, and an airtight bottle or jar for storage close at hand.
Step 2: Measure Sugar and Water Precisely
Accuracy in measurement is key for the perfect syrup consistency. For a standard vanilla syrup, a 1:1 ratio of sugar to water is ideal. This creates a balanced sweetness and a pourable texture.
For most batches, one cup of granulated sugar and one cup of water works perfectly. If you want a larger quantity, simply double or triple these measurements while maintaining the ratio.
Step 3: Combine Sugar and Water in a Saucepan
Pour your measured water into the medium saucepan. Then, add the granulated sugar directly into the water. Avoid stirring too much at this stage; gentle combining is fine.
Place the saucepan on your stovetop over medium heat. This gradual heating helps the sugar dissolve evenly without burning.
Pro Tip: Using a heavy-bottomed saucepan helps distribute heat more evenly, preventing the sugar from scorching at the bottom.
Step 4: Heat and Dissolve the Sugar
Turn the heat to medium and begin to gently whisk the mixture. Continue whisking periodically until all the sugar crystals have completely dissolved into the water. This usually takes about 5-7 minutes.
You’ll notice the liquid becoming clear and slightly thicker as the sugar dissolves. Do not let the mixture come to a rolling boil at this stage, just a gentle simmer is sufficient.
Step 5: Bring to a Gentle Simmer
Once the sugar is fully dissolved, increase the heat slightly to bring the mixture to a gentle simmer. You should see small bubbles forming around the edges of the pan. Let it simmer for just one minute.
This brief simmering period helps to fully integrate the sugar and water, creating a stable syrup base. It also ensures the syrup will have a good shelf life.
Step 6: Remove from Heat and Add Vanilla
Carefully remove the saucepan from the heat source. It’s crucial to add the vanilla after the heat is off to preserve its delicate flavor. High heat can cause the vanilla notes to evaporate.
Pour in your desired amount of vanilla extract. For a strong flavor, start with one tablespoon per cup of sugar used. If you’re using a vanilla bean, slice it lengthwise, scrape out the seeds, and add both the seeds and the pod to the hot syrup.
Pro Tip: For an extra rich vanilla flavor, consider using vanilla bean paste. It offers the visual appeal of vanilla specks with intense flavor.
Step 7: Stir and Allow to Infuse (If Using Bean)
Gently stir the vanilla extract into the hot syrup until well combined. If you’re using a vanilla bean, let the bean and seeds steep in the hot syrup for at least 30 minutes, or even longer for a deeper infusion. The warmth of the syrup helps extract maximum flavor.
You can even leave the vanilla bean in the syrup as it cools and stores, removing it just before use. This intensifies the flavor over time.
Step 8: Cool Completely
Allow the vanilla syrup to cool down to room temperature. This step is important for both safety and proper storage. Hot syrup can crack glass containers and create condensation.
The syrup will thicken slightly as it cools. Be patient; a fully cooled syrup will have the perfect consistency for mixing into drinks.
Step 9: Strain (If Using Bean) and Bottle
If you used a vanilla bean, carefully remove the pod and any large seed clumps before bottling. A fine-mesh strainer can help ensure a smooth syrup.
Pour the cooled vanilla syrup into your clean, airtight bottle or jar. A funnel can be very helpful here to prevent spills and mess.
Step 10: Store and Enjoy Your Homemade Syrup
Seal your bottle tightly. Store your homemade vanilla syrup in the refrigerator. It will typically last for about 3-4 weeks.
Now, your delicious vanilla syrup is ready to elevate your coffee, lattes, cocktails, or even desserts. Enjoy the rich, authentic flavor you created yourself!
Common Mistakes to Avoid
Over-Boiling the Syrup
Many people think boiling the syrup longer makes it thicker or more potent. However, over-boiling can cause too much water to evaporate, leading to a syrup that’s overly thick, almost like a candy. It can also crystalize more easily. Stick to a gentle simmer for just a minute or two after the sugar dissolves to maintain the perfect consistency.
Adding Vanilla While Still on High Heat
This is a common oversight that significantly impacts flavor. Vanilla extract’s delicate aromatic compounds are very sensitive to high heat. Adding it while the syrup is actively boiling or still very hot on the stove causes these compounds to evaporate, diminishing the rich vanilla flavor. Always remove the syrup from the heat and allow it to cool slightly before stirring in the vanilla.
Using Low-Quality Vanilla Extract
The quality of your vanilla extract directly translates to the taste of your syrup. Cheap, artificial vanilla extracts can give your syrup a chemical or flat flavor. Invest in a good quality pure vanilla extract or, even better, use a whole vanilla bean for an unparalleled depth of flavor. This small upgrade makes a huge difference.
Improper Storage
Homemade syrups, especially those without preservatives, are perishable. Leaving your syrup out at room temperature for extended periods can encourage bacterial growth and spoilage. Always store your vanilla syrup in a clean, airtight container in the refrigerator to maximize its shelf life and keep it fresh.
Troubleshooting
Syrup is Too Thin
If your vanilla syrup feels too watery, it likely means not enough water evaporated, or your sugar-to-water ratio was slightly off. To fix this, gently reheat the syrup in a saucepan over medium-low heat. Let it simmer for an additional 2-3 minutes, stirring occasionally. Be careful not to over-reduce it.
Syrup is Too Thick or Crystalized
A syrup that’s too thick or has started to crystalize usually indicates it was boiled too long, causing too much water to evaporate. To remedy this, add a tablespoon or two of hot water to the syrup. Gently reheat the mixture over very low heat, stirring constantly until it returns to a smooth, pourable consistency.
Lack of Vanilla Flavor
If your syrup tastes more like plain simple syrup than vanilla, you might have added the vanilla too early (while it was still very hot) or used too little extract. To boost the flavor, you can add another teaspoon or two of high-quality vanilla extract to the cooled syrup. Stir it in thoroughly before serving. For a vanilla bean syrup, let the bean infuse longer.
Key Takeaways
- Always use a 1:1 ratio of sugar to water for a balanced, versatile syrup.
- Add vanilla extract after removing the syrup from heat to preserve its delicate flavor.
- A gentle simmer for just one minute after sugar dissolves is sufficient; avoid over-boiling.
- Allow the syrup to cool completely before bottling to prevent condensation and ensure proper consistency.
- Store your homemade vanilla syrup in an airtight container in the refrigerator for up to 3-4 weeks.
- High-quality vanilla extract or beans significantly enhance the final taste of your syrup.
Frequently Asked Questions
Can I use a sugar substitute for this recipe?
Using sugar substitutes can alter the texture and shelf life of the syrup. While some granular substitutes might work, the syrup may not thicken in the same way or store as long. Experimentation is key if you choose this route, but for a traditional syrup, real sugar is recommended.
How long does homemade vanilla syrup last?
When stored properly in an airtight container in the refrigerator, homemade vanilla syrup typically lasts for about 3 to 4 weeks. Always check for any signs of mold or off-smells before using, especially if it’s been stored for a while.
Can I make a larger batch of vanilla syrup?
Absolutely! This recipe is easily scalable. Simply maintain the 1:1 ratio of sugar to water. If you double the ingredients, you’ll get twice the amount of syrup. Just ensure you have a large enough saucepan and storage containers.
What else can I use this vanilla syrup for besides coffee?
Homemade vanilla syrup is incredibly versatile. It’s fantastic in cocktails, on pancakes or waffles, drizzled over ice cream, mixed into milkshakes, or even used to sweeten iced tea. Its simple, pure flavor complements many dishes and drinks.
Our Top Recommended Finds
- Heavy-Bottomed Saucepan: Essential for even heat distribution, preventing sugar from burning. A good quality stainless steel pan will last for years.
- Glass Airtight Bottles with Pour Spout: Perfect for storing your syrup and making it easy to dispense without mess. Look for those with a good seal.
- Pure Vanilla Extract (Madagascar Bourbon): Investing in a high-quality extract makes a noticeable difference in flavor. Madagascar Bourbon vanilla is a popular choice for its rich, creamy profile.
Craft Your Own Coffeehouse Experience Today
You now have all the tools and knowledge to create exquisite vanilla syrup right in your own kitchen. This simple recipe is a game-changer for your daily coffee routine, transforming ordinary cups into extraordinary delights. There’s a unique satisfaction in sipping a beverage you’ve customized with your own handcrafted ingredients.
Why not take the next step and explore other homemade syrups like caramel or hazelnut? Or perhaps experiment with different types of vanilla, such as Tahitian, for varied flavor profiles. Start your journey into elevated coffee today – your taste buds will thank you.